Category Archives: LX 521 Loudspeaker Build

The joys – and horrors – of Forstner bits

Front tweeter baffle

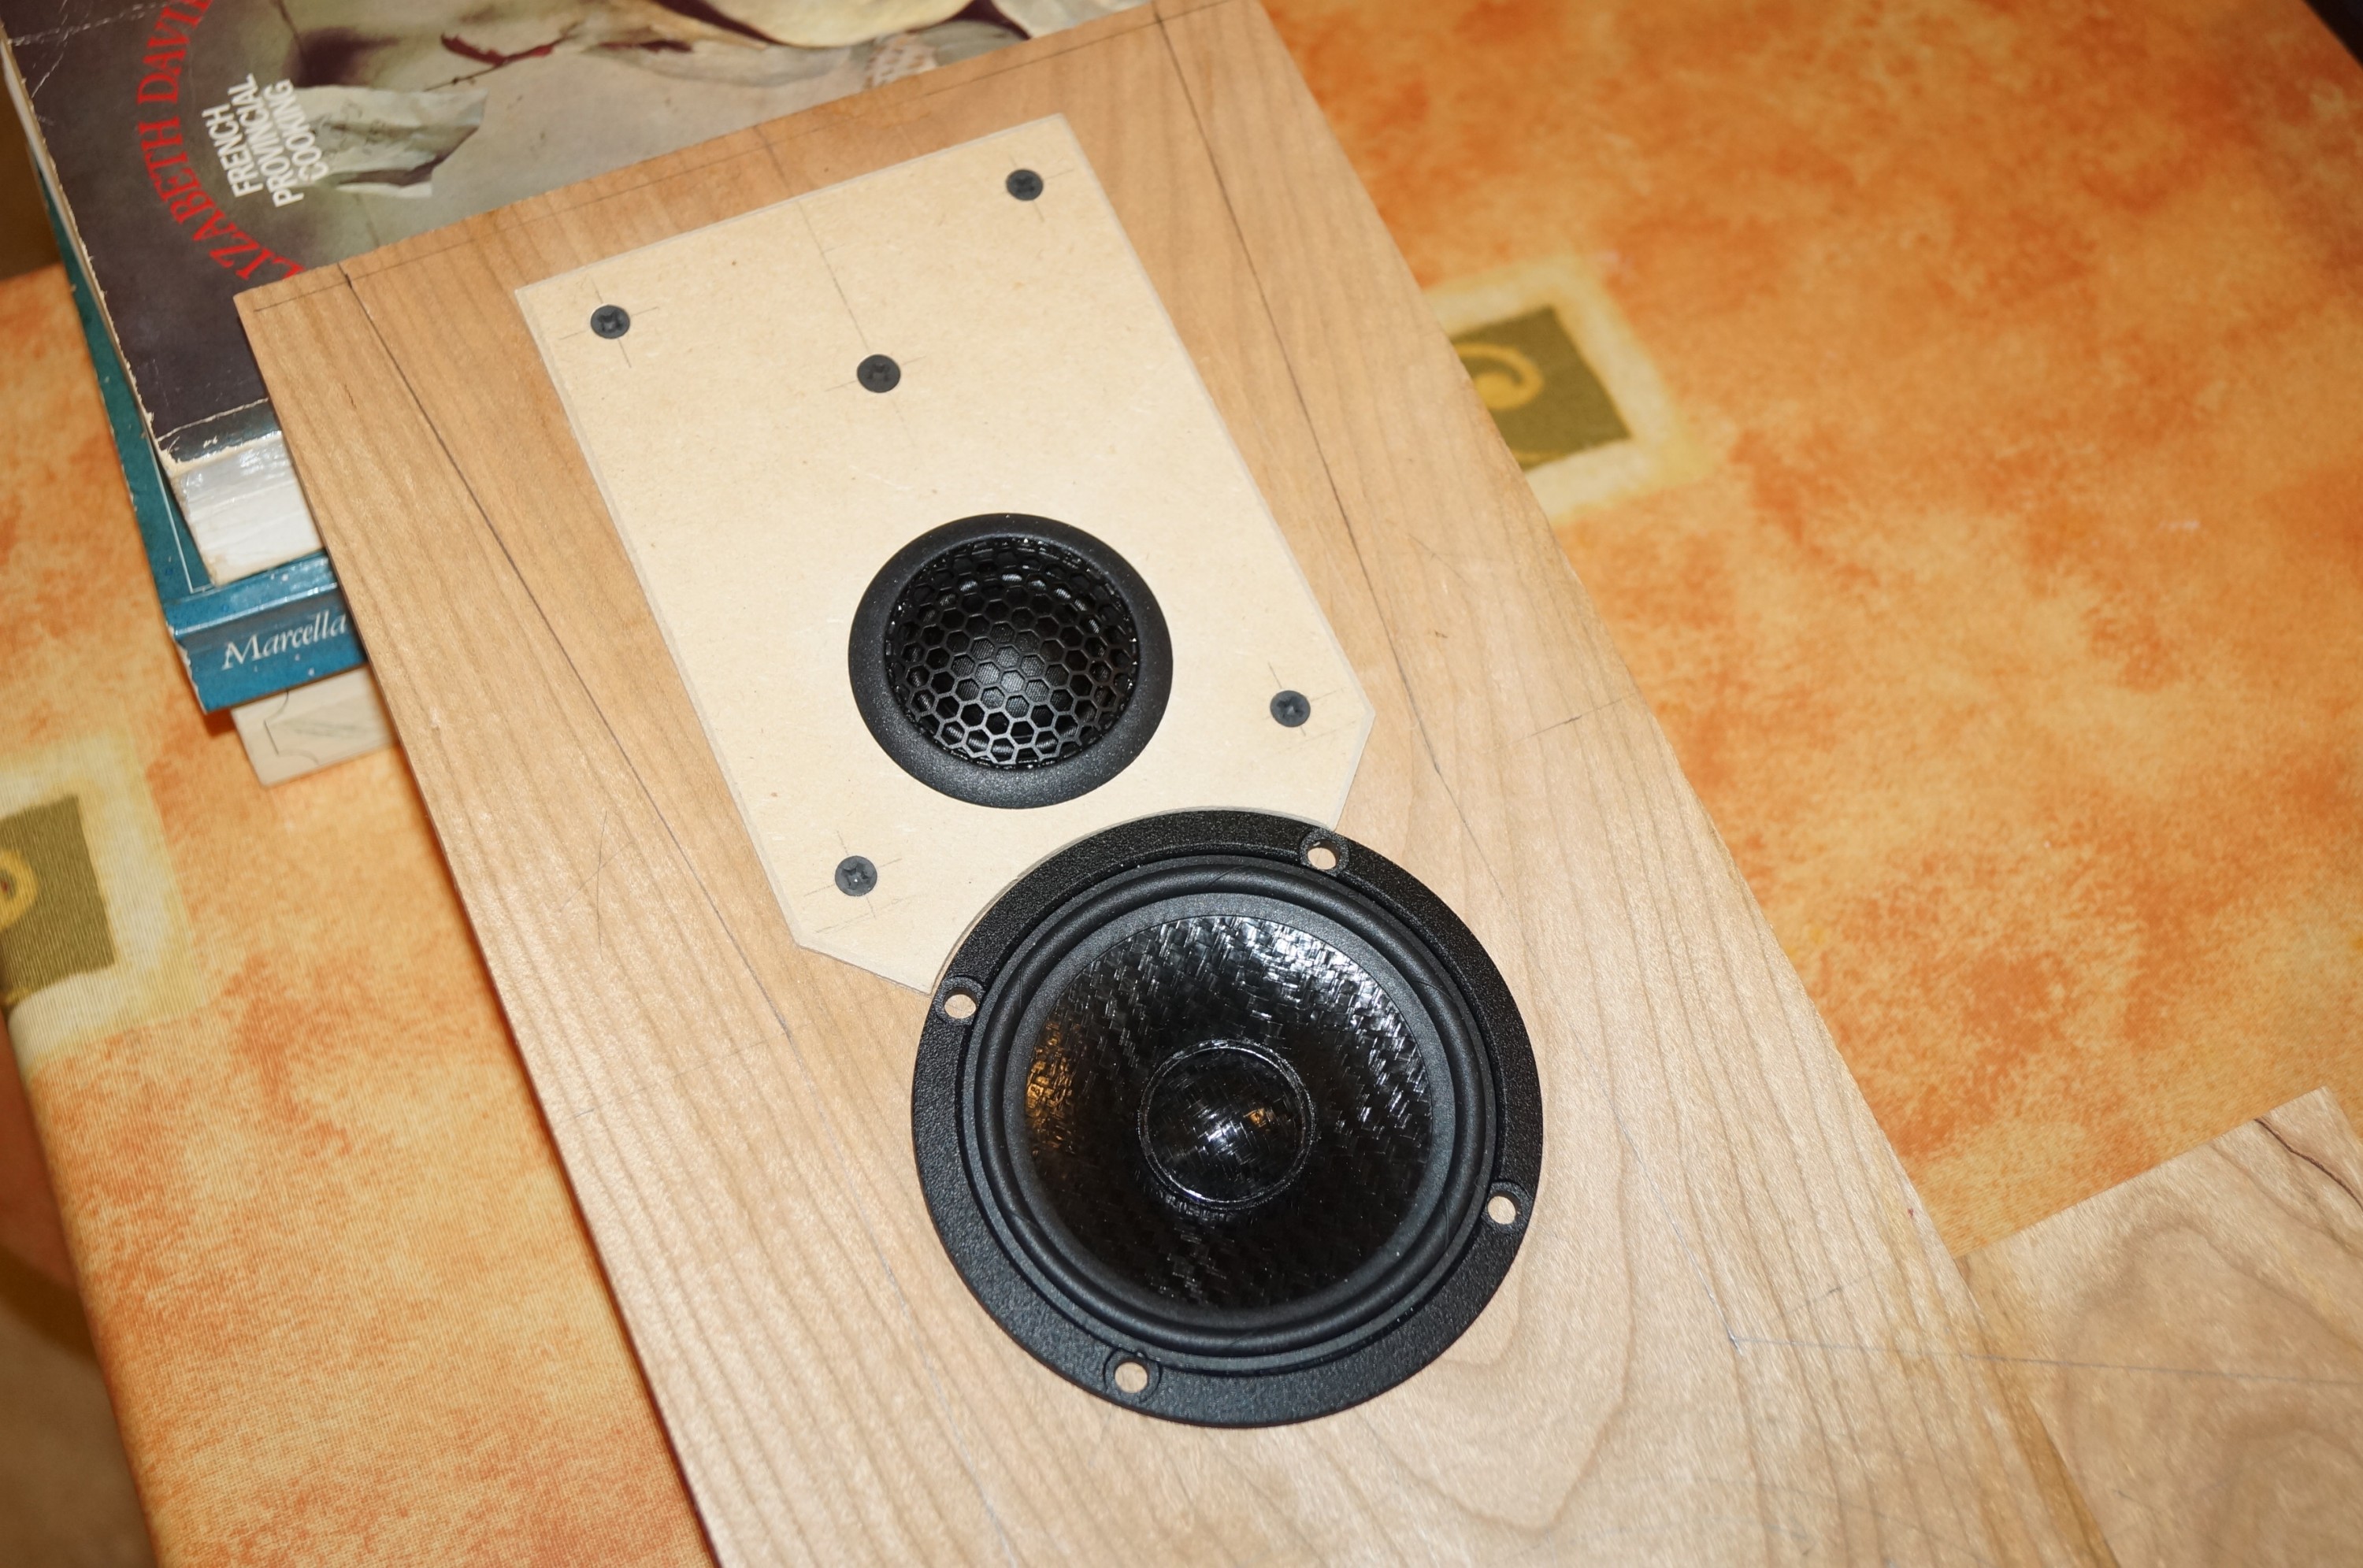
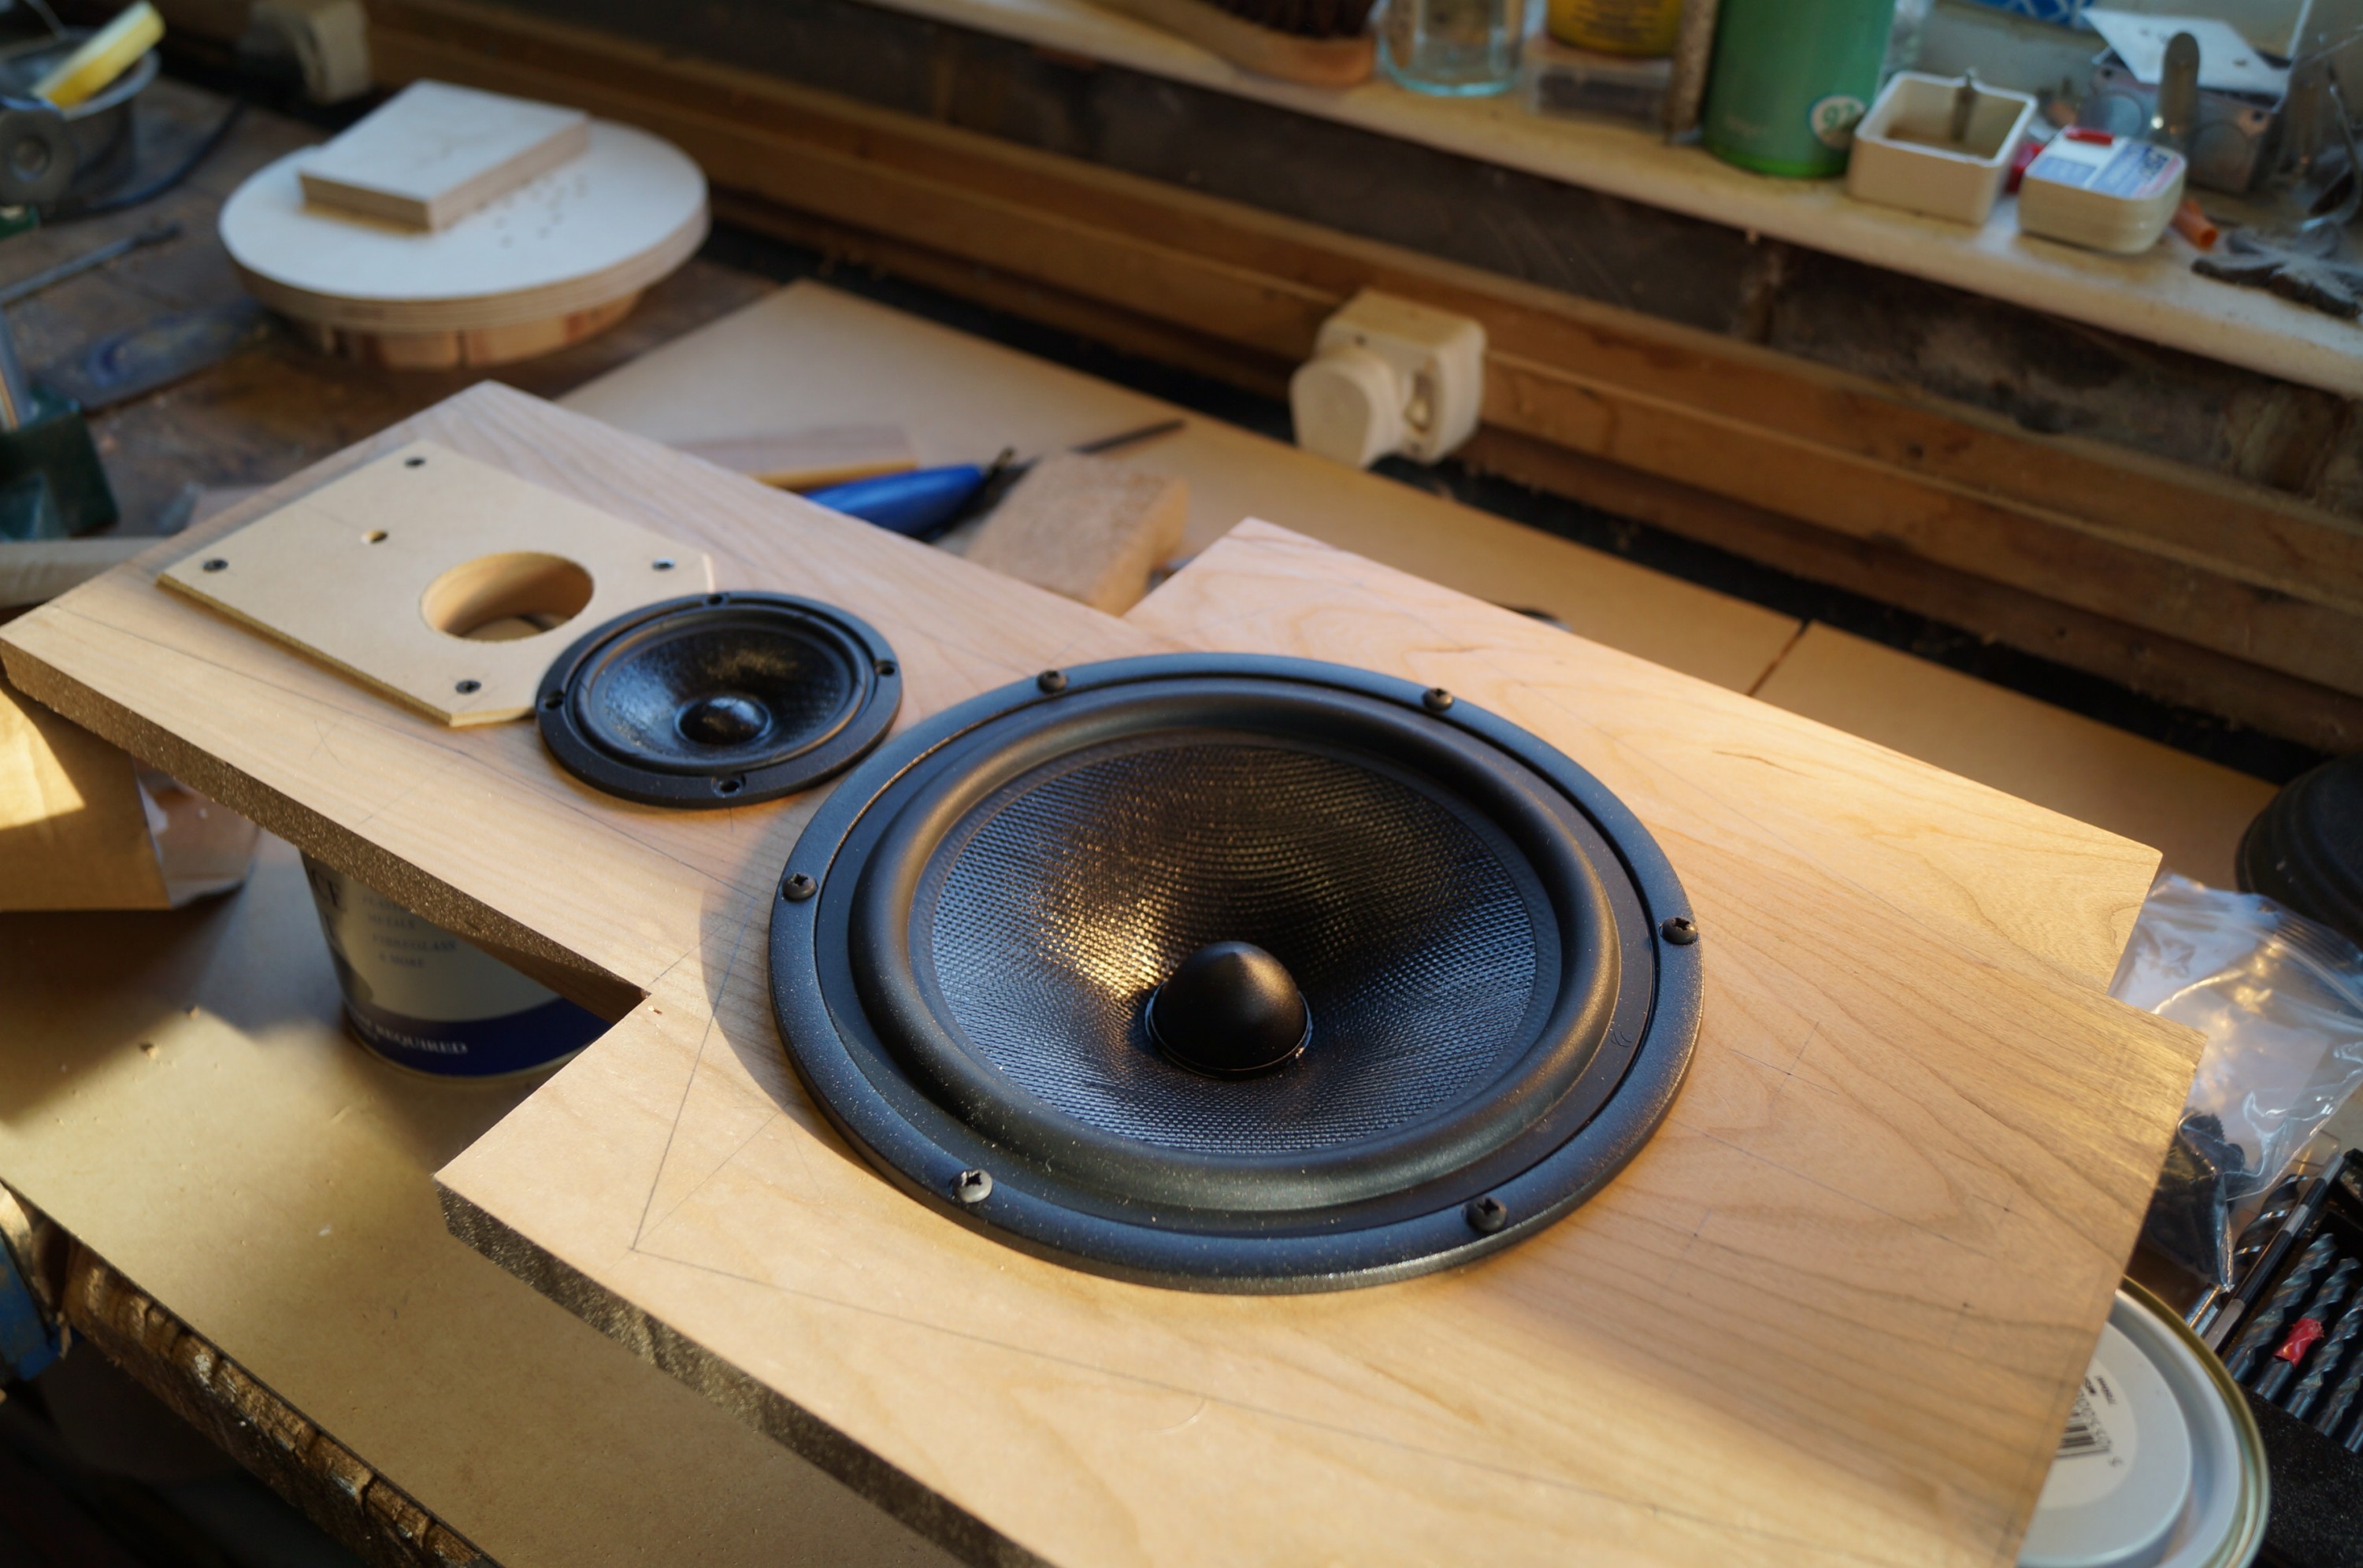
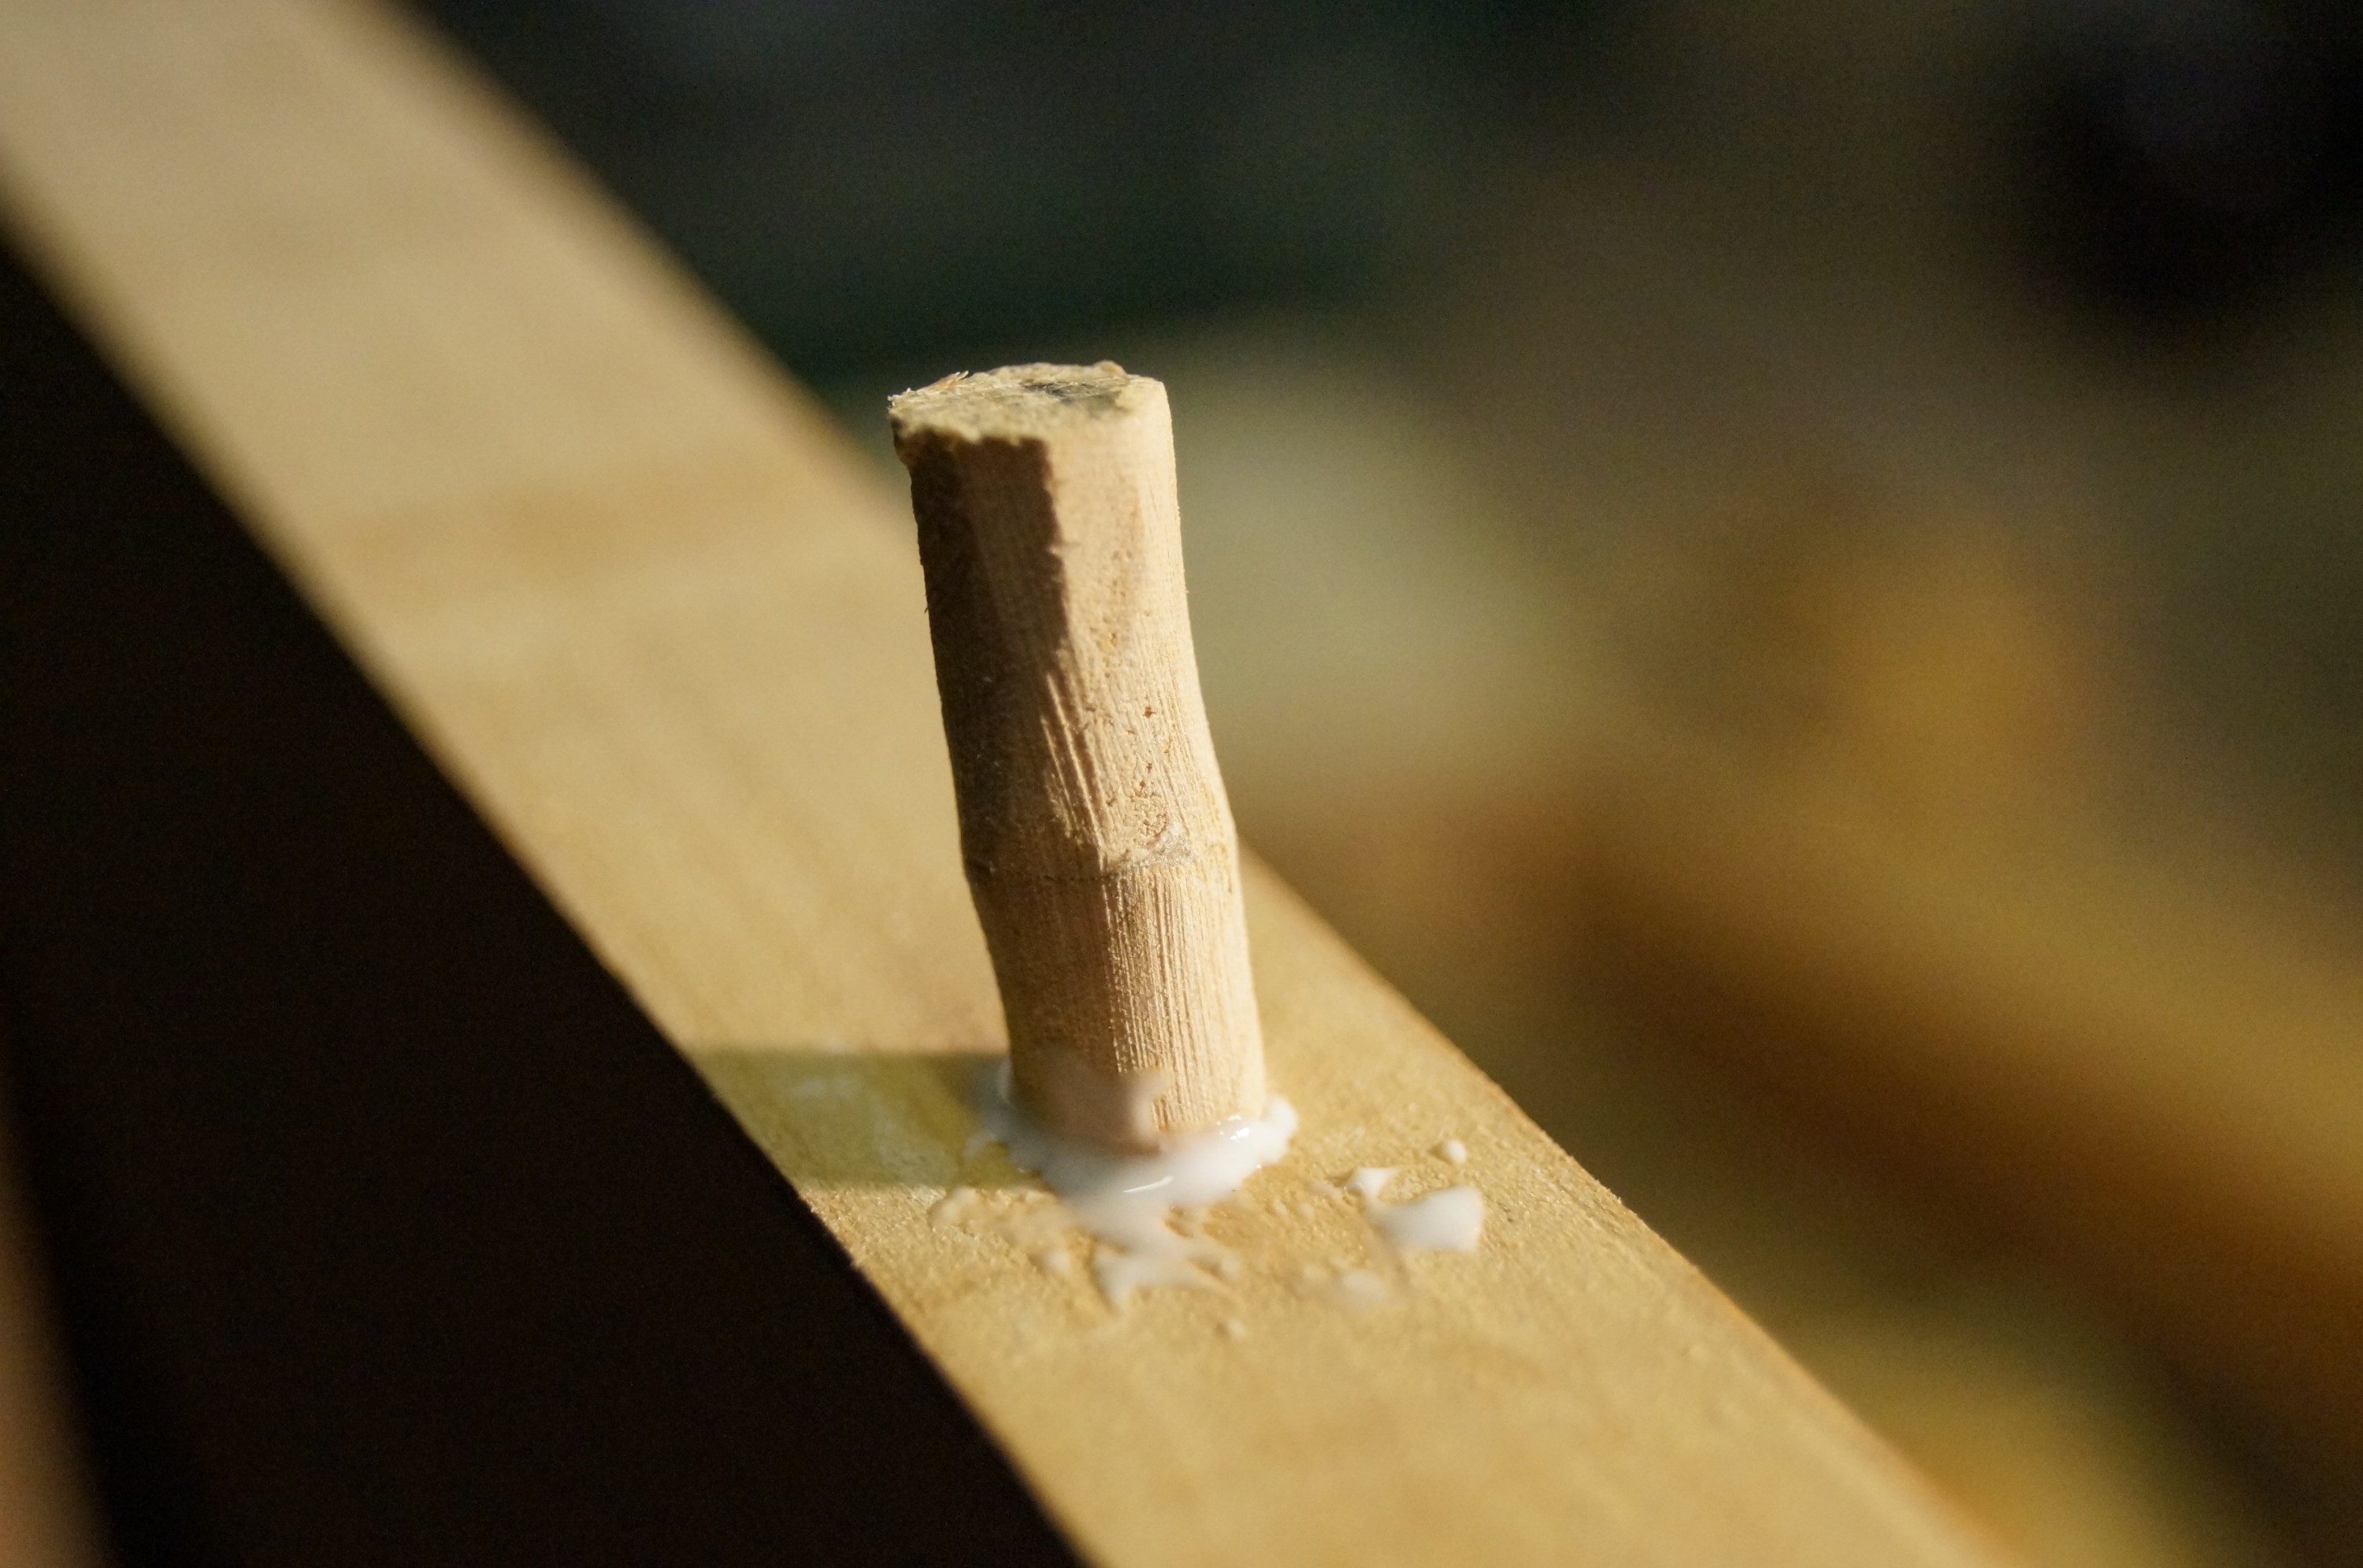
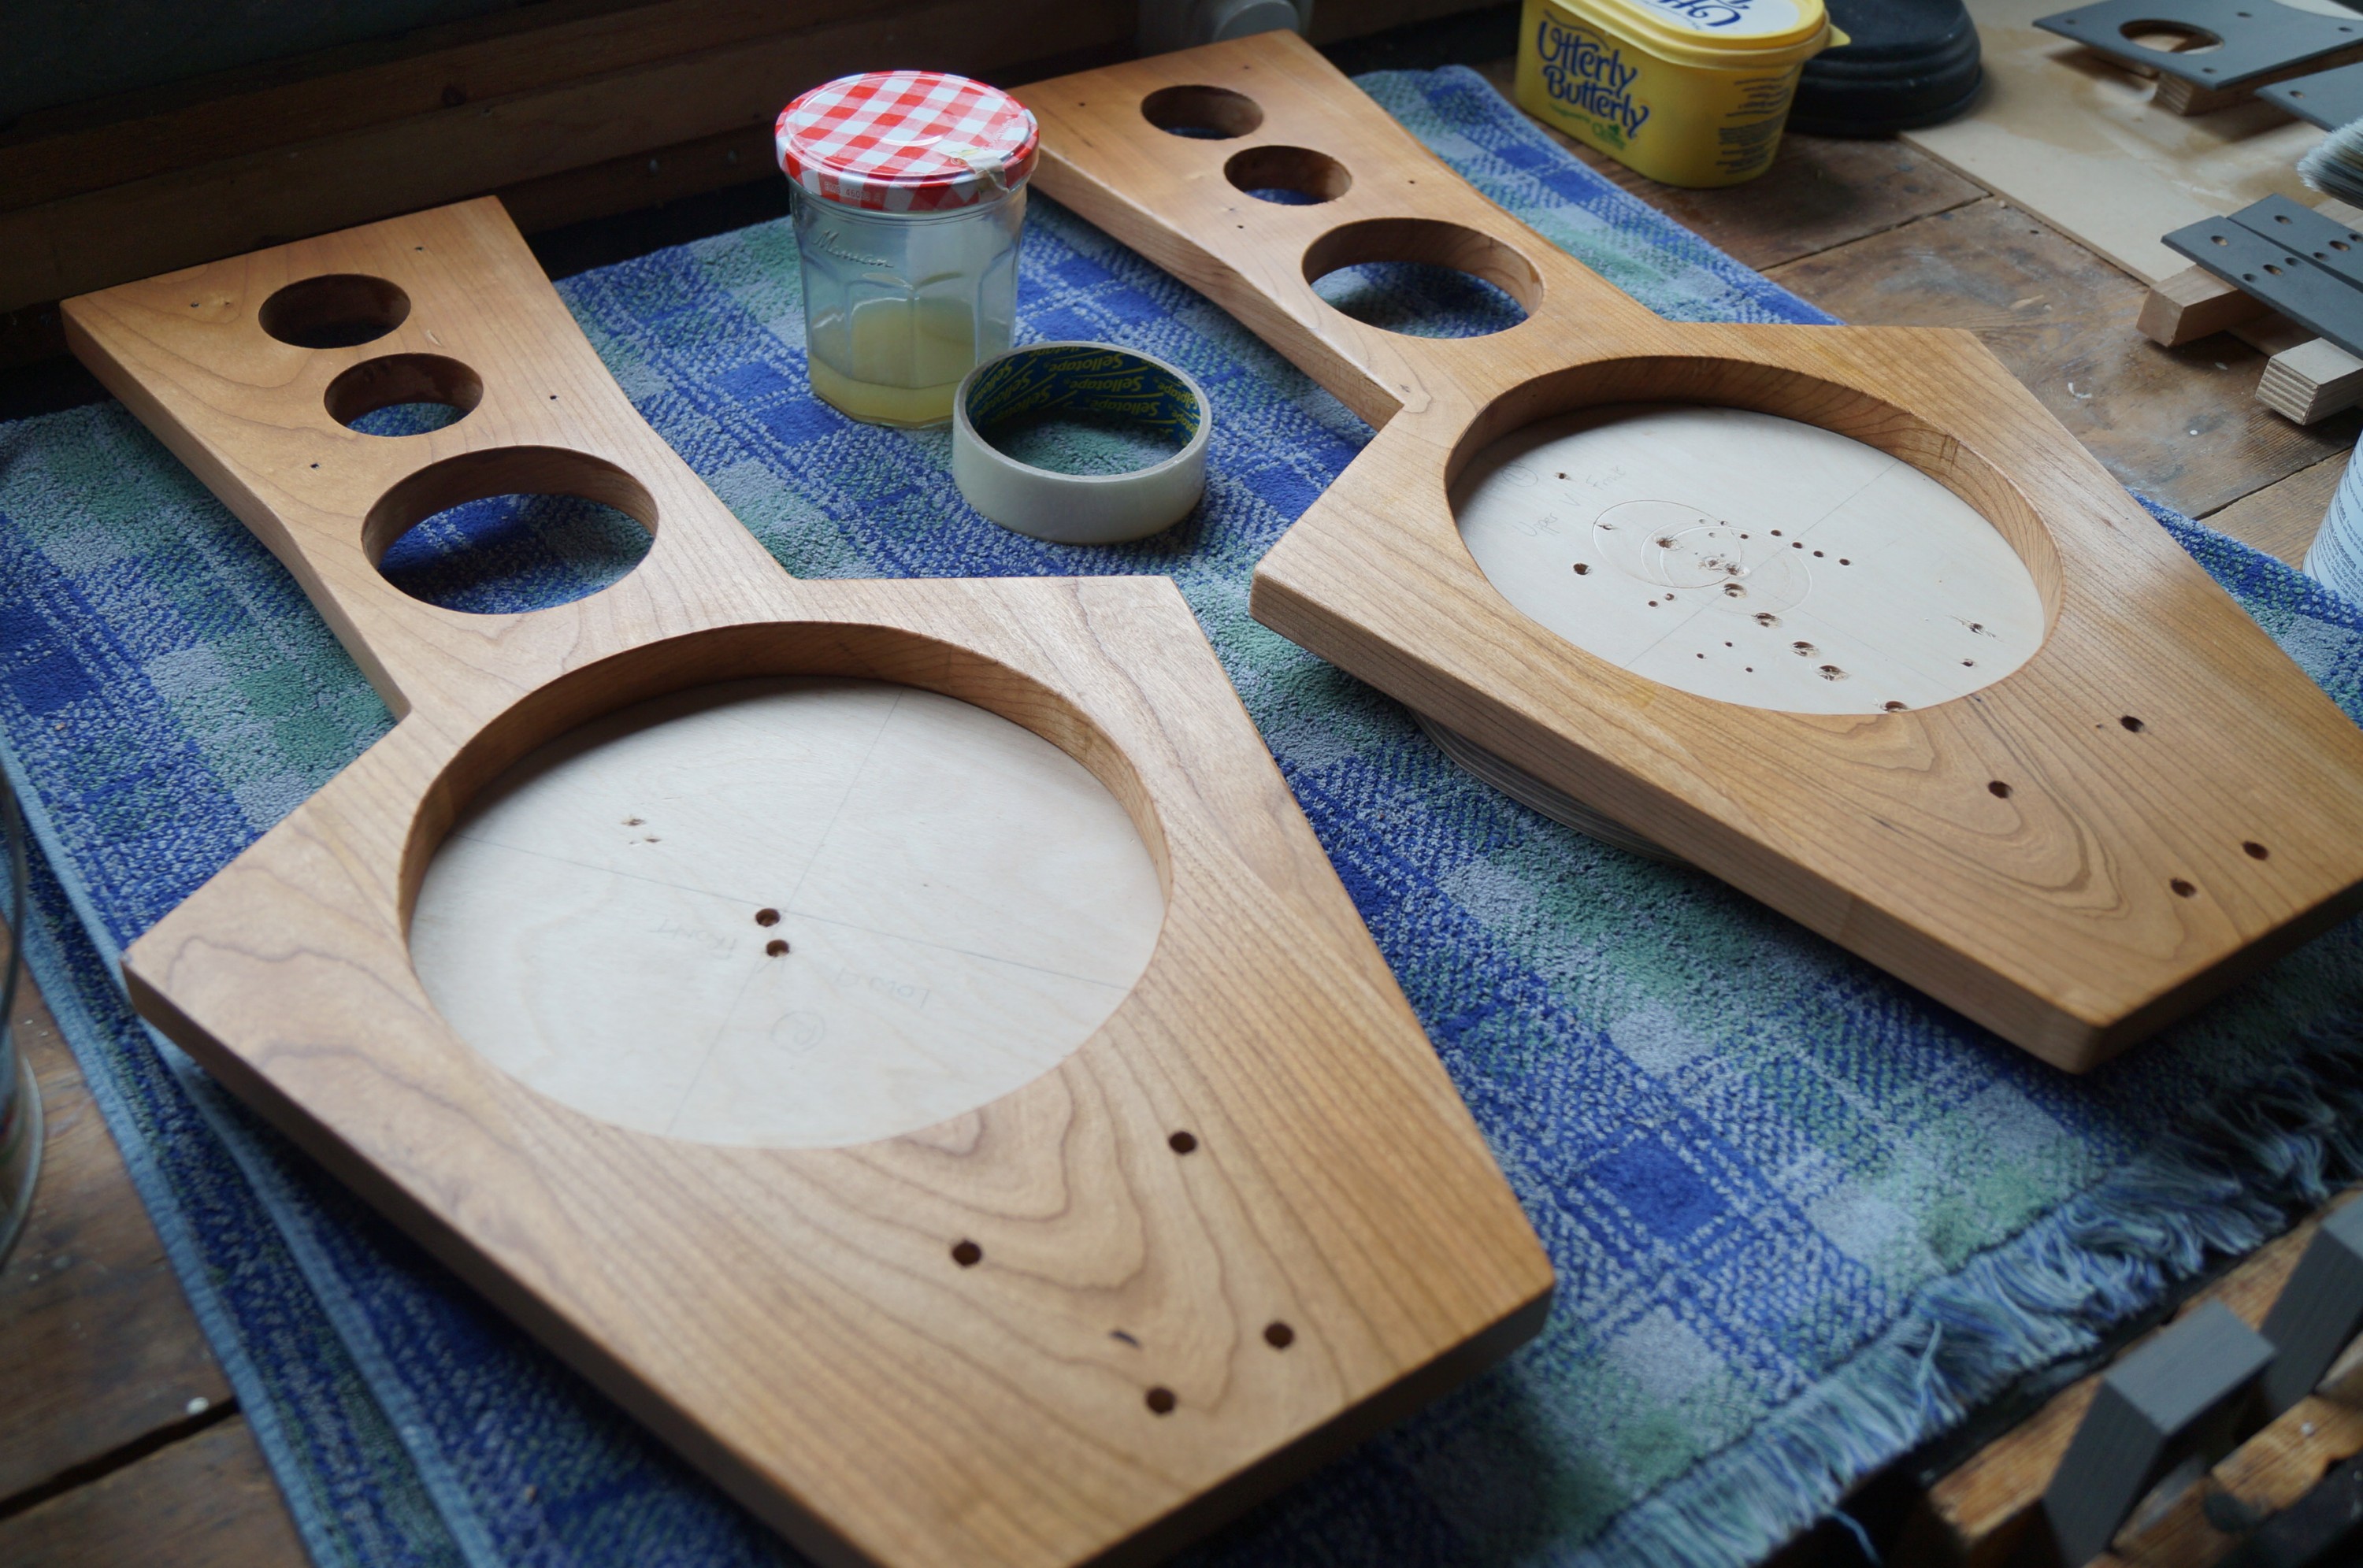
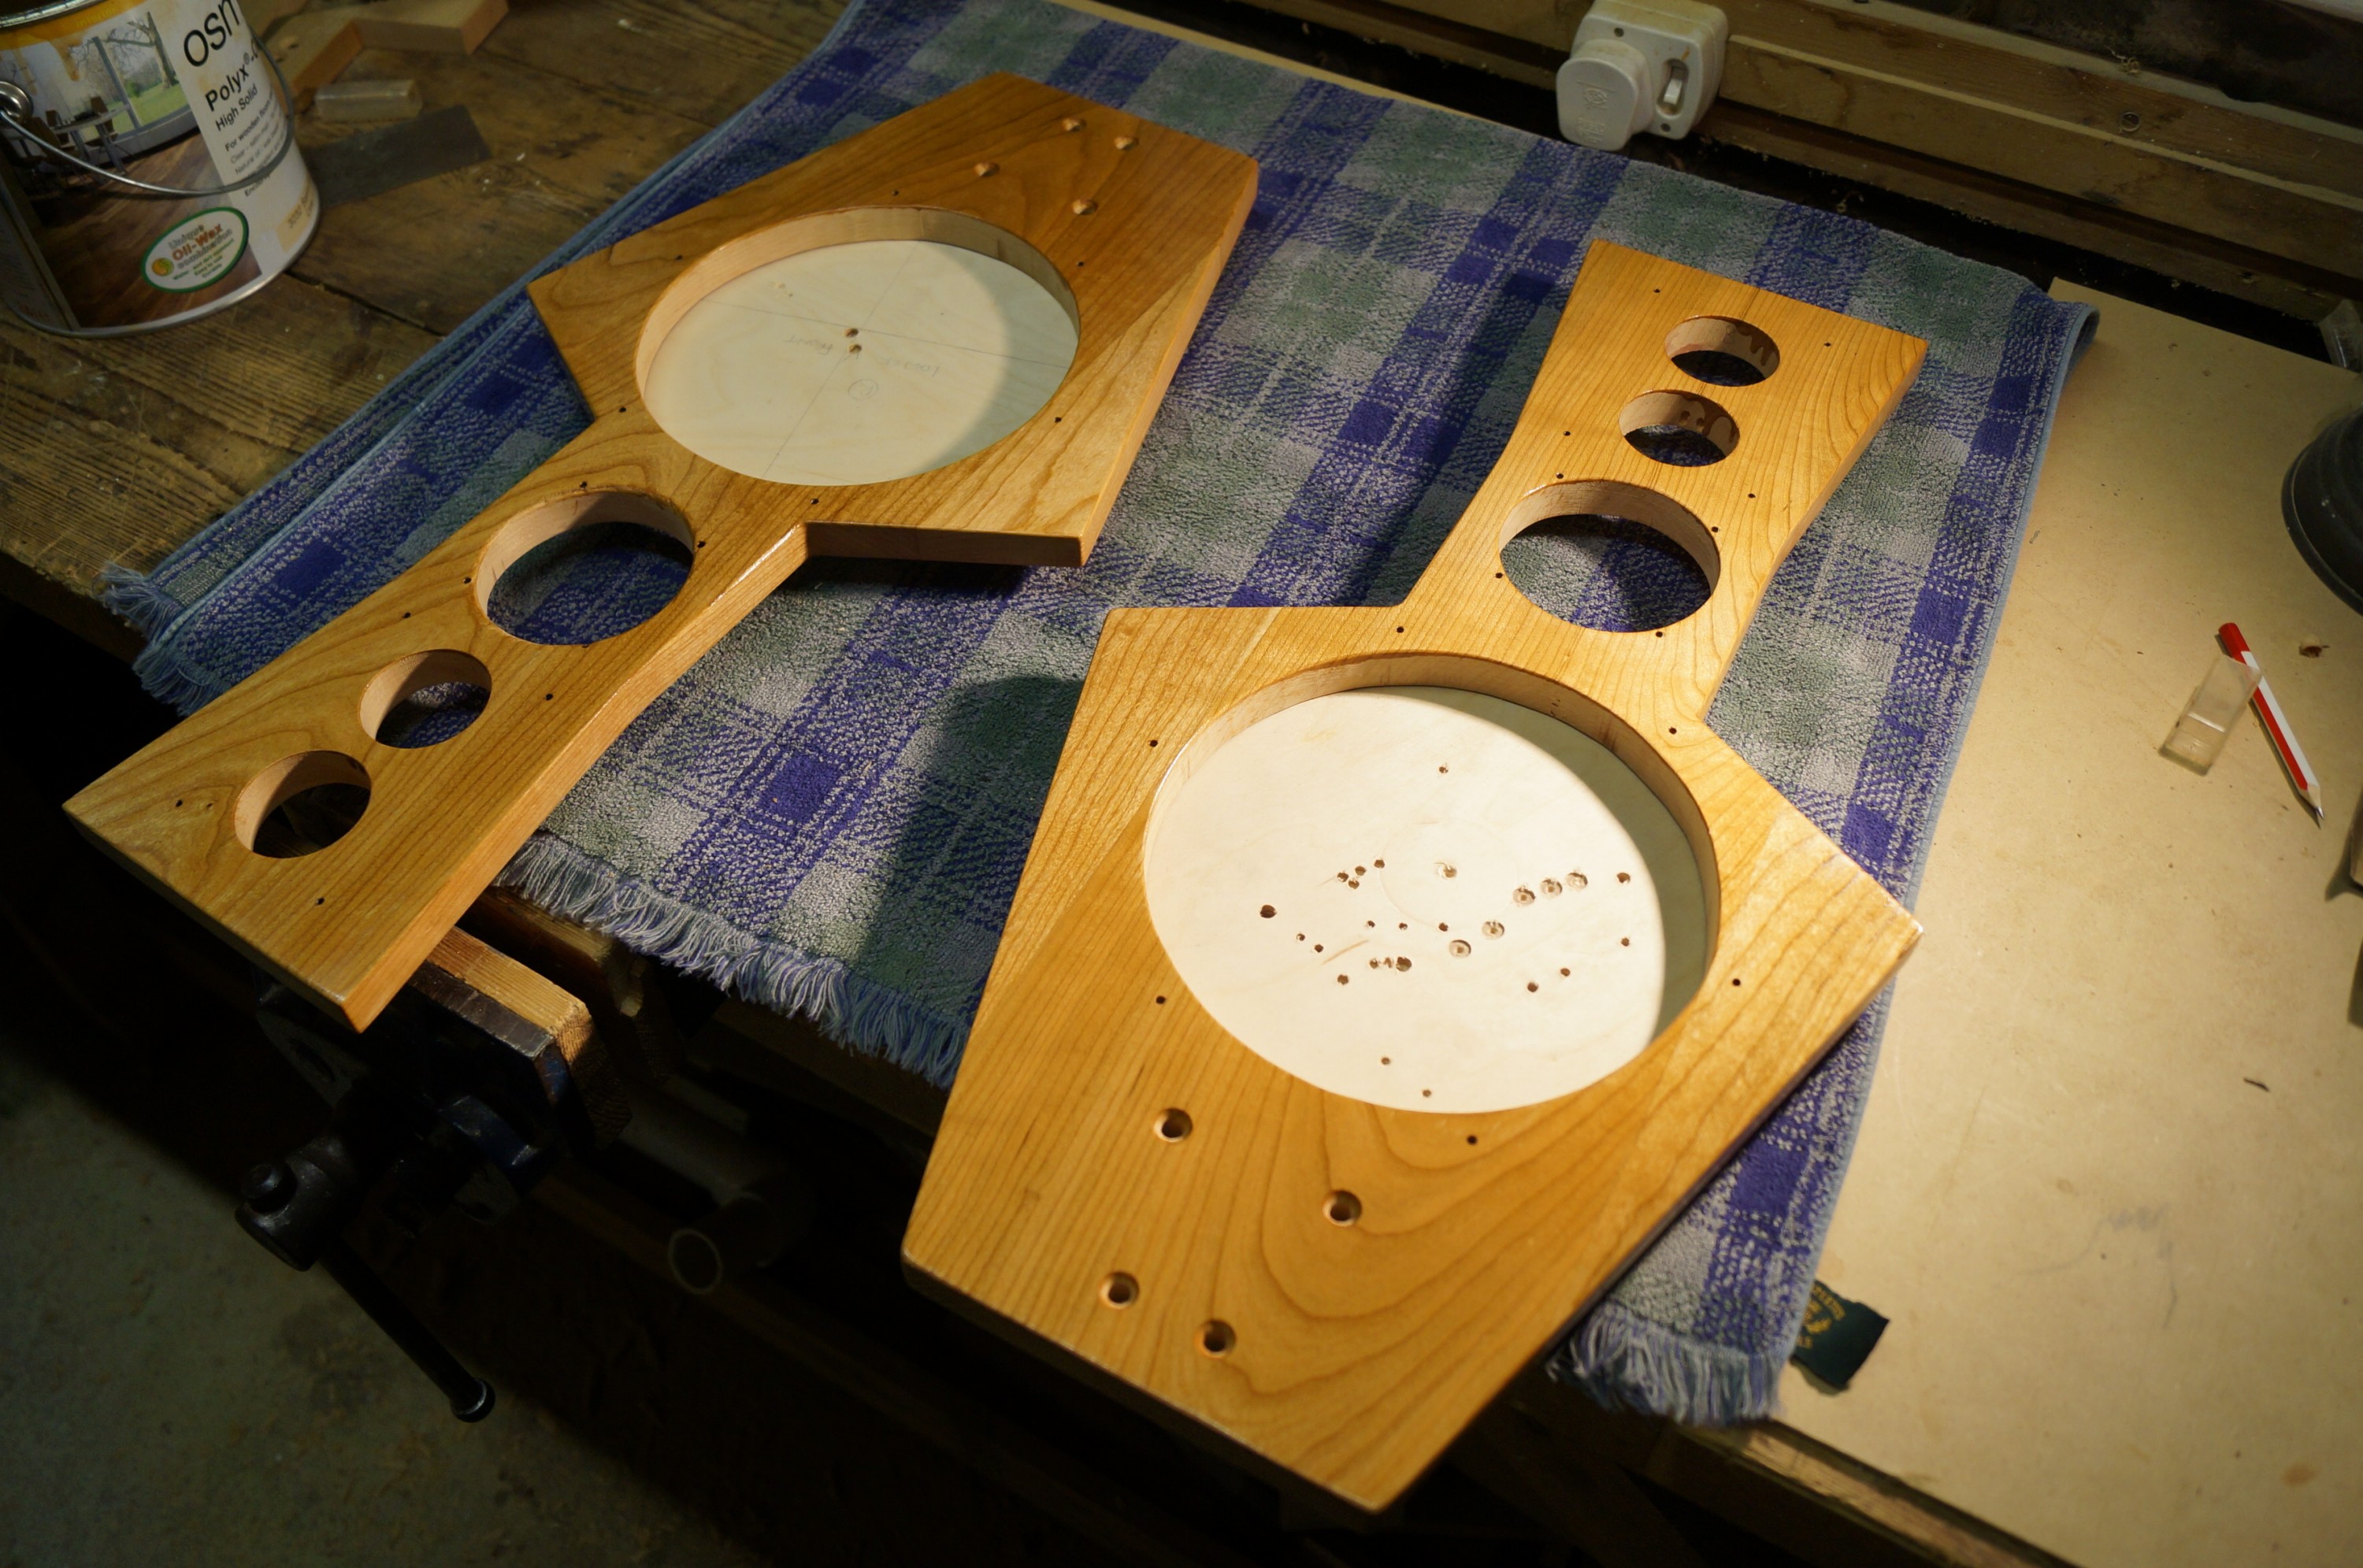
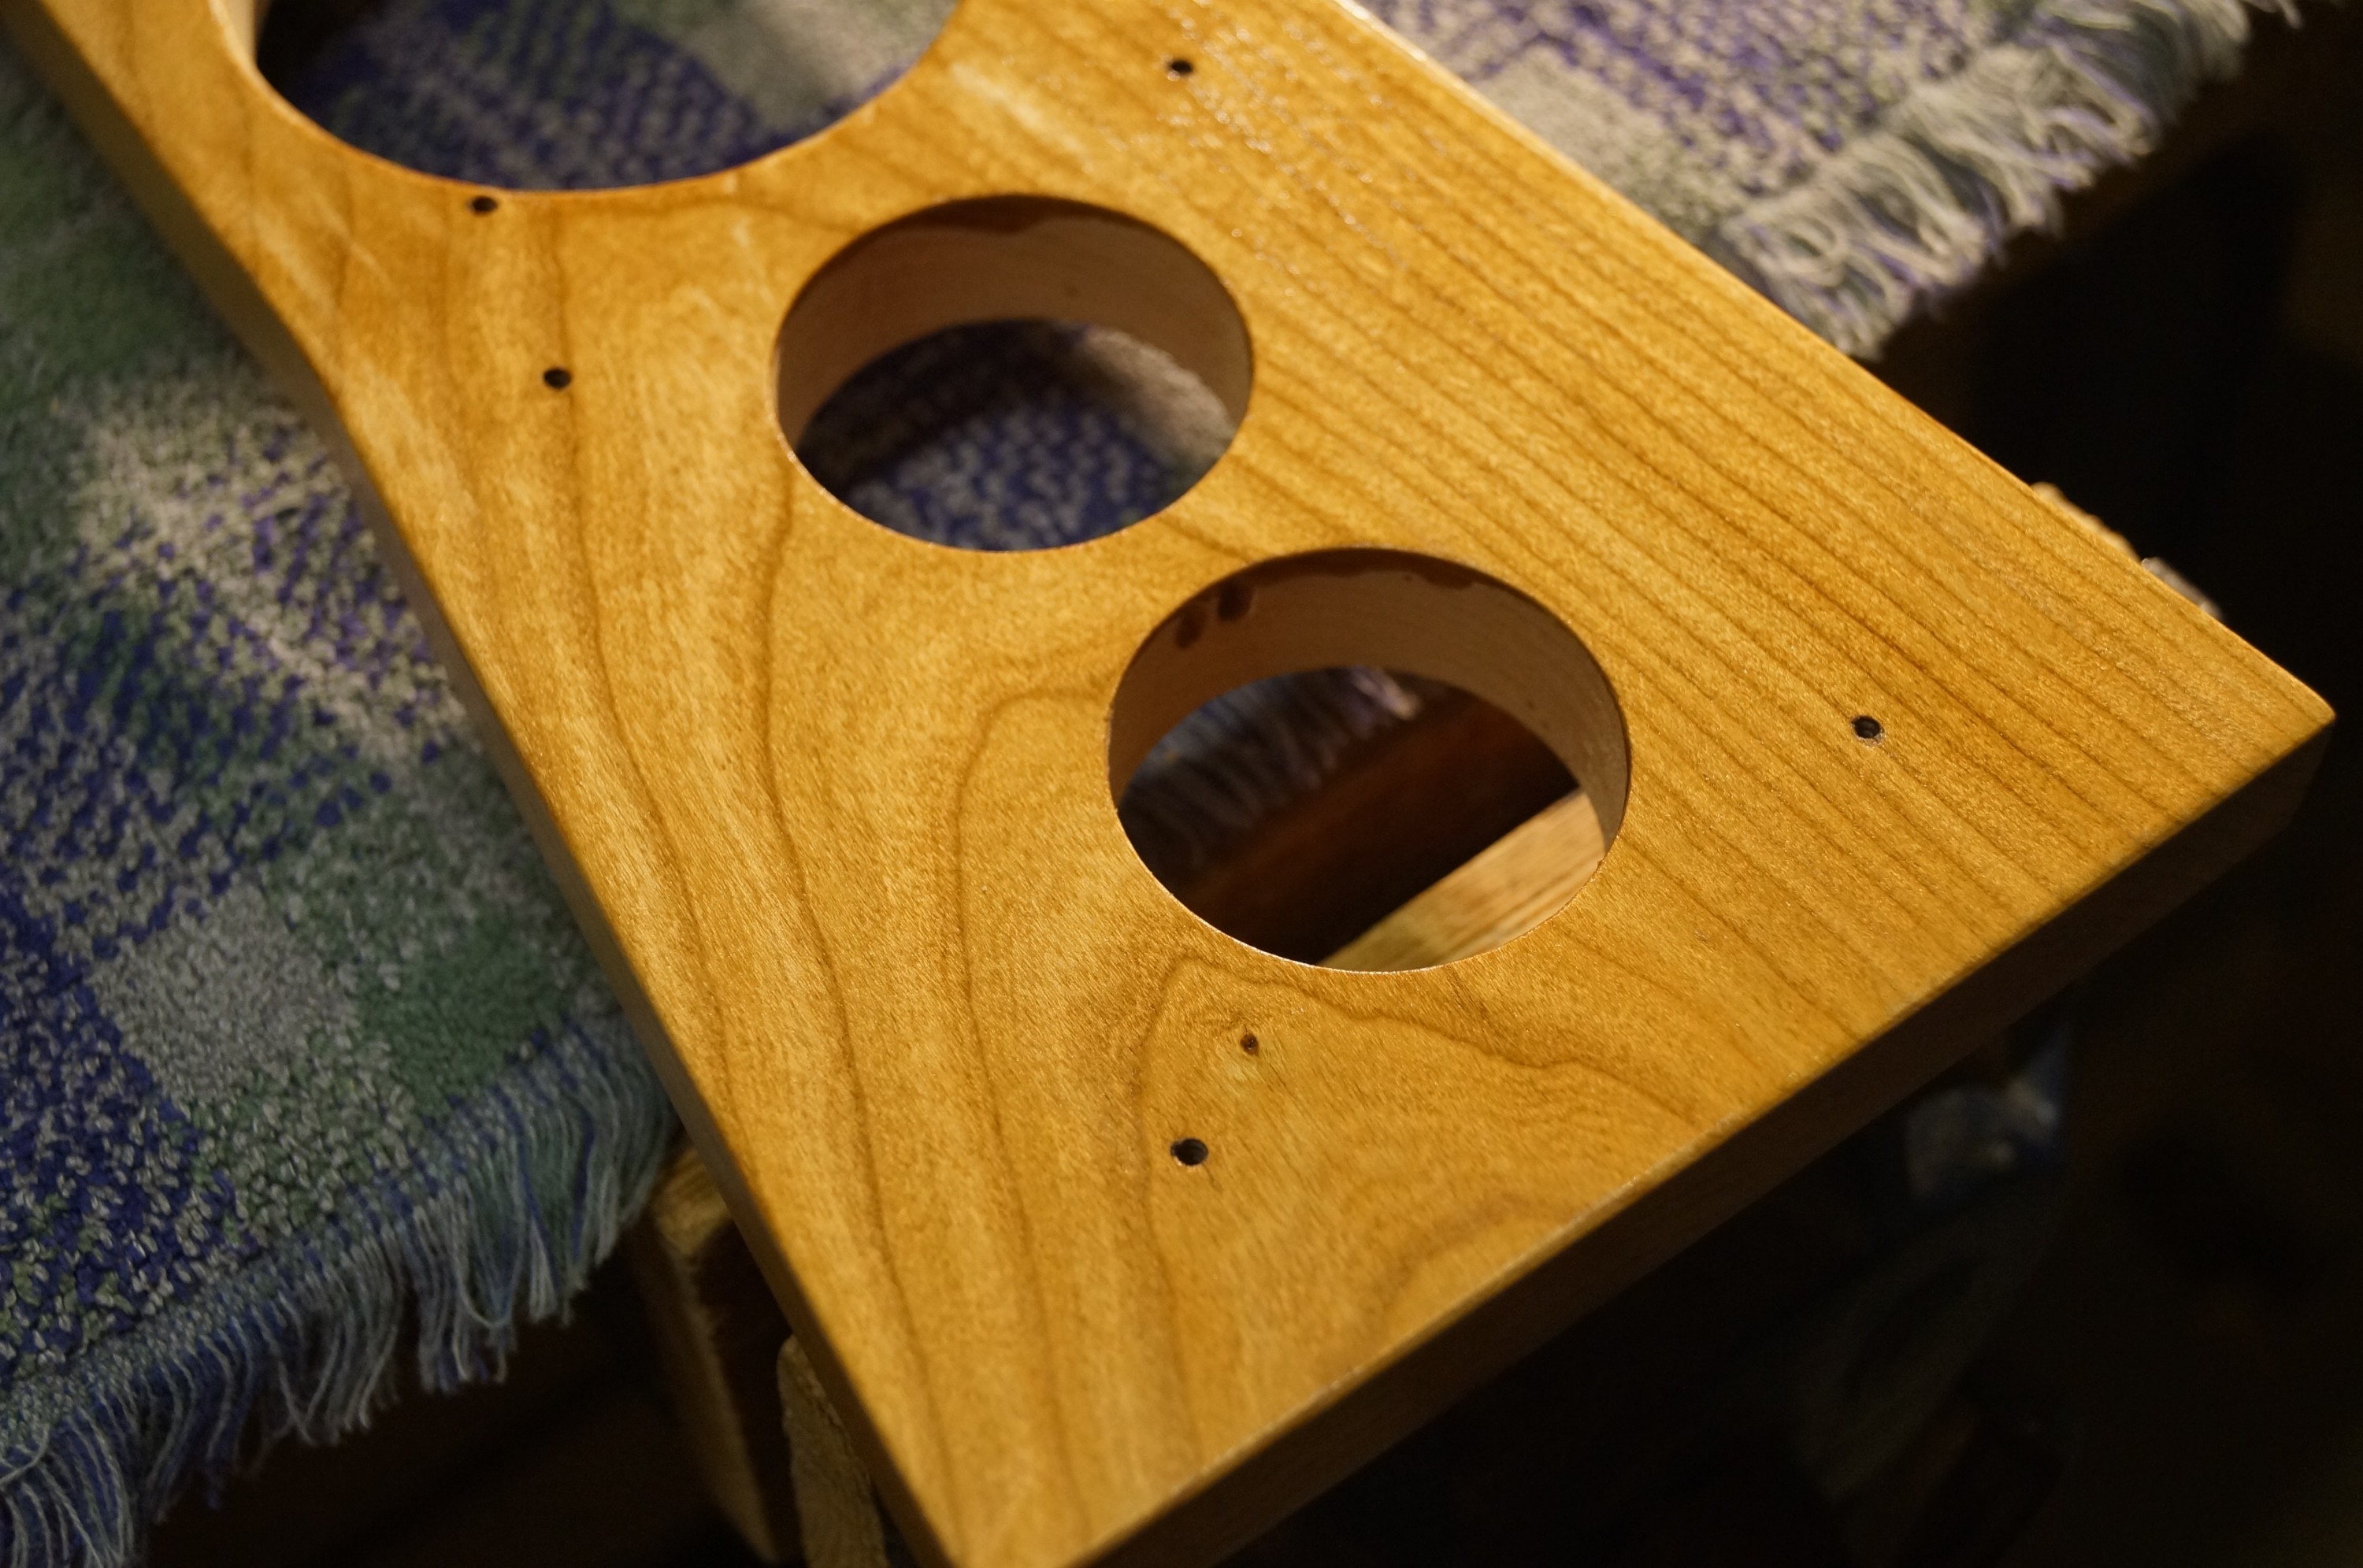
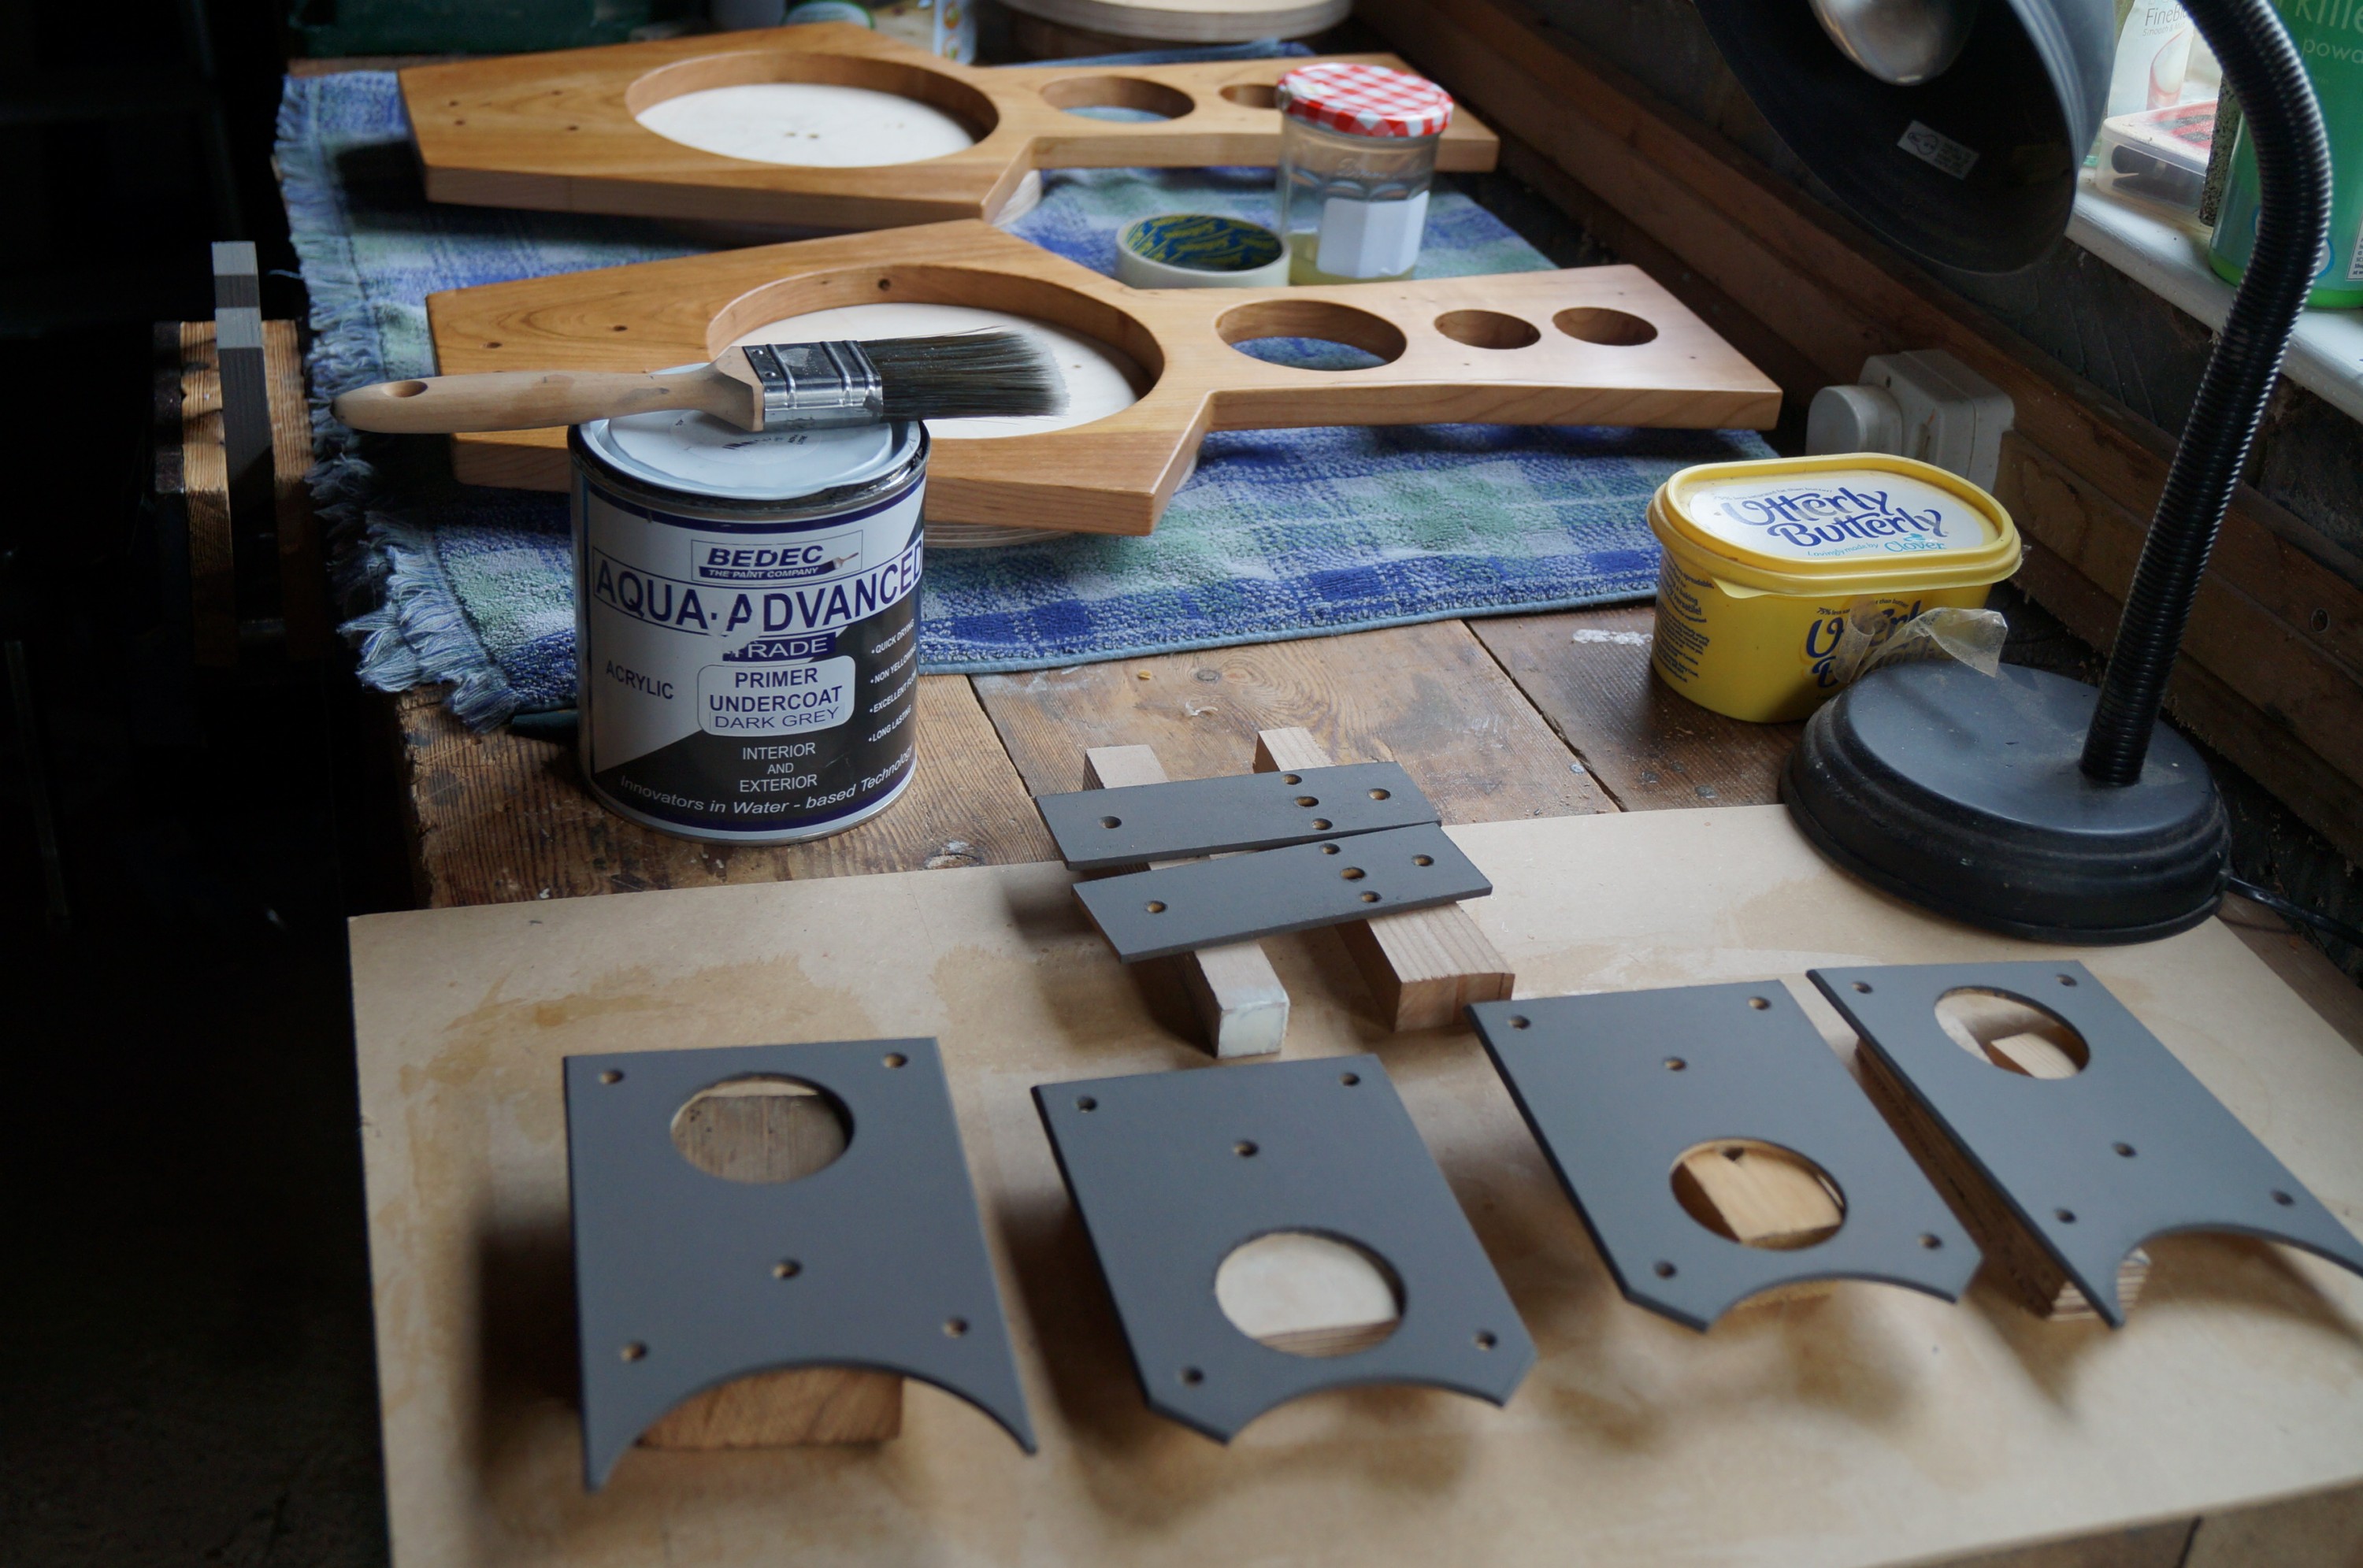
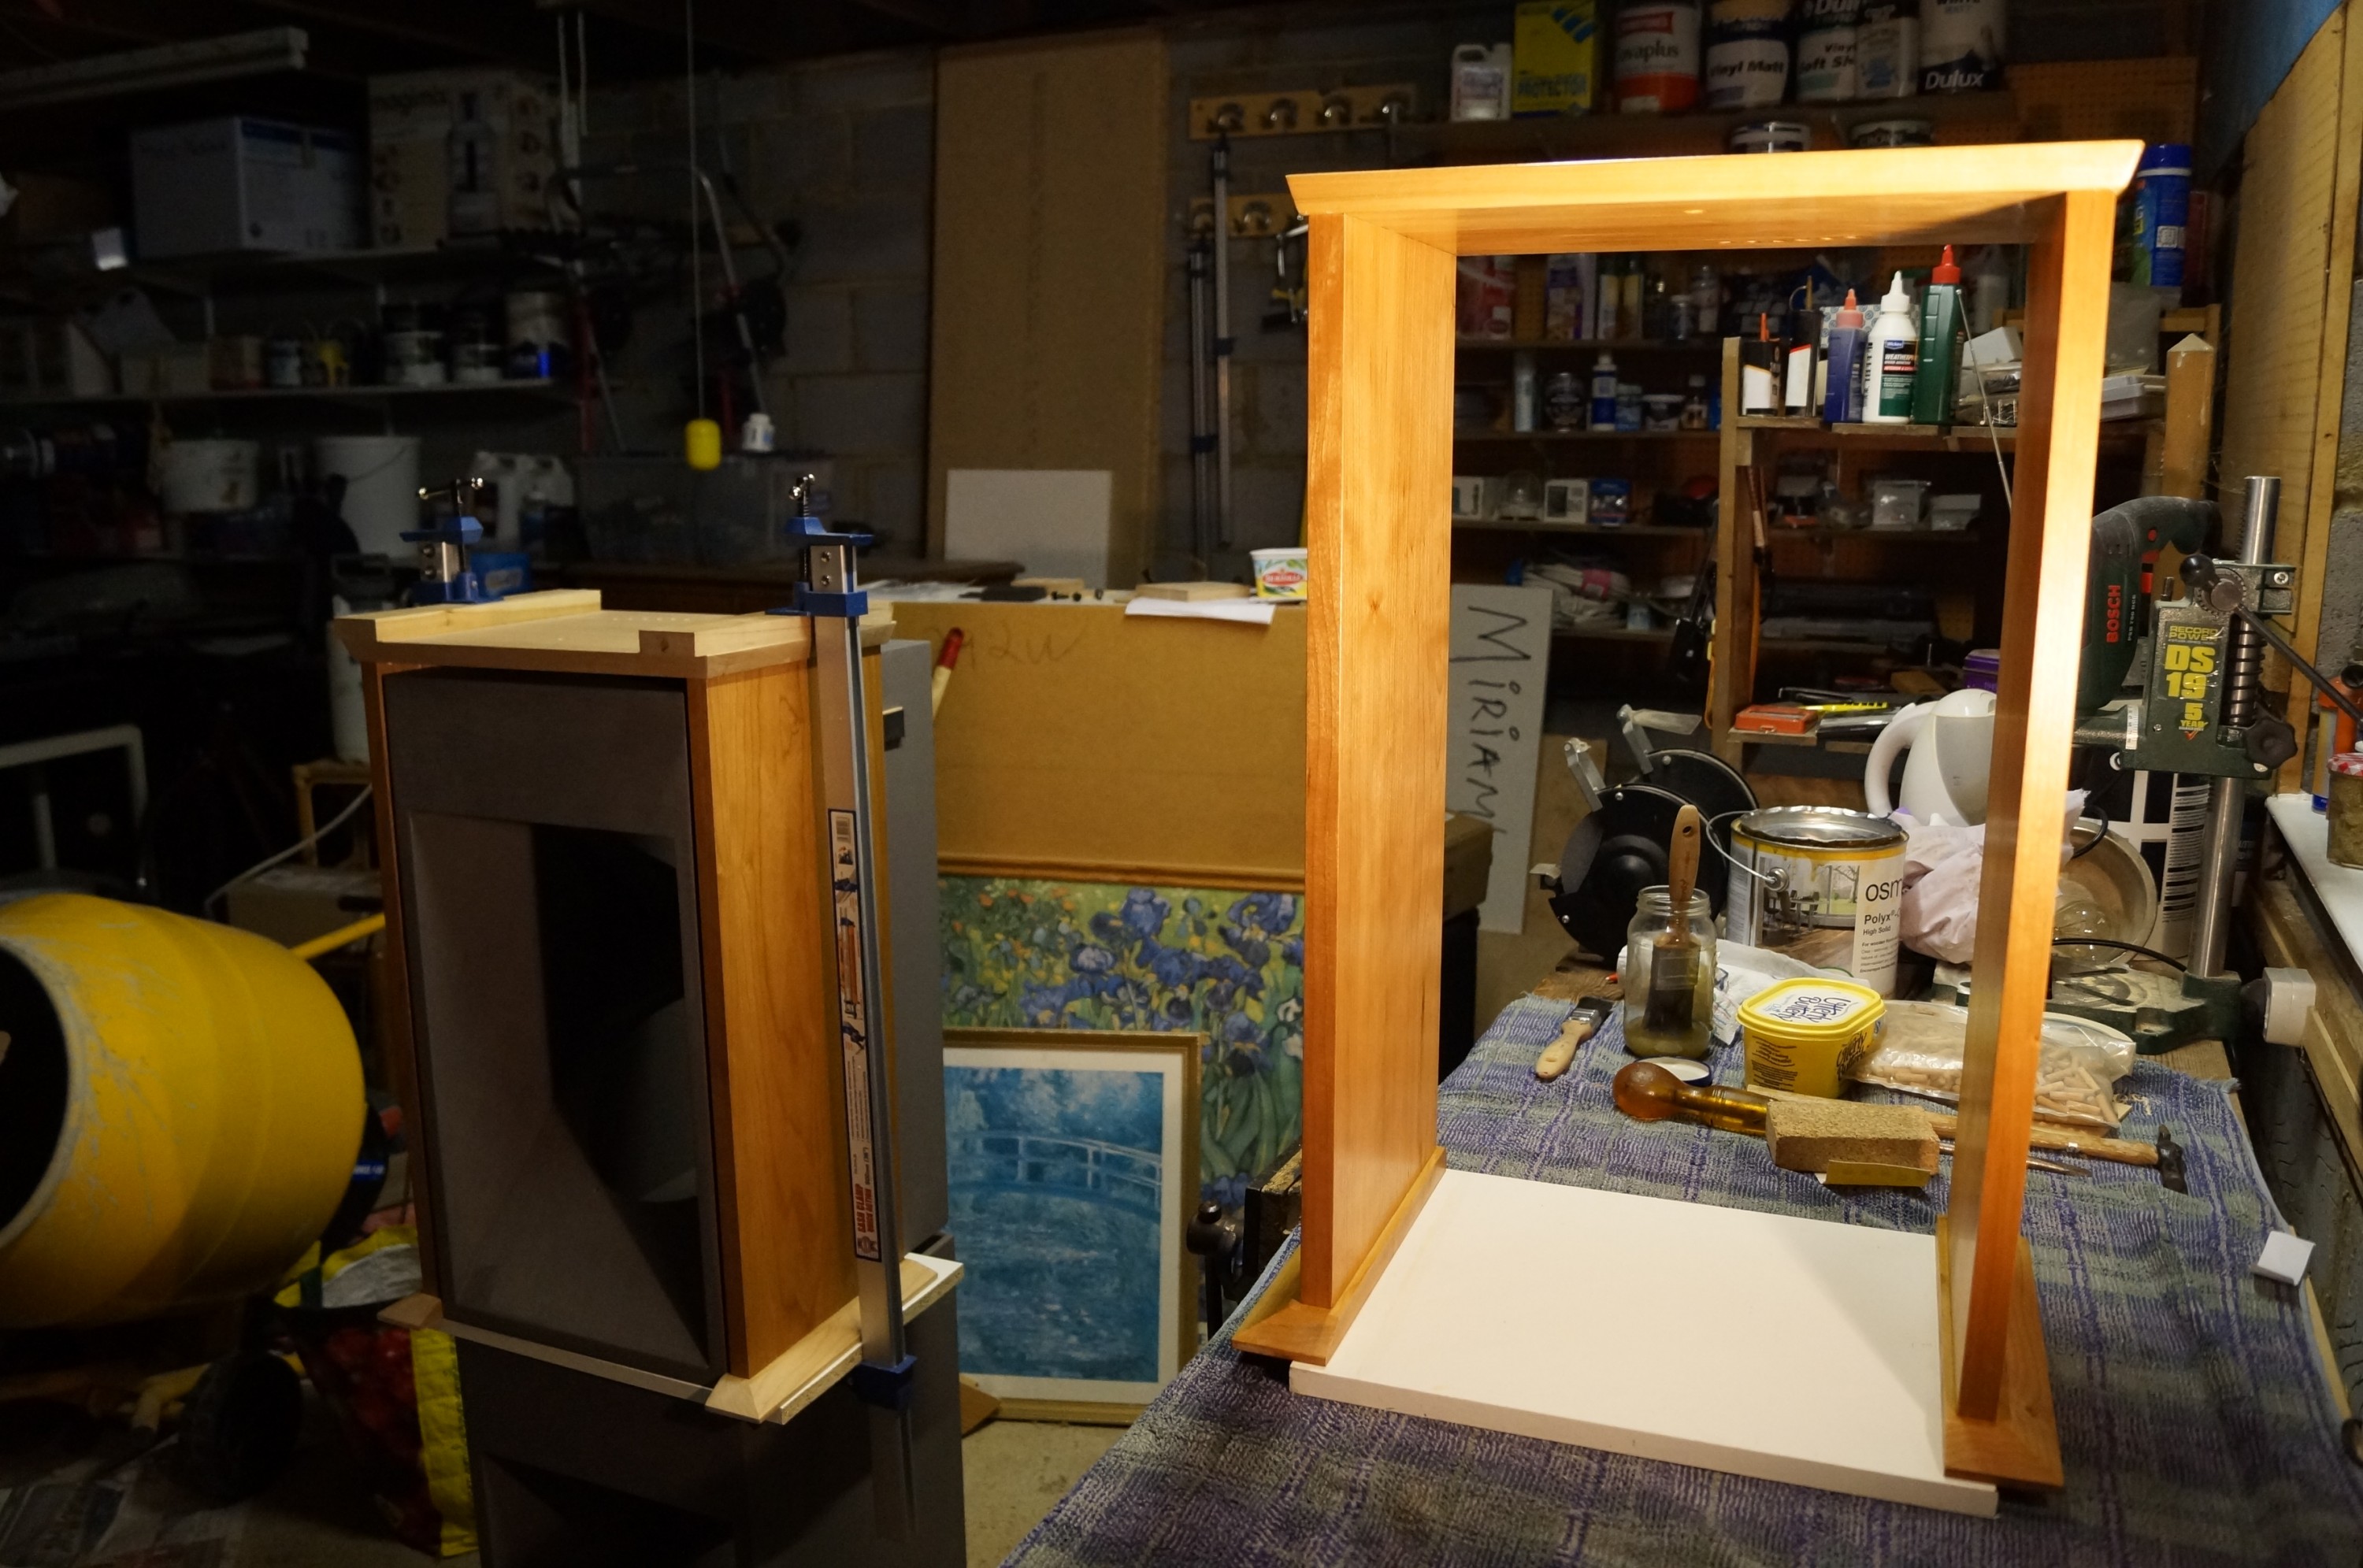
Today I drilled tweeter and upper midrange mounting holes on the first baffle. A character-building experience…

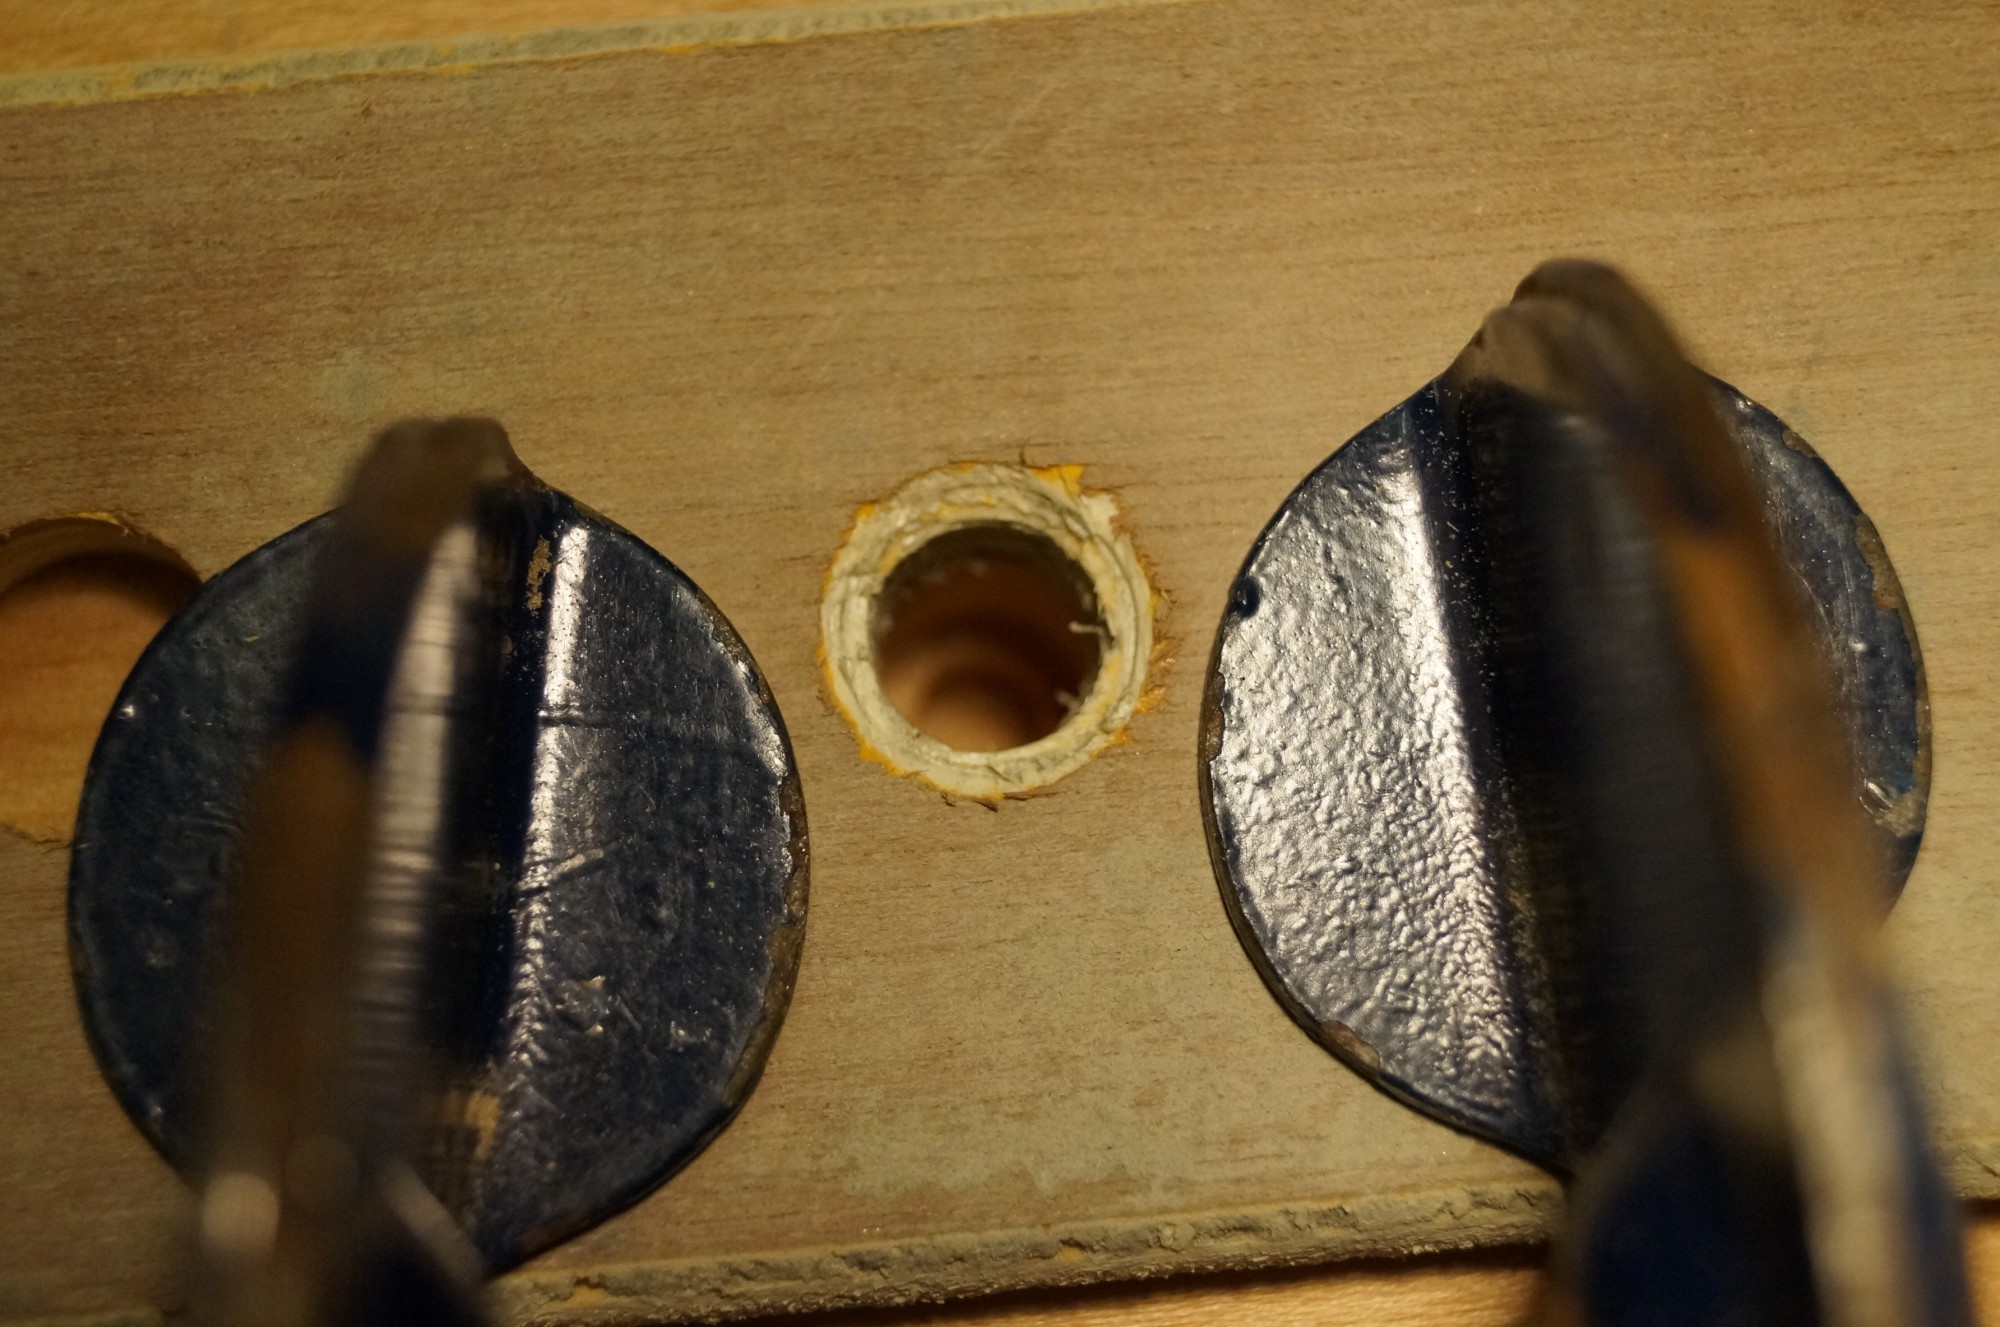
To ensure the best alignment I decided to drill the tweeter holes with the appropriate tweeter baffles screwed in place; I reckoned the easily drilled hardboard would also steady the Forstner bit as it started to attack the cherry.

First hole complete
First hole complete

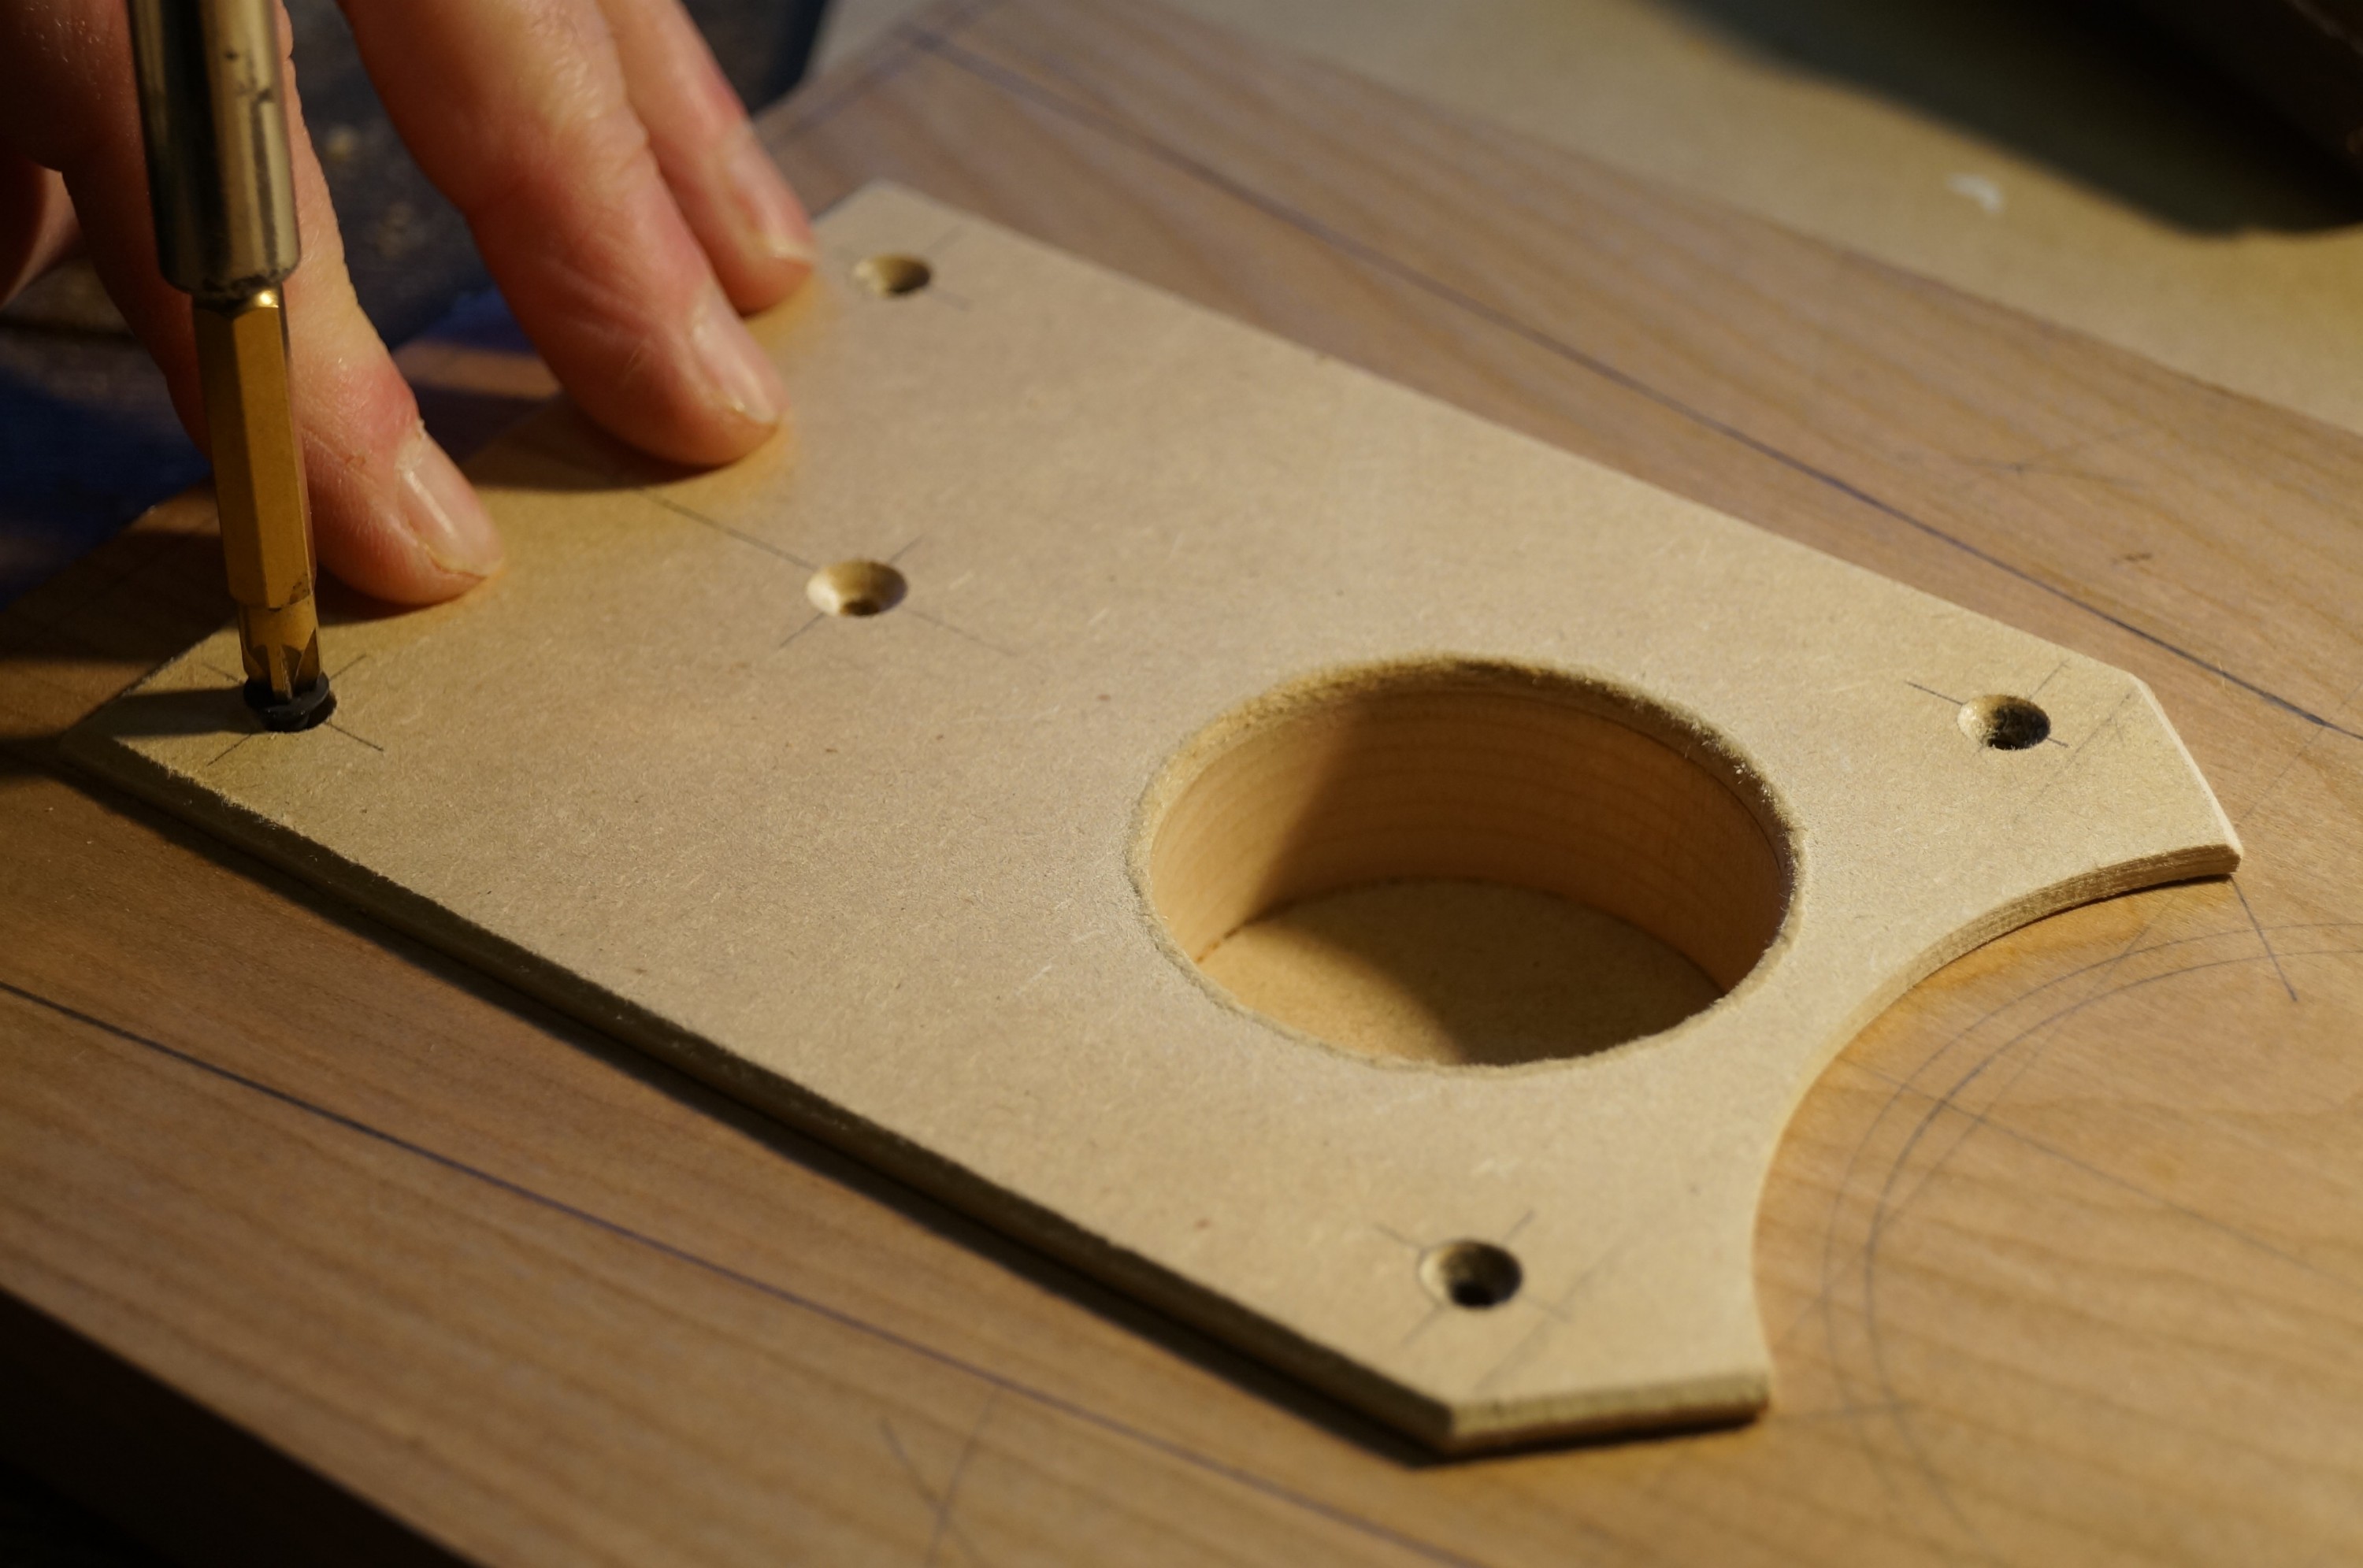
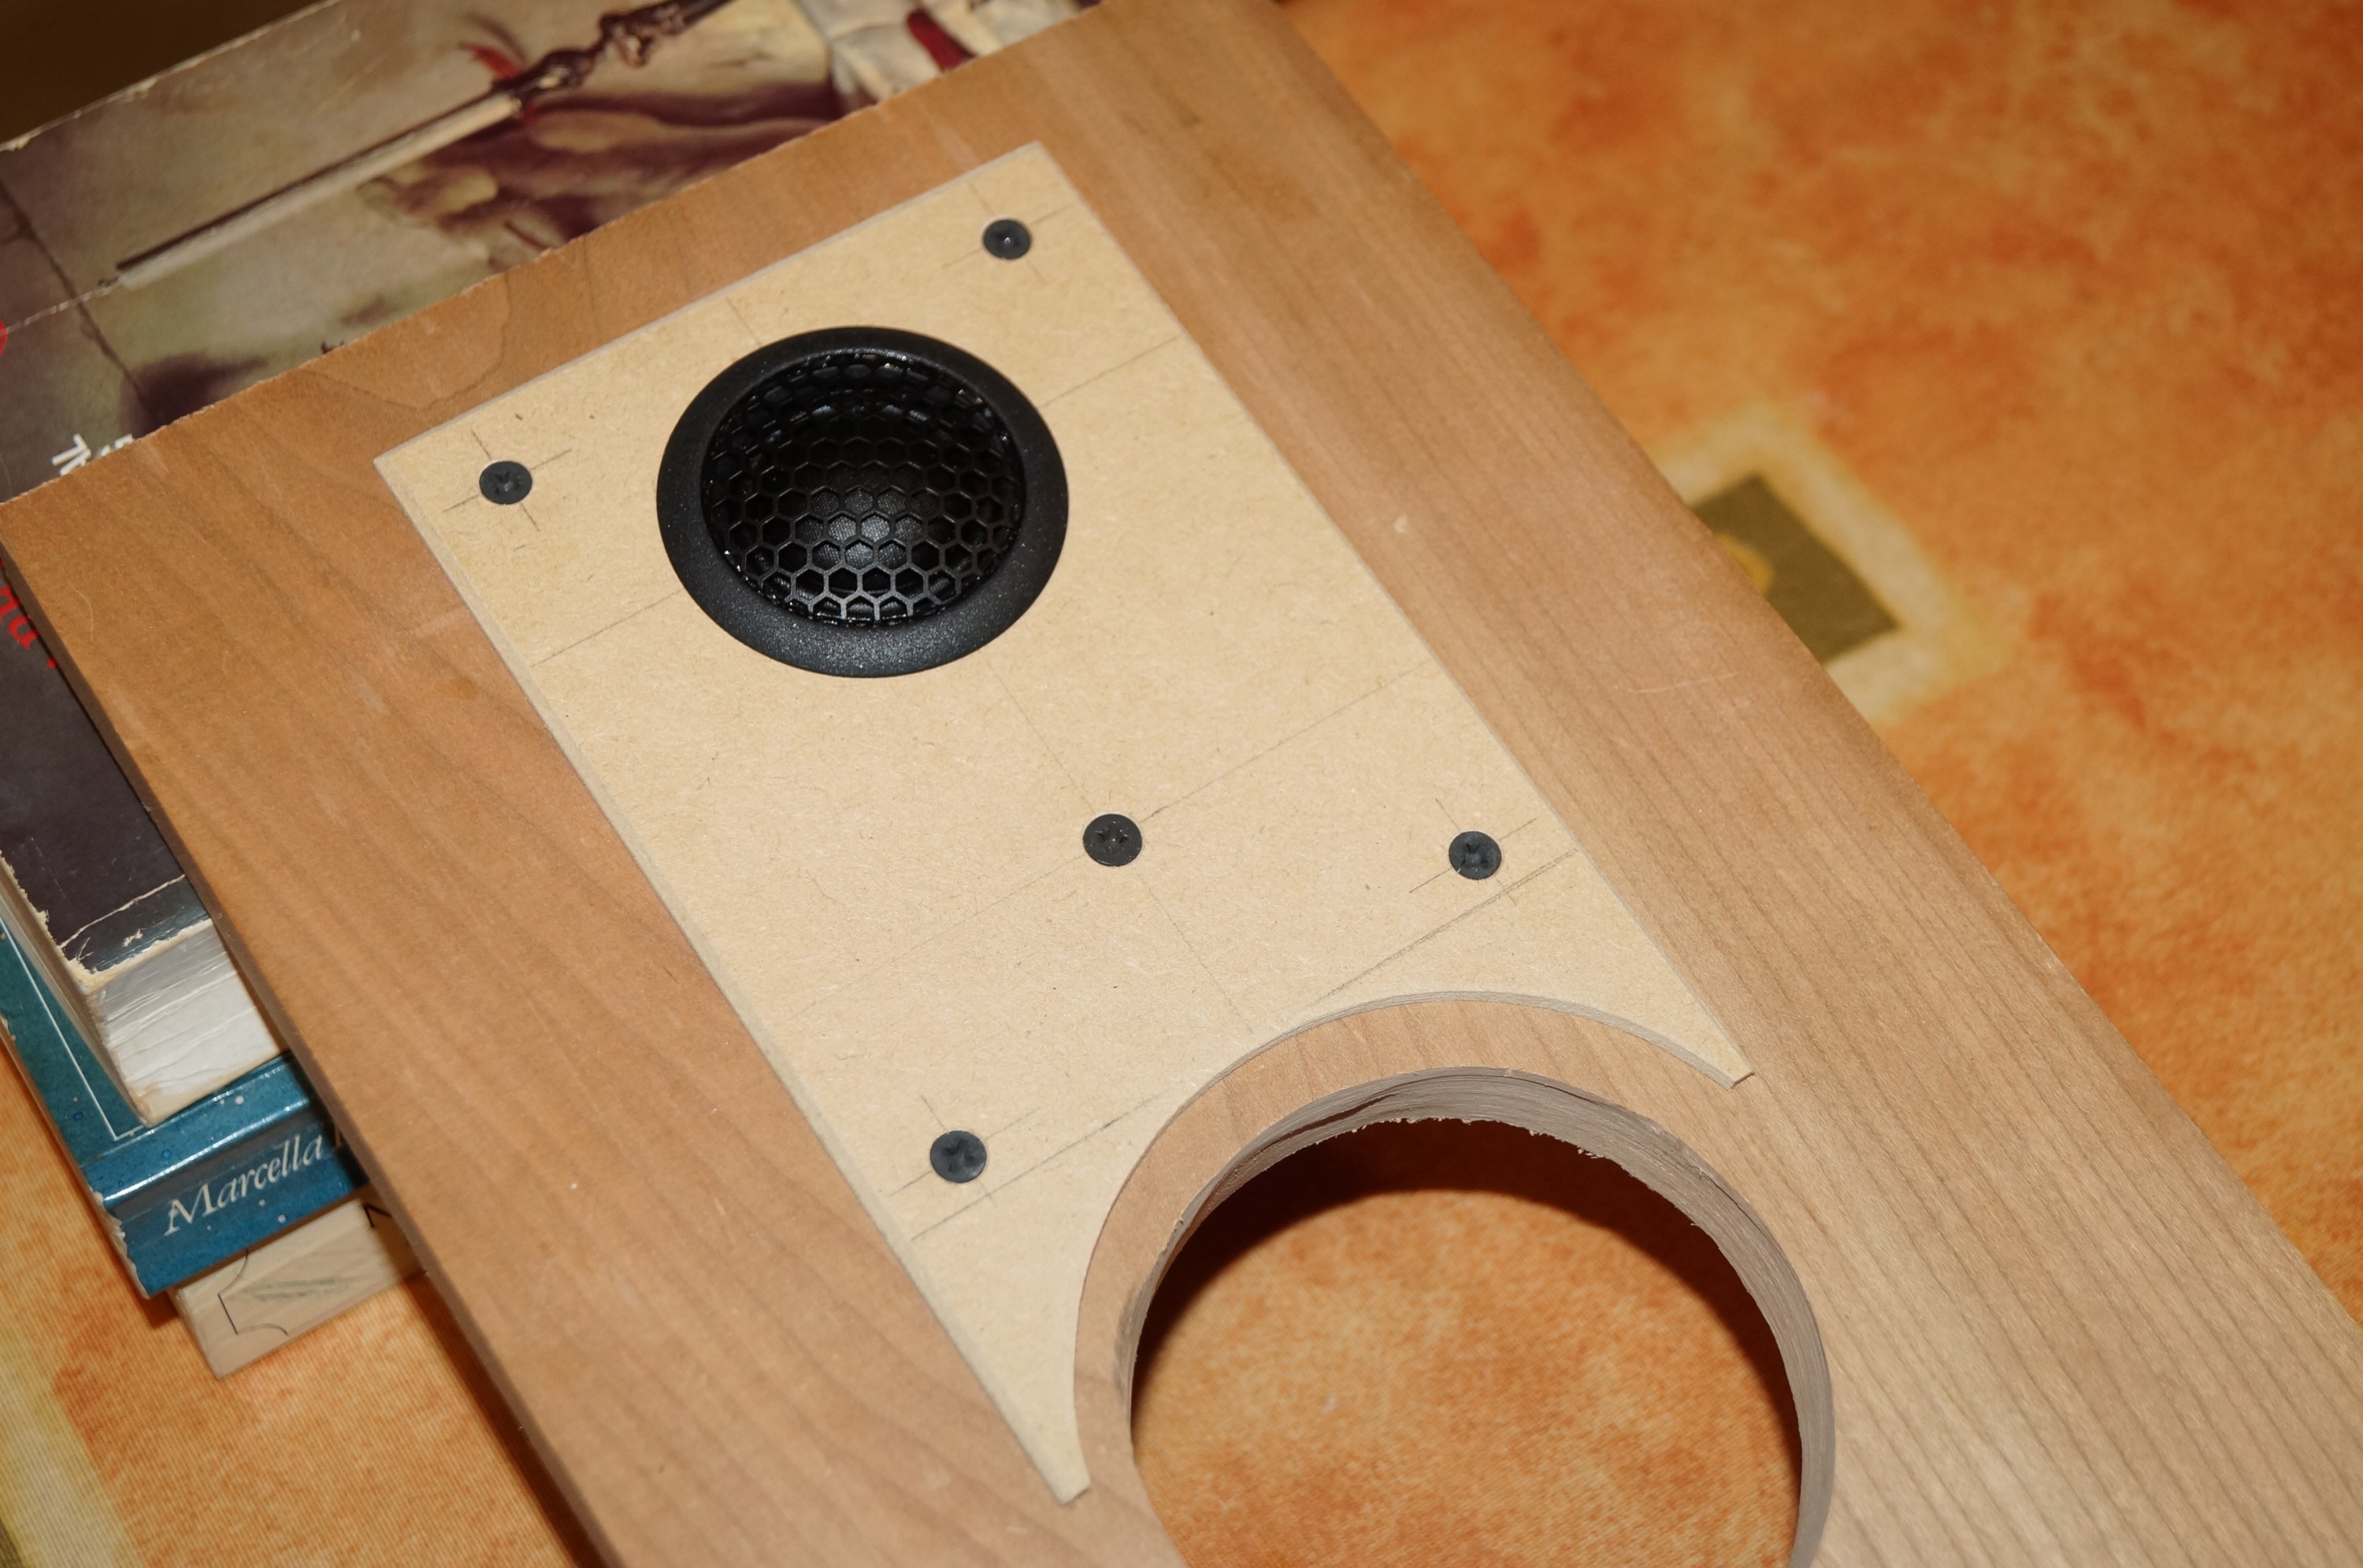
This ploy worked pretty well, but after the first hole I realised that once the hardboard cut was established it was better to then remove the tweeter baffles to avoid their holes from fraying. The first tweeter baffle hole was somewhat furry therefore, however this will be hidden under the tweeter flange so not a concern. Two clean hardboard tweeter holes… So far so good.

Going nowhere...
Going nowhere…

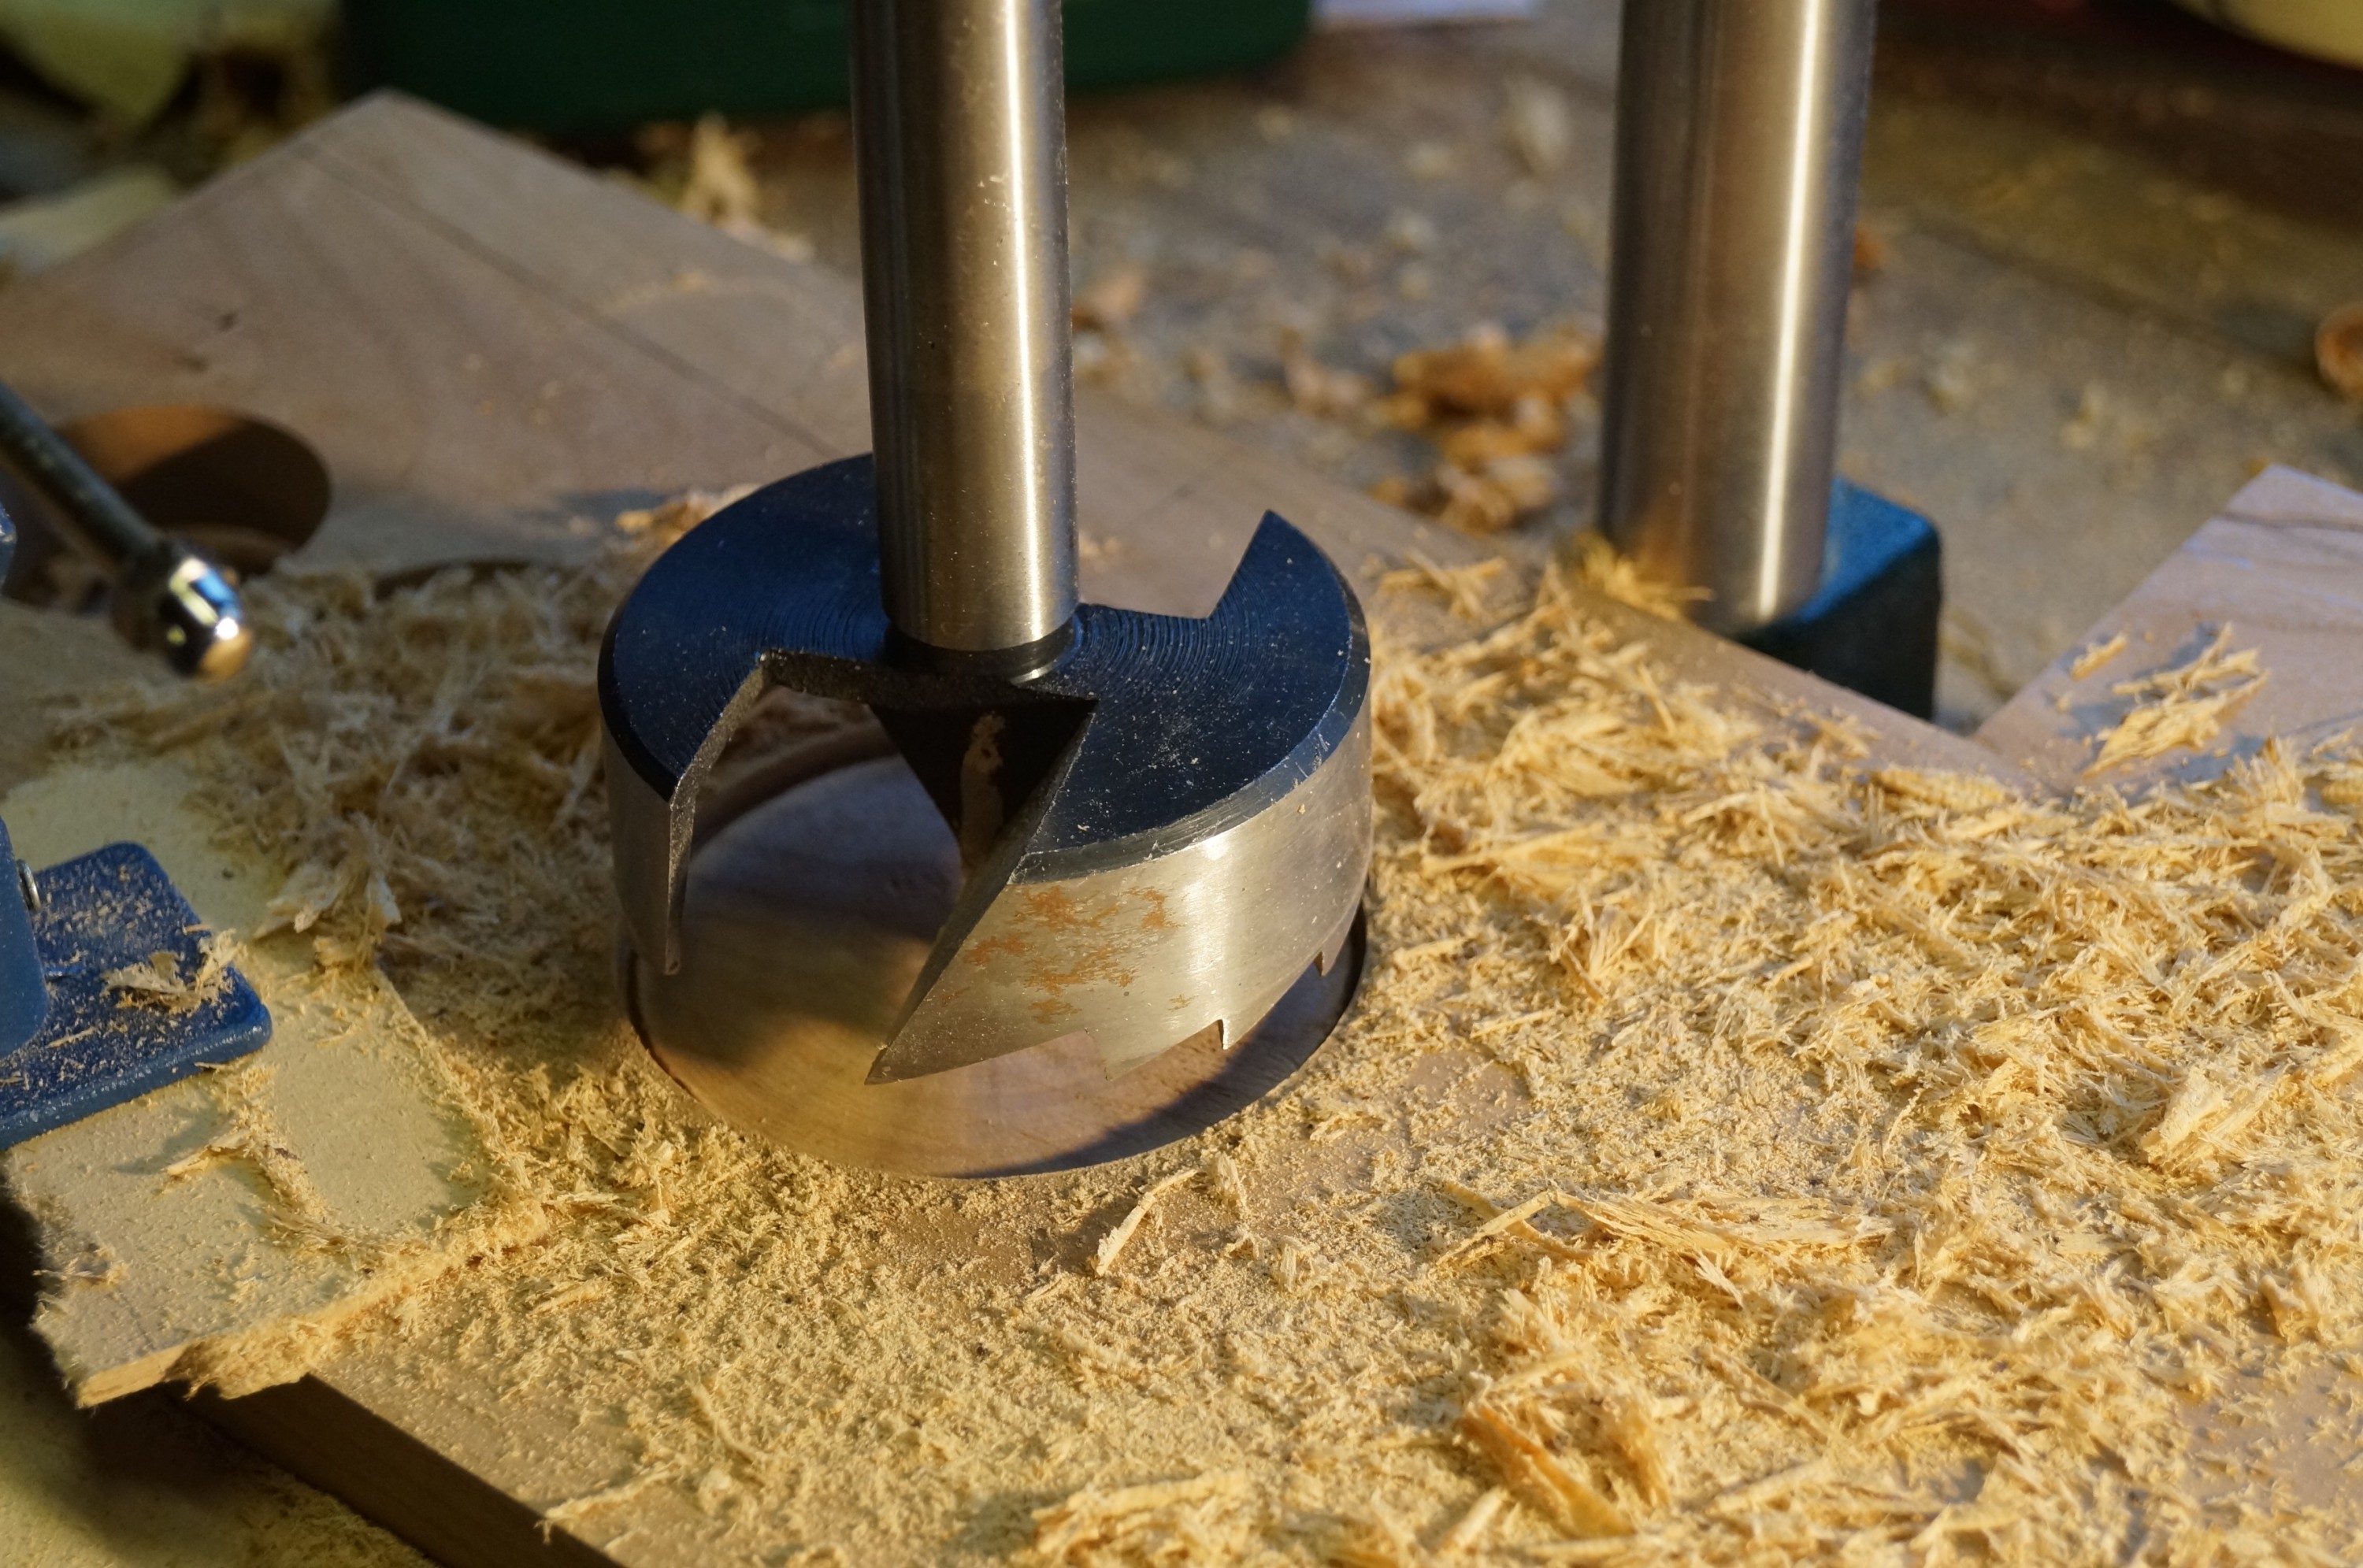
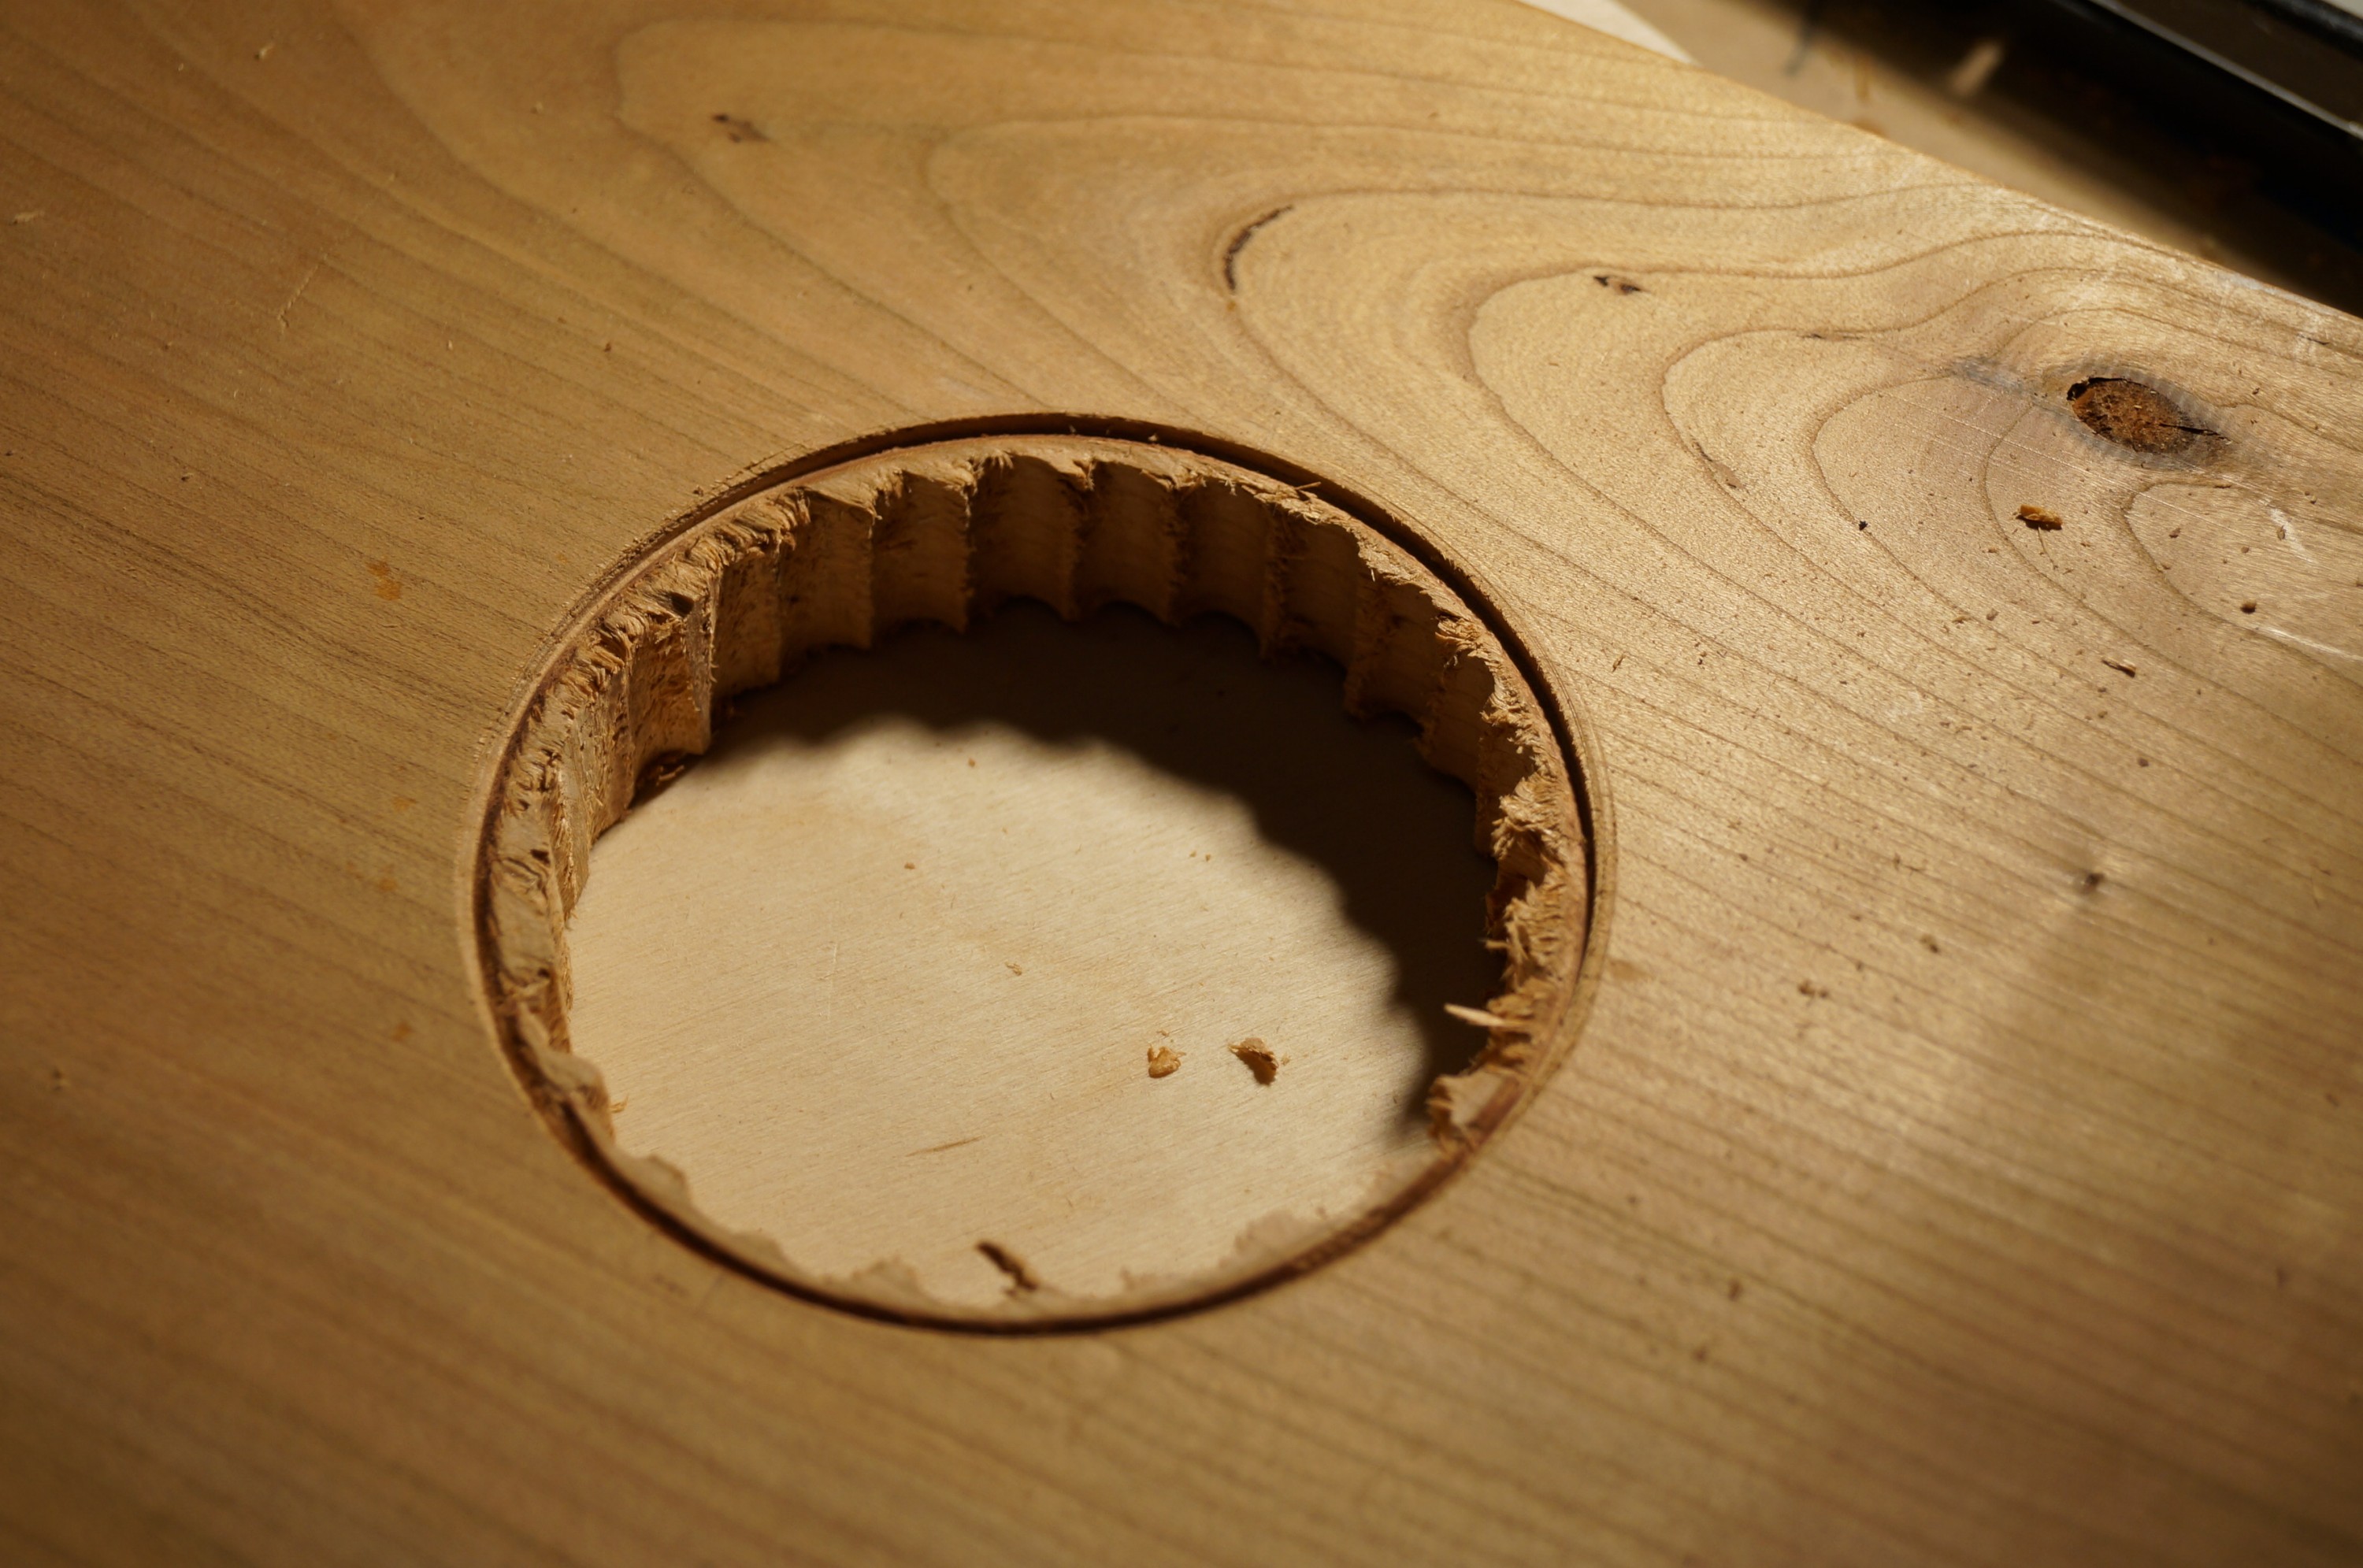
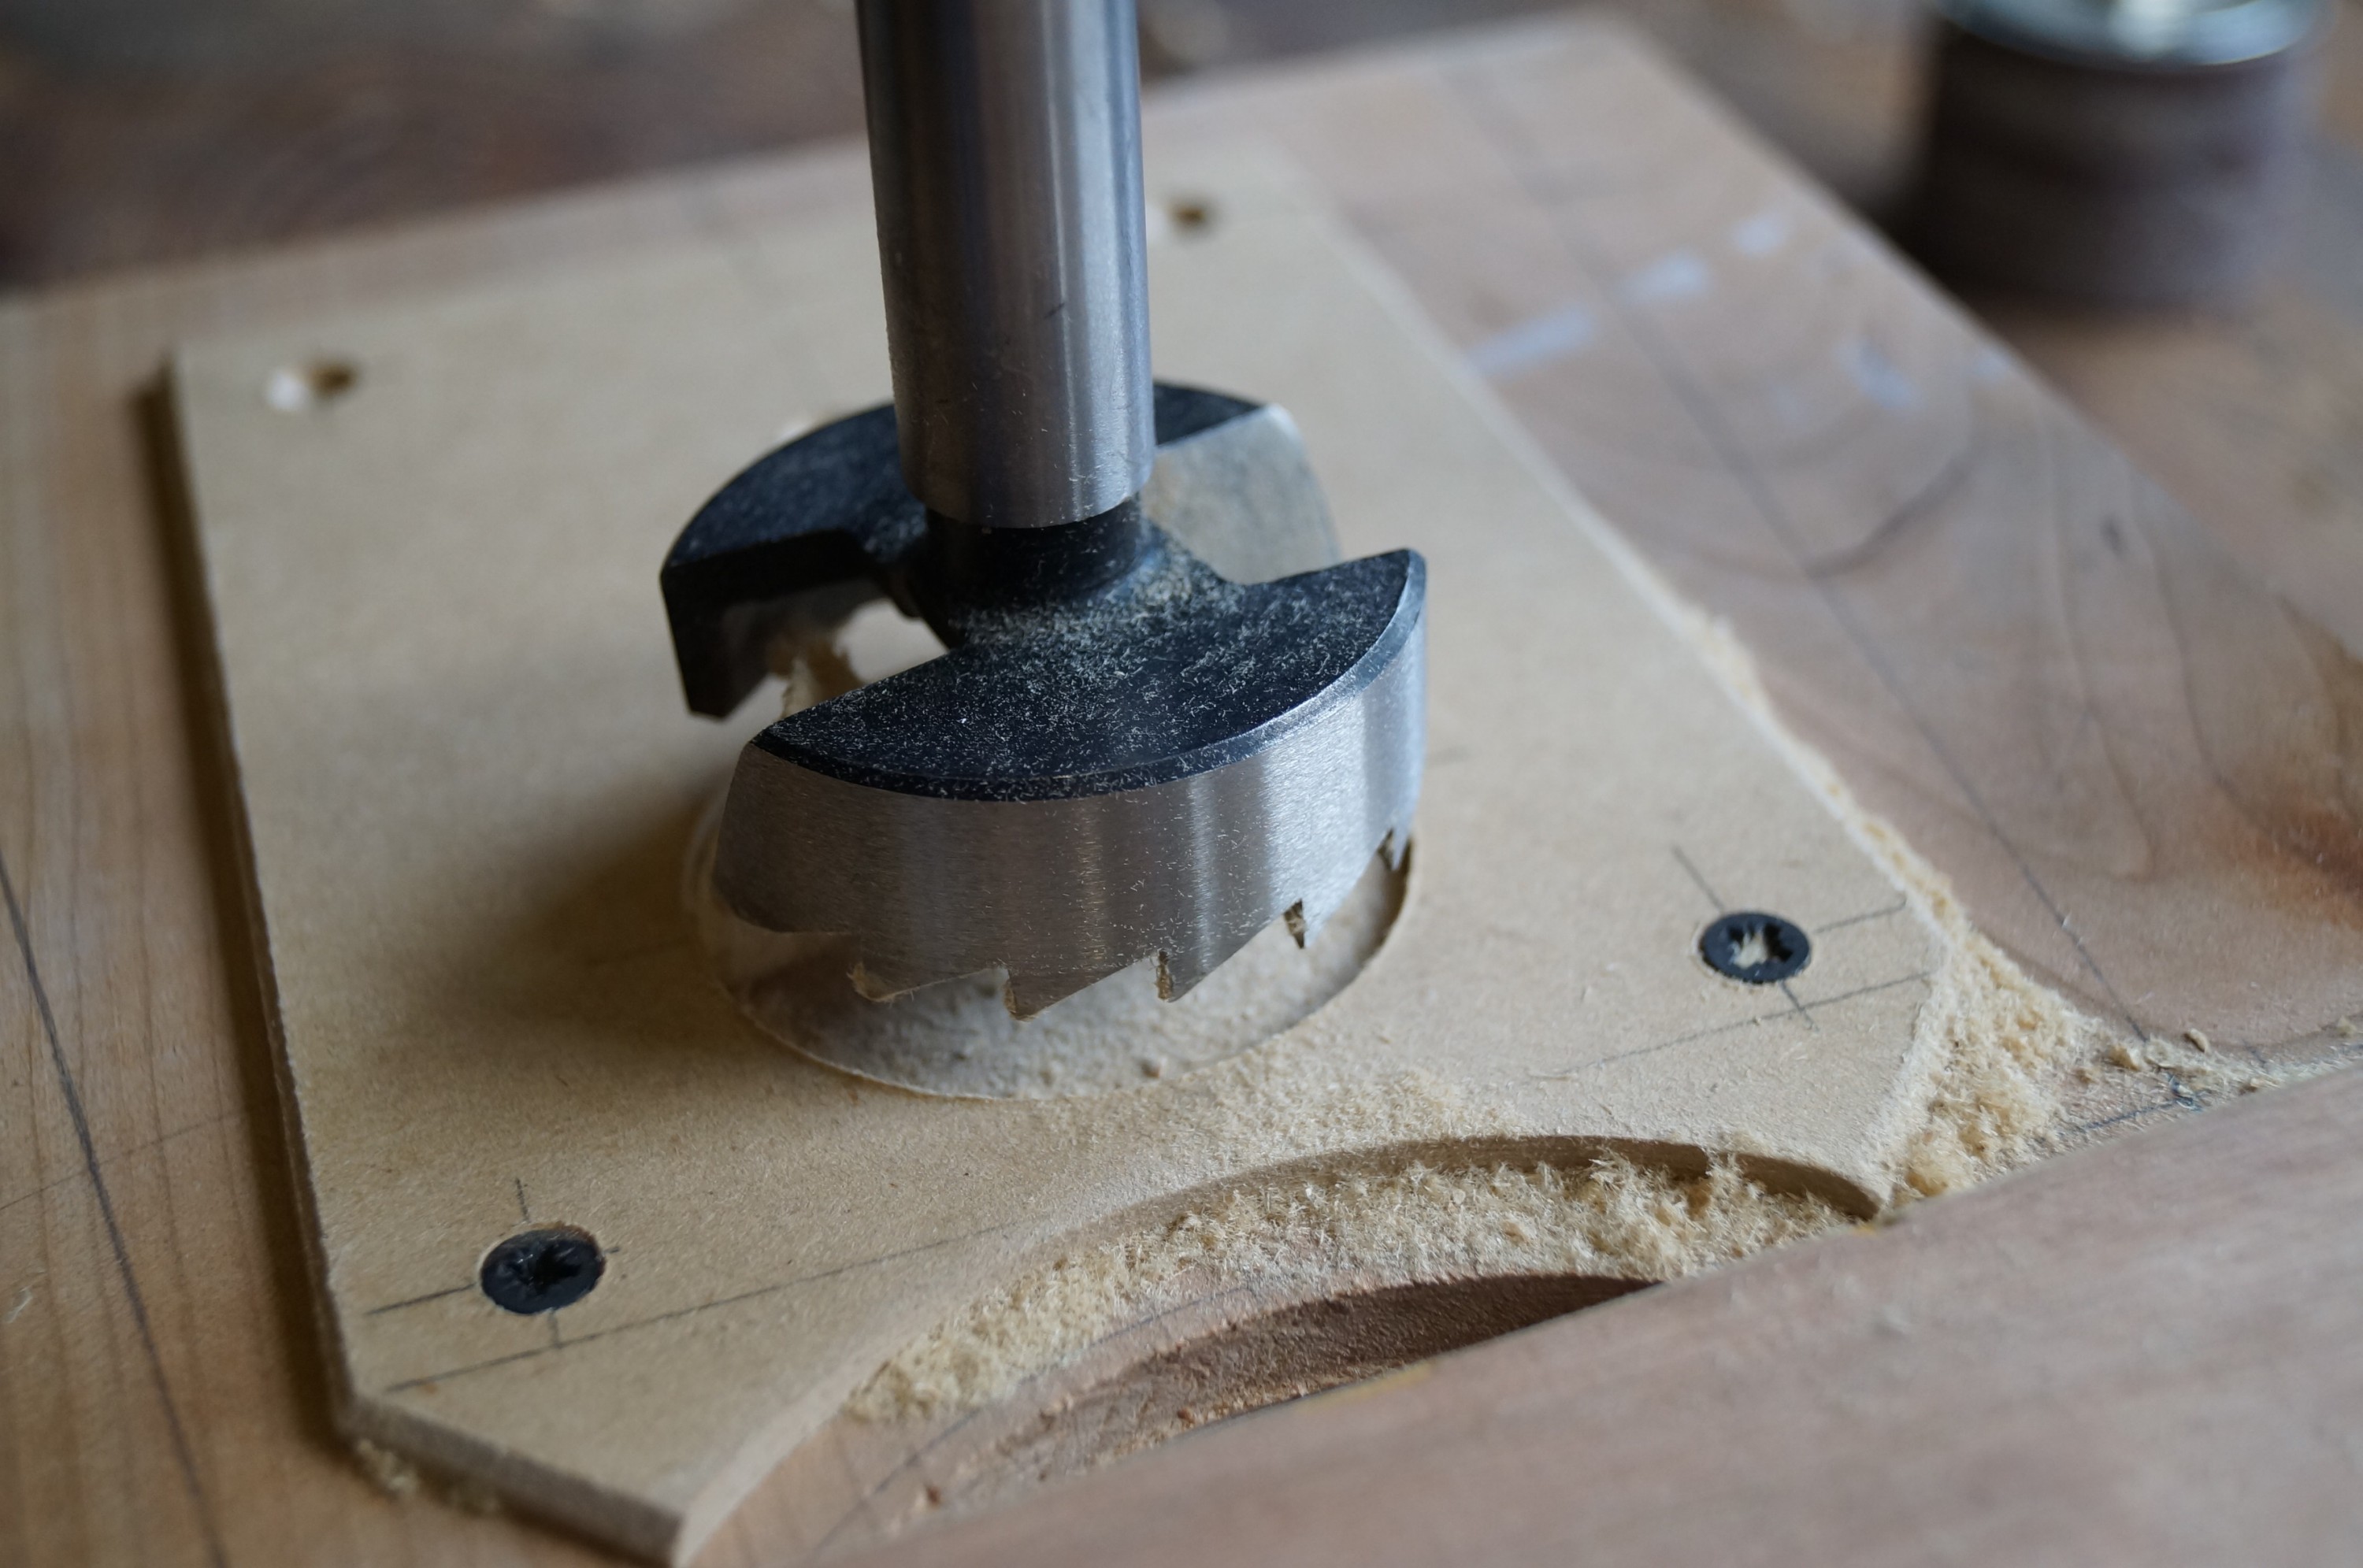
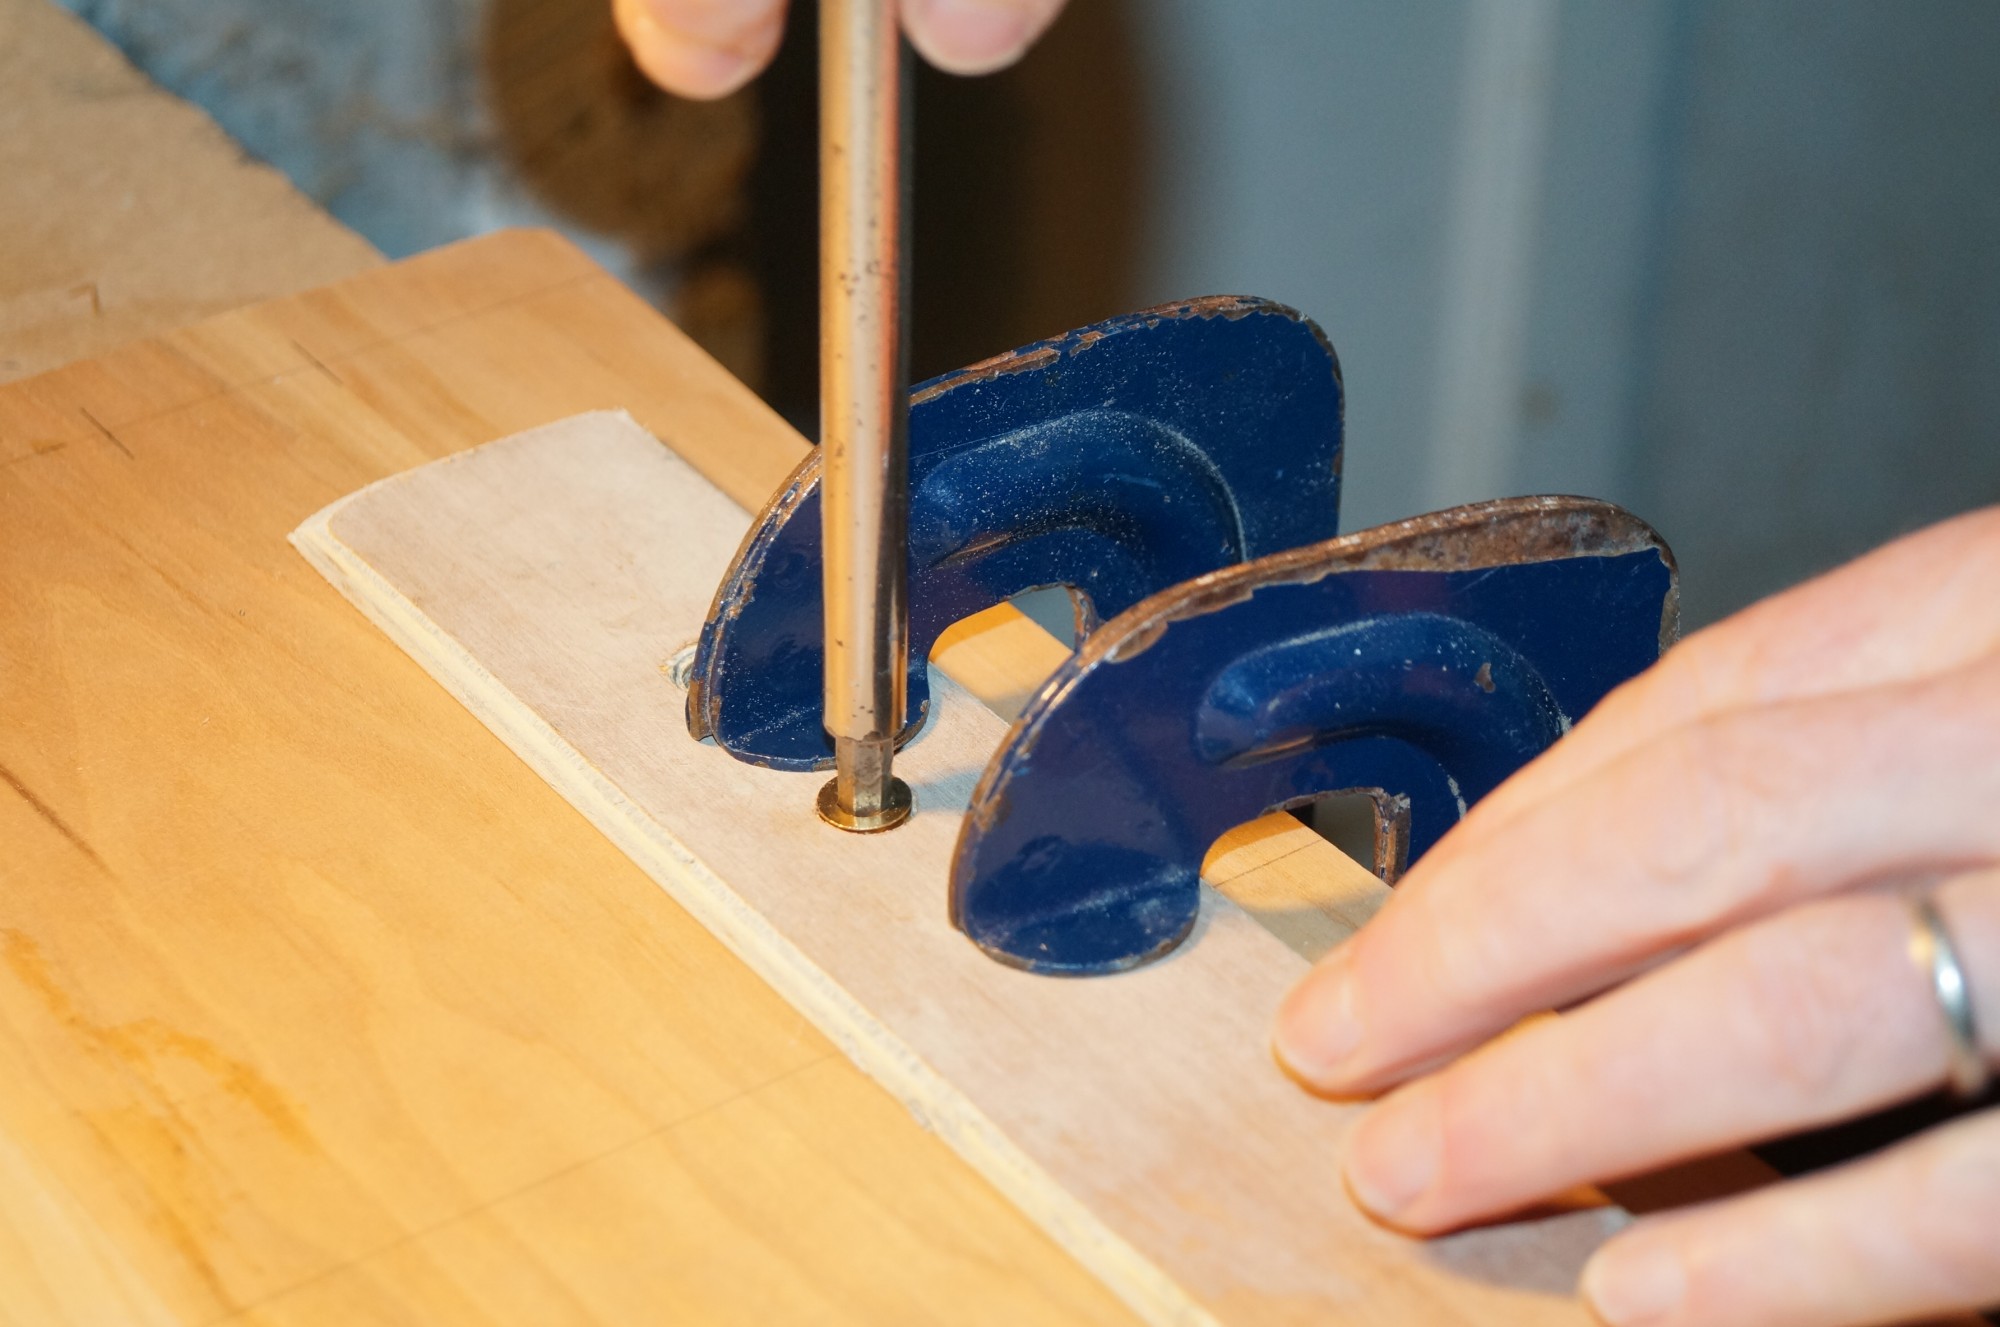
The fun started with the large 3.25″ bit I had purchased months earlier with the tweeter bit. Using my Bosch drill’s slowest speed setting (around 300rpm which for hardwood is admittedly faster than ideal) the initial circumferential cut was nice and clean. However the central cutters made virtually no impression on the wood between centre and circumference.

Honeycomb drilling waste

Increased pressure via the drill press was limited by stalling the drill, the drill lifting out of its mounting, or both, and despite regular pauses to lift and rest the bit progress was very slow. It was also accompanied by a fair amount of smoke, firstly from the wood surface, and secondly from the drill! Rethink required.

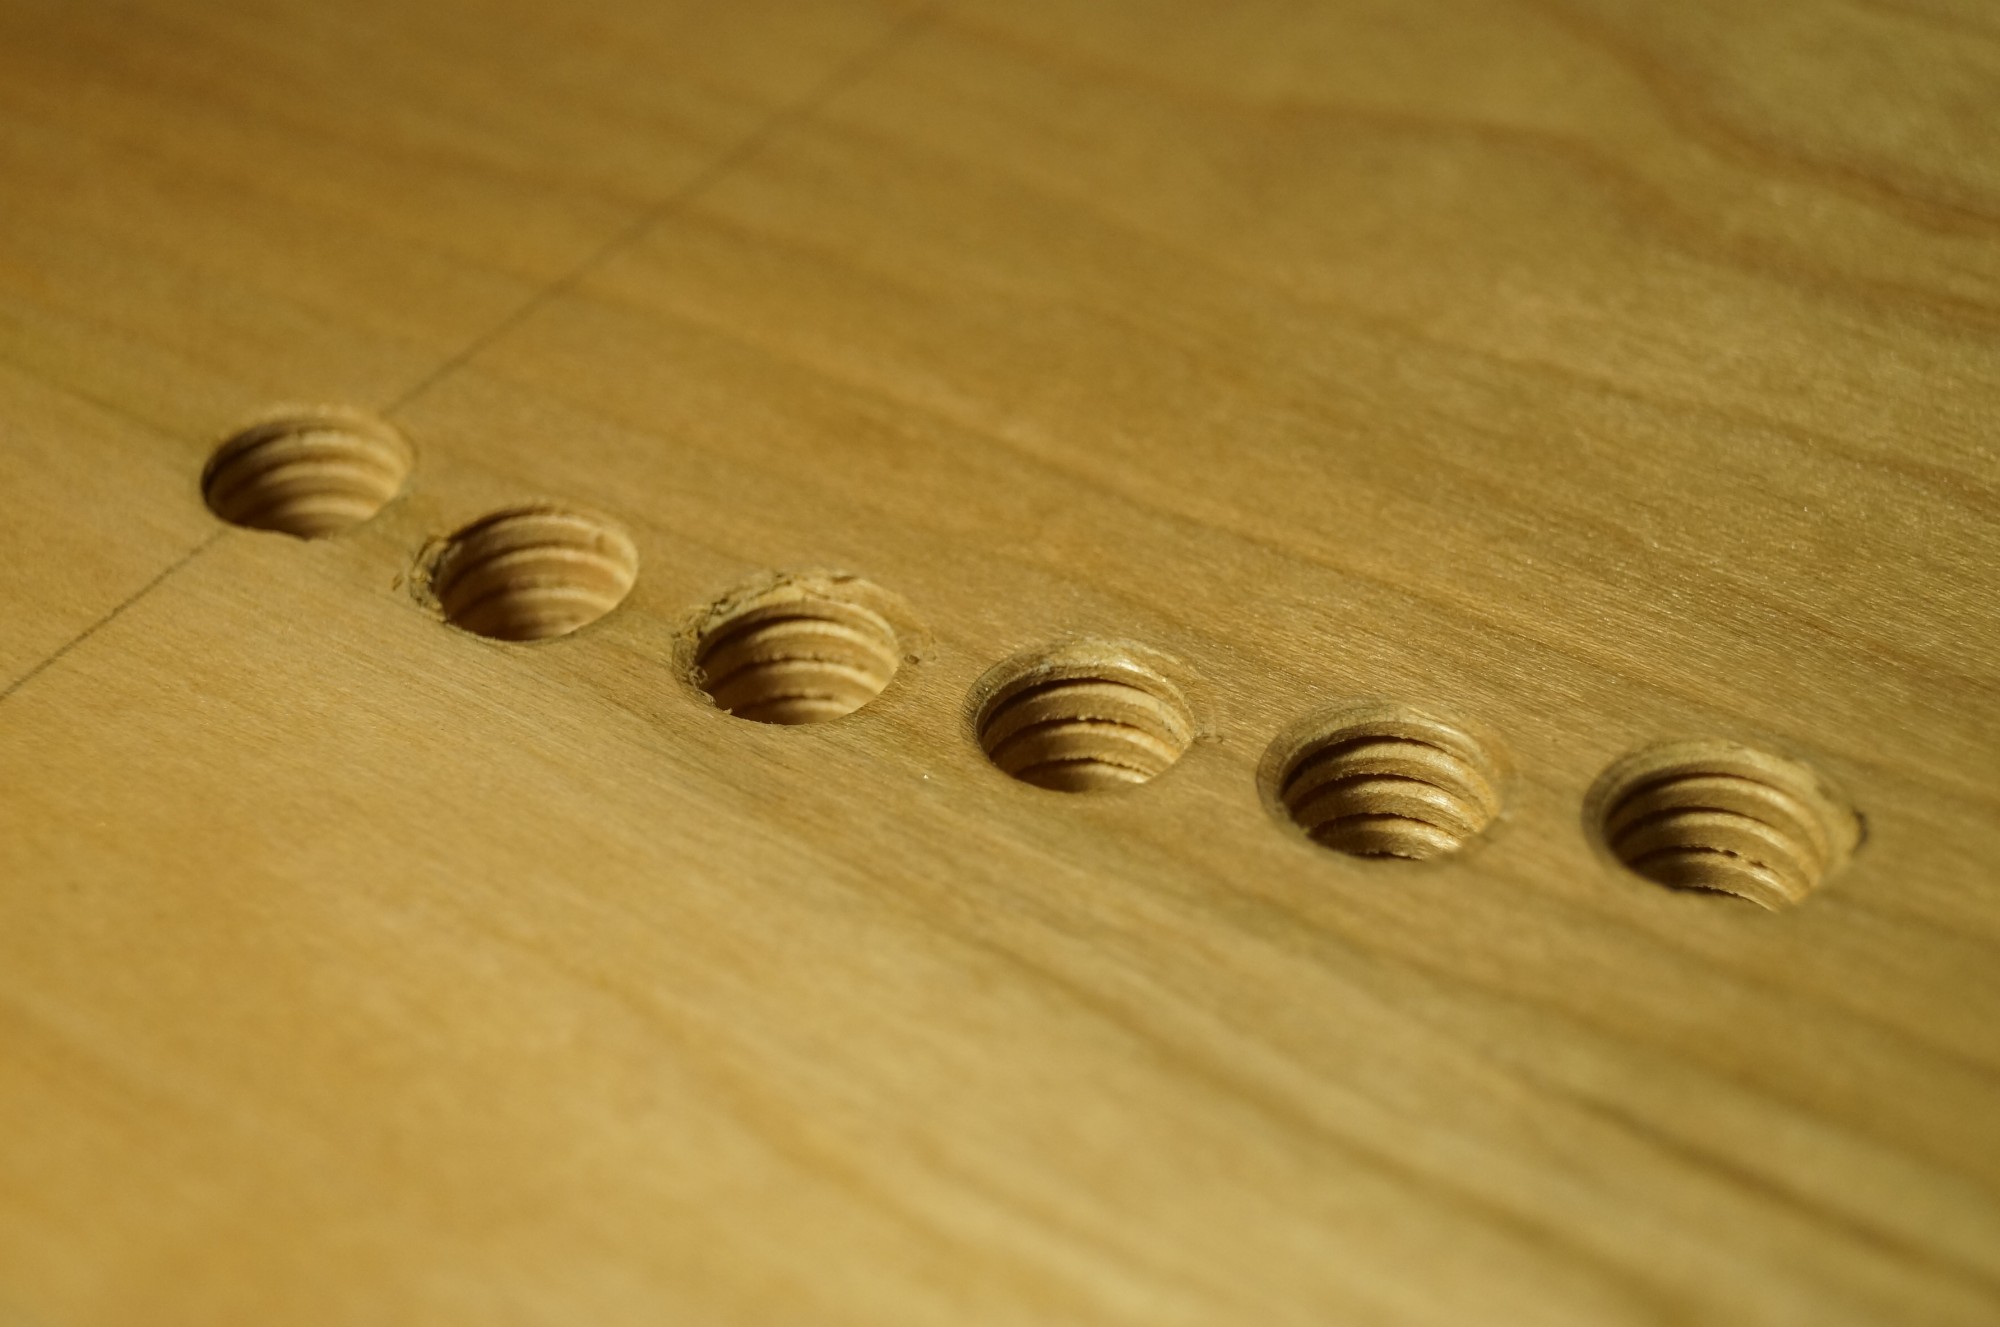
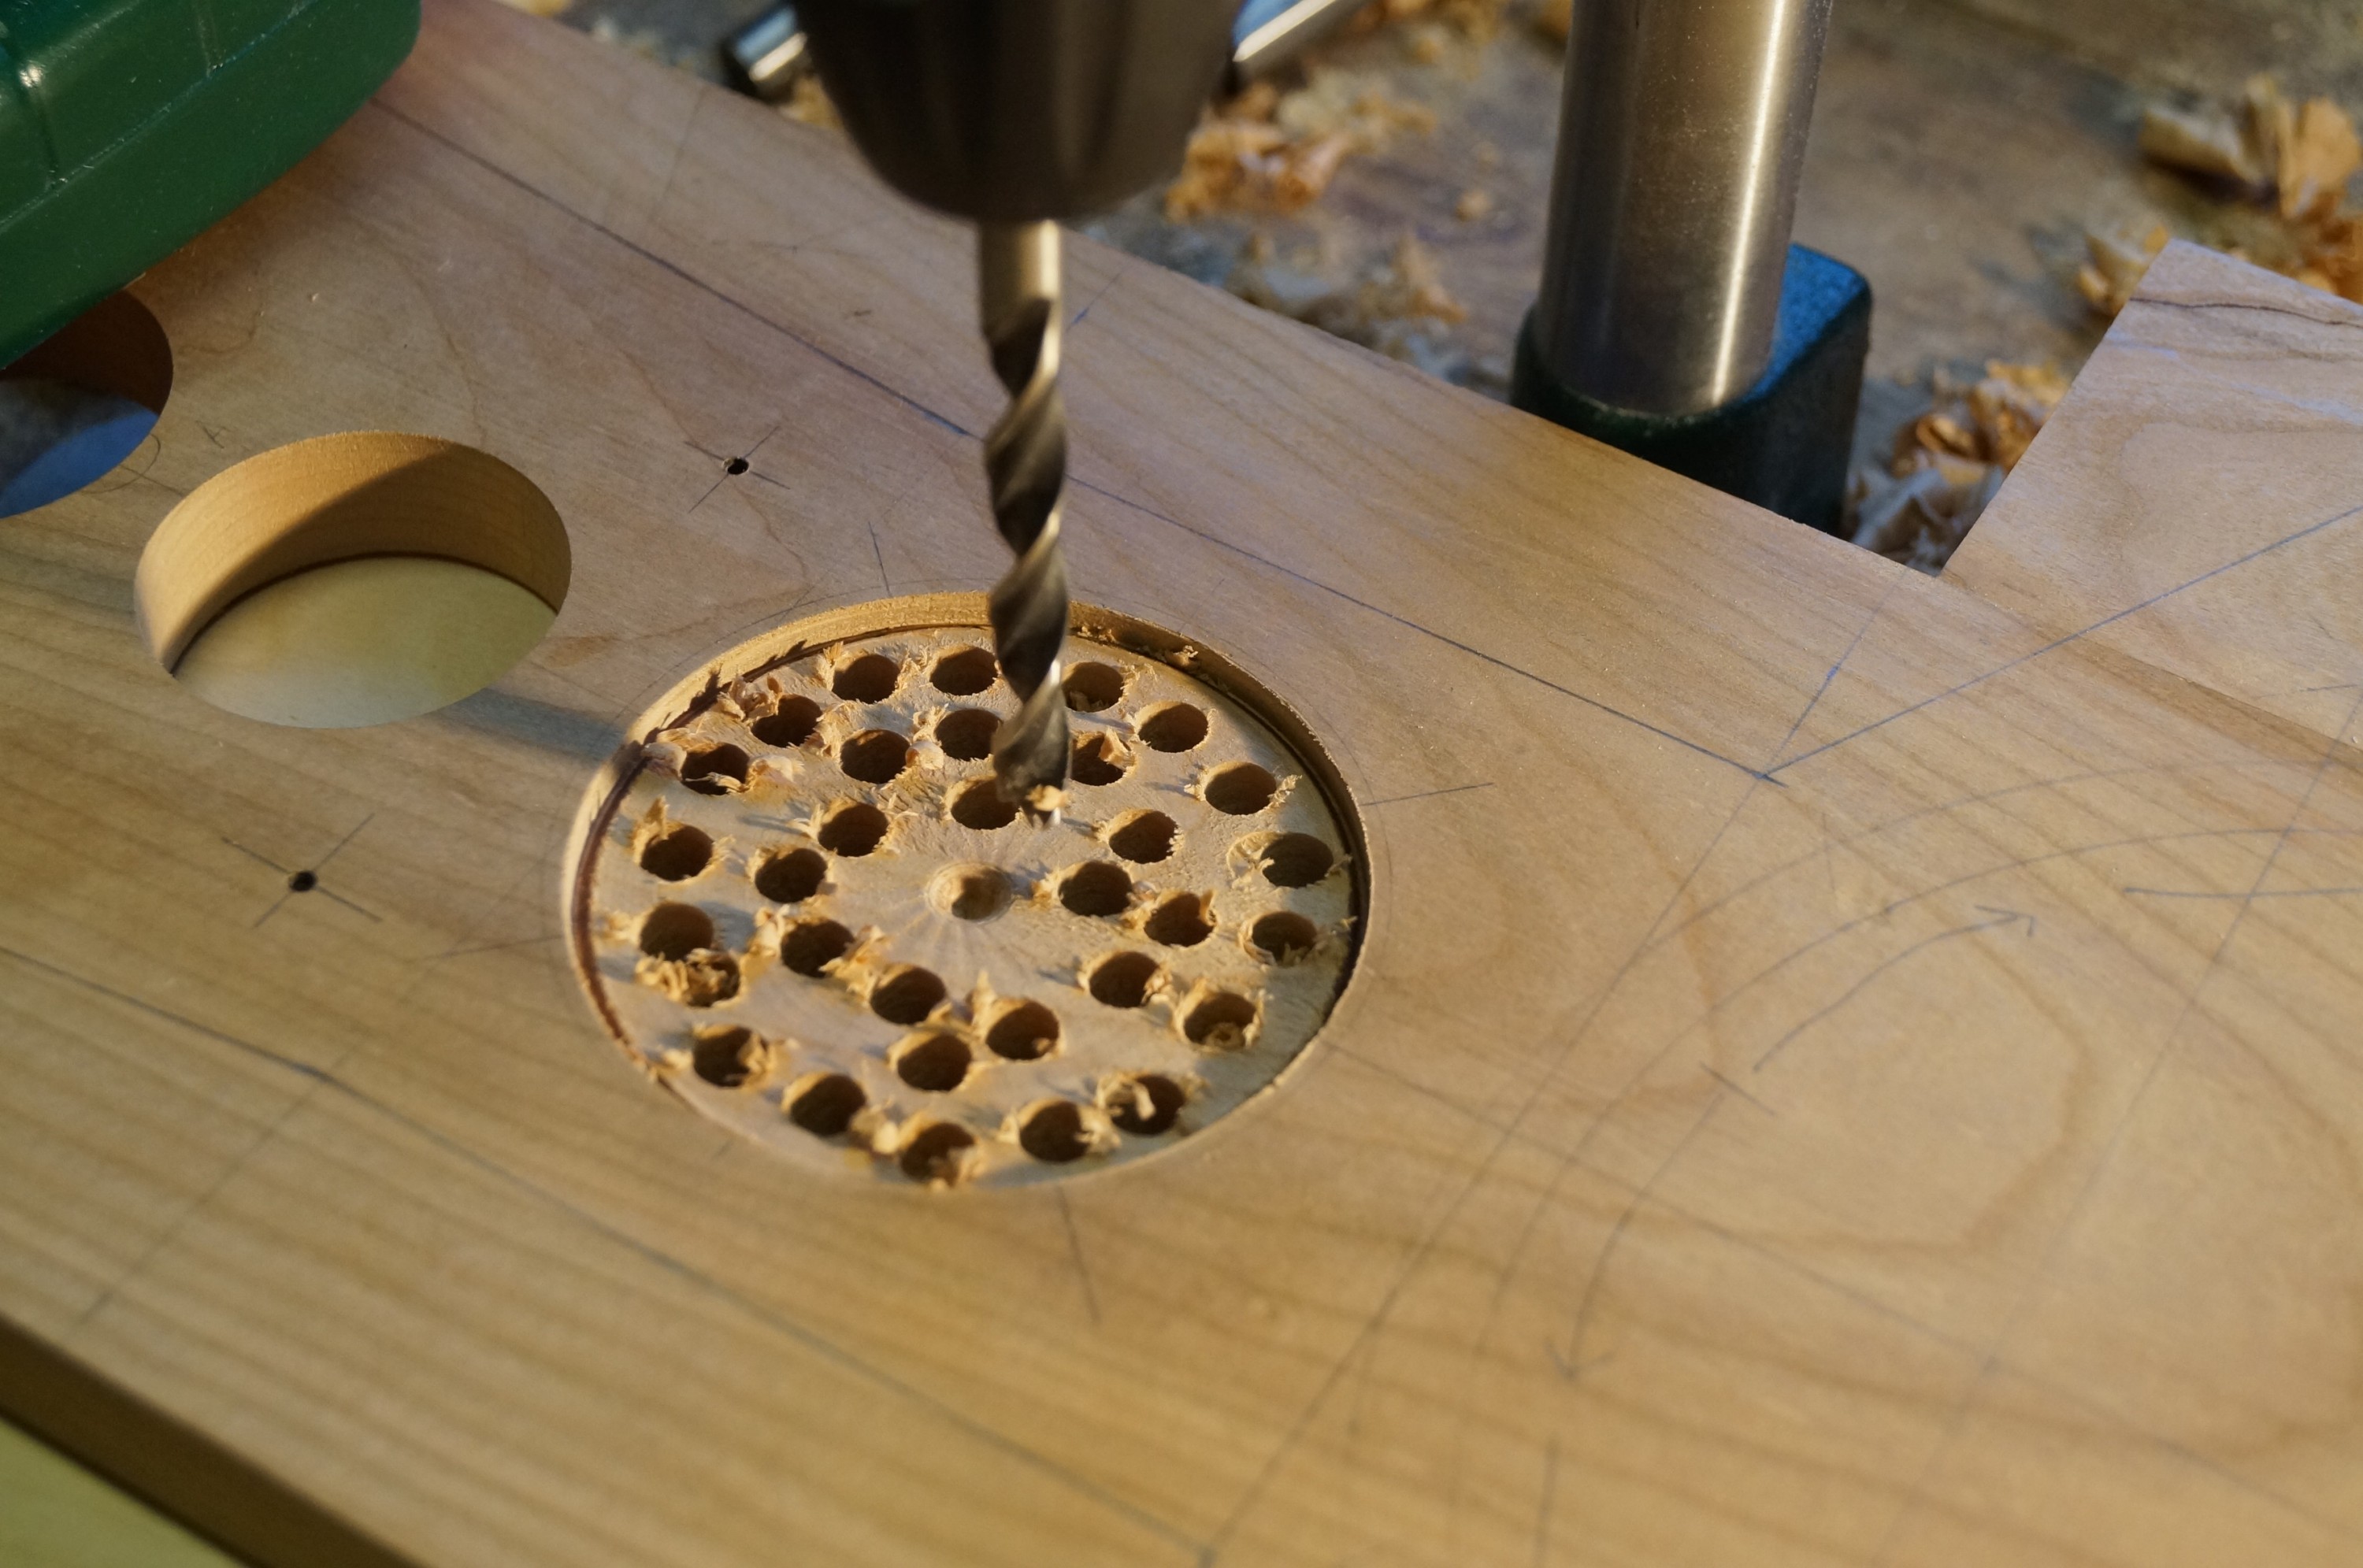
Clearly the large Forstner was not up to the task, and to be fair neither were my relatively light weight drill and press. Not being prepared to part with big money for a Colt bit I will only ever use twice, I initially honeycomb drilled the waste prior to a further assault.

Unhappy drill!
Unhappy drill!

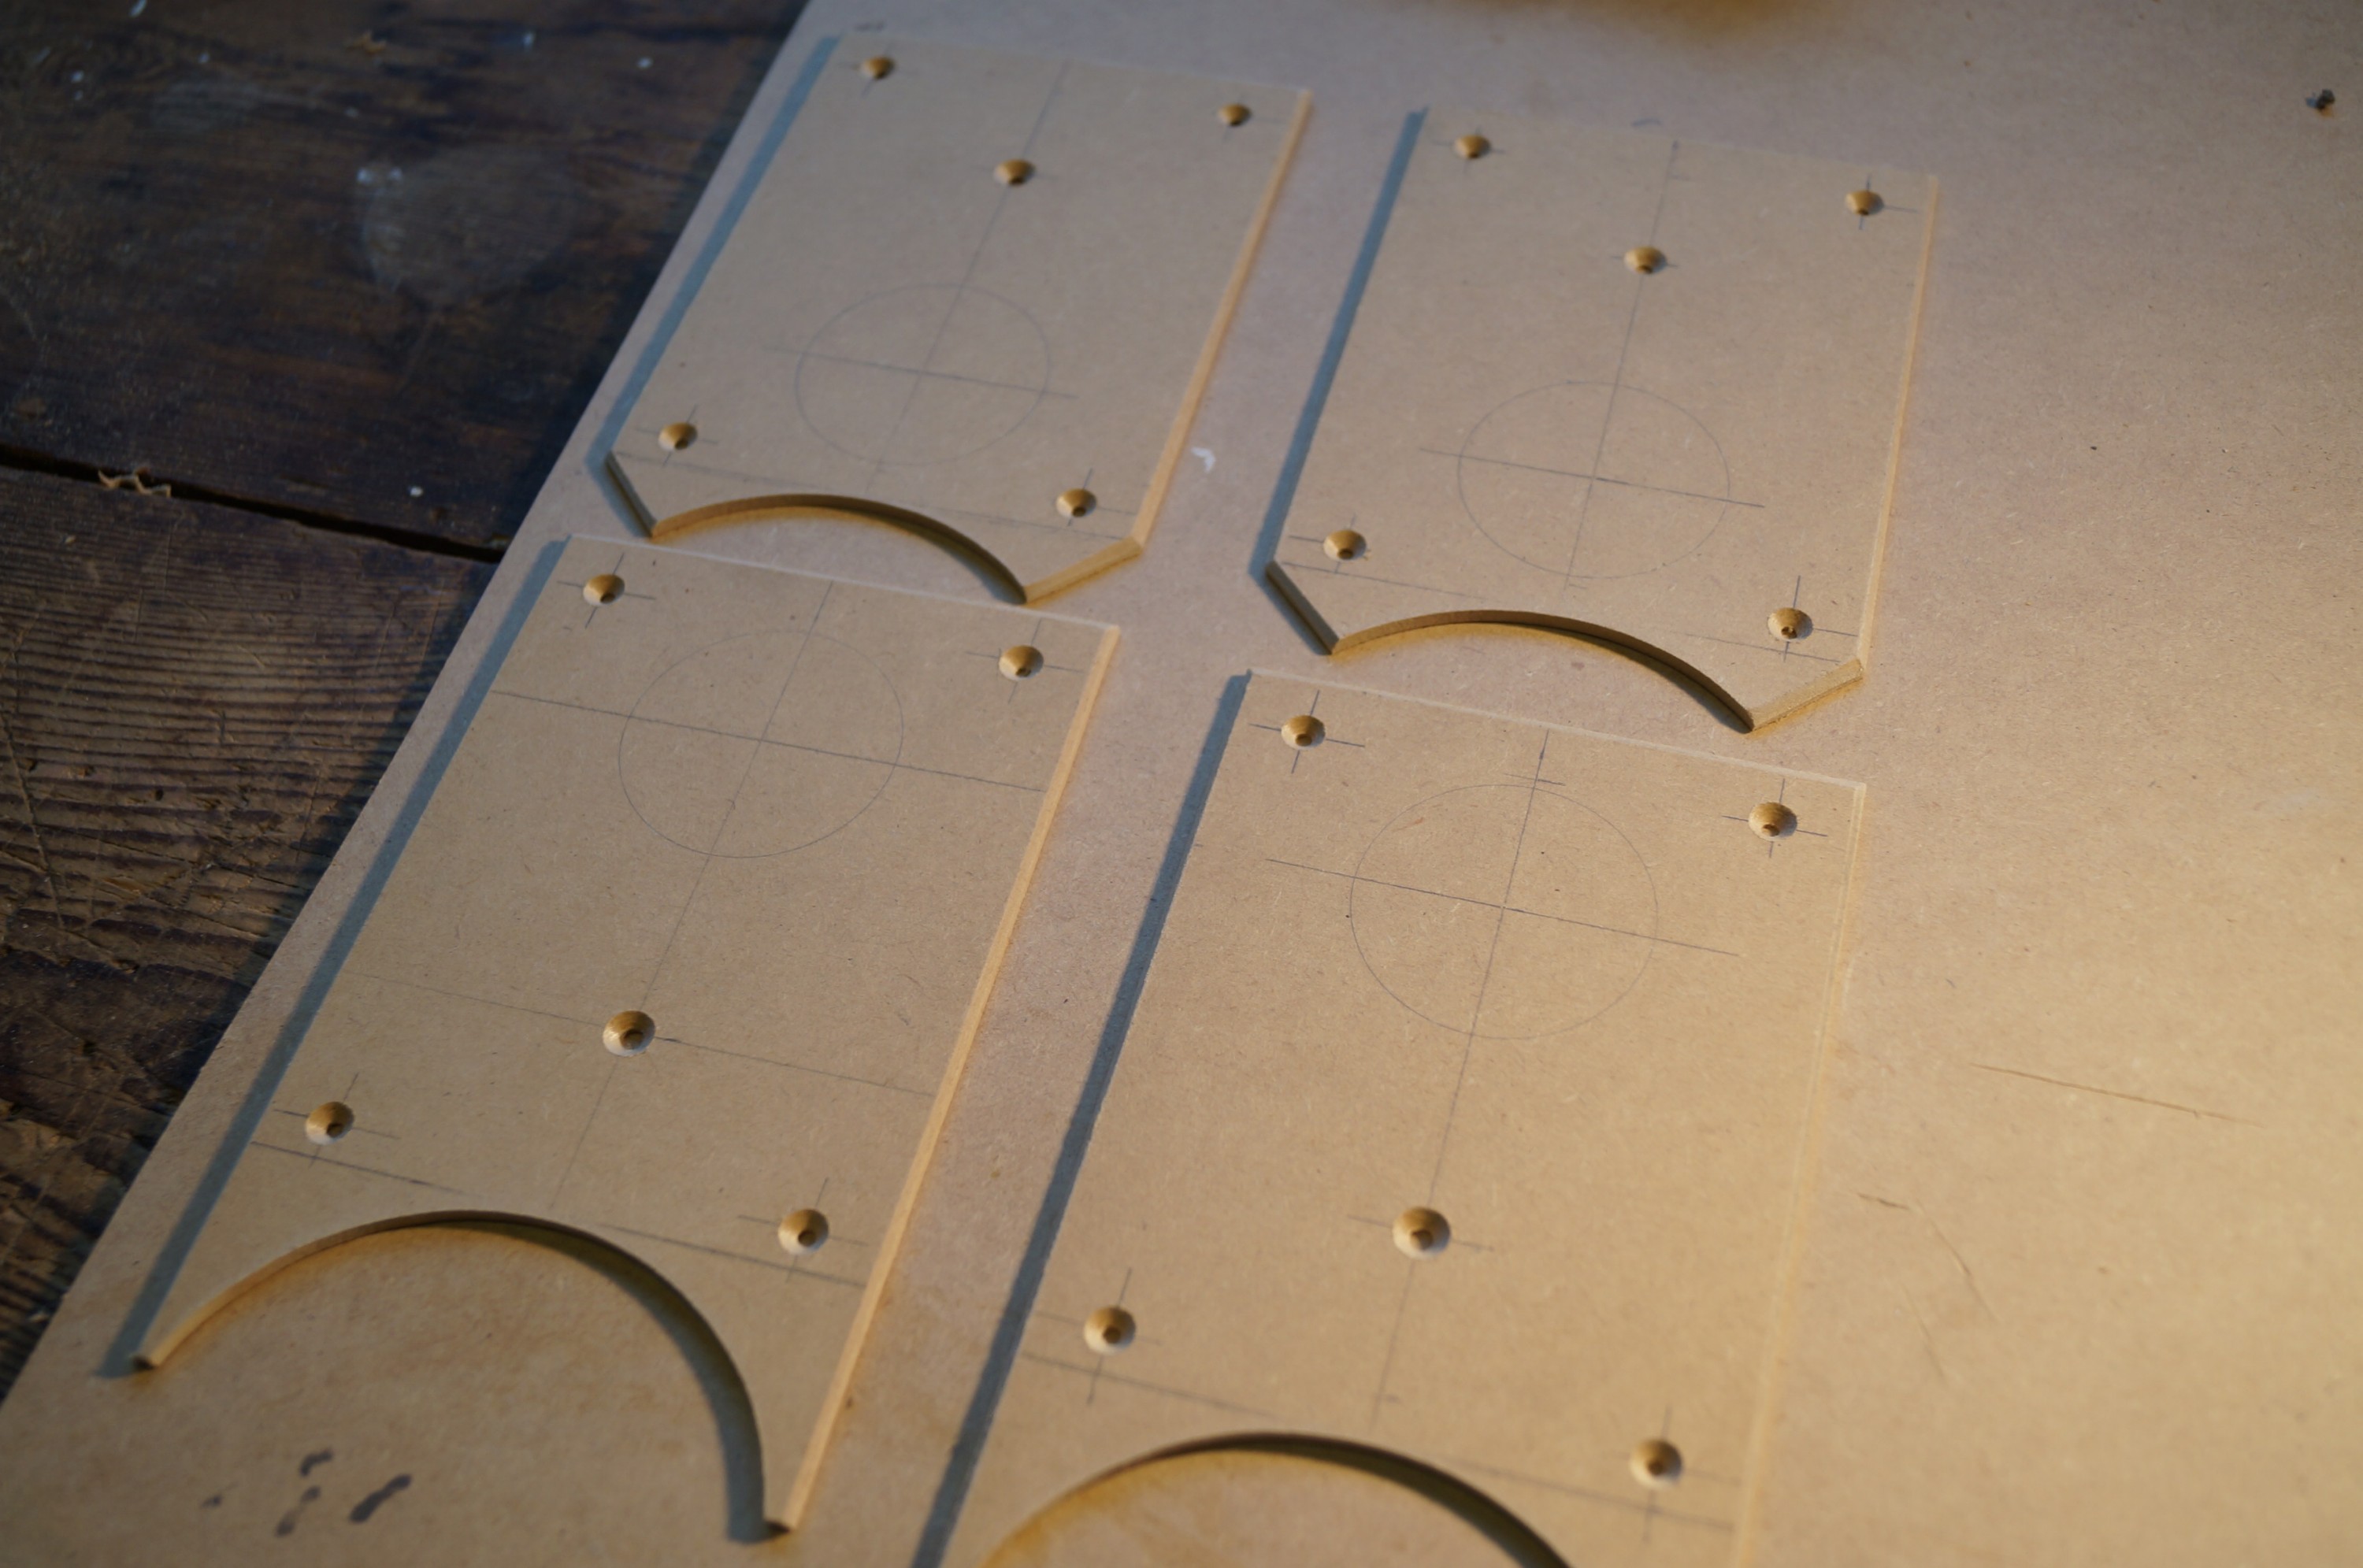
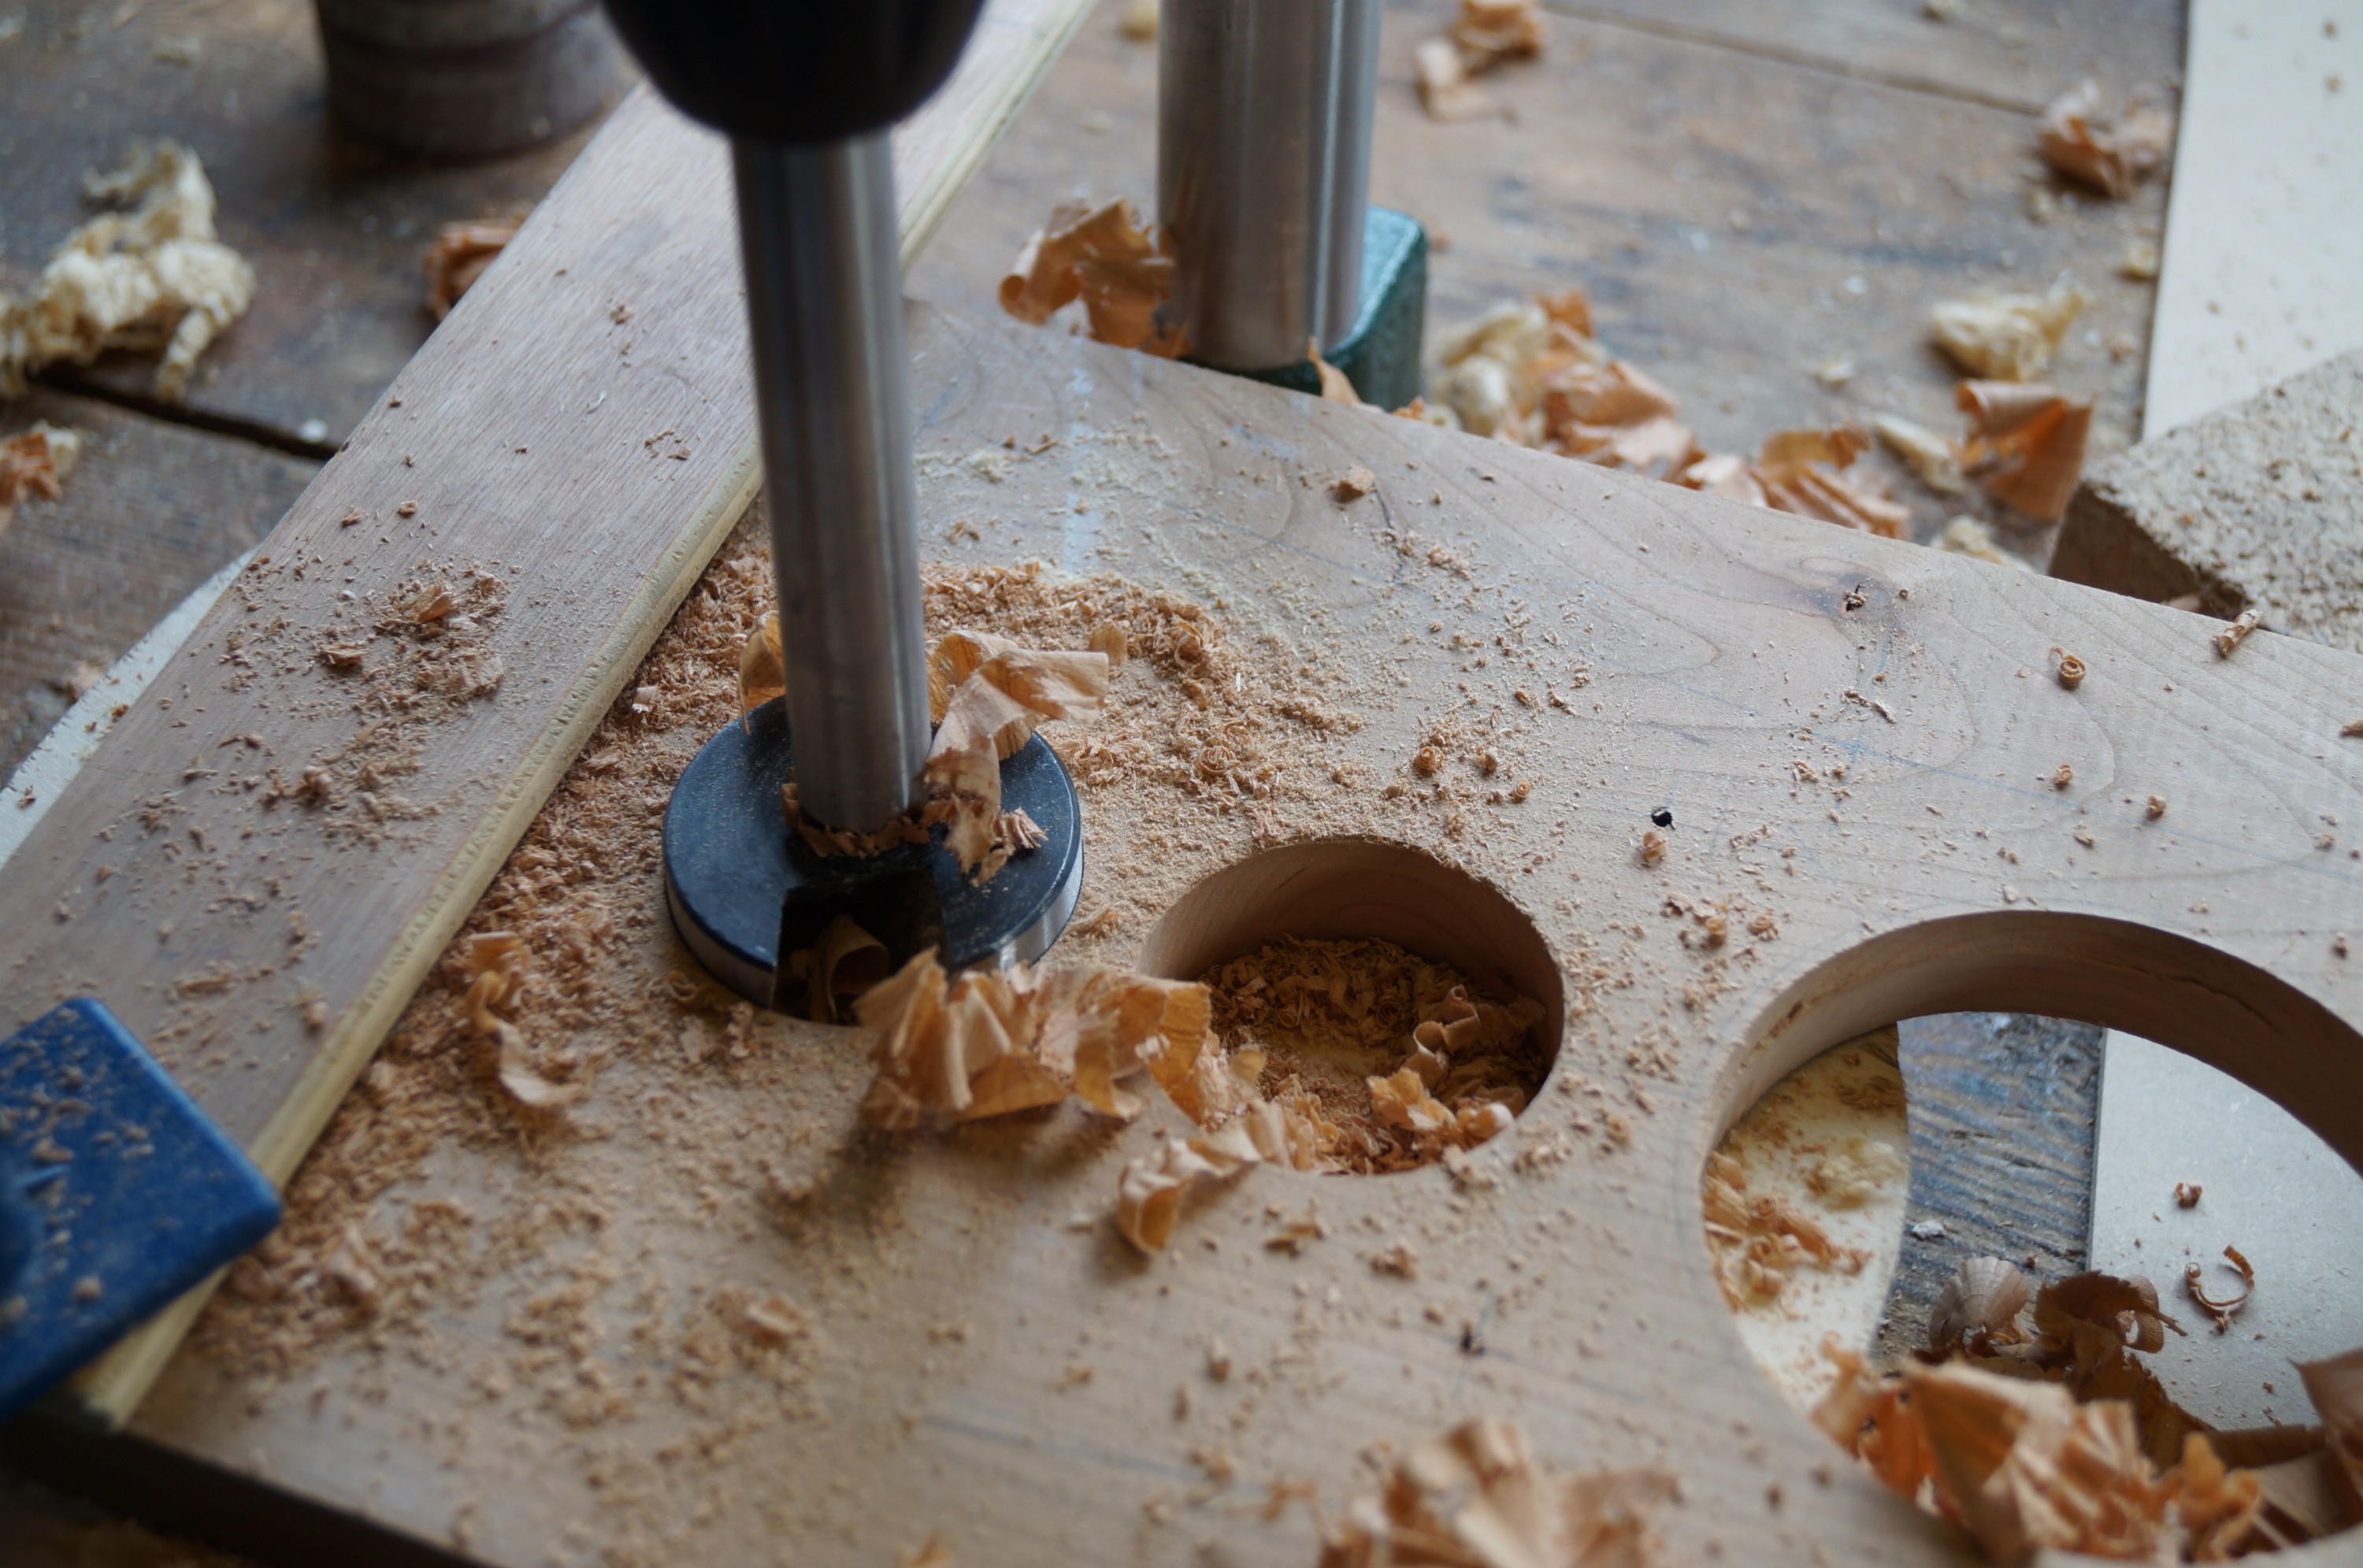
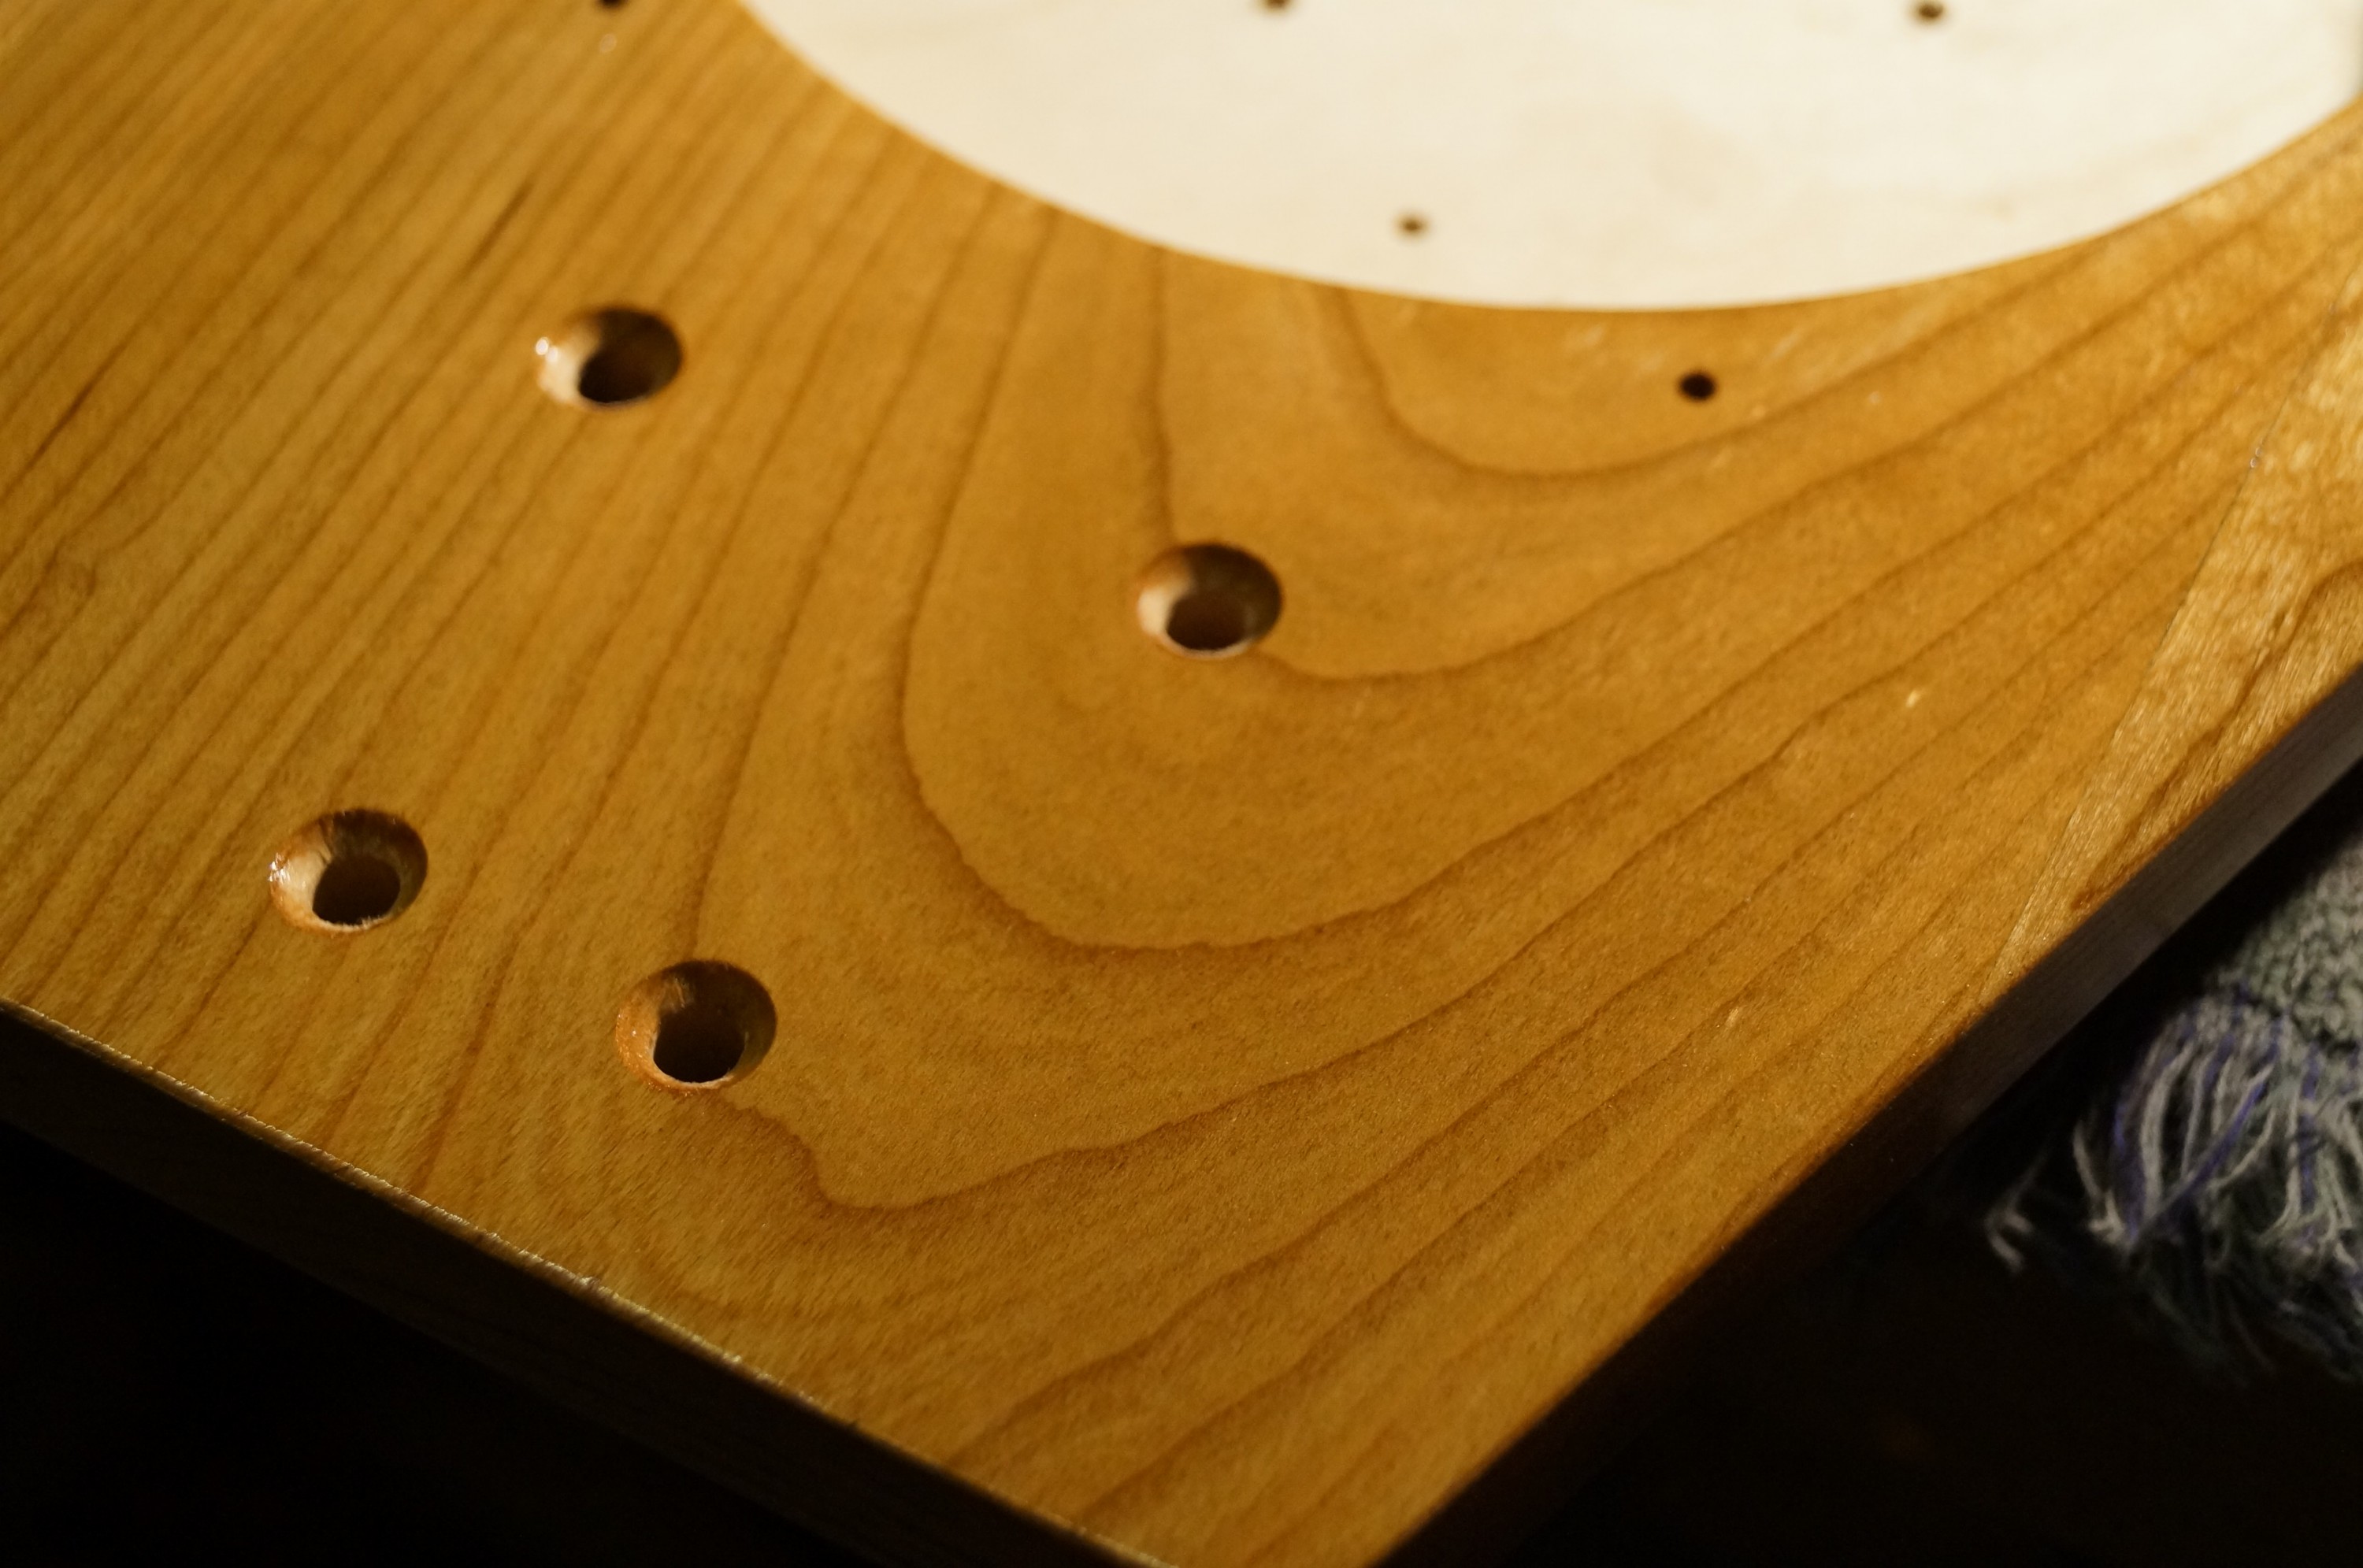
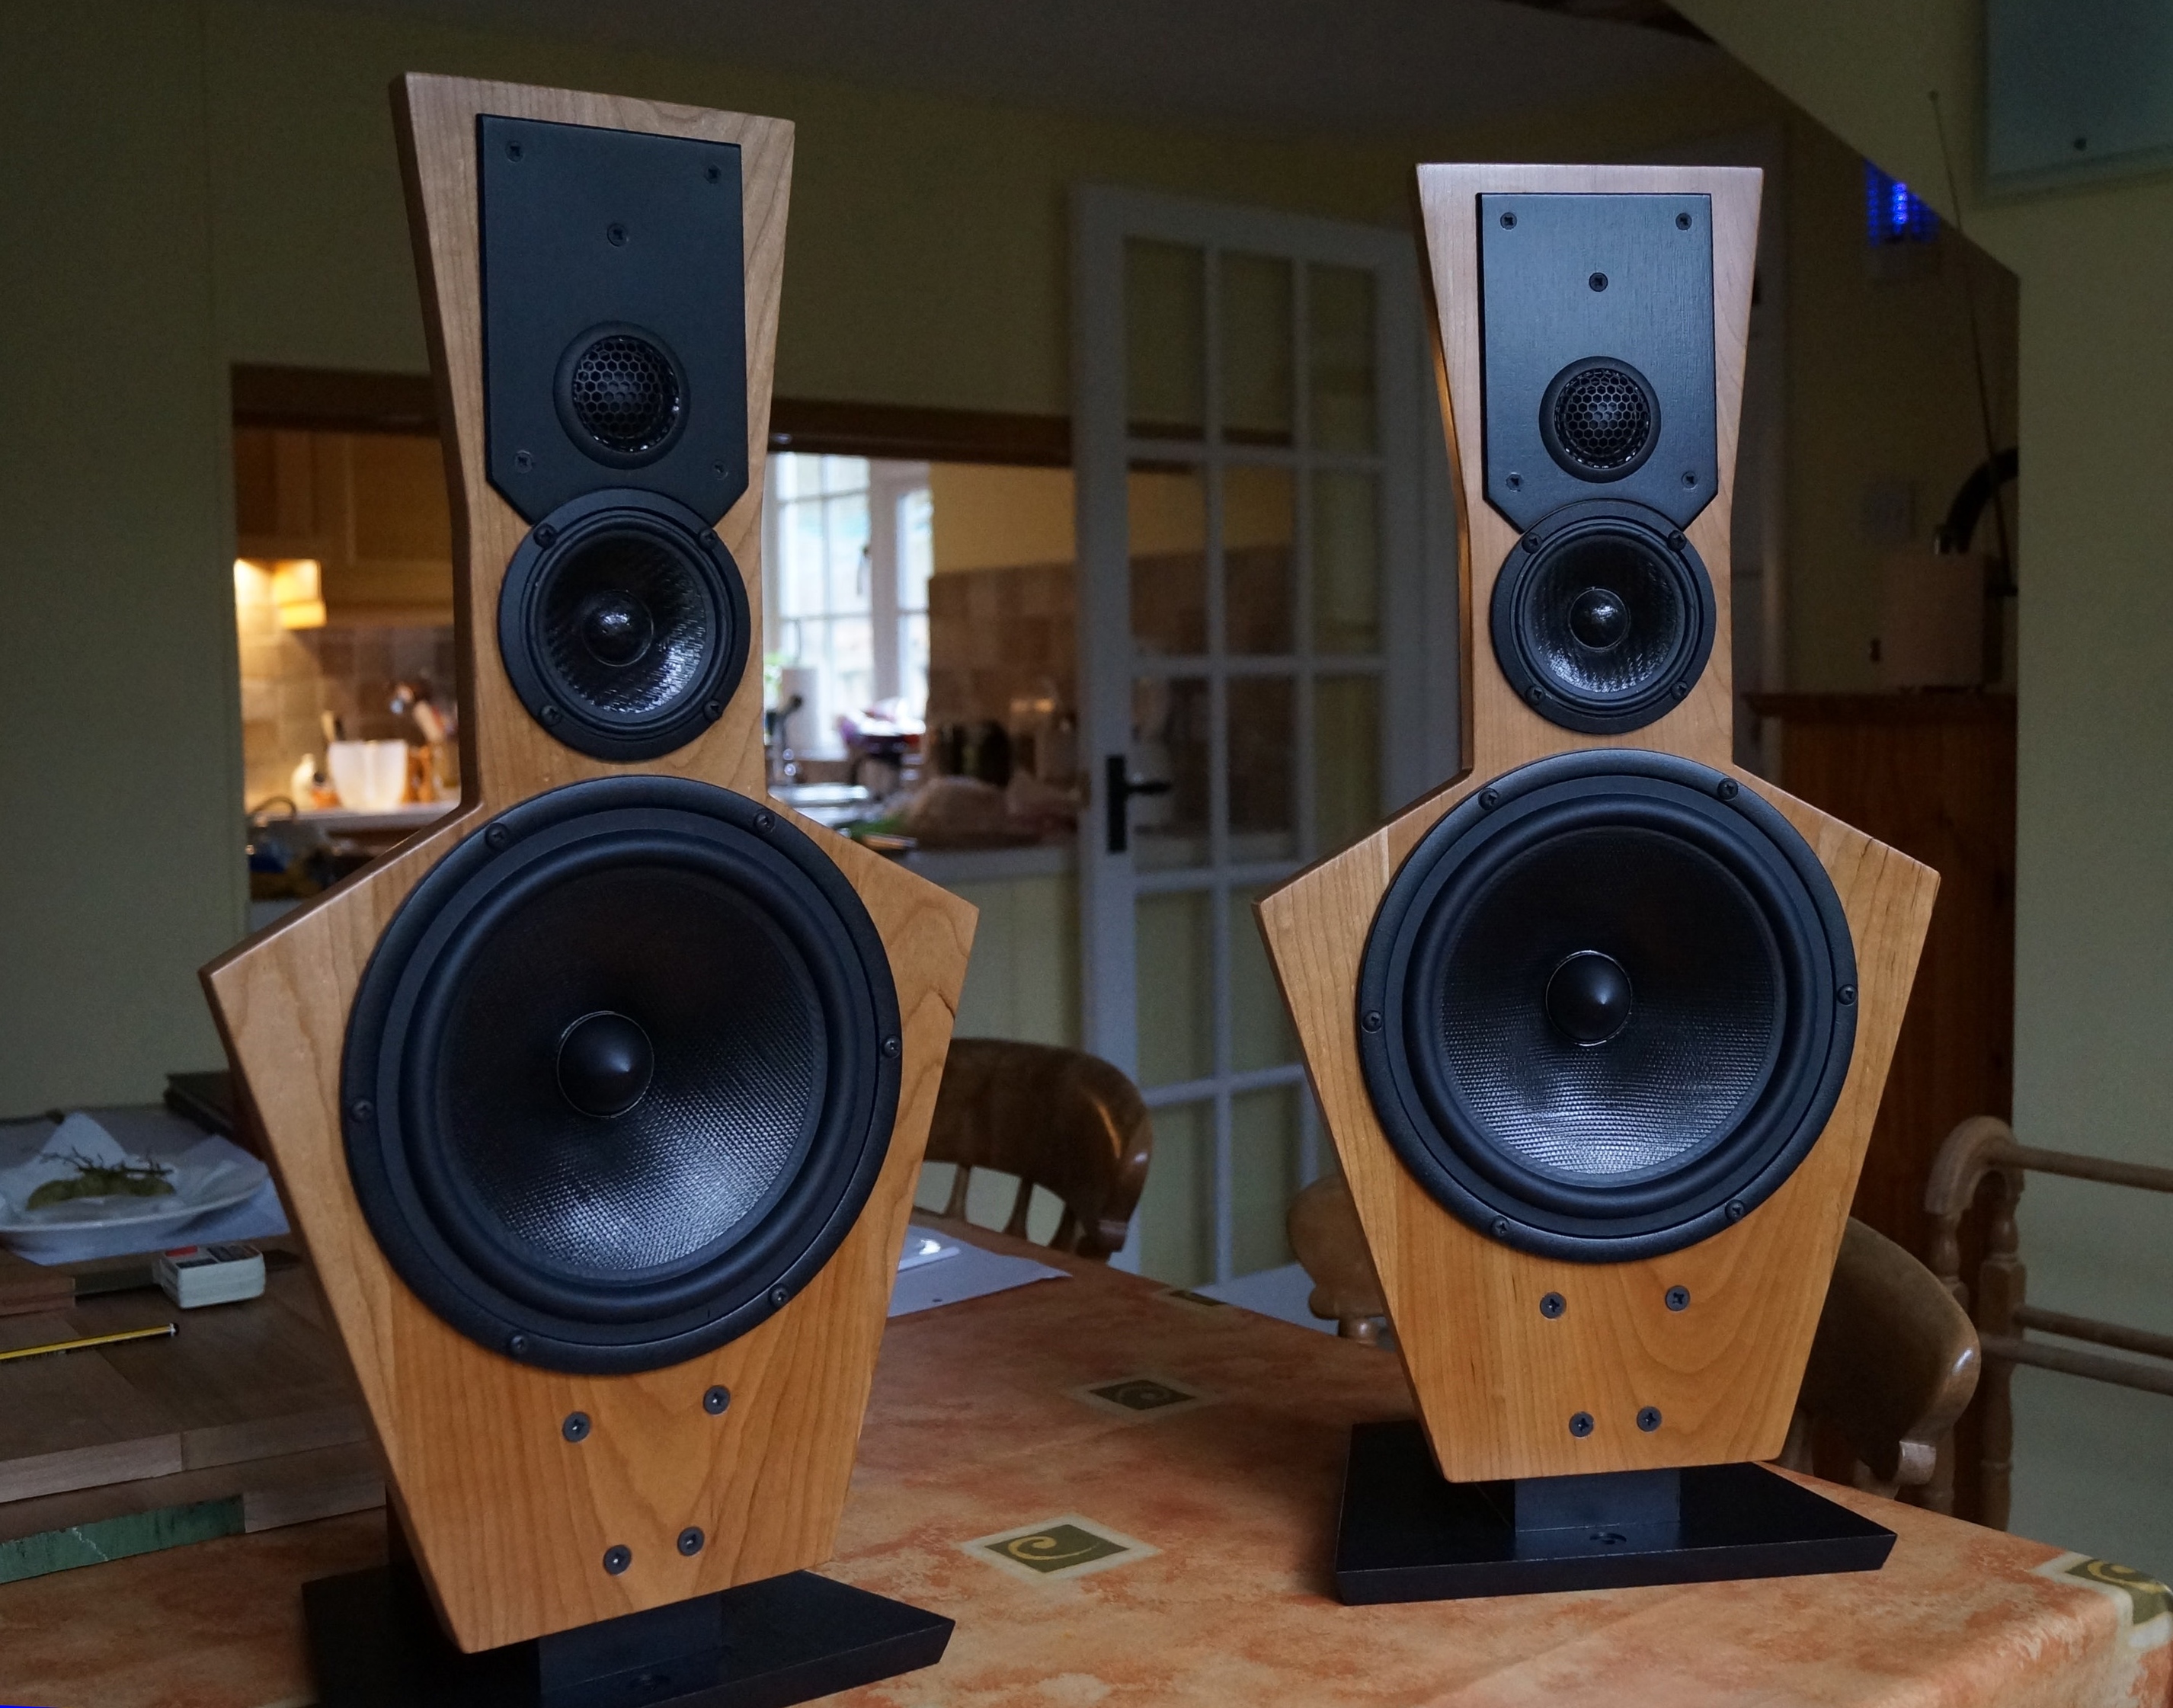
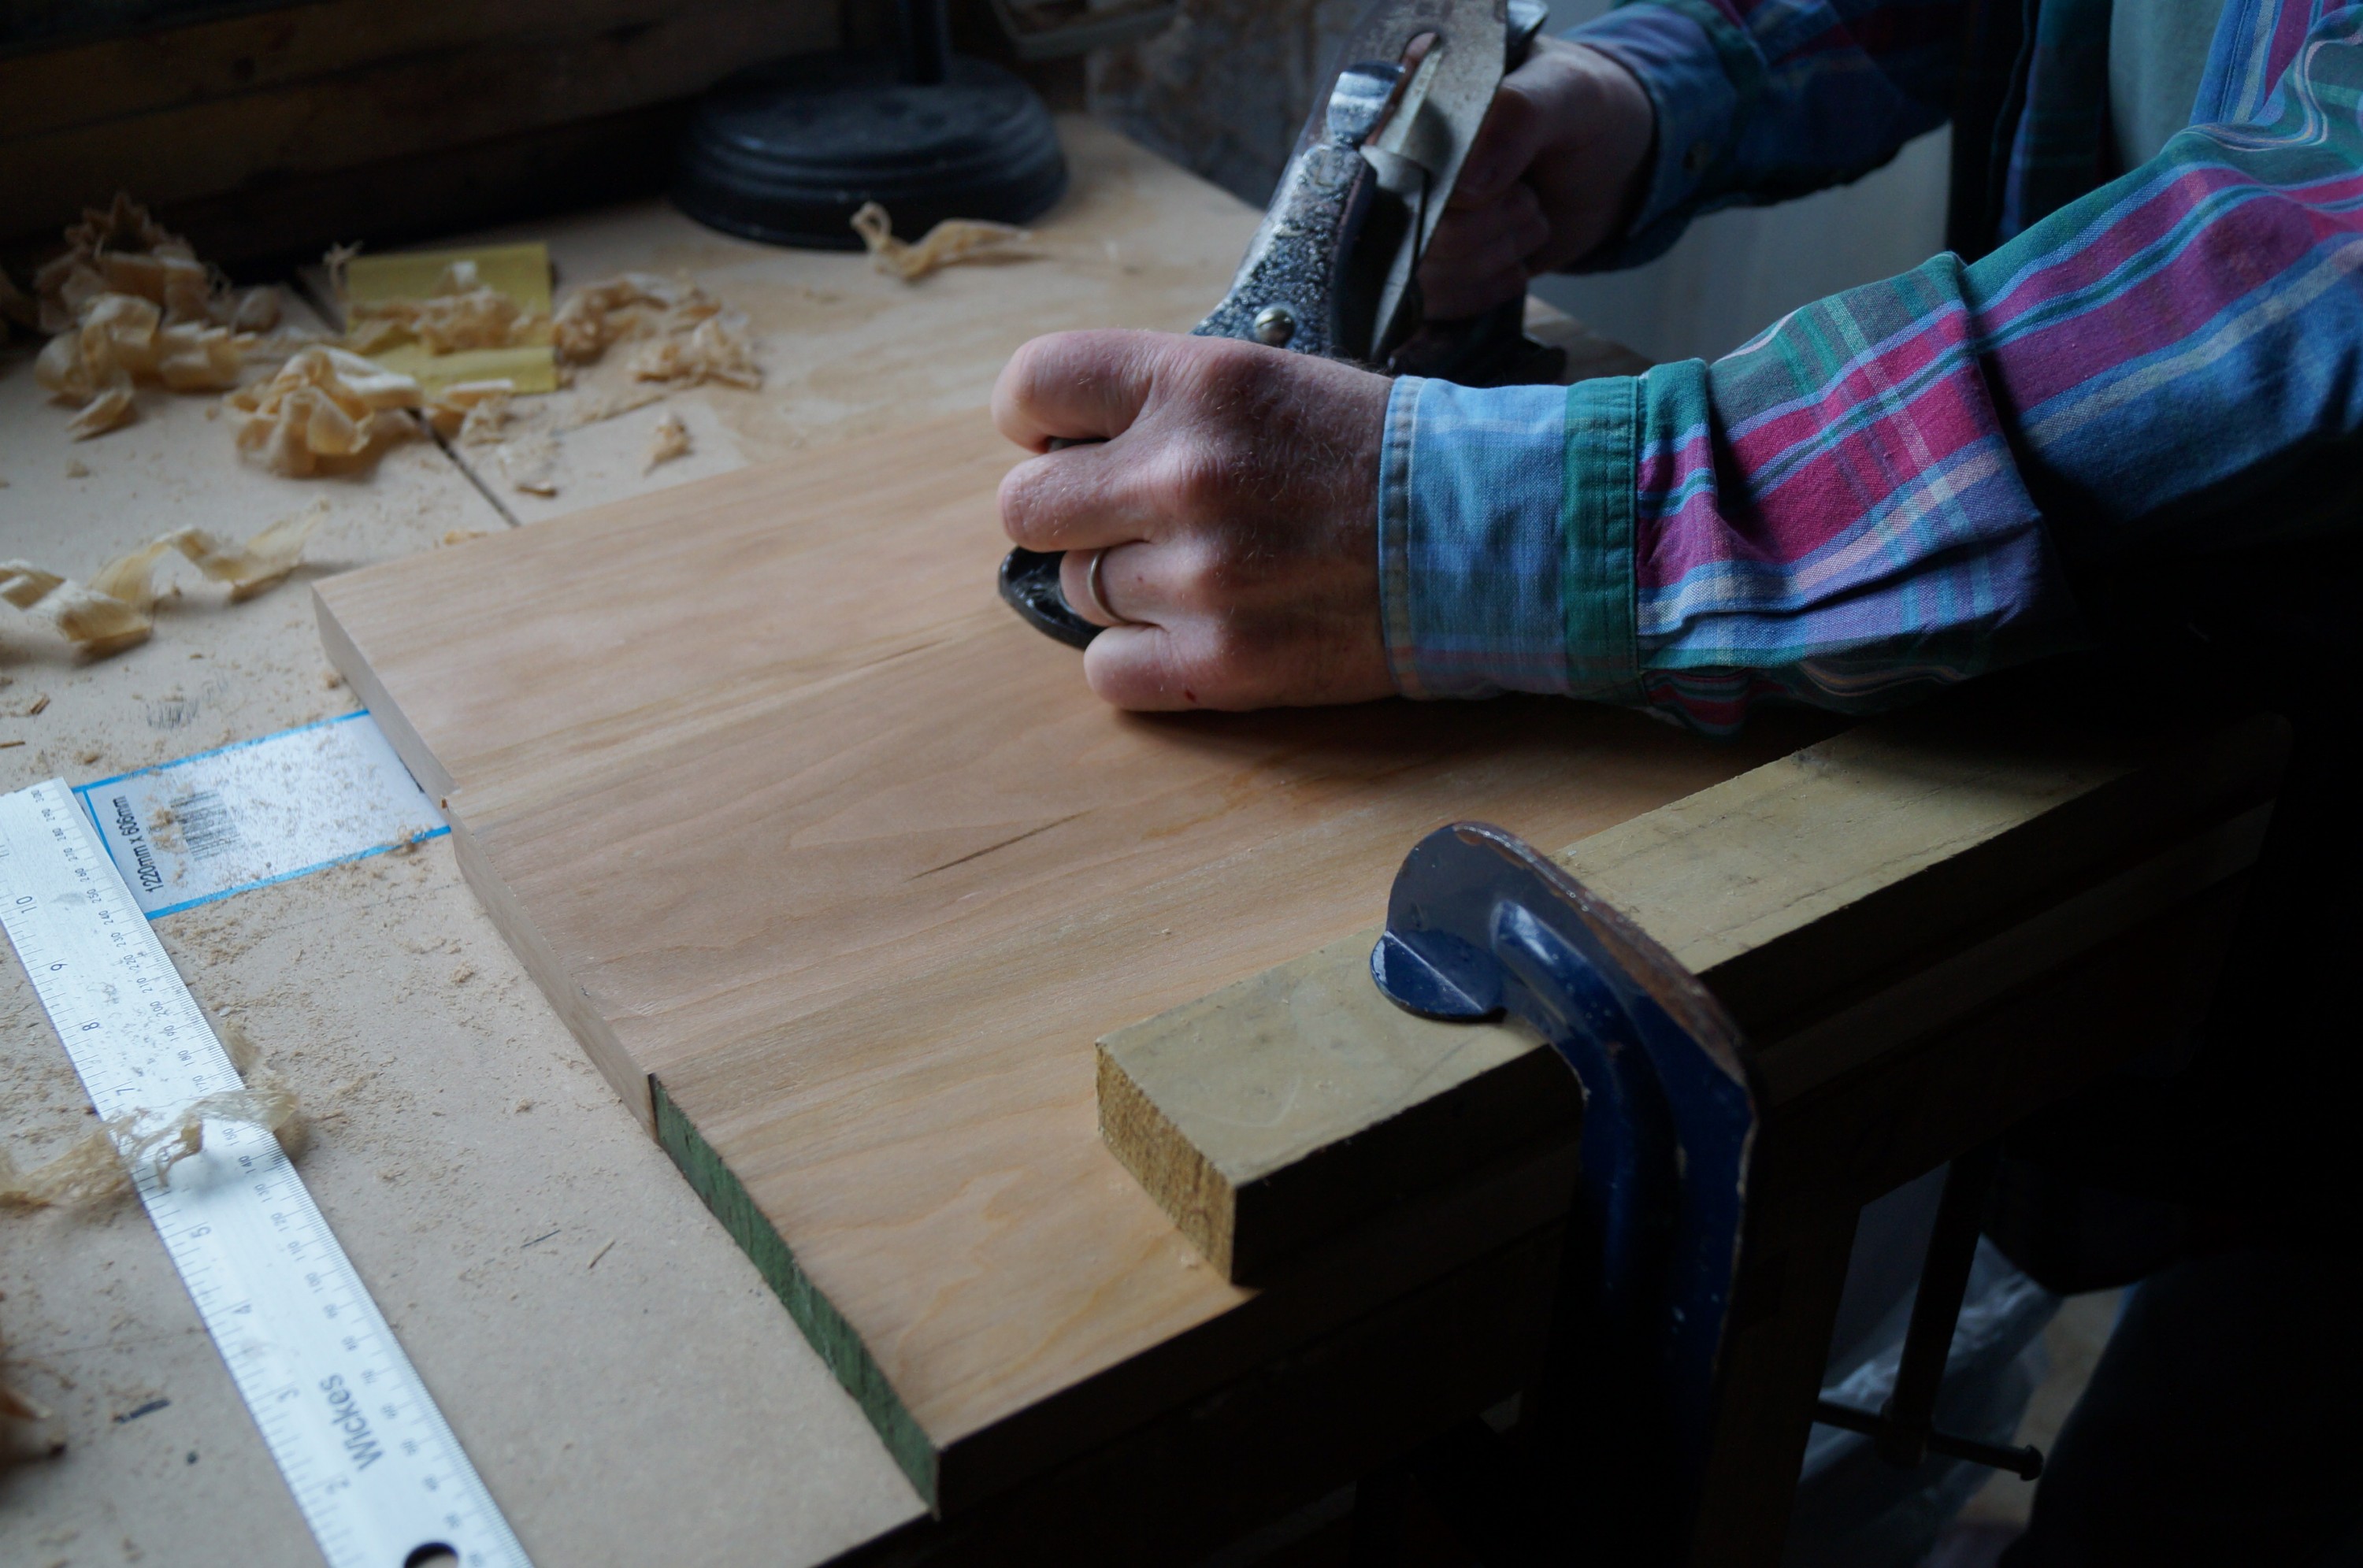
These modifications produced better progress – although I chewed the hole edge in a moment’ s loss of concentration I reached a depth of around 15mm before the incendiary risk broke my nerve. I used the jigsaw to remove the remaining disc of waste befor returning to my trusty drum sander to finish off. End result… acceptable – some further loss of pride re workmanship, but in the end no-one will know – the midrange unit will conceal the tatty edge.

Thinking about this “learning experience” whilst consuming a Franco Manca sourdough pizza, I have decided on the following strategy for baffle two:-

  1. Drill through-hole at centre
  2. Honeycomb-drill waste to within an inch of its life
  3. Perform initial circumferential cuts from BOTH sides with Forstner
  4. Proceed if bit decides to cut; otherwise remove waste with jigsaw and finish with drum sander

Esperons…


Trial tweeter fit

Tweeter baffles - front
Tweeter baffles – front

To cheer myself up after the Forstner fiasco I brought the first baffle panel indoors together with the tweeter baffles to assess the fit of the tweeters / upper midrange units.

I’m using dainty little 3/8″ No 6 black self-tapping pozi screws from Accuscrews to attach the tweeter baffles; the screws for the front and rear baffles share the same through-holes so if they are much longer they will collide.

Rear view
Rear view
Ready for painting
Ready for painting

All is well! – I was particularly pleased that my 19mm cherry ensured adequate clearance at the back of the tweeters. These are secured by black M4 8mm bolts inserted through the centre of the opposing baffle, and gratifyingly the tweeters lined up perfectly with the pre-drilled baffles. I knew from the support / build forums that tweeter clearance has been an issue for some builders using 18mm materials. I have sufficient clearance to allow the insertion of small foam grommets between tweeter and baffle to insure against any rattles at final assembly.

I still need to drill the mounting holes for the upper midrange on this baffle – but first I need to cut the lower midrange recess and set about baffle two…

Baffle fabrication continues…

The prepared UM hole

I had a good couple of hours uninterrupted work on the baffles this evening (lady wife having retired to bed early) and made good progress. The second baffle is now drilled. I decided to start with the UM hole first to get it out of the way. Shallow marker cuts with the big Forstner first, then waste drilled out completely – I anticipated the Forstner would have no trouble dealing with the remaining thin ring of waste.

The Forstner's limit!
The Forstner’s limit!

Wrong! Even this was too much for it – the photo shows how far it got before I abandoned it in favour of the jigsaw followed by the drum sander. End result cleaner than baffle one. The moral for any prospective builders is: if money is no object buy a high end 3 1/4″ Forstner for the UM driver hole – if you feel you’ve spent enough already on your LX521 project use a jig saw and a drum sander!

Back to the drum sander


Baffles first...
Baffles first…

By contrast the tweeter holes were a doddle this time, and their baffles were tidy using the two stage drilling plan. I then cut the lower midrange holes using the jigsaw, carefully noting the grain direction around the marked circle first to keep all jigsaw runs with the grain – this required four separate runs in differing directions. Back to the drum sander to tidy up and bring back to the line.

Remove baffles and drill


Fitting midrange drivers

With the holes completed I did a trial mount of the midrange units to mark the fixing screw positions. I’m using black No 8 self-tapping button head pozi screws for both units (Accuscrews again), but if I made another pair I would definitely use No. 6 for the UM driver; the screw holes are very close to the margins of the driver hole and one of my holes cut out ever so slightly with No 8 guage. Rock solid still, but a tad untidy; it needs a small glue repair.

Ready for the jigsaw

With all mounting holes drilled (bar those for the M6 bolts that screw the baffles to the supports) it was time to cut out SL’s angular baffle shape. I planed the top and bottom edges first so no worries about splitting. Thankfully my jigsaw was in genial mood today, and I was able to cut the side edges to within a millimetre without incident – again ensuring all runs were avoiding cuts into end grain.

Both baffles rough cut

The long lower sides of the baffles can be planed, but because of the shape of the upper part of the baffles I will have to rely on hard work with the sanding block for all other edges.


Dowel hole repair
Dowel hole repair

Cutting the baffle outlines revealed a small dowel hole in the bottom edge of one of the baffles; I was expecting this as when experimenting with a dowel joint for the panels I miscalculated a dowel hole depth. I fashioned a small round peg from the adjacent waste and glued this into position, carefully noting the grain direction first; this should be all but invisible once planed off and sanded.

I finished the evening by sanding the edges of the first baffle, initially with the drum sander, and then moving on to 80G paper. This was hard work, but the sanding block took out the residual unevenness left by jigsaw and drum sander better than I was expecting. I’ll return to the edges with finer grades in due course.

First baffle fitted to support

With the waste removed my drill press could now reach the position of the mounting bolt holes, so I drilled these next, and did a trial fit to the baffle support bracket. To my relief all bolts engaged without undue difficulty in the brass inserts – one is rather stiff however and I think some grease or soap is in order. After countersinking I reassembled, and took my final photo.

I still have to drill wire runs between the two tweeter holes; other than that, all this baffle now needs is its final sanding and some Osmo Polyx wax oil, and it will be finished.


More finishing work on baffles

Baffles after sanding

I now regret the optimistic conclusion to my last post! – the sanding and finishing process is neither quick nor easy. Each baffle has required a good hour and a half of patient hand sanding, working down to 150G to achieve a good surface prior to oiling. The top of one of the baffles had quite a bit of shallow pitting in the grain (see close-up in previous post) which needed a lot of elbow grease with the 80G paper to rectify. Both still have some minor imperfections but these will be covered by the tweeter baffles.

First coat of waxoil

The photos show the sanded baffles before and after the first coat of Osmo Polyx – I am using the 3032 satin matt I had left over from a parquet floor redo. Both baffles have some interesting U-shaped curved grain which is very pleasing – see close-up.


Grain detail (1)
Grain detail (1)

The only drawback with using hardwax oil is the drying time; the first application with brush takes a good 24 hrs or more to dry before the other side can be treated. More patience required… after smoothing off the first coat I am planning to apply a further two coats, although these will be rubbed in/off with some lint-free rag.


Grain detail (2)
Grain detail (2)


A busy work bench!
A busy work bench!

In the meantime I have sealed and sanded all the hardboard components with MDF sealer, primed these with the Bedec primer, and put a further coat of primer on the front flap of the woofer boxes – I should be able to start with the black paint soon.

Completing baffles, wiring tweeters

Wiring tweeters
Wiring tweeters

Woodwork and painting for the baffle assemblies is now complete, and the tweeters are wired in.

The main challenges when finishing the baffles concerned the final wax oil applications and final painting of the tweeter baffles – I did have some problems achieving a really smooth finish.

Cutting foam grommets to sit behind tweeters

With the cherry baffles I experimented with a buffing technique (demonstrated on YouTube) by lightly pressing a spinning Scotchbrite pad (using a sander, or in my case the drill and drum sander!) to smooth off the first brush-applied coat of wax oil. This does give a very smooth surface, however unfortunately it can leave some faint circular scratch marks on the wax surface. I therefore used some 240G sandpaper to take the surface down before reapplication. In the end I used four coats, two with brush and two rubbed off with rag.

8mm M4 tweeter retaining screw goes through grommet

I finished the tweeter baffles with a coat or two of matt black, sanding with 180G in between, followed by the soft satin. They needed careful brush work , and I had to redo one baffle twice because of minor bubbles / imperfections before I was satisfied.

Wiring the tweeters - top one first
Wiring the tweeters – top one first

Wiring the tweeters is another fiddly job, and (as is often the case with this project) I only worked out the best approach by doing the first one. A hole is needed for the supply wire in the lower half of the rear tweeter baffle just inside the tweeter recess, so I marked this from the front. An old towel protects the wood whilst working. I also cut four little sticky backed foam grommets which I stuck to the back of the tweeter baffles to fill any dead space behind the tweeters (and insure against rattles).

Continue reading Completing baffles, wiring tweeters

Baffle assembly complete

Spraying midrange units
Smooth satin finish
Smooth satin finish

The baffle supports have now been given their final coat of satin black and are finished bar the Speakon mounts.

I was keen to position the midrange units and see how the baffles looked with the supports, but before this, taking another leaf from Bill Schneider’s book, I masked up the midrange units and gave the rear metallic surfaces a spray of satin black from a tin of…. I was somewhat nervous of using spray paint, never having used it and not having the proper kit for more substantial surfaces, but I was pleasantly surprised by the finish one coat achieved. The occasional little bubbly imperfection, but more than adequate for the job. Although described as satin, the finish is towards the gloss end. A voice in my head is now questioning whether I should spray the final coat on the woofer boxes…

Completed baffles
Completed baffles!

Having given the spray 24 hrs to dry I took everything inside and assembled the baffles. I used a small amount of grease on all mounting screws and bolts this time which abolished the stiffness noted previously. Stuck ’em on the kitchen table for a photo; there is little natural light at present during a particularly dingy December, but they look good. Definite sense of progress!

Fabricating the bridges

First top glued up
First top glued up
Planing off
Planing off
Checking warp
Checking warp

Not posted for a while – the small matter of Christmas intervening… however I have been chipping away at the woodwork (ho ho) now and then. Work on the bridges is now well under way – I have decided to press on with these prior to finishing the woofer boxes to get the remainder of the woodwork out of the way.

The bridge tops are solid cherry made from glueing three boards together as with the baffles. The assembled boards were reasonably flat, although there was a slight warp which had developed in the boards before glueing which I was able to reduce with the plane. I’m reckoning on eliminating any residual bowing when clamping  and glueing the tops to the sides.


Setting out toe-in holes
Clamping guide above counterbore
Sinking insert using guide
Completed insert holes

I mentioned in an earlier post that from reading both SL’s material and that of other LX521 owners I realised that including a toe-in facility was an essential element in the design if using these speakers in smaller rooms. My solution was to sink five extra brass inserts into each bridge, as alternative placements for the rear baffle support bolts, along an arc at 5 degree intervals, thus allowing a maximum toe-in of 25 degrees for each baffle. The photos show the marking out for these. I am setting the baffle supports slightly further back on the bridge so that the bases do not protrude over the bridge top when set at maximum toe-in.

My earlier experience with sinking brass inserts was less than satisfactory because of the difficulty avoiding the grain lifting and splitting, so I experimented with using some 10mm ply to act both as a guide and to apply support pressure to the wood around the counterbore recesses. I cut two holes, one smaller and threaded to start the holes in the bridge, the second larger (ie the diameter of the top of the inserts) as a guide when screwing the inserts home. The ply was positioned carefully over each hole and clamped down onto the cherry. It worked well, with much cleaner results. None of this will be seen anyway as the inserts are on the underside of the bridge tops.

Next task: cutting and planing bridge tops and feet to final size… and then a lot of hand sanding – ugh.

Bridge fabrication continues…

Hardwood parts planed
Hardwood parts complete

Bridge tops and feet are now planed up, and essentially complete bar sanding and finishing. I decided to bevel all edges of the bridge tops to the same angle as the baffle support bases for the sake of design continuity.

Bridge feet detail
Bridge feet detail
Veneered side panels
Marking side dowels
Marking side dowels


Trial bridge assembly

Planing the cross grain on the bridge tops required the usual degree of care to prevent end grain splitting – I purposely left 3/8″ of waste along the back edge and planed the sides from front to back before trimming this back to the line. Whilst bevelling the edges I also used my trusty aluminium clamps across the work to further support the end grain. The photos show all finished hardwood elements (one bridge top is upside down) with feet detail, dowel holes drilled.

Time to start on the veneered side panels. These were supplied by SL Hardwoods with an “A” and “B” side; the grain on the “A” side has interesting swirls, and I am looking forward to seeing how these come up with the oil. Following the marking out and drilling of the dowel holes in the four sides I was able to do a trial assembly of the bridges over their woofer boxes. All fitted well and looks great. You can see the slight bow on the bridge tops – the clamps will sort that when glueing up. I am planning to glue the bridge parts using the woofer boxes as jigs / guides to ensure the side gaps and angles are true. Regrettably, much sanding is ahead before then!

Finishing and glueing up bridges


First coat wax-oil on
First coat wax-oil to inside surfaces

Progress has been slowed by various domestic mechanical and electrical failures; New Years Day was the day when a bulb failure blew an obscurely sited fuse, the girls’ power shower gave up, and the washing machine decided to just keep washing and not bother with rinsing or spinning – the rule of 3’s is live and well. I now know how to change a Bosch washing machine heater element and door seal (but it’s still washing ad infinitum; a new thermostat is now in the post… esperons).

Glueing setup
Glueing setup

In a way these distractions have helped conquer any impatience with the bridge finishing. It is tempting to rush in with the second wax-oil coat before the first has thoroughly dried – the first paint-on application really needs a good 36 hours to dry and harden up (more if panels left in a cold garage) before any light fine sanding and the second rub-off coat. I finished the side panels before glueing but left the feet and tops until the bridges were assembled.


Spacer detail
Spacer detail
First bridge glue-up
Wax-oiling top
Wax-oiling top
Second bridge glue-up. First needs one more coat of wax-oil.

I was concerned about how to ensure the bridges were glued accurately so the sides ended up parallel to the woofer boxes. The feet take care of the bottom end, but not the top. My method was to assemble them around a woofer box, taping some hardboard and sticky-backed foam spacers onto the upper sides of the latter to ensure the bridge sides were held exactly the right distance from the woofer boxes (see photos). I cut some spare shelving to act as a base I could clamp from, and this worked very well – I was surprised how solid the resulting 8-dowel joints between top and sides turned out. I had purchased some small metal right-angle brackets but now I don’t think I need them. I am equally pleased that the mild bowing in the bridge tops has been completely eradicated by the clamp glueing onto the sides as I had hoped.

Next job is to wax-oil the top and feet. One has its first coat so far (see photo). Once the remaining wax-oiling is done I will then need to screw in all the brass inserts, stick some protective felt onto the feet and the bridges will be done. Then it’s back to the woofer boxes for final sanding and black paint. The end of this project is definitely in sight!

Reviewing the post, I realise the penultimate pic has a somewhat “Wolf Hall” feel to the lighting. Pity it wasn’t a candle in the background…

Indoor jobs…

Replacing brass inserts into underside of bridges

The bridges are done – the final coat of wax-oil was applied in the music room to speed up drying time. I am increasingly trying to find reasons to avoid venturing out to the garage as the temperature is dropping fast; we are forecast the first really cold spell this winter. All that remained was to screw the brass inserts back in to their previously prepared holes in the underside of the tops.

Completed bridges!
Completed bridges!

What I should be doing next is returning to the woofer boxes… in the garage… Instead I decided to dispatch the tedious job of making up the phono leads that will run between the MiniDSP and my NAD CI9120 12-channel power amp – in the warmth of the kitchen. Sadly, NAD have discontinued this amp, but I was fortunate in picking one up second hand on E-bay. Ten of the twelve channels are needed for the LX521.4 setup. Decent phono leads go for silly prices in the shops, so some weeks earlier I had ordered from Canford a quantity of Rean heavy-duty plugs and several metres of their good quality HSS screened cable.

Phono leads with splitters made up

It took me the best part of four hours to solder and assemble the 24 connectors – but they are thankfully now all ready (see photo – note the fourth lead for L and R needs a splitter as upper and lower woofers share MiniDSP output but each have their own power amp channel).


Black felt on baffle support base

A much quicker (and easier) task was to cut some self-adhesive black felt to stick onto the bases of the baffle supports before giving them a trial fit onto the bridges. With the front M5 bolts in place the rear ones lined up perfectly with the toe-in holes – relief!

My last LX521 job of the day was to order some Techflex sheathing and heatshrink in anticipation of making up the speaker leads. This should be my last on-line order for this project – a cause for celebration in itself as it certainly all adds up…