Bridge fabrication continues…

Hardwood parts planed
Hardwood parts complete

Bridge tops and feet are now planed up, and essentially complete bar sanding and finishing. I decided to bevel all edges of the bridge tops to the same angle as the baffle support bases for the sake of design continuity.

Bridge feet detail
Bridge feet detail
Veneered side panels
Marking side dowels
Marking side dowels


Trial bridge assembly

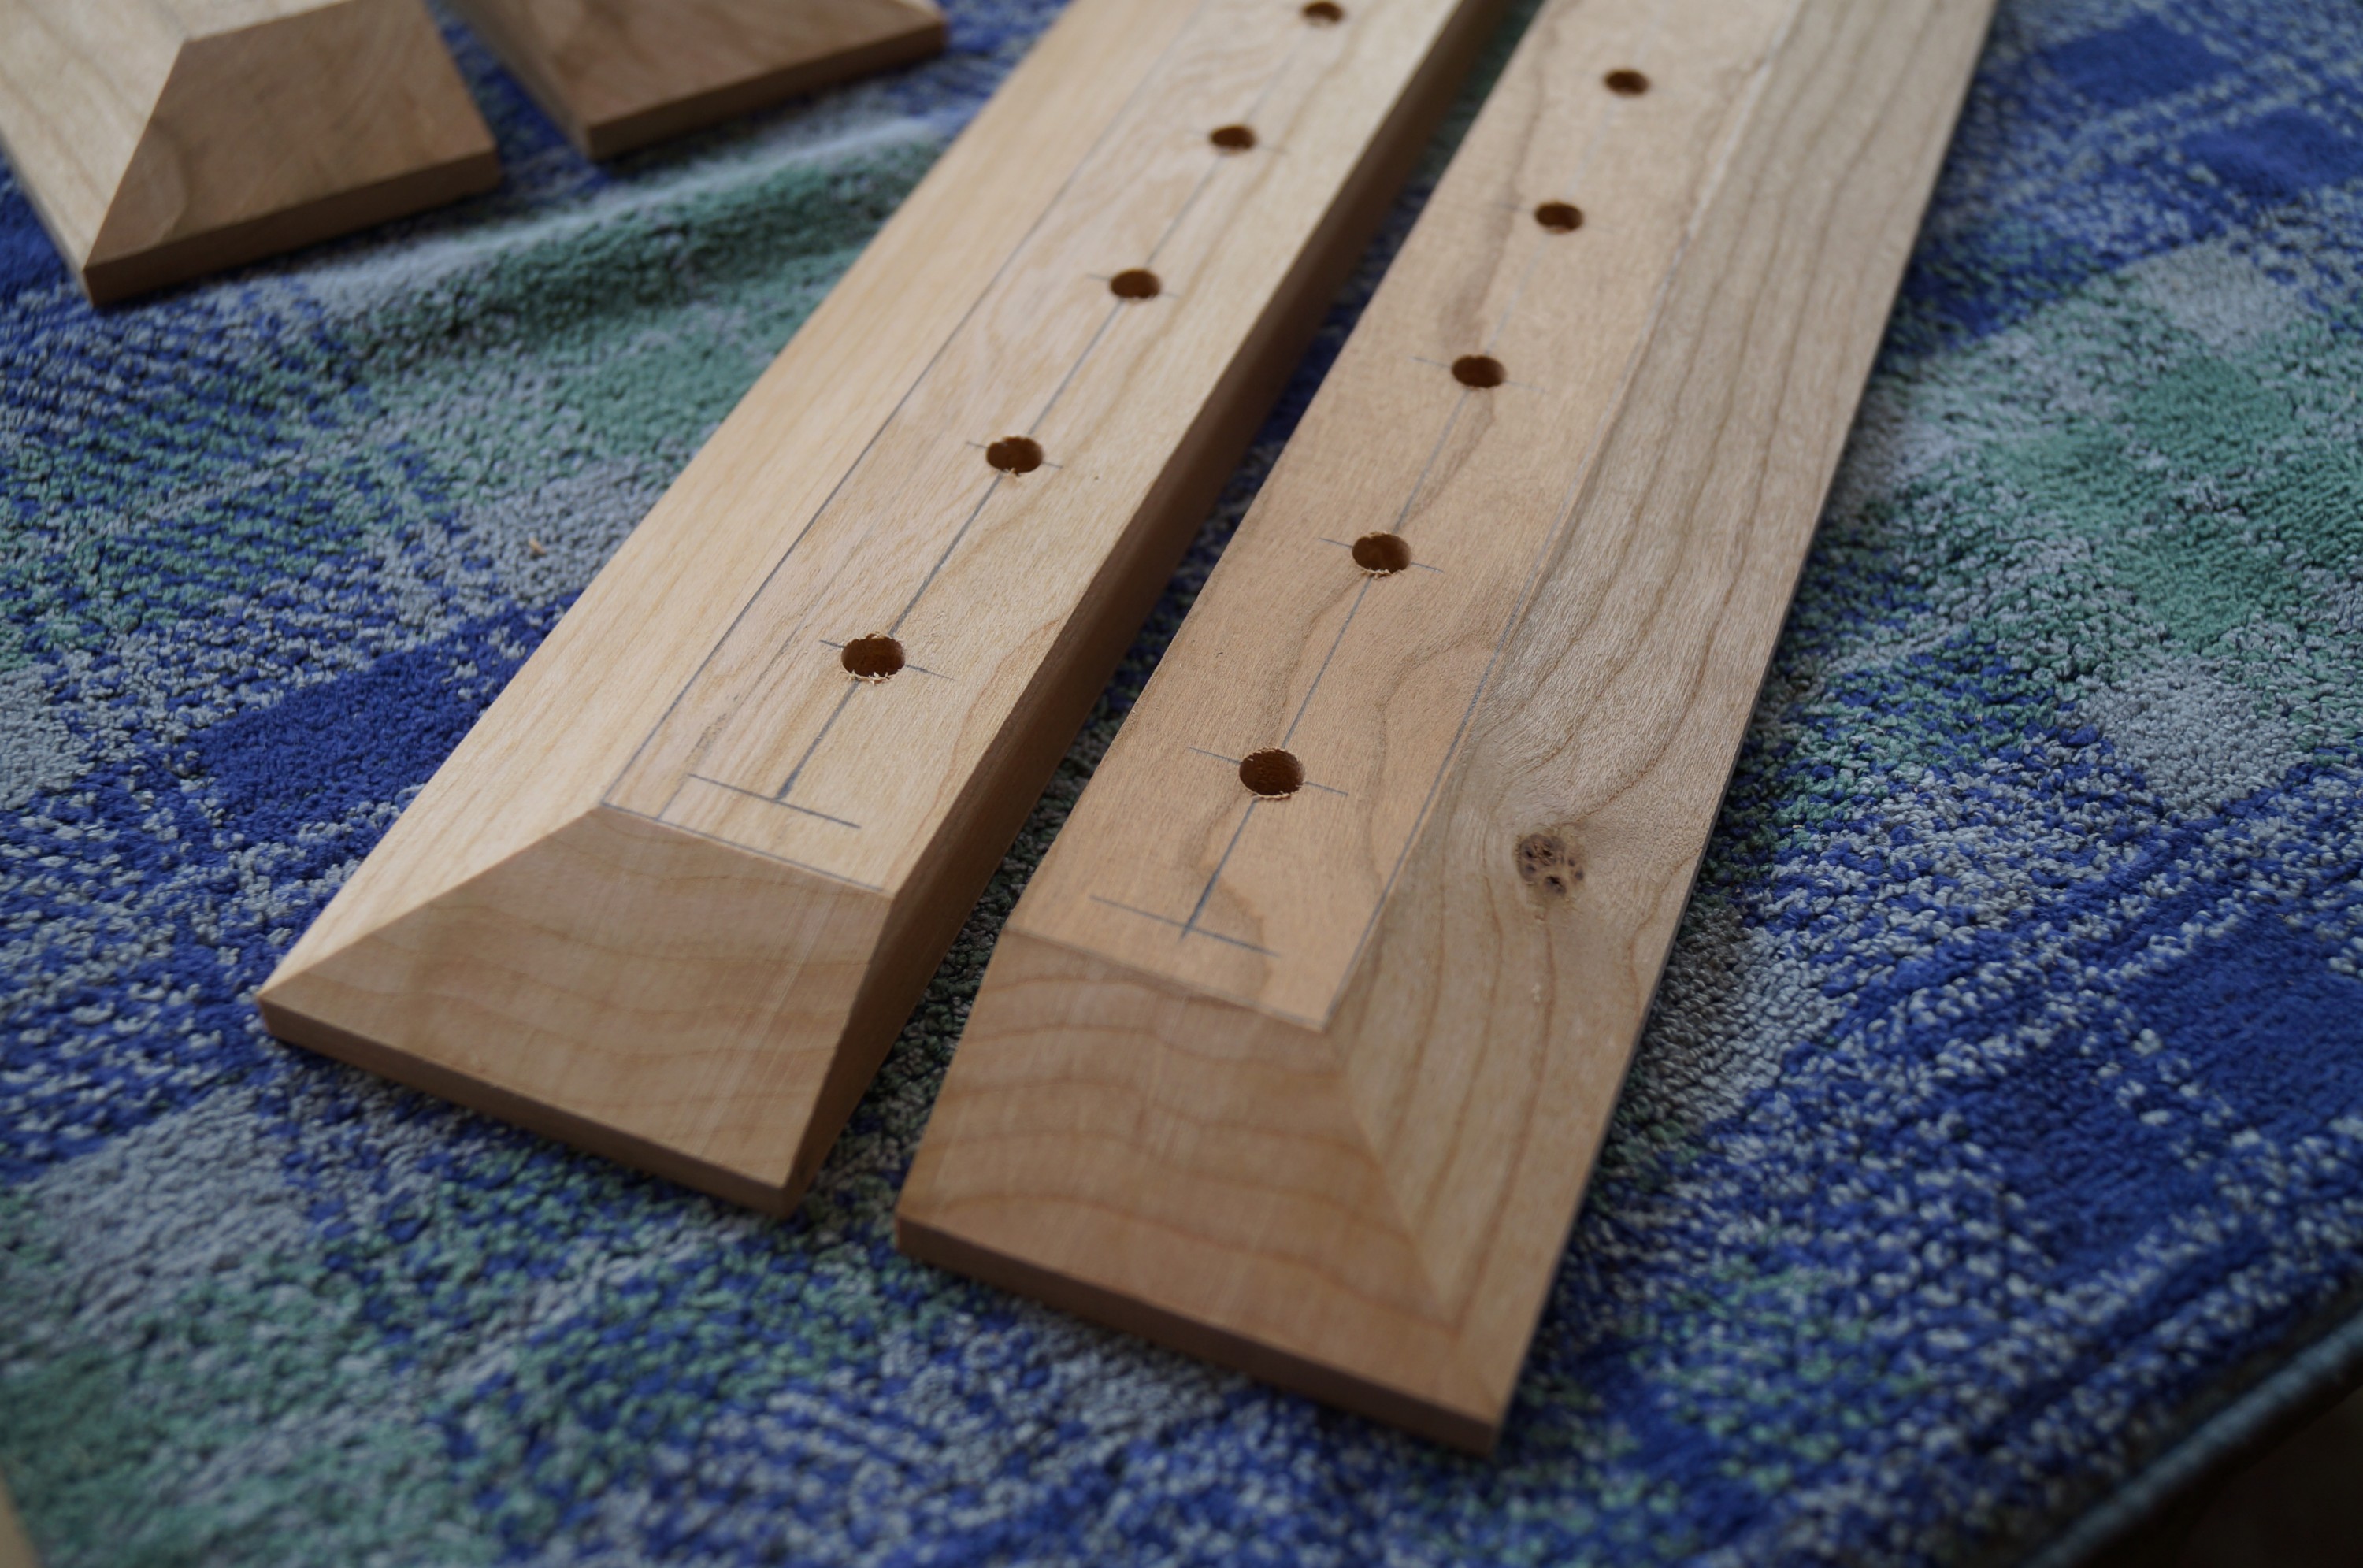
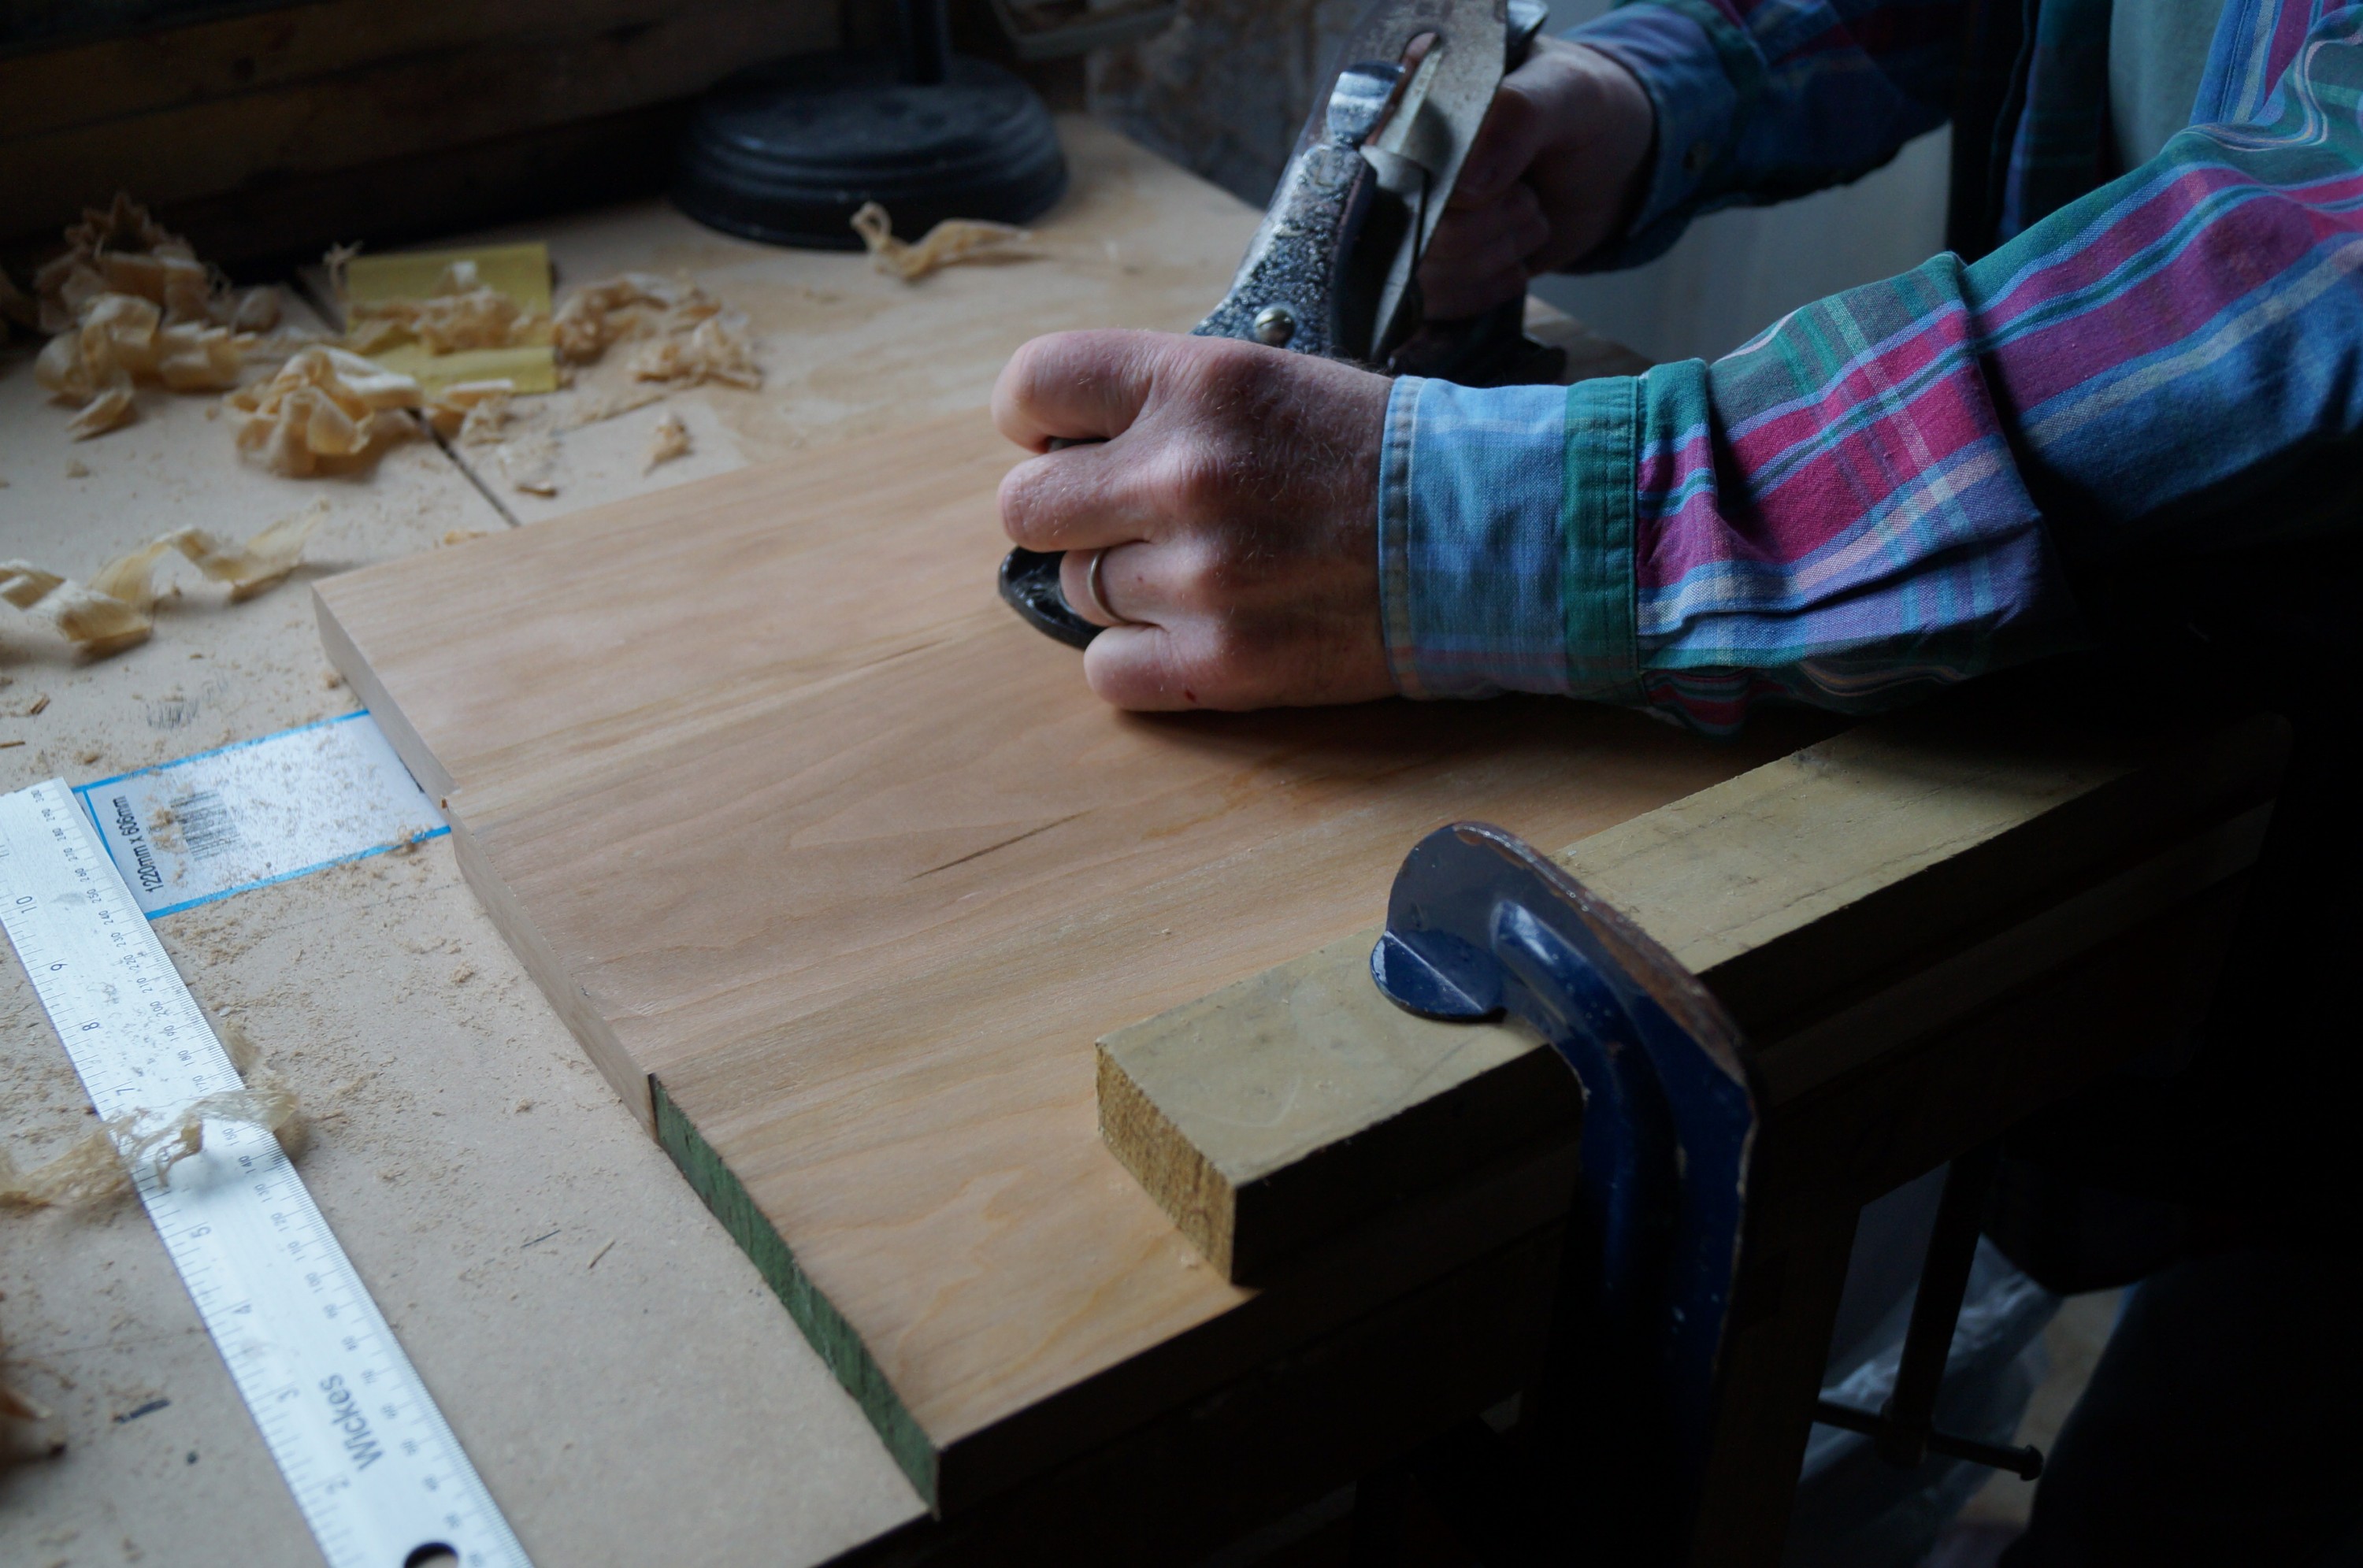
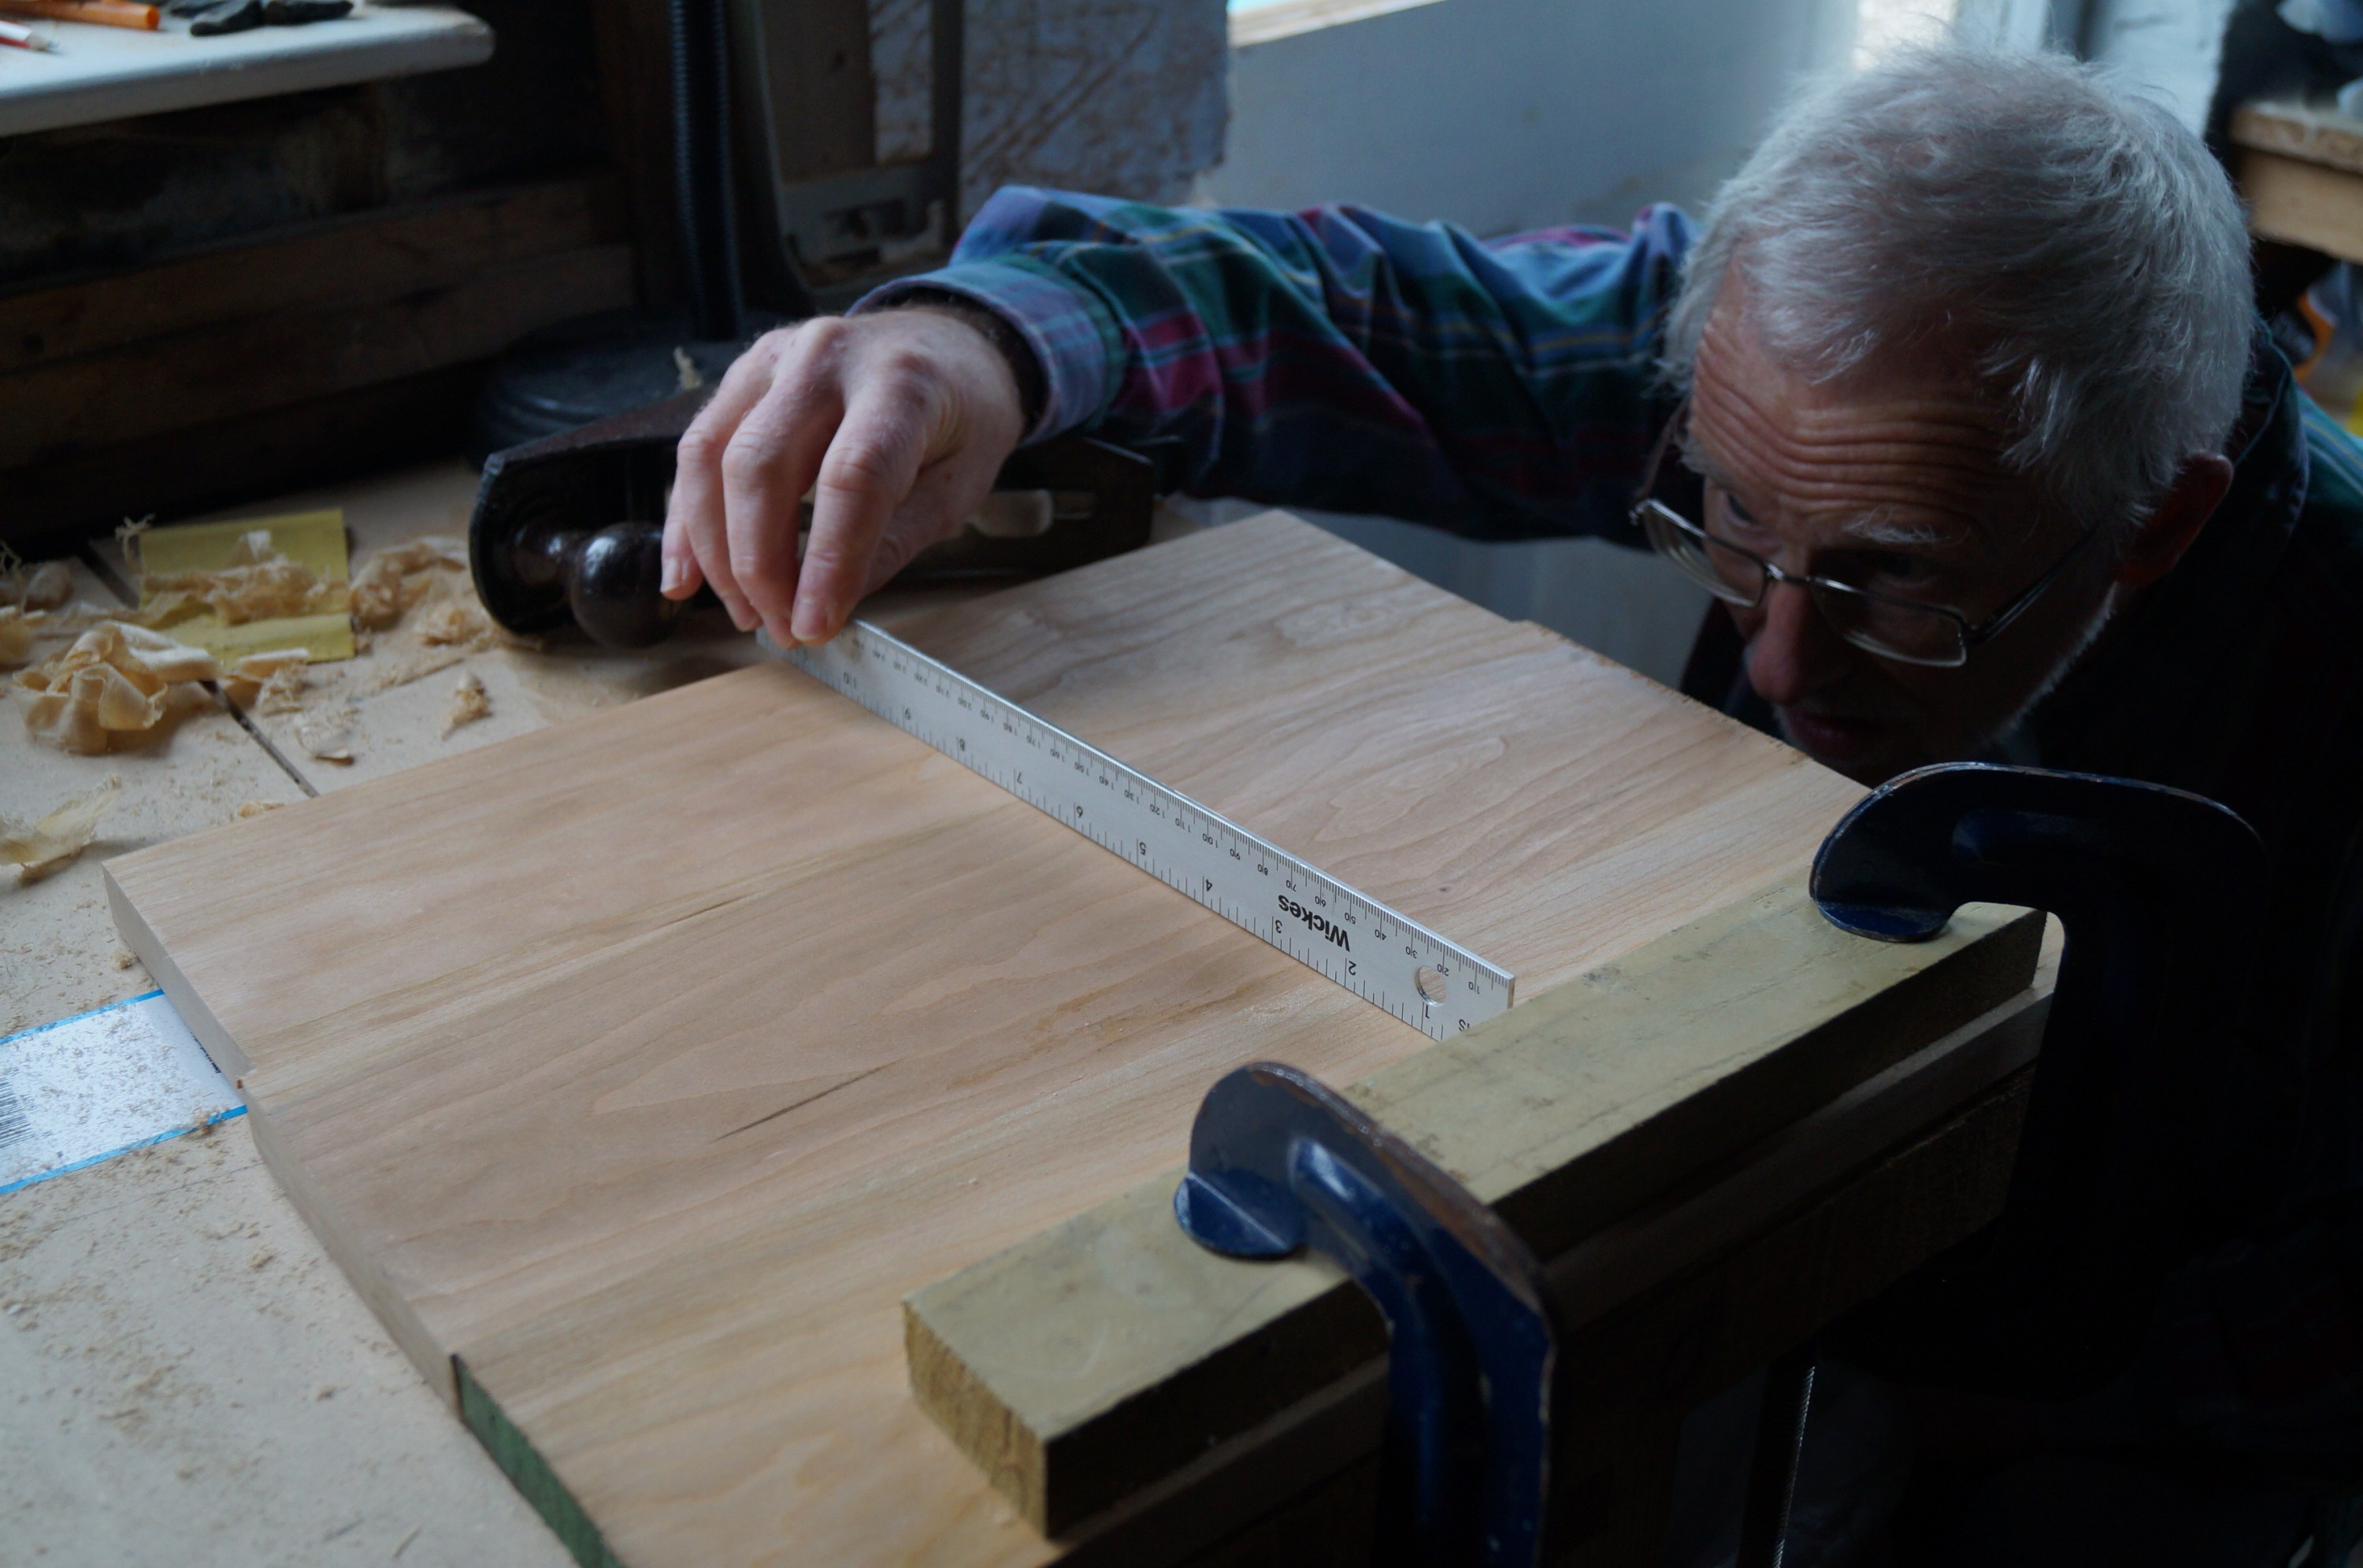
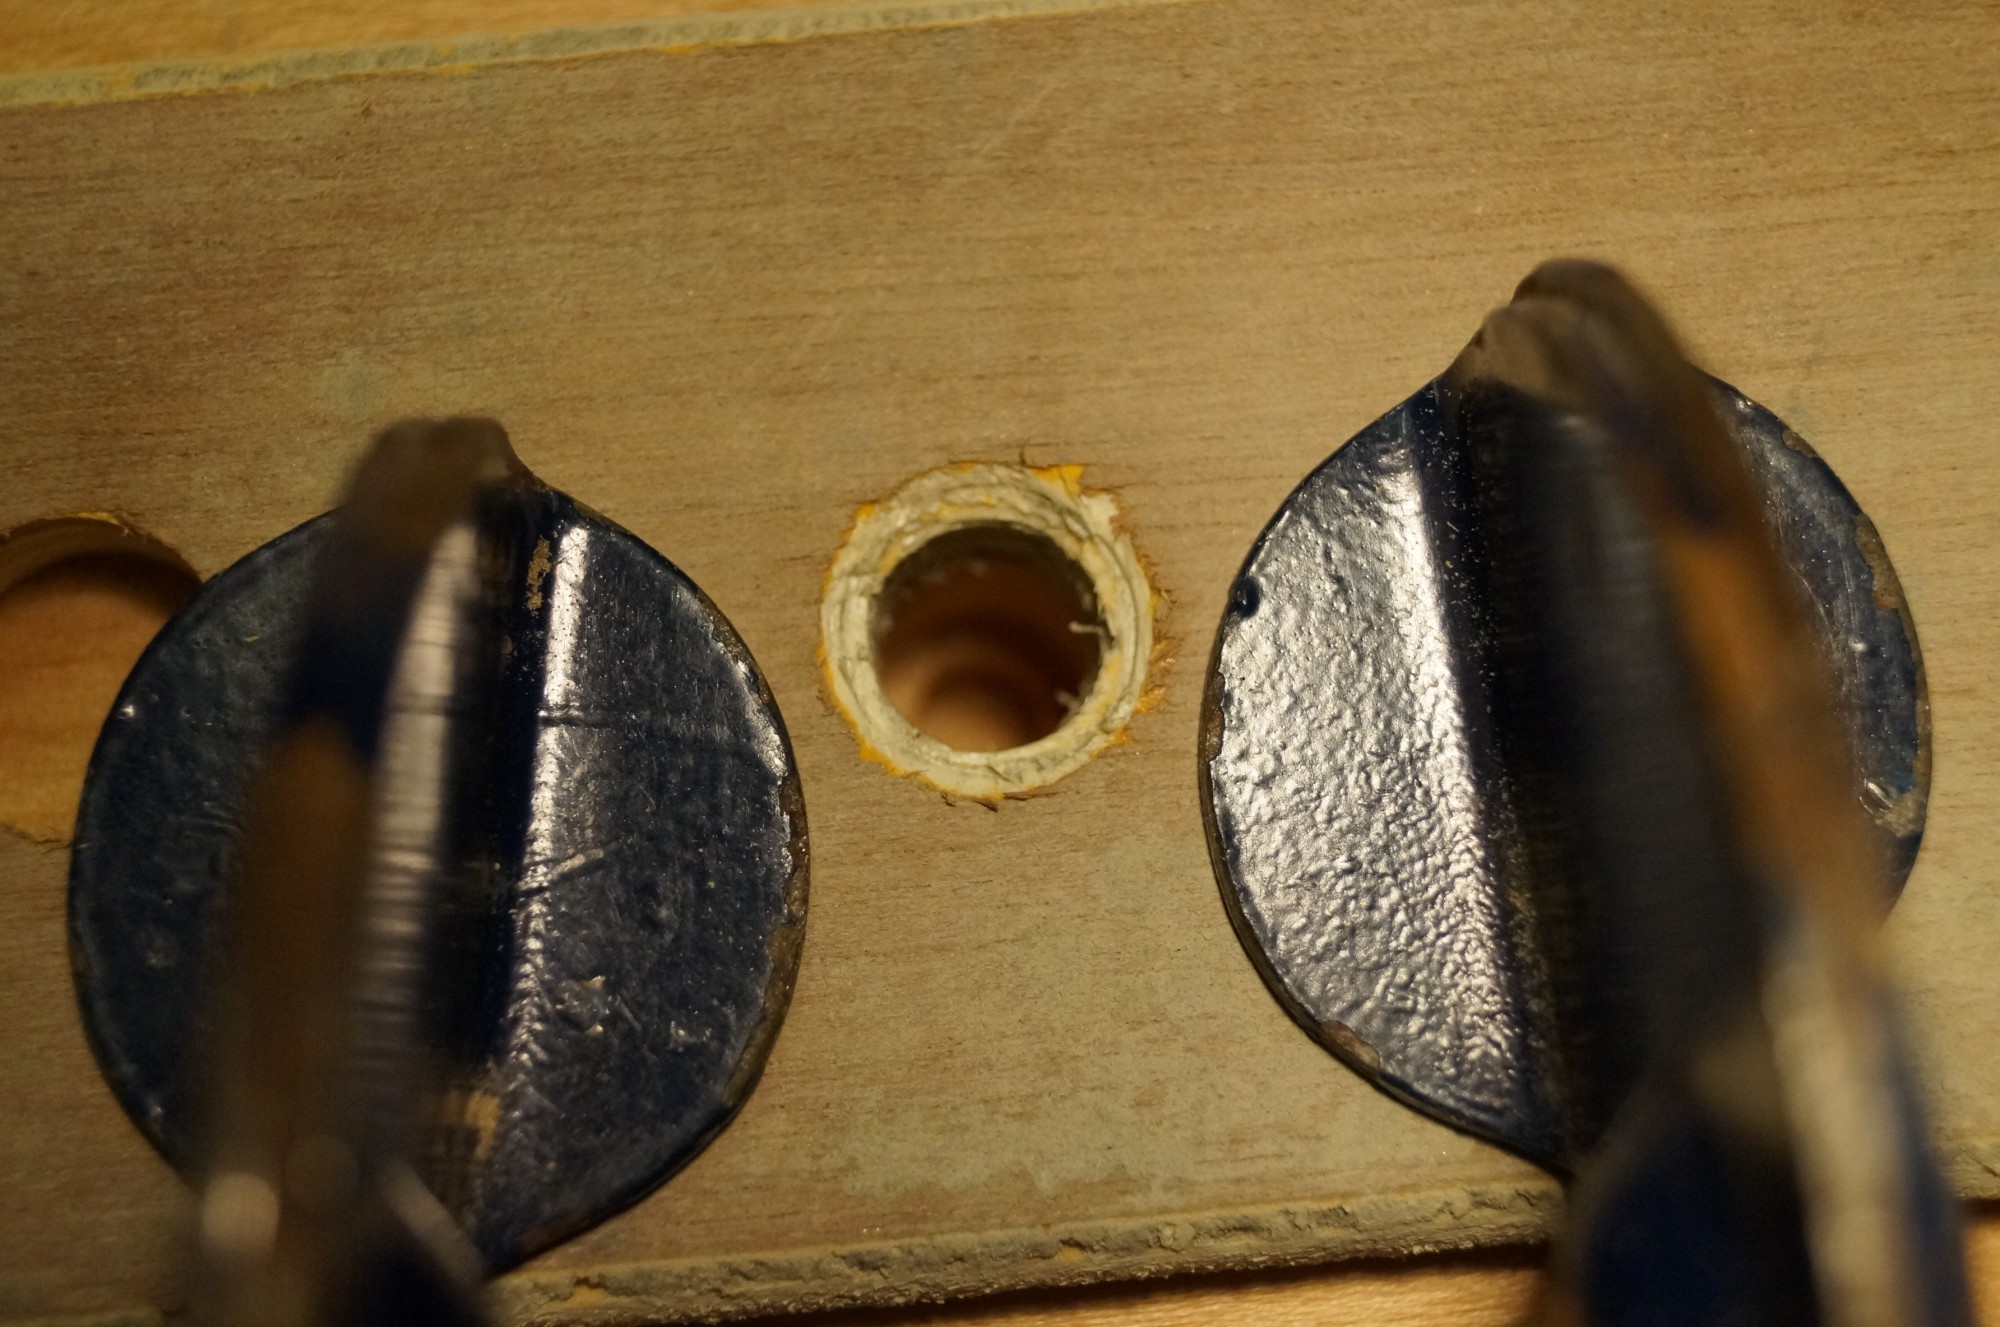
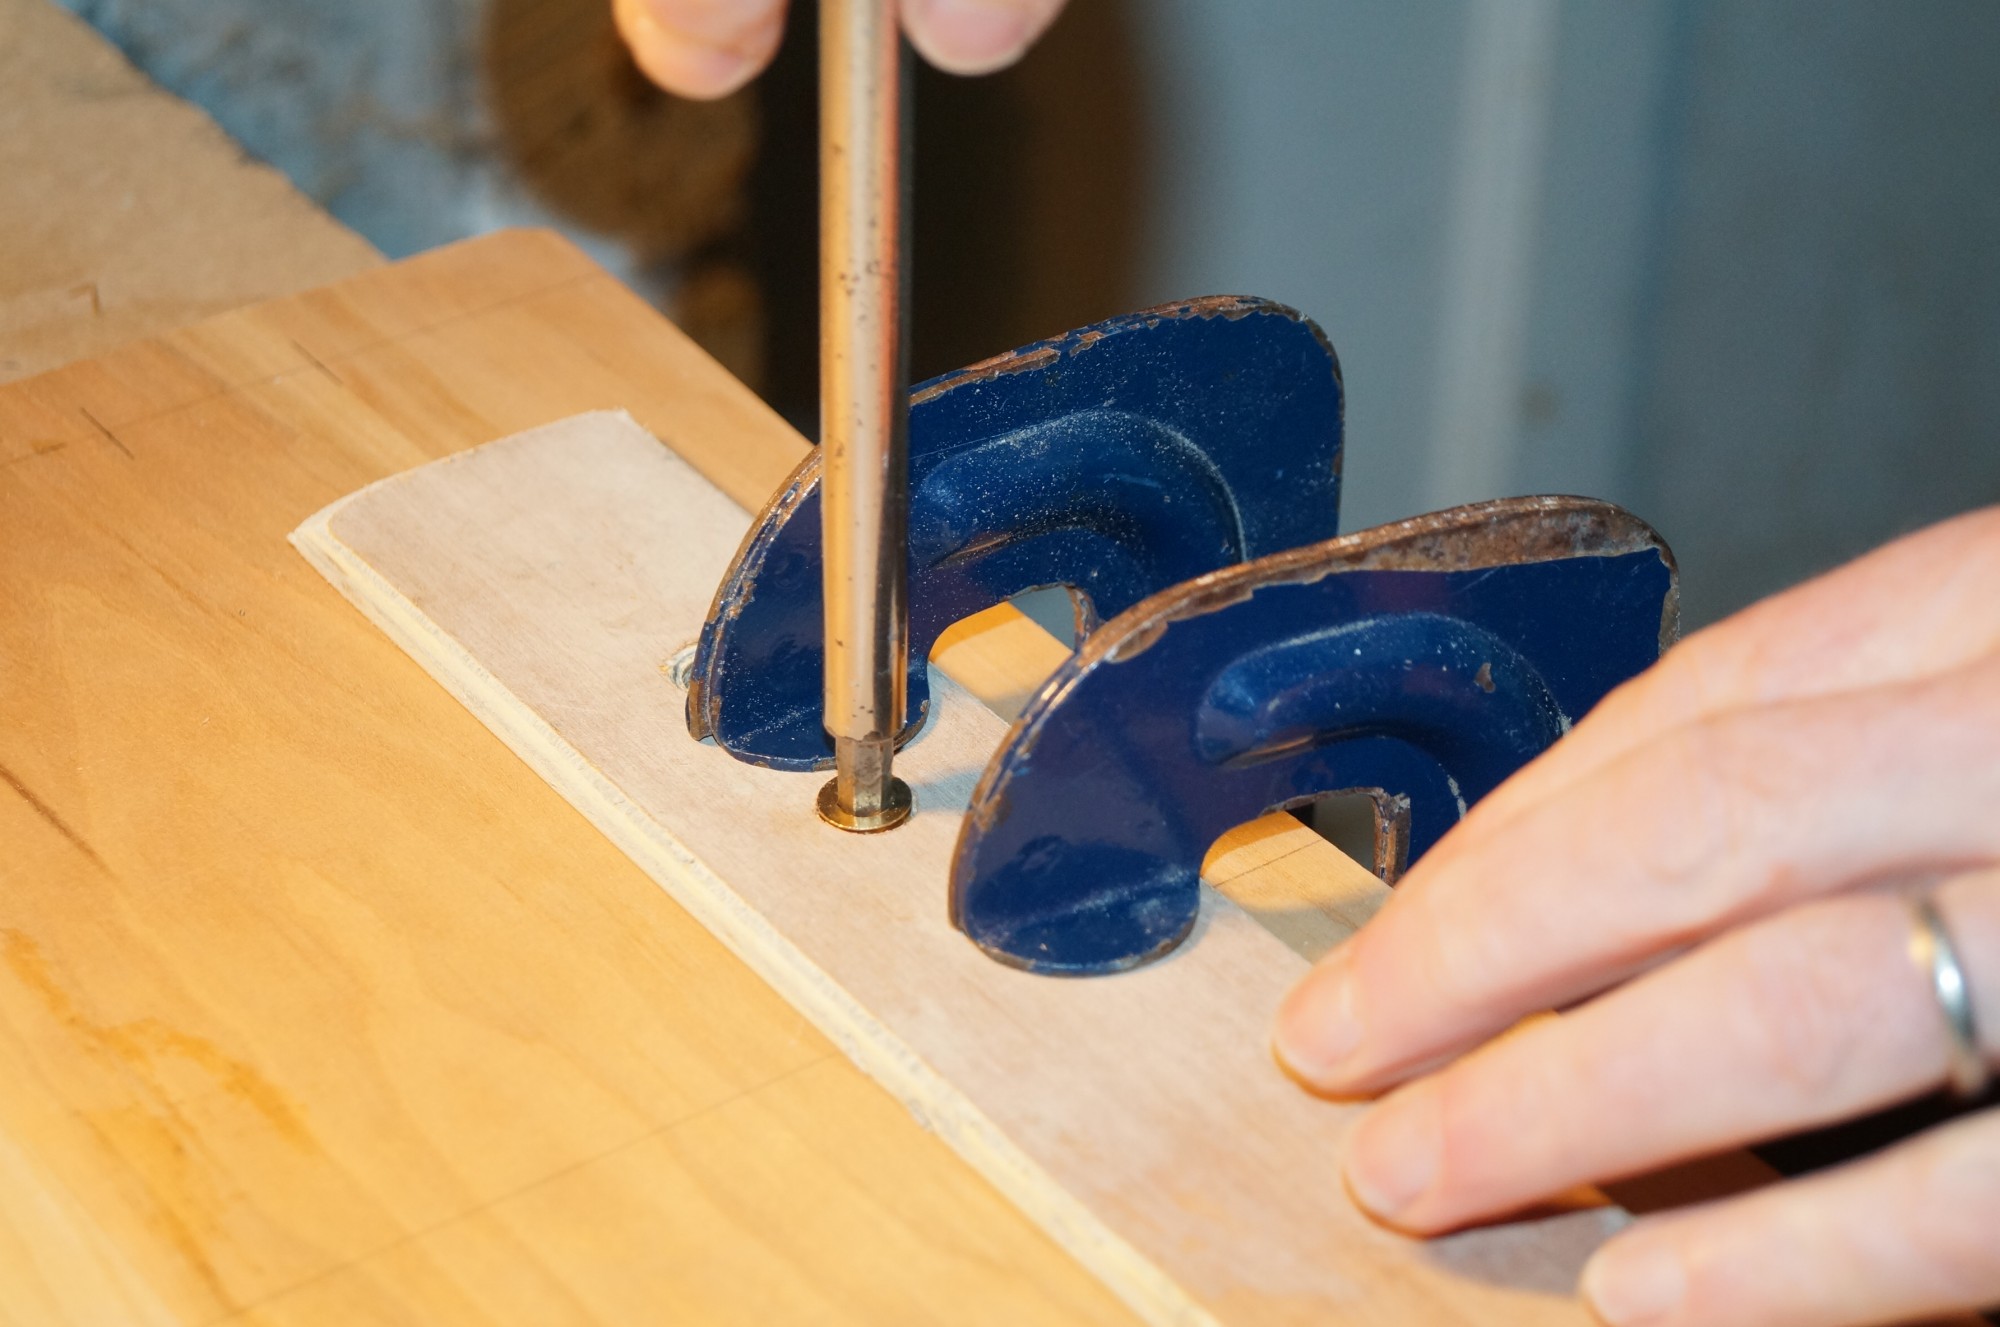
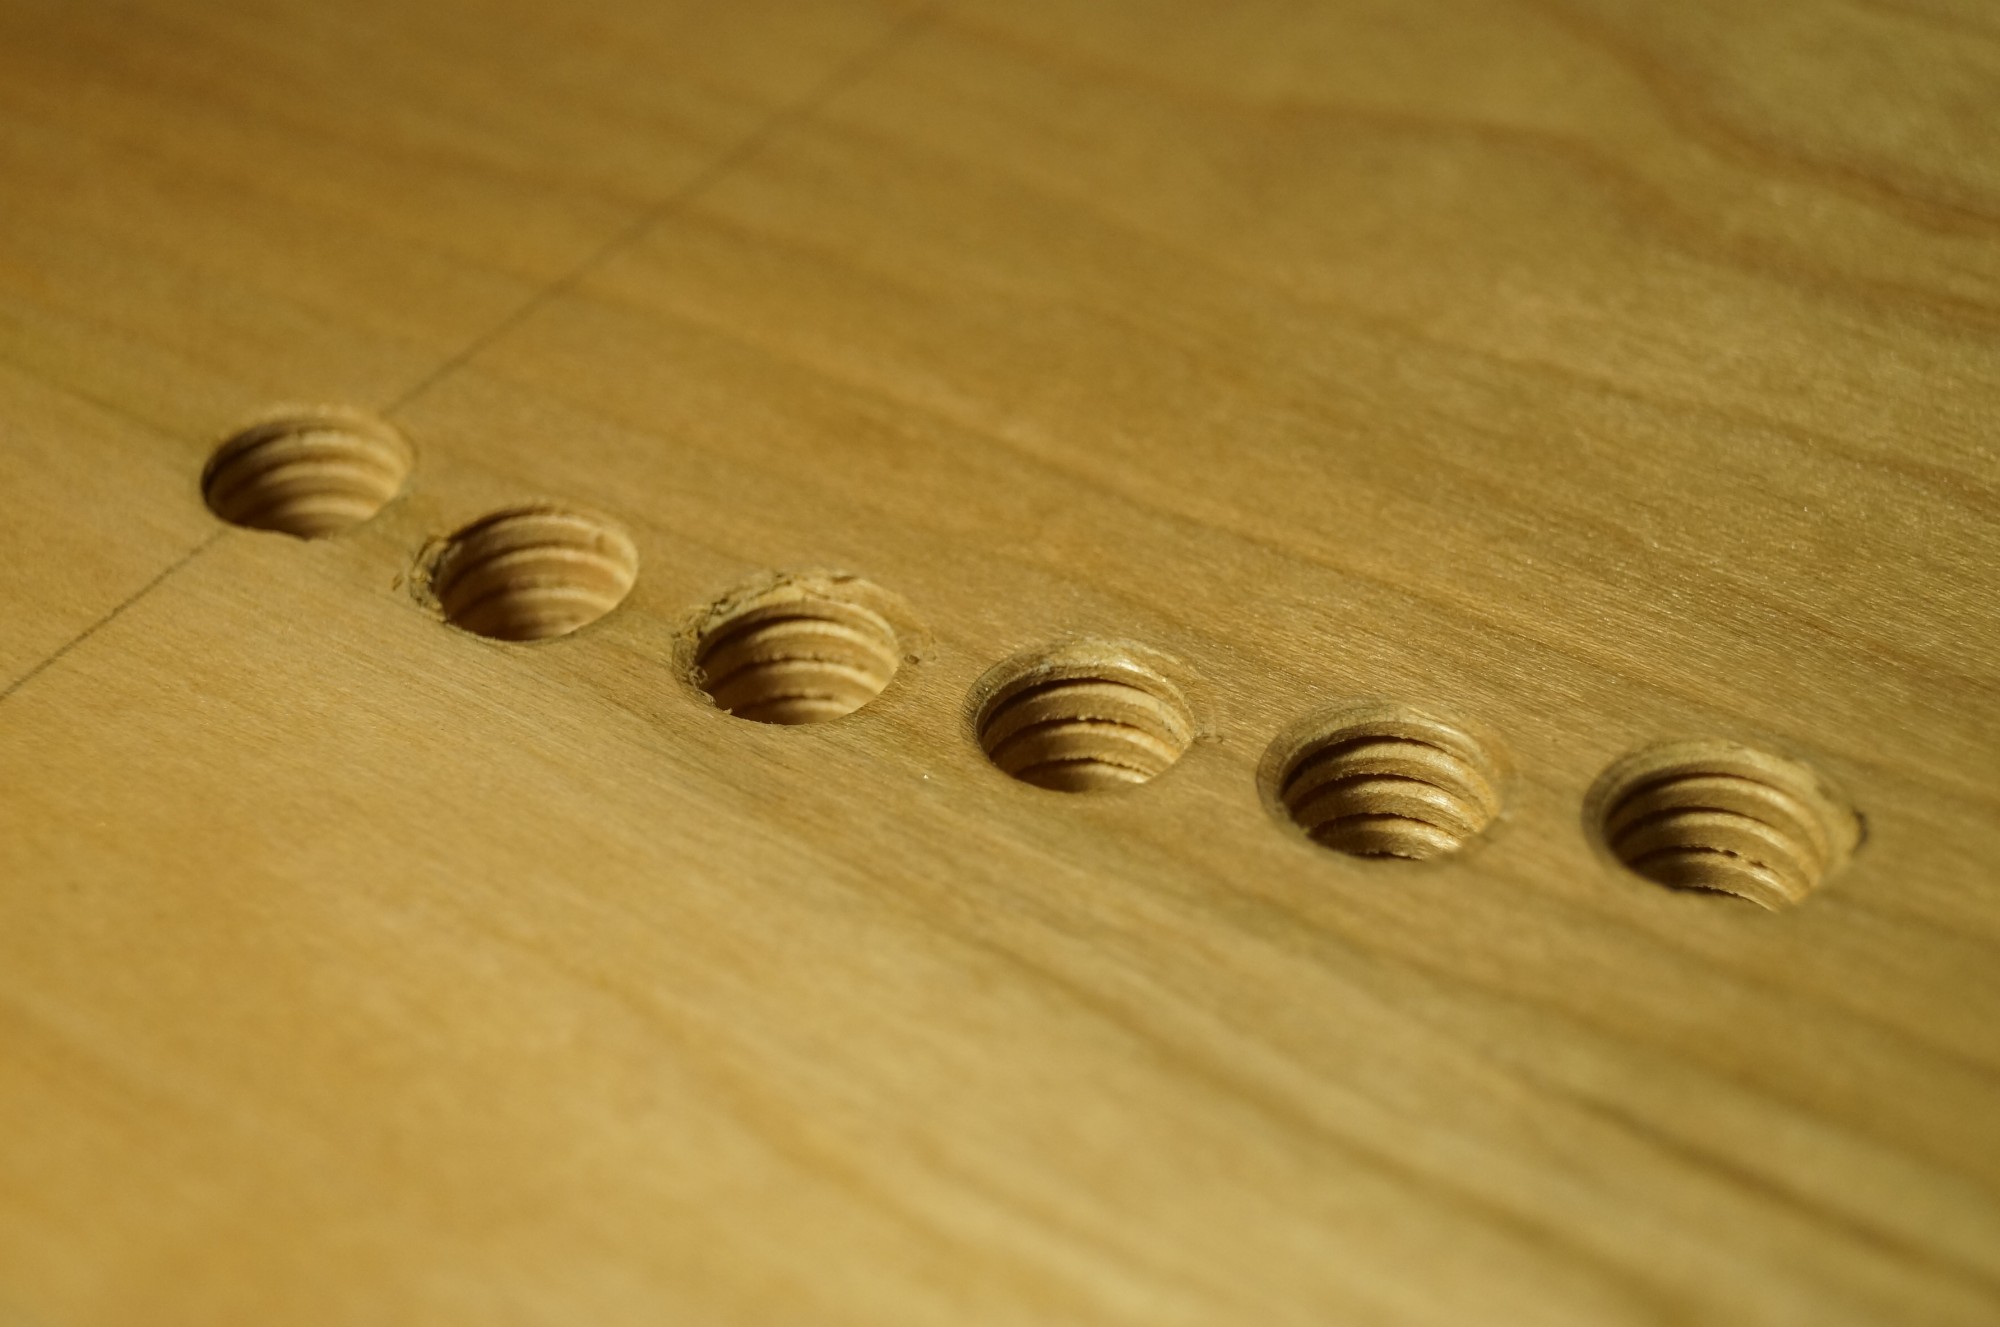
Planing the cross grain on the bridge tops required the usual degree of care to prevent end grain splitting – I purposely left 3/8″ of waste along the back edge and planed the sides from front to back before trimming this back to the line. Whilst bevelling the edges I also used my trusty aluminium clamps across the work to further support the end grain. The photos show all finished hardwood elements (one bridge top is upside down) with feet detail, dowel holes drilled.

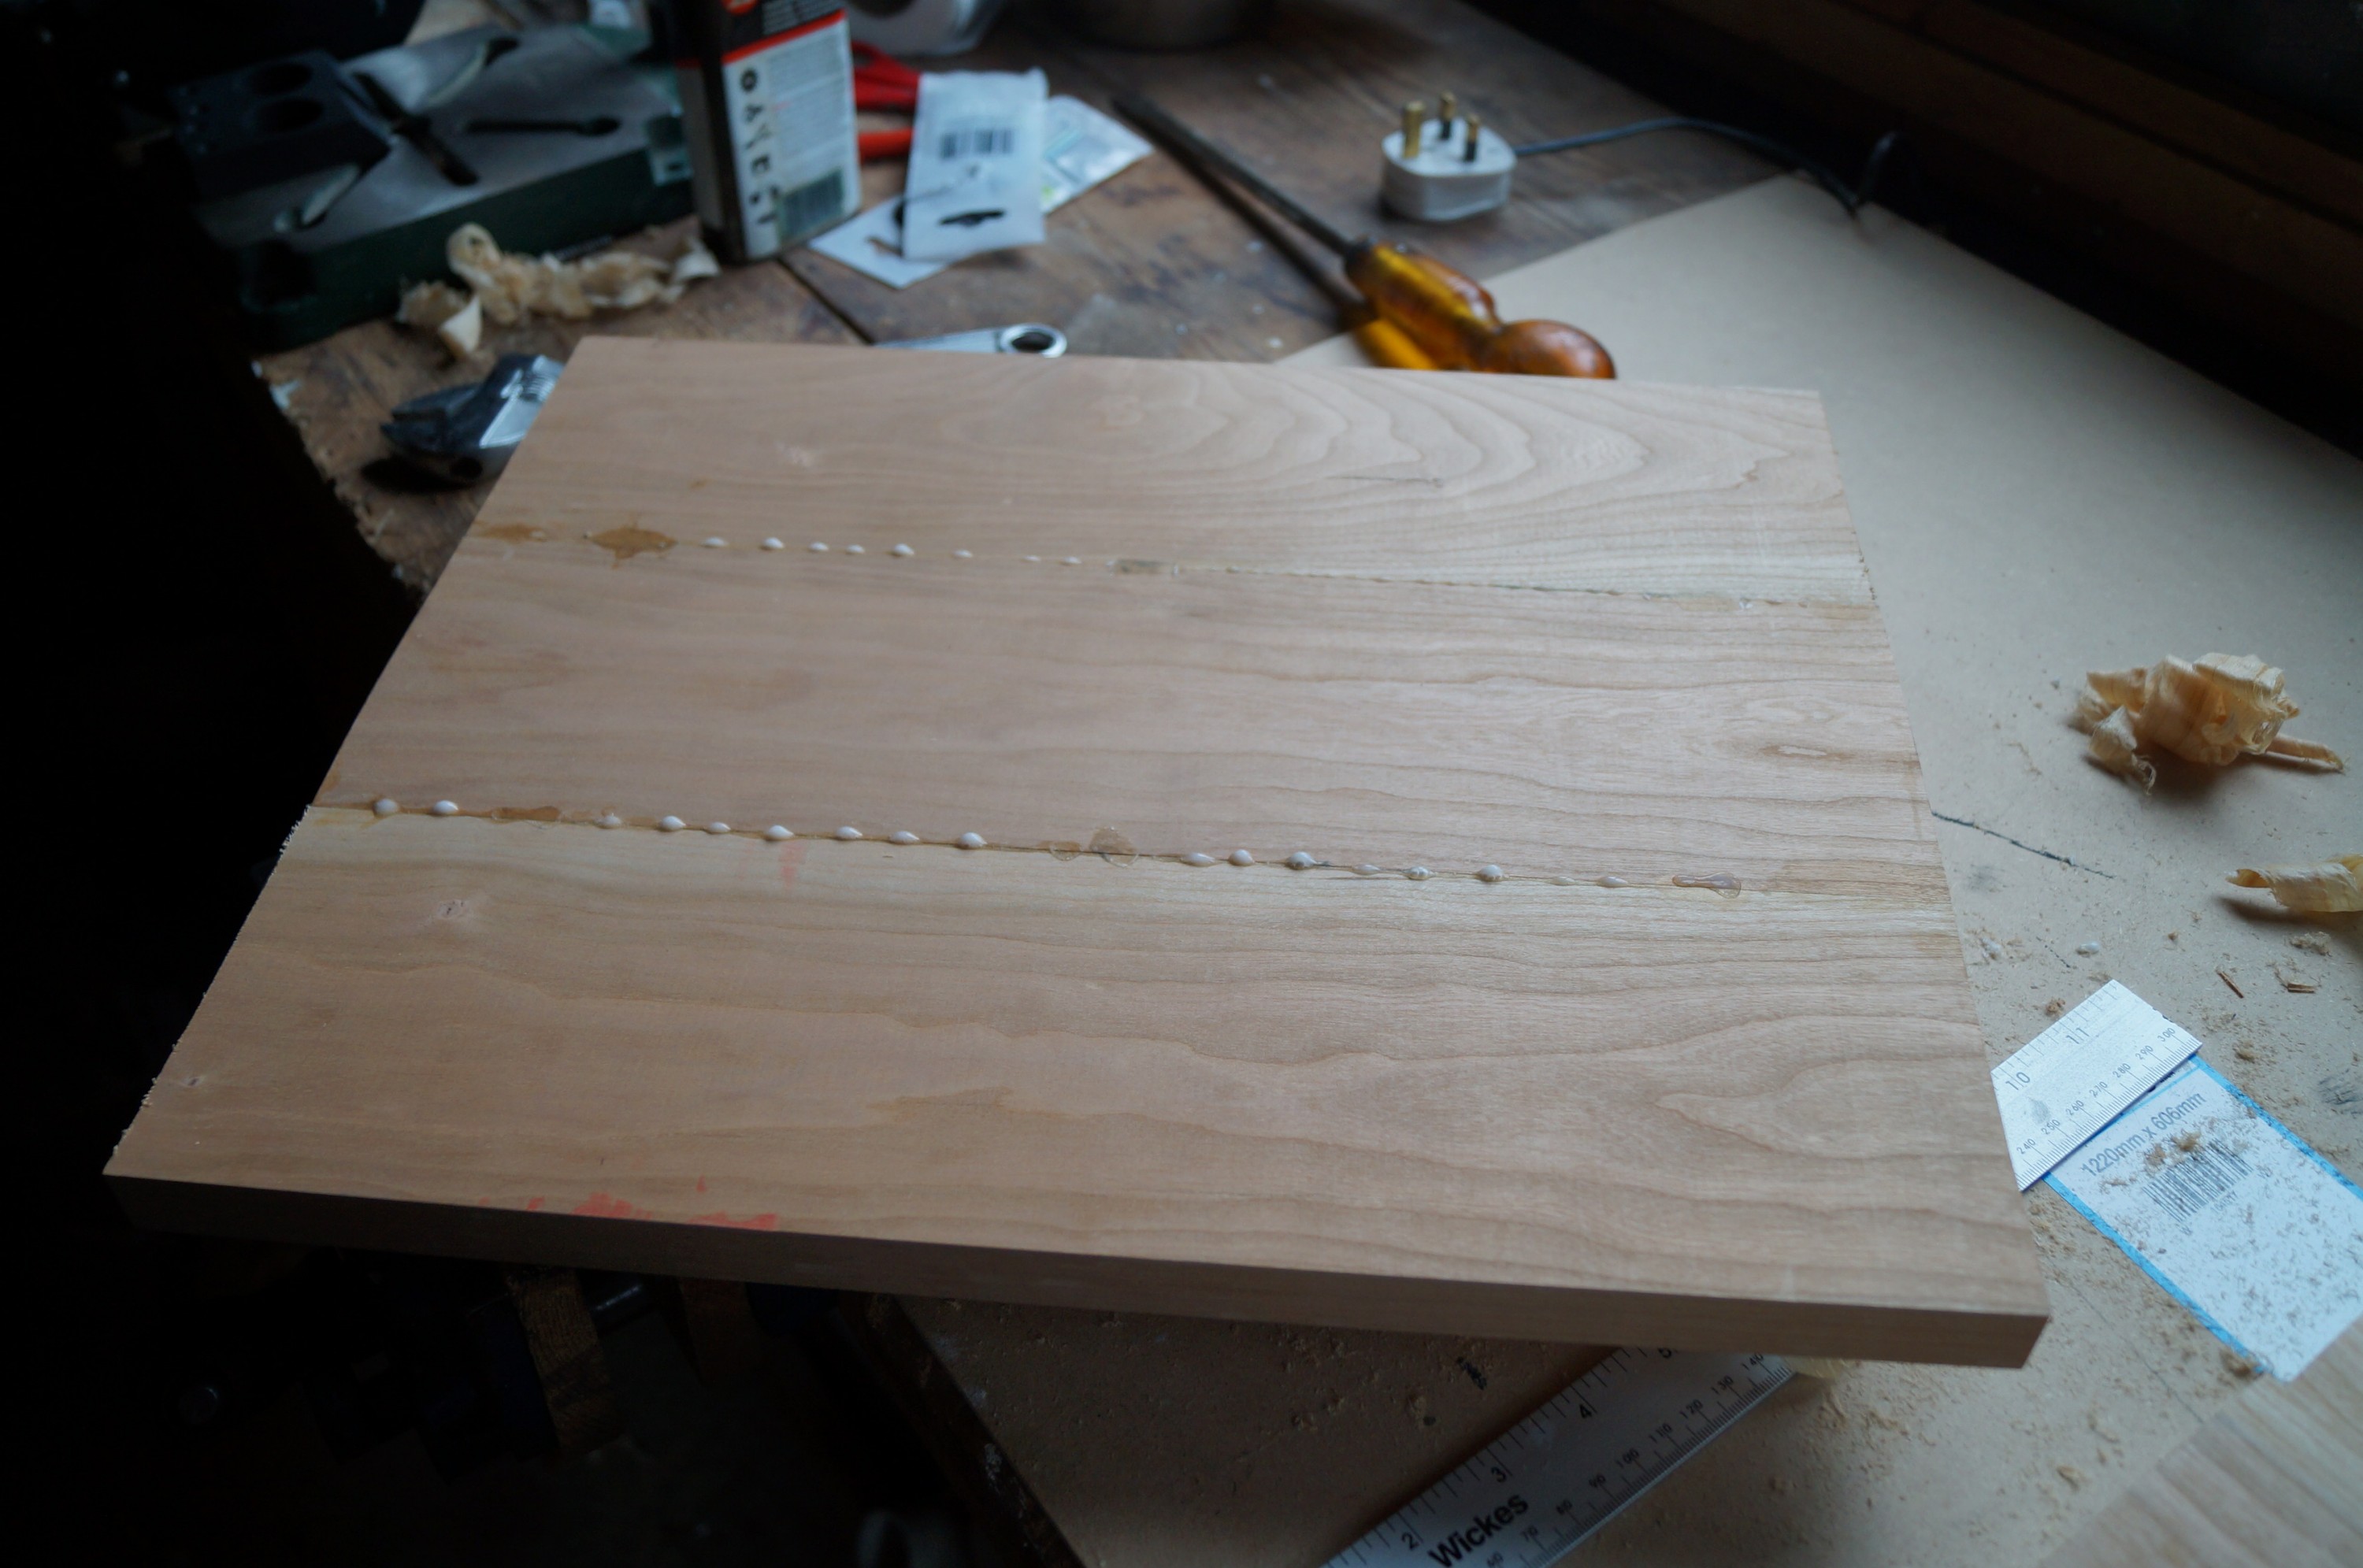
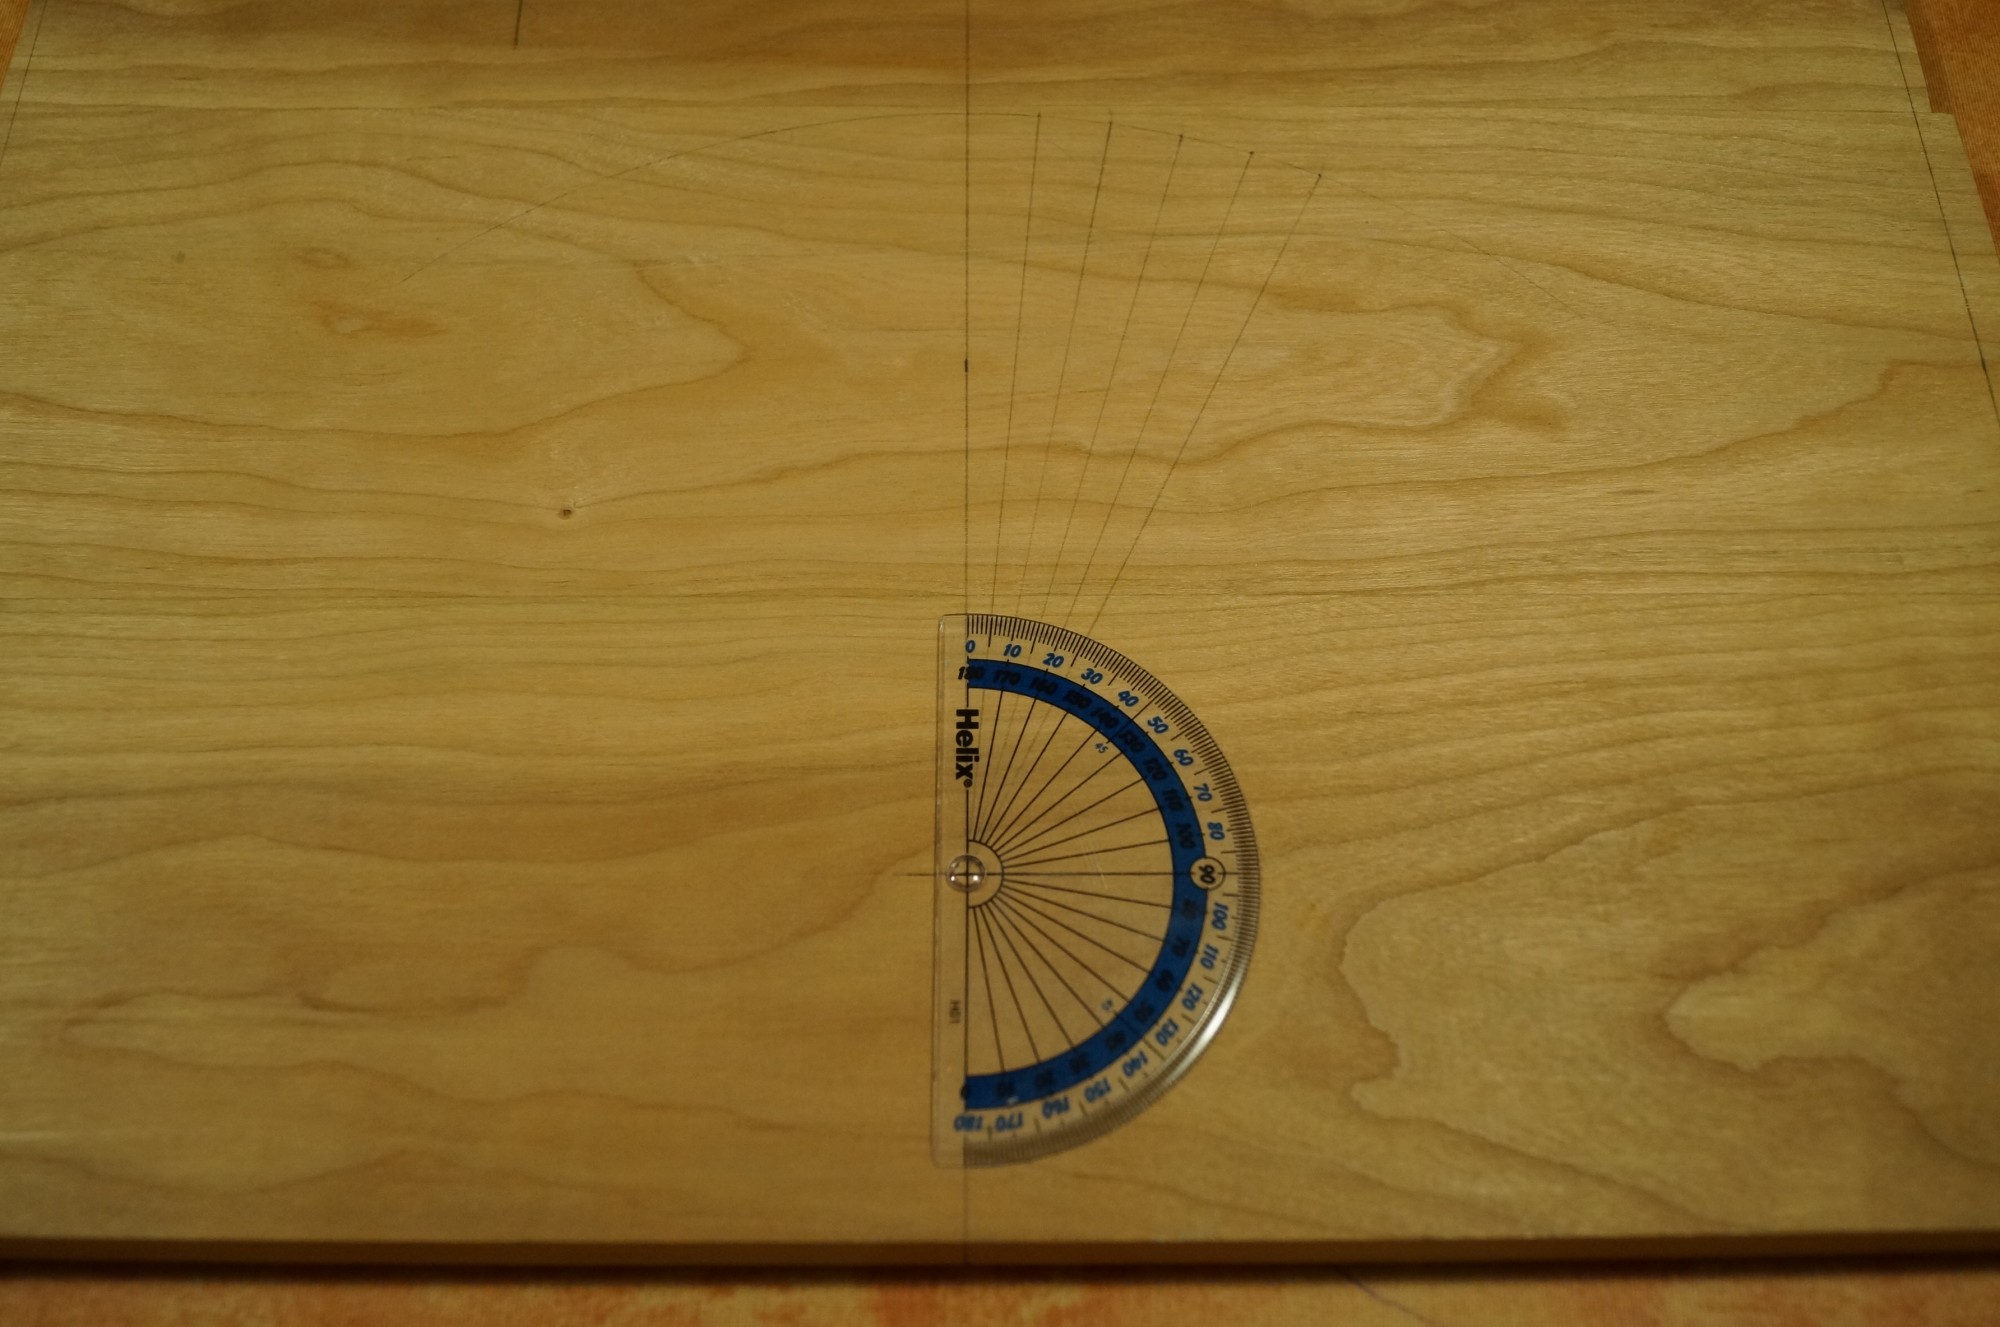
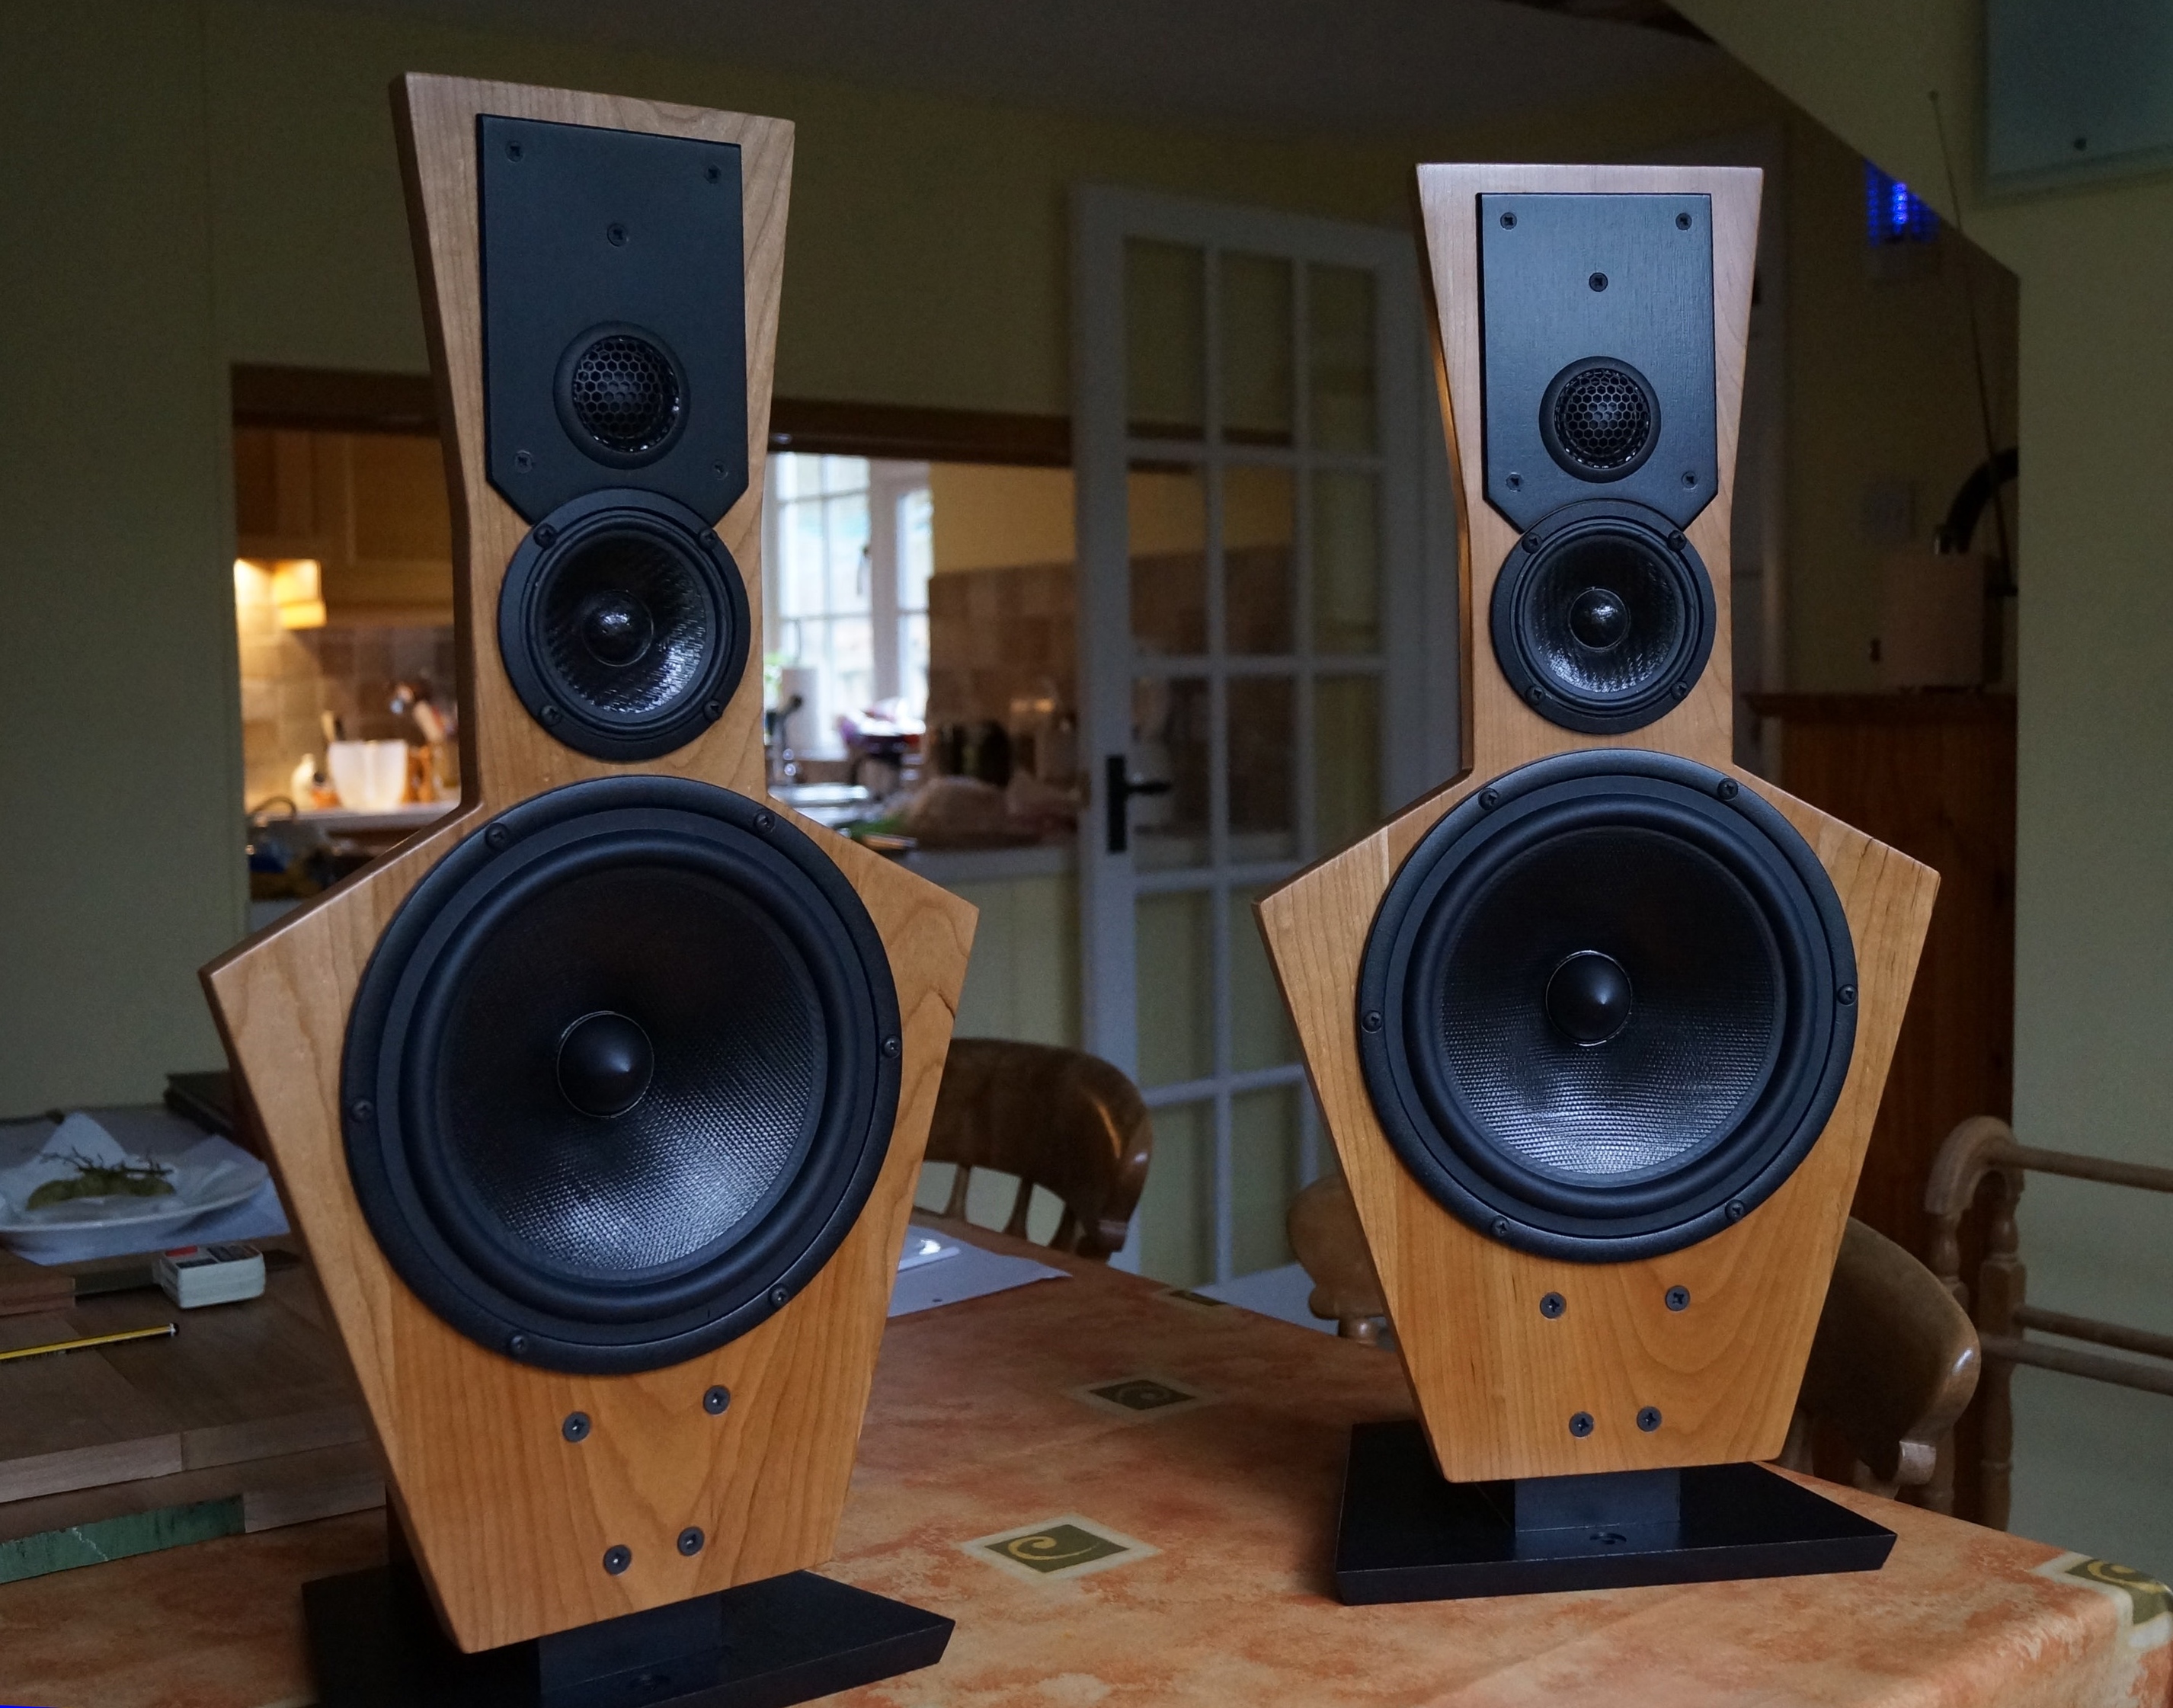
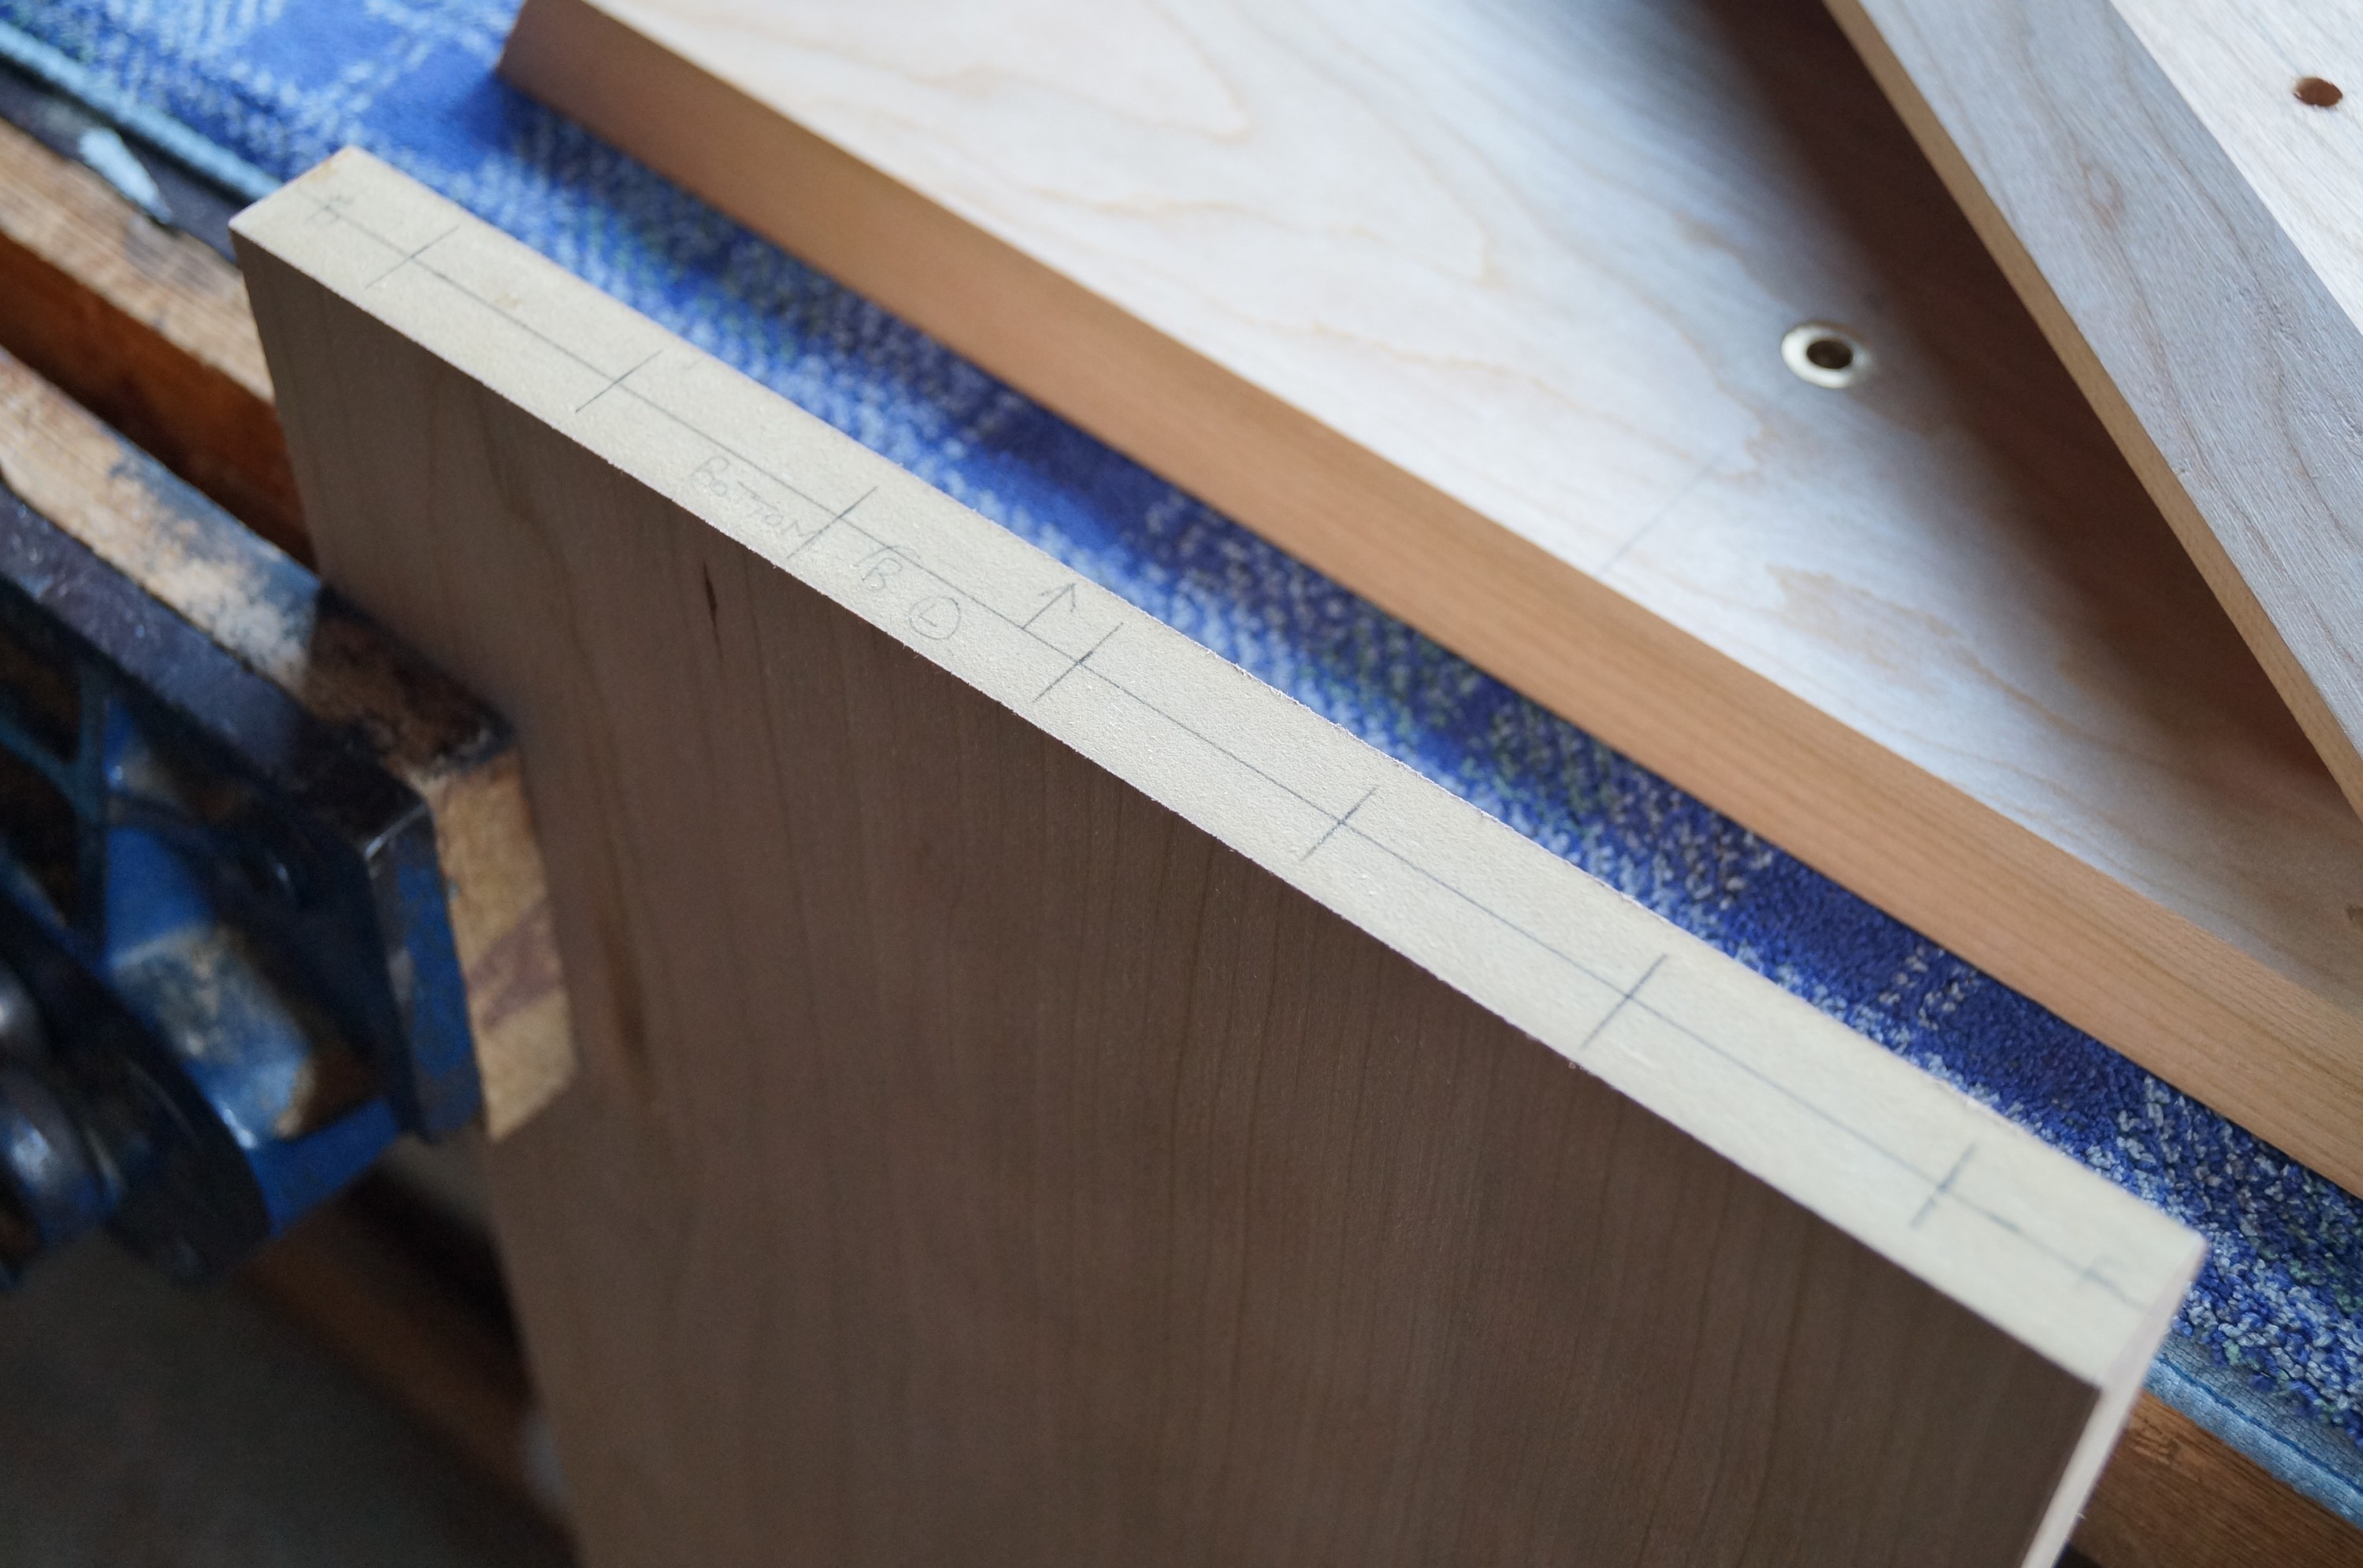
Time to start on the veneered side panels. These were supplied by SL Hardwoods with an “A” and “B” side; the grain on the “A” side has interesting swirls, and I am looking forward to seeing how these come up with the oil. Following the marking out and drilling of the dowel holes in the four sides I was able to do a trial assembly of the bridges over their woofer boxes. All fitted well and looks great. You can see the slight bow on the bridge tops – the clamps will sort that when glueing up. I am planning to glue the bridge parts using the woofer boxes as jigs / guides to ensure the side gaps and angles are true. Regrettably, much sanding is ahead before then!

Fabricating the bridges

First top glued up
First top glued up
Planing off
Planing off
Checking warp
Checking warp

Not posted for a while – the small matter of Christmas intervening… however I have been chipping away at the woodwork (ho ho) now and then. Work on the bridges is now well under way – I have decided to press on with these prior to finishing the woofer boxes to get the remainder of the woodwork out of the way.

The bridge tops are solid cherry made from glueing three boards together as with the baffles. The assembled boards were reasonably flat, although there was a slight warp which had developed in the boards before glueing which I was able to reduce with the plane. I’m reckoning on eliminating any residual bowing when clamping  and glueing the tops to the sides.


Setting out toe-in holes
Clamping guide above counterbore
Sinking insert using guide
Completed insert holes

I mentioned in an earlier post that from reading both SL’s material and that of other LX521 owners I realised that including a toe-in facility was an essential element in the design if using these speakers in smaller rooms. My solution was to sink five extra brass inserts into each bridge, as alternative placements for the rear baffle support bolts, along an arc at 5 degree intervals, thus allowing a maximum toe-in of 25 degrees for each baffle. The photos show the marking out for these. I am setting the baffle supports slightly further back on the bridge so that the bases do not protrude over the bridge top when set at maximum toe-in.

My earlier experience with sinking brass inserts was less than satisfactory because of the difficulty avoiding the grain lifting and splitting, so I experimented with using some 10mm ply to act both as a guide and to apply support pressure to the wood around the counterbore recesses. I cut two holes, one smaller and threaded to start the holes in the bridge, the second larger (ie the diameter of the top of the inserts) as a guide when screwing the inserts home. The ply was positioned carefully over each hole and clamped down onto the cherry. It worked well, with much cleaner results. None of this will be seen anyway as the inserts are on the underside of the bridge tops.

Next task: cutting and planing bridge tops and feet to final size… and then a lot of hand sanding – ugh.

Baffle assembly complete

Spraying midrange units
Smooth satin finish
Smooth satin finish

The baffle supports have now been given their final coat of satin black and are finished bar the Speakon mounts.

I was keen to position the midrange units and see how the baffles looked with the supports, but before this, taking another leaf from Bill Schneider’s book, I masked up the midrange units and gave the rear metallic surfaces a spray of satin black from a tin of…. I was somewhat nervous of using spray paint, never having used it and not having the proper kit for more substantial surfaces, but I was pleasantly surprised by the finish one coat achieved. The occasional little bubbly imperfection, but more than adequate for the job. Although described as satin, the finish is towards the gloss end. A voice in my head is now questioning whether I should spray the final coat on the woofer boxes…

Completed baffles
Completed baffles!

Having given the spray 24 hrs to dry I took everything inside and assembled the baffles. I used a small amount of grease on all mounting screws and bolts this time which abolished the stiffness noted previously. Stuck ’em on the kitchen table for a photo; there is little natural light at present during a particularly dingy December, but they look good. Definite sense of progress!

Completing baffles, wiring tweeters

Wiring tweeters
Wiring tweeters

Woodwork and painting for the baffle assemblies is now complete, and the tweeters are wired in.

The main challenges when finishing the baffles concerned the final wax oil applications and final painting of the tweeter baffles – I did have some problems achieving a really smooth finish.

Cutting foam grommets to sit behind tweeters

With the cherry baffles I experimented with a buffing technique (demonstrated on YouTube) by lightly pressing a spinning Scotchbrite pad (using a sander, or in my case the drill and drum sander!) to smooth off the first brush-applied coat of wax oil. This does give a very smooth surface, however unfortunately it can leave some faint circular scratch marks on the wax surface. I therefore used some 240G sandpaper to take the surface down before reapplication. In the end I used four coats, two with brush and two rubbed off with rag.

8mm M4 tweeter retaining screw goes through grommet

I finished the tweeter baffles with a coat or two of matt black, sanding with 180G in between, followed by the soft satin. They needed careful brush work , and I had to redo one baffle twice because of minor bubbles / imperfections before I was satisfied.

Wiring the tweeters - top one first
Wiring the tweeters – top one first

Wiring the tweeters is another fiddly job, and (as is often the case with this project) I only worked out the best approach by doing the first one. A hole is needed for the supply wire in the lower half of the rear tweeter baffle just inside the tweeter recess, so I marked this from the front. An old towel protects the wood whilst working. I also cut four little sticky backed foam grommets which I stuck to the back of the tweeter baffles to fill any dead space behind the tweeters (and insure against rattles).

Continue reading Completing baffles, wiring tweeters