
Well, I finally managed to eradicate the end grain to the point where you have to strain to see it in strong light – it is not noticeable otherwise. Another coat of matt black and the painting is done.
My original plan was to finish with the soft satin, however I have had second thoughts for two reasons. Firstly, it’s difficult to obtain a really smooth finish with the brush (one can see the brushwork on
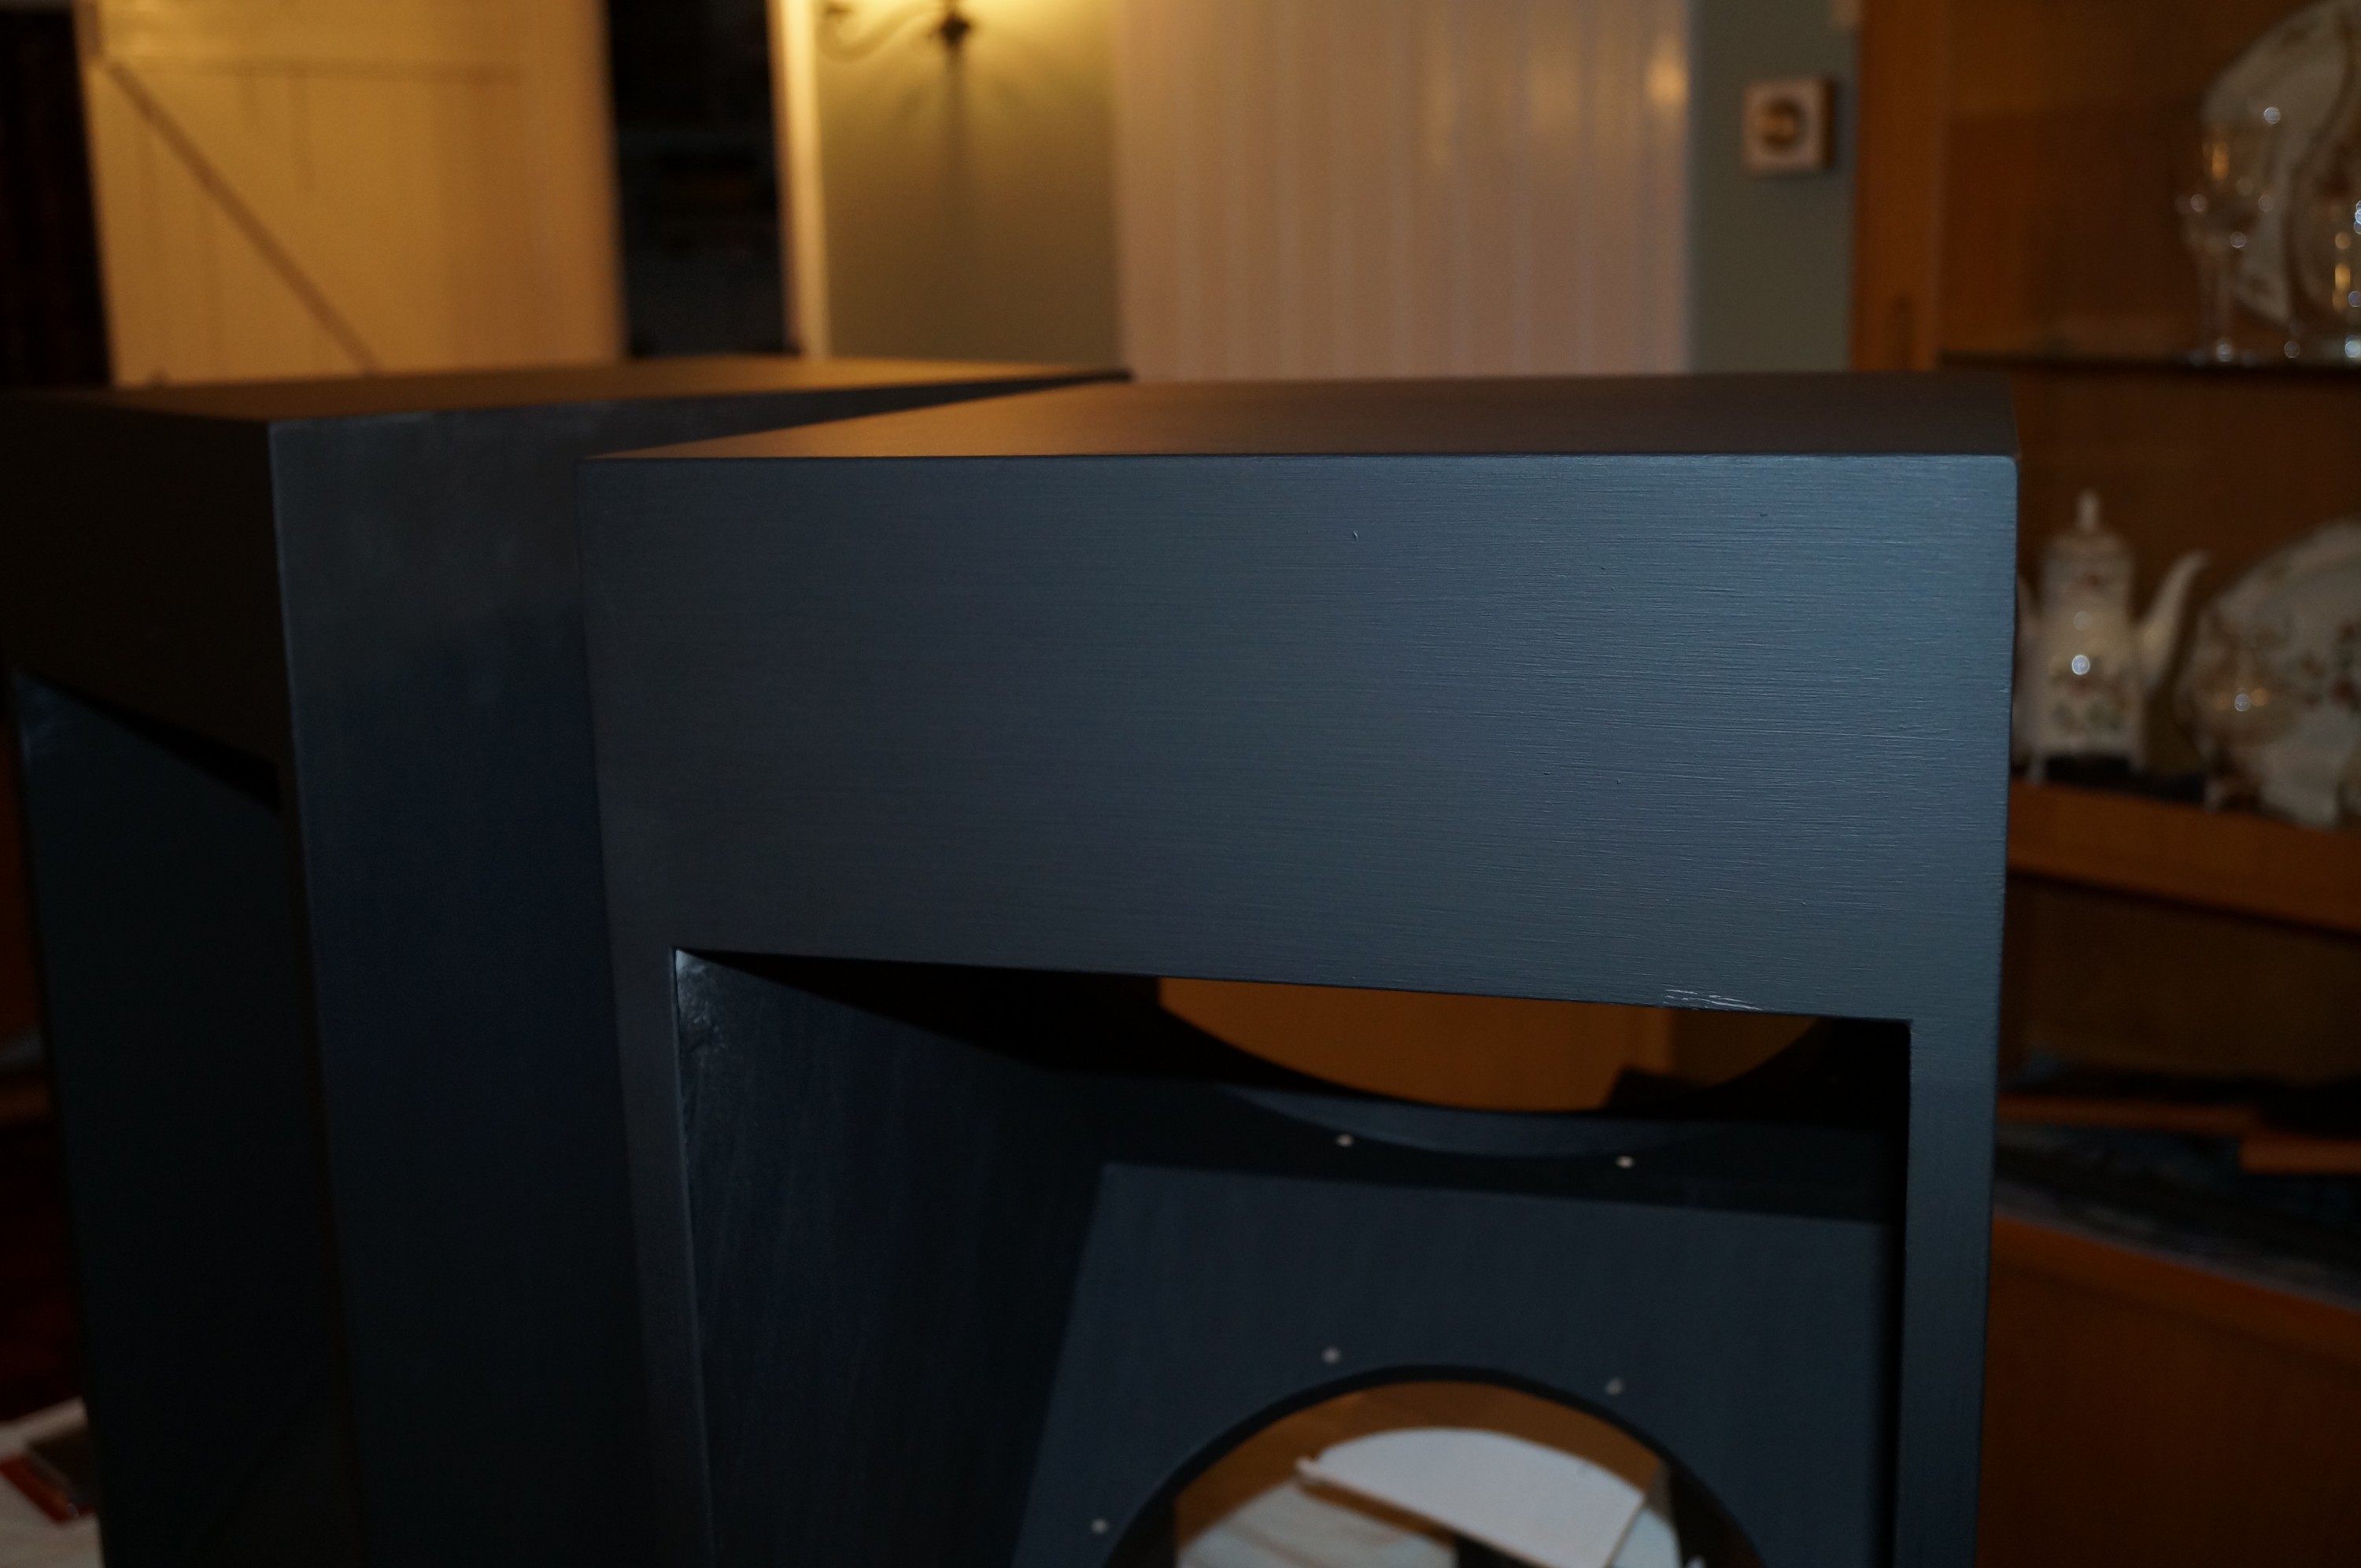
the tweeter baffles and baffle supports) but the matt finish is much more forgiving. Secondly, the wood finish is quite a gentle satin and I don’t want any gloss on the woofers to draw the eye away from the wood. They do look really good in matt – wife says they look as if I had bought them, so that’ll do for me!
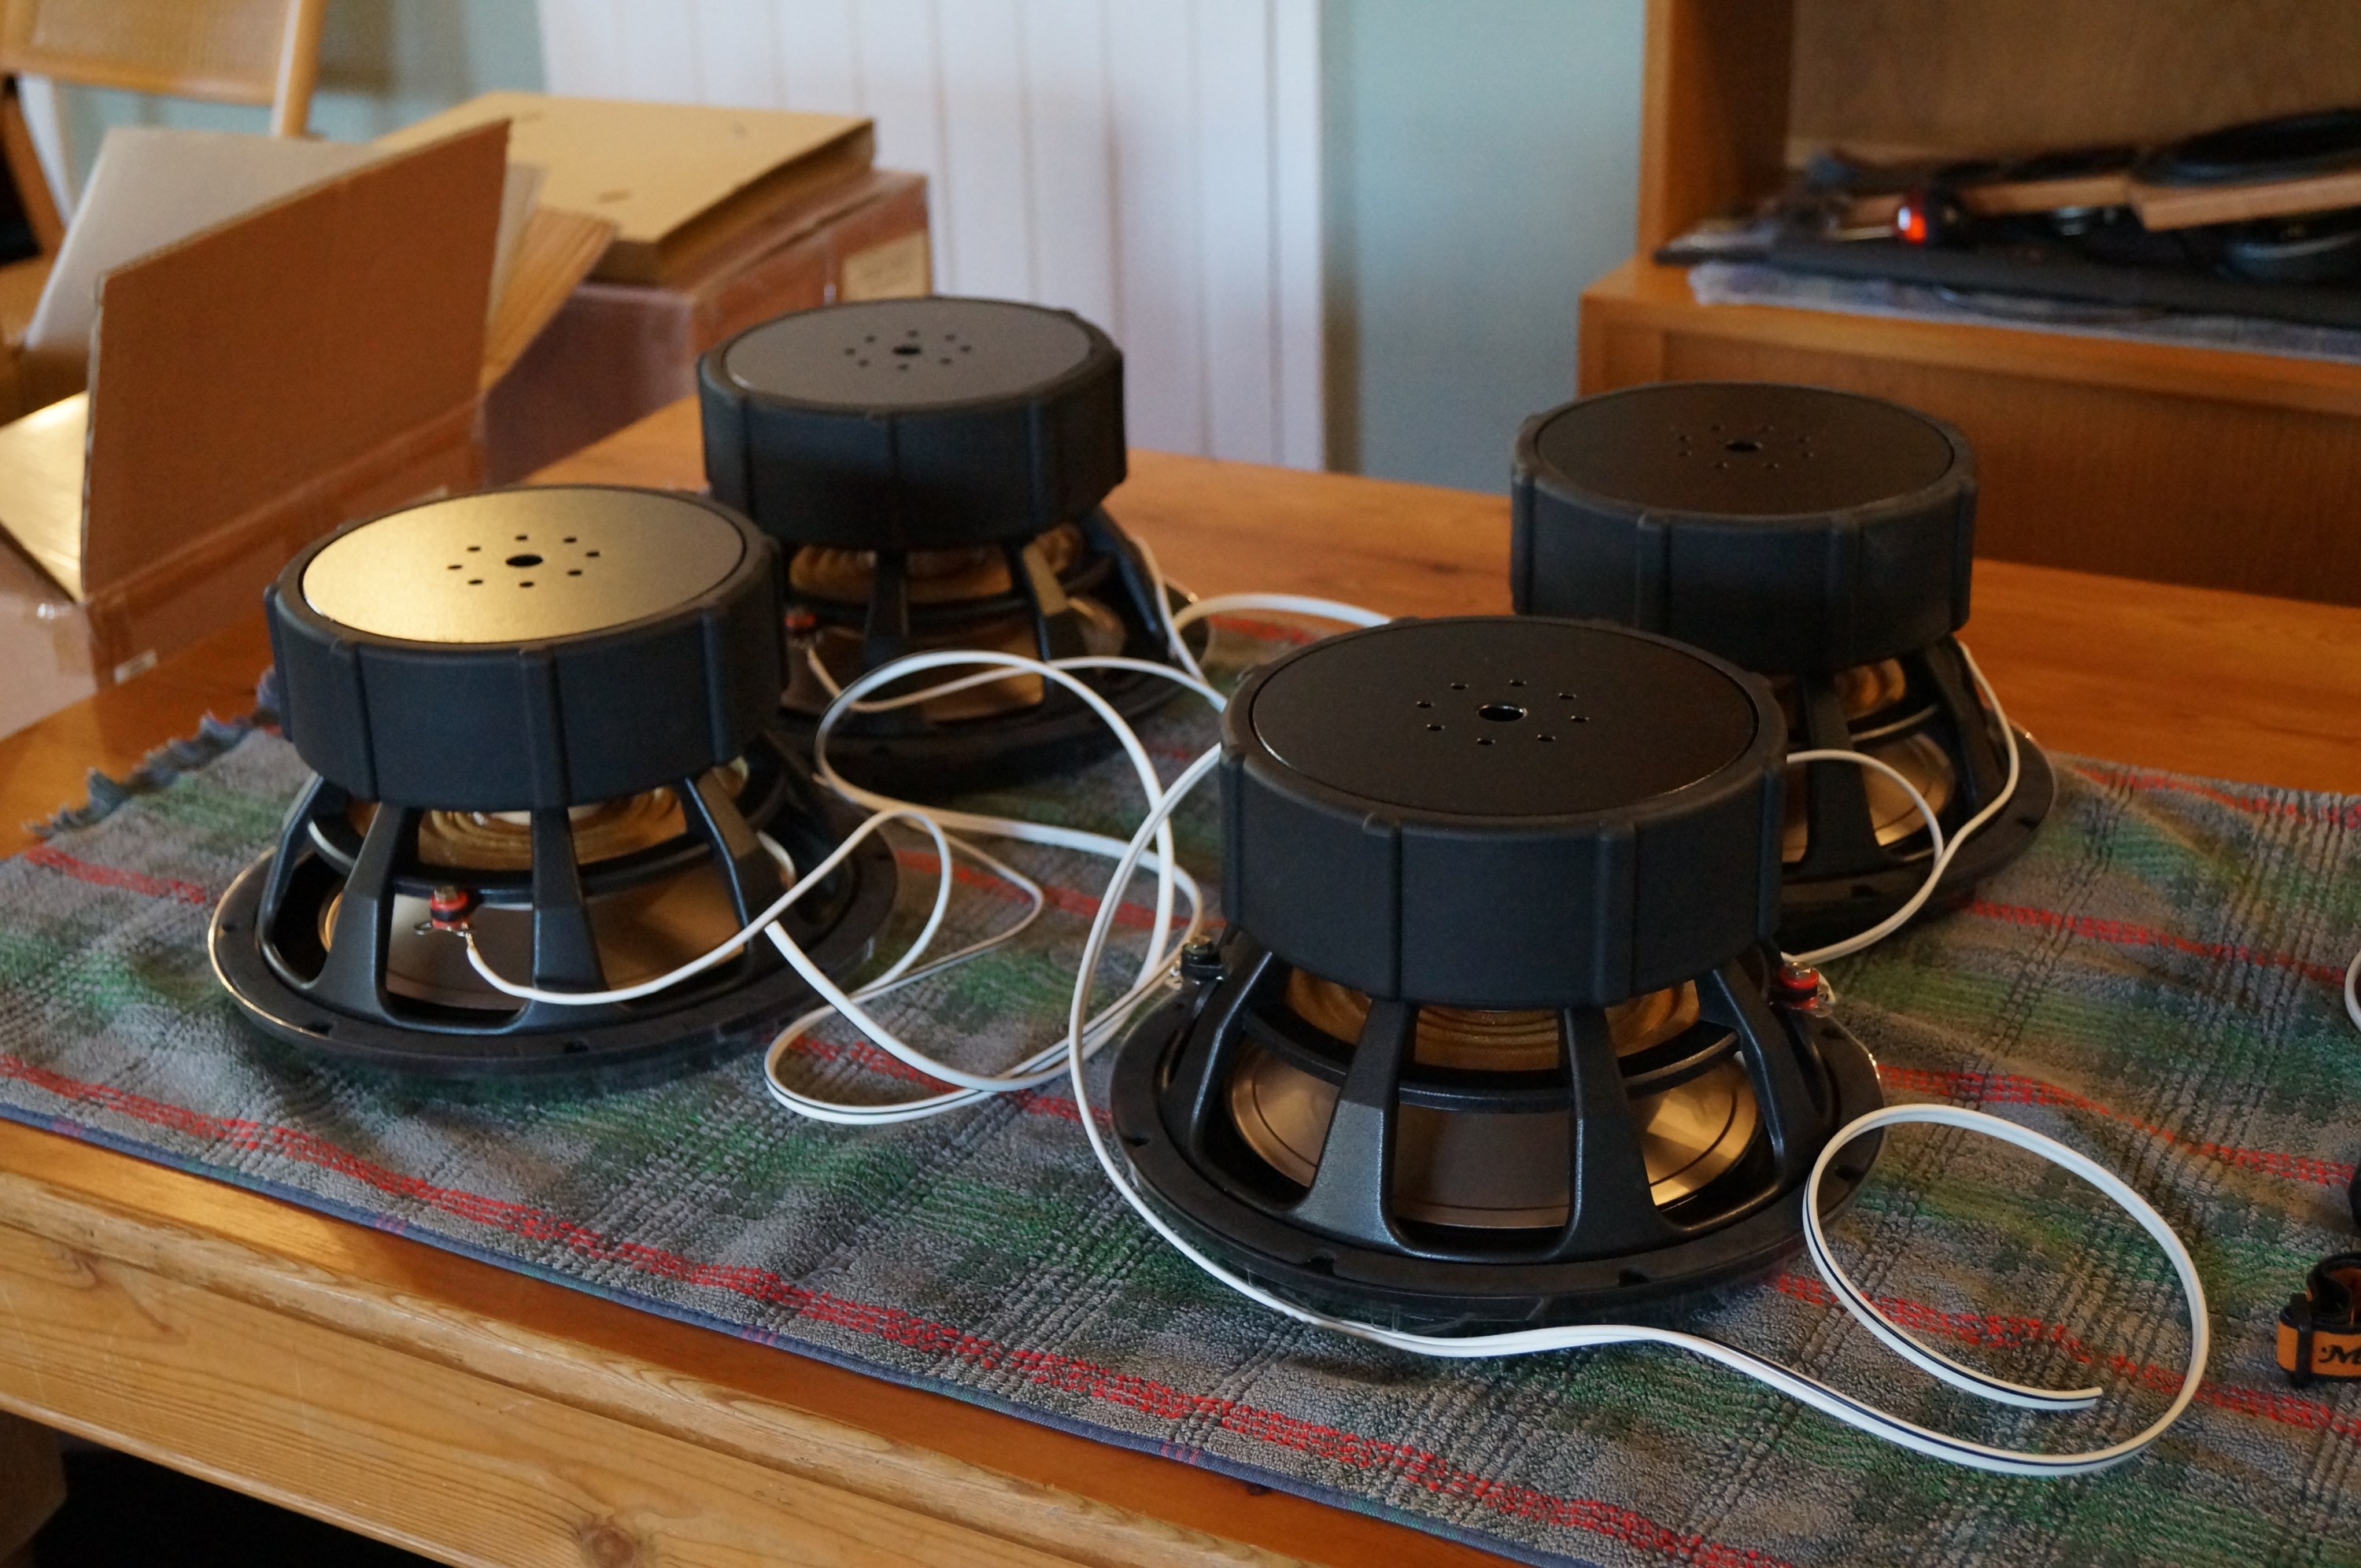
Next task was to prepare the woofer wiring. It proved impossible to locate any female 8mm push-on spade connectors in the UK so I soldered the wires to the drivers before installing them (upper woofer reverse polarity). I’m using Maplin 79/0.18mm speaker cable (equivalent to AWG 14) for the woofer boxes and the main speaker cables. This project needs plenty of wire – I needed three drums to allow 12 foot speaker leads.
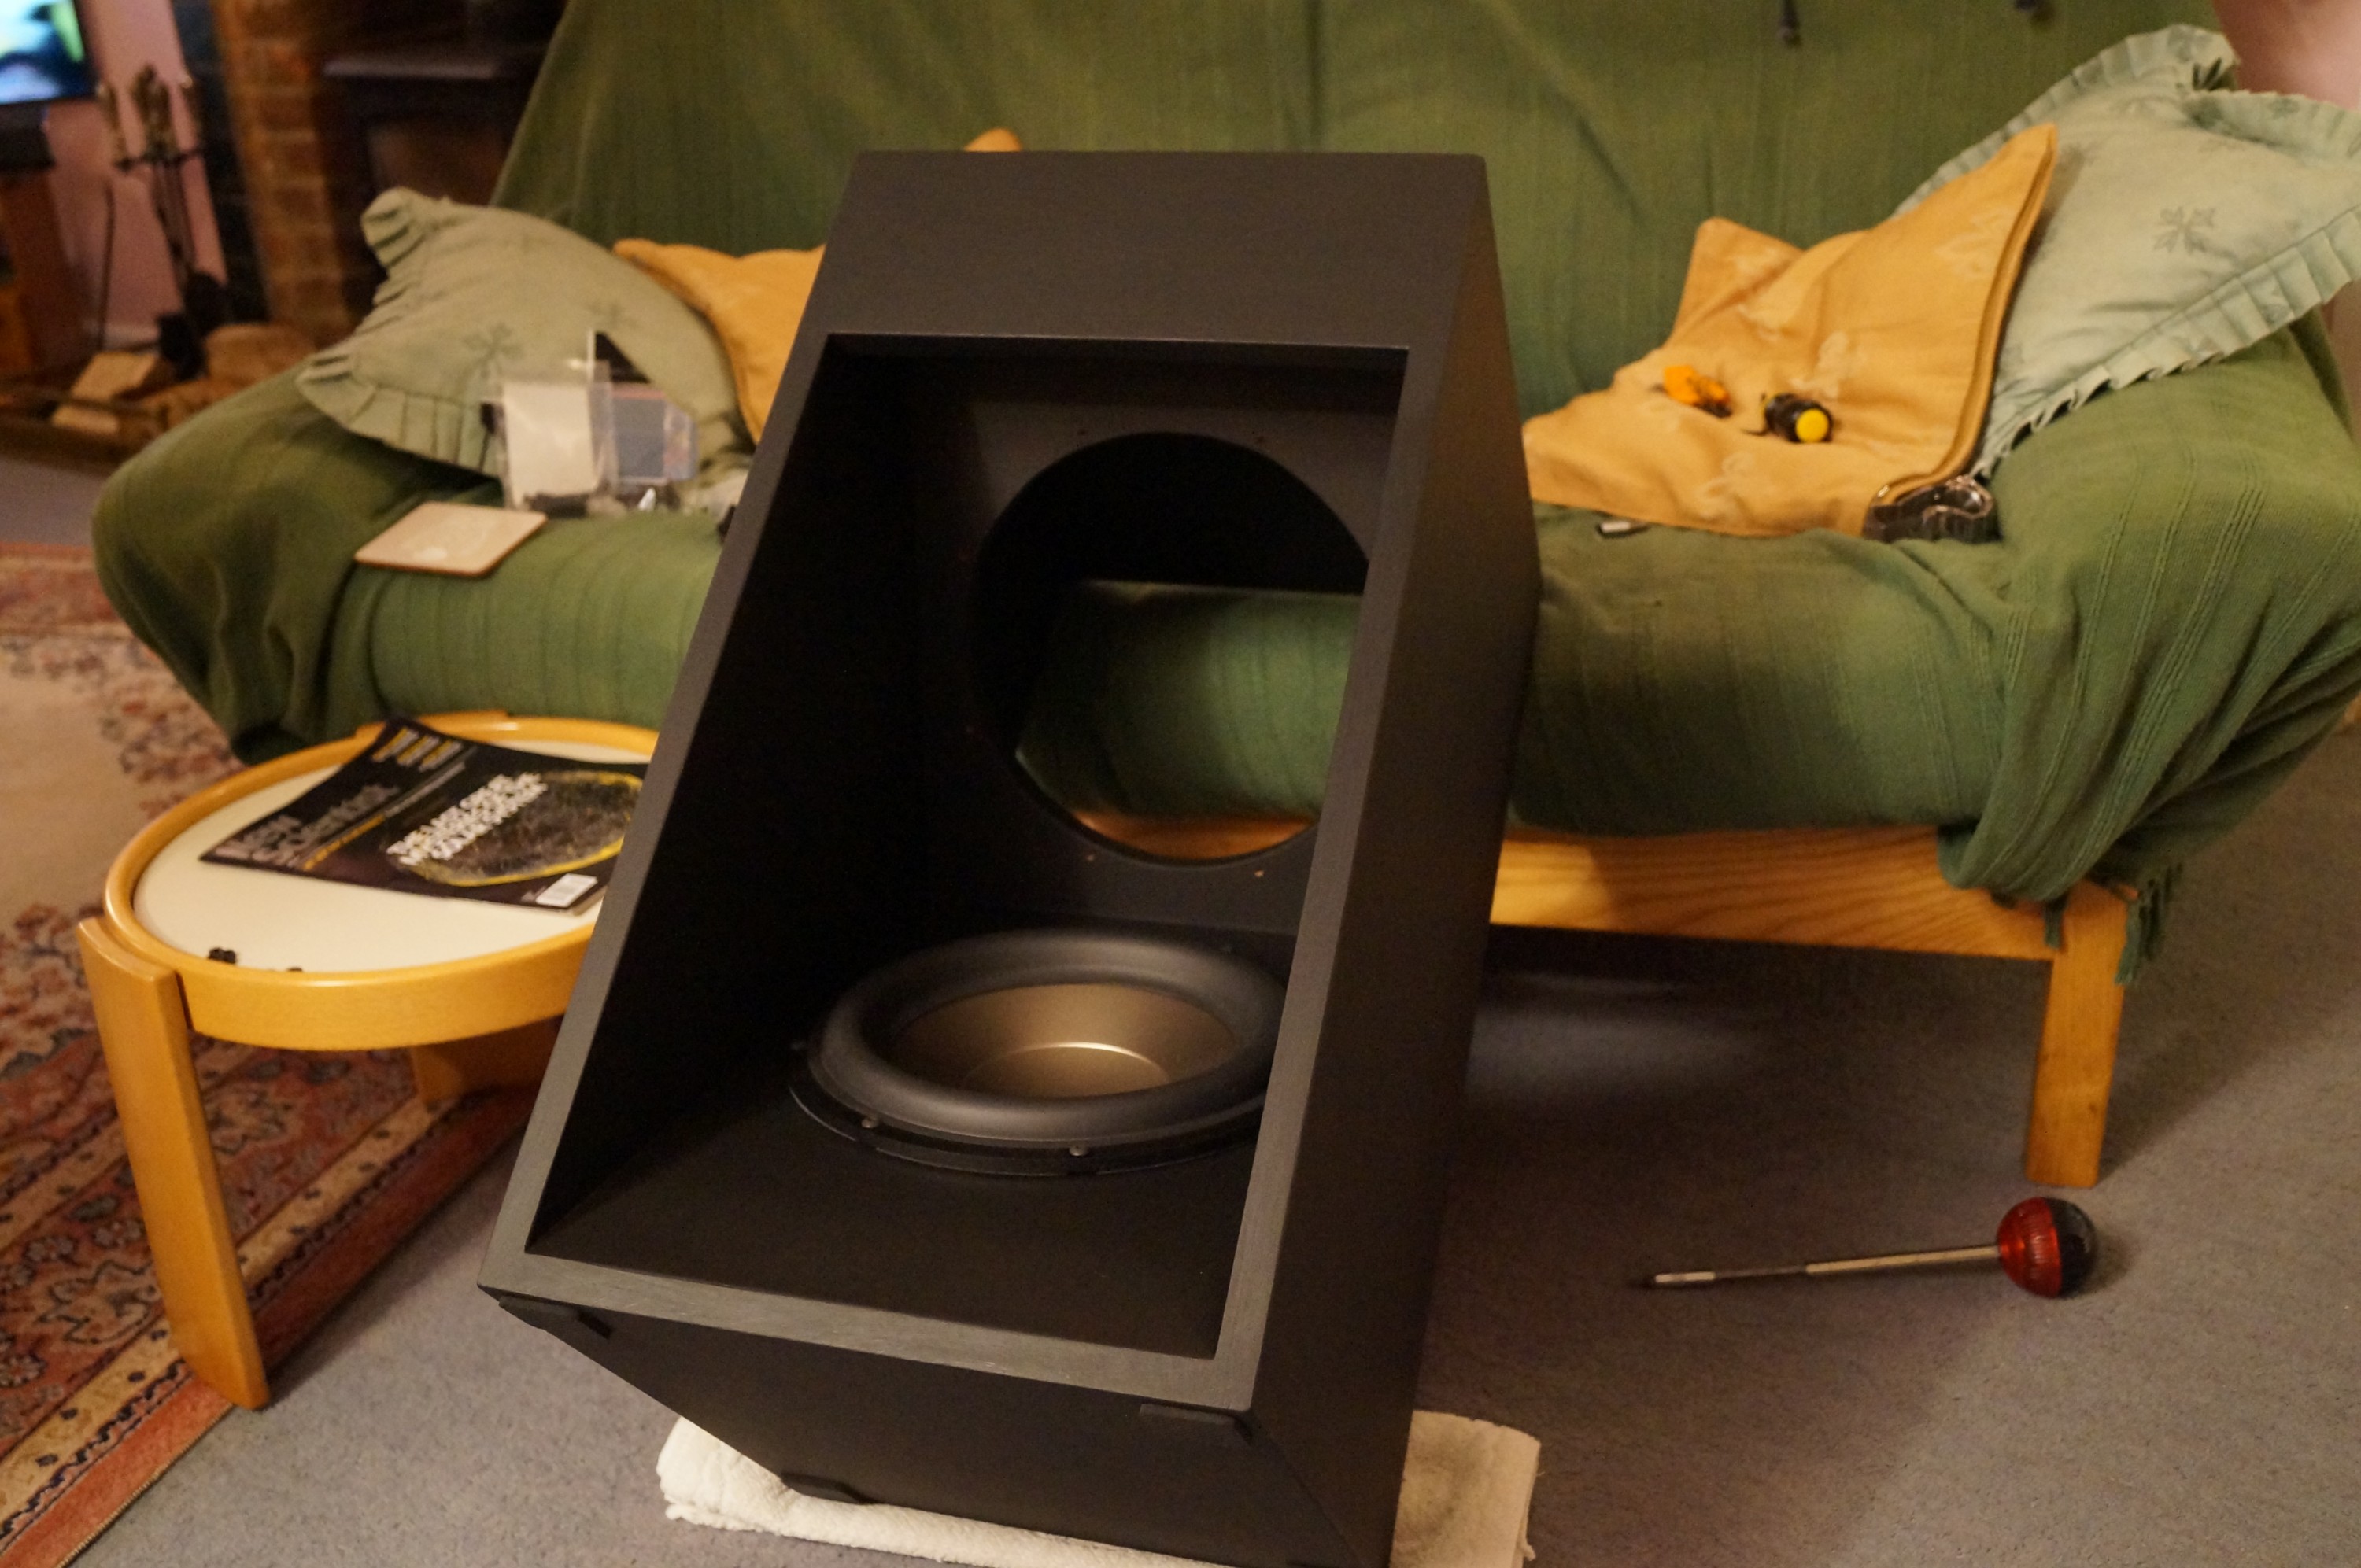
Mounting the woofers is made straightforward by leaning the boxes against a sofa edge. The operation was extended however by a brain failure… I mounted an upper driver first. SL advises mounting the lower ones first. There is an excellent reason for this – you can’t get the lower one in if you start with an upper one! Unscrew everything and start again. Access to some of the bolts, washers and screws is somewhat restricted but not impossible – once a couple of bolts are secure you can turn the box round to work, but you do need decent light. At this point you realise how seriously heavy these bass units are…
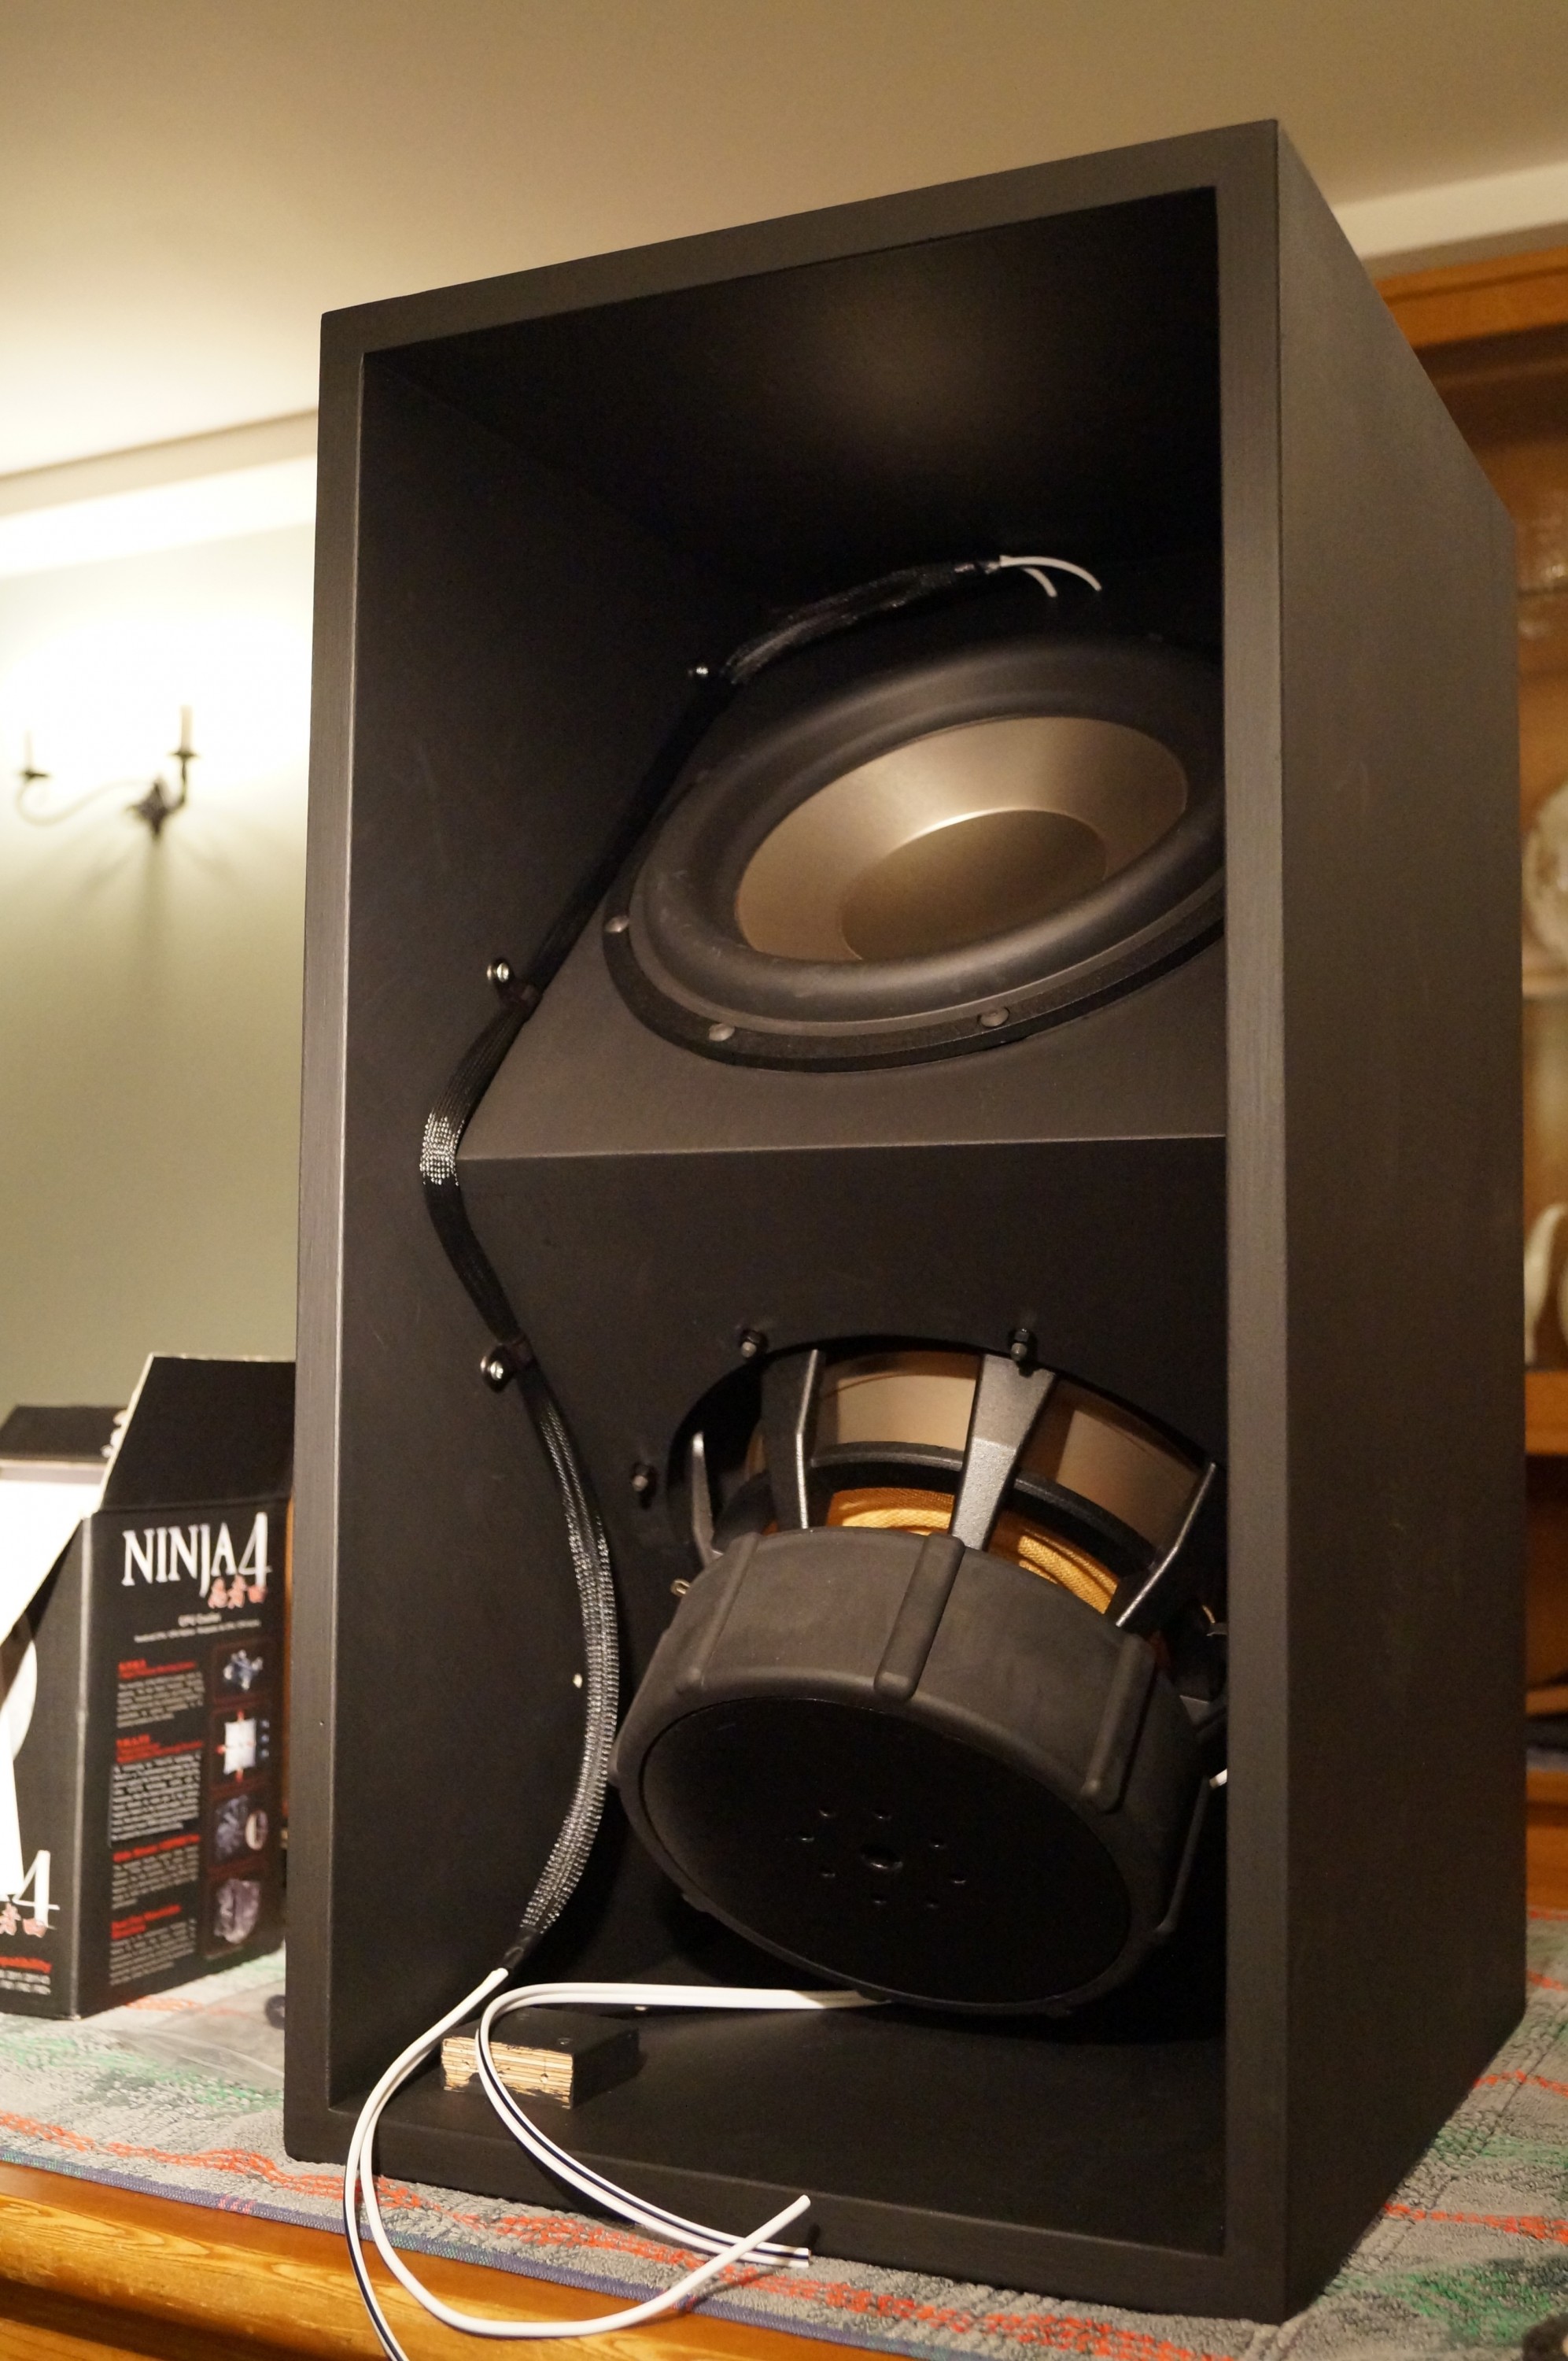
On to the wiring up. I had ordered a reel of Techflex clean cut 12mm from Kustom PCs, together with two sizes of black heatshrink, to keep both the woofer box wiring and the speaker leads tidy. Clean-cut it is, but it soon frays out, and I quickly learned that once threaded over the wires it is wise to secure free ends with a temporary draw-tight cable tie before final fixing. Ends can be sealed by wafting them near a flame; I used a gas ring. I secured the wiring run with some nylon P-clips I found on e-bay – my last online order for this project!
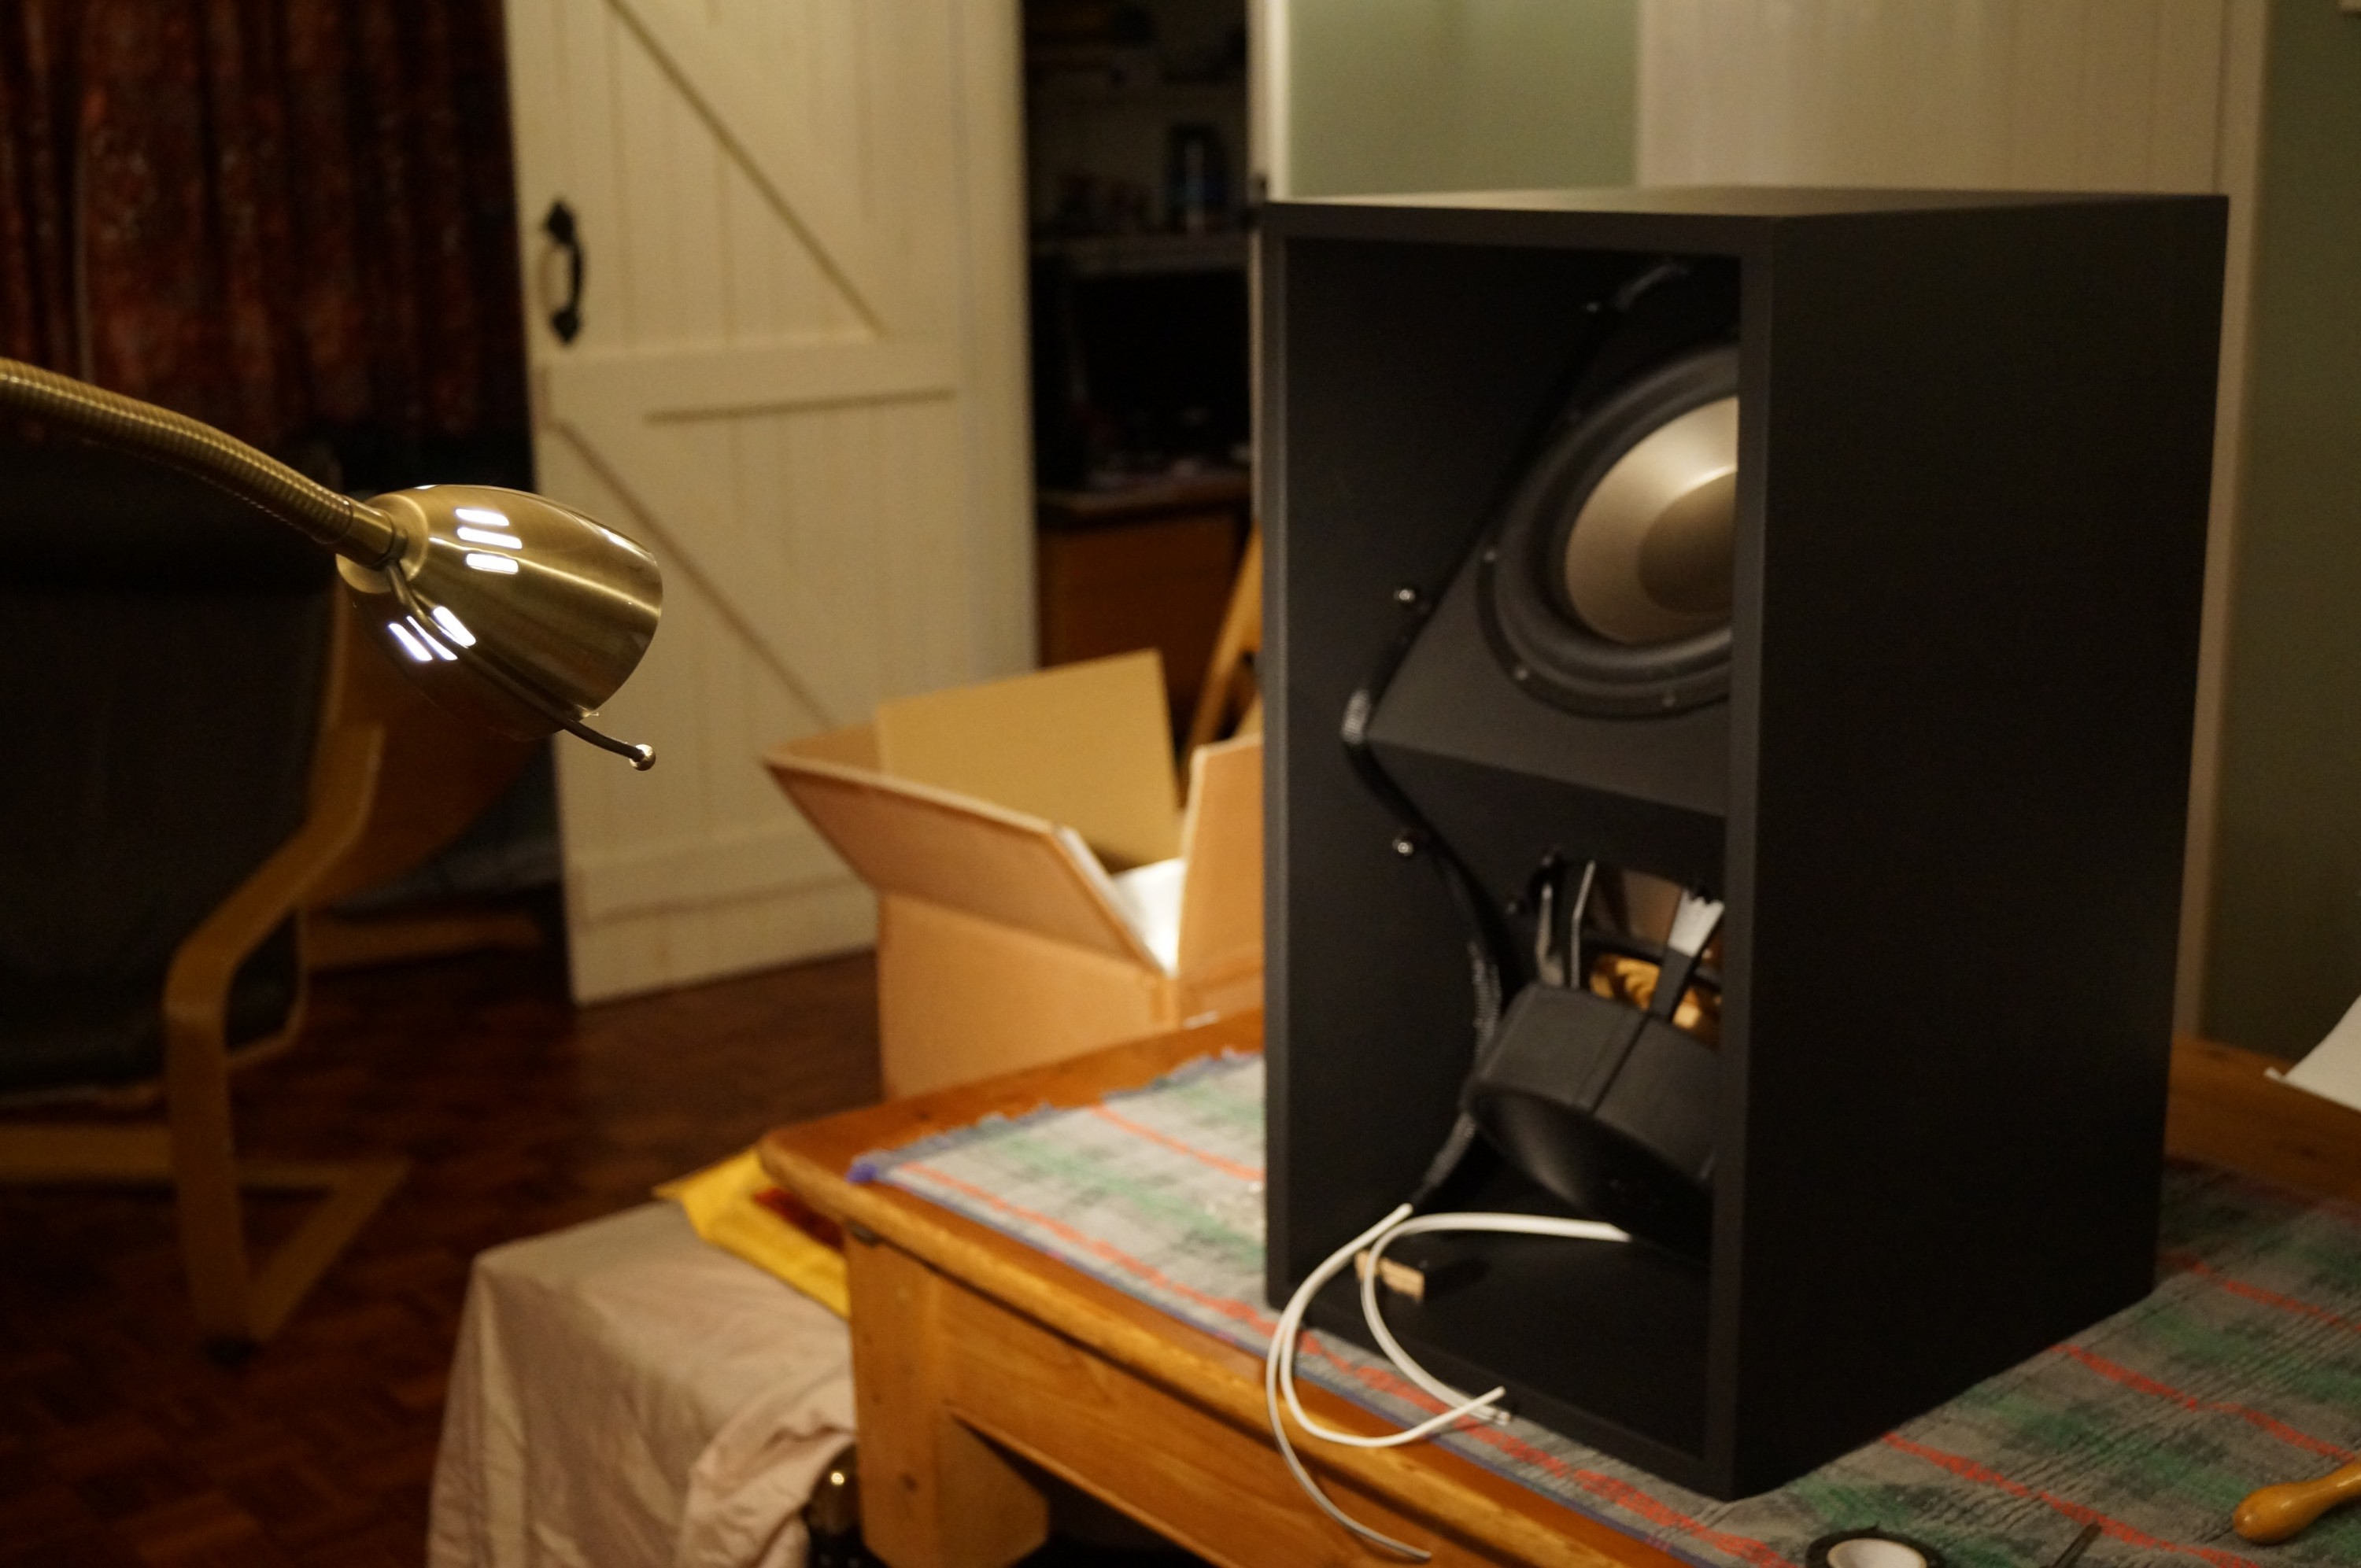
Before soldering the Neutrik spade terminals and attaching the 4-way Speakon panel mount I labelled the wires UW and LW to keep track. During the wiring up a good light helps enormously; our music room “father and son” flexible lamp lit up the dim interior of the black boxes well.
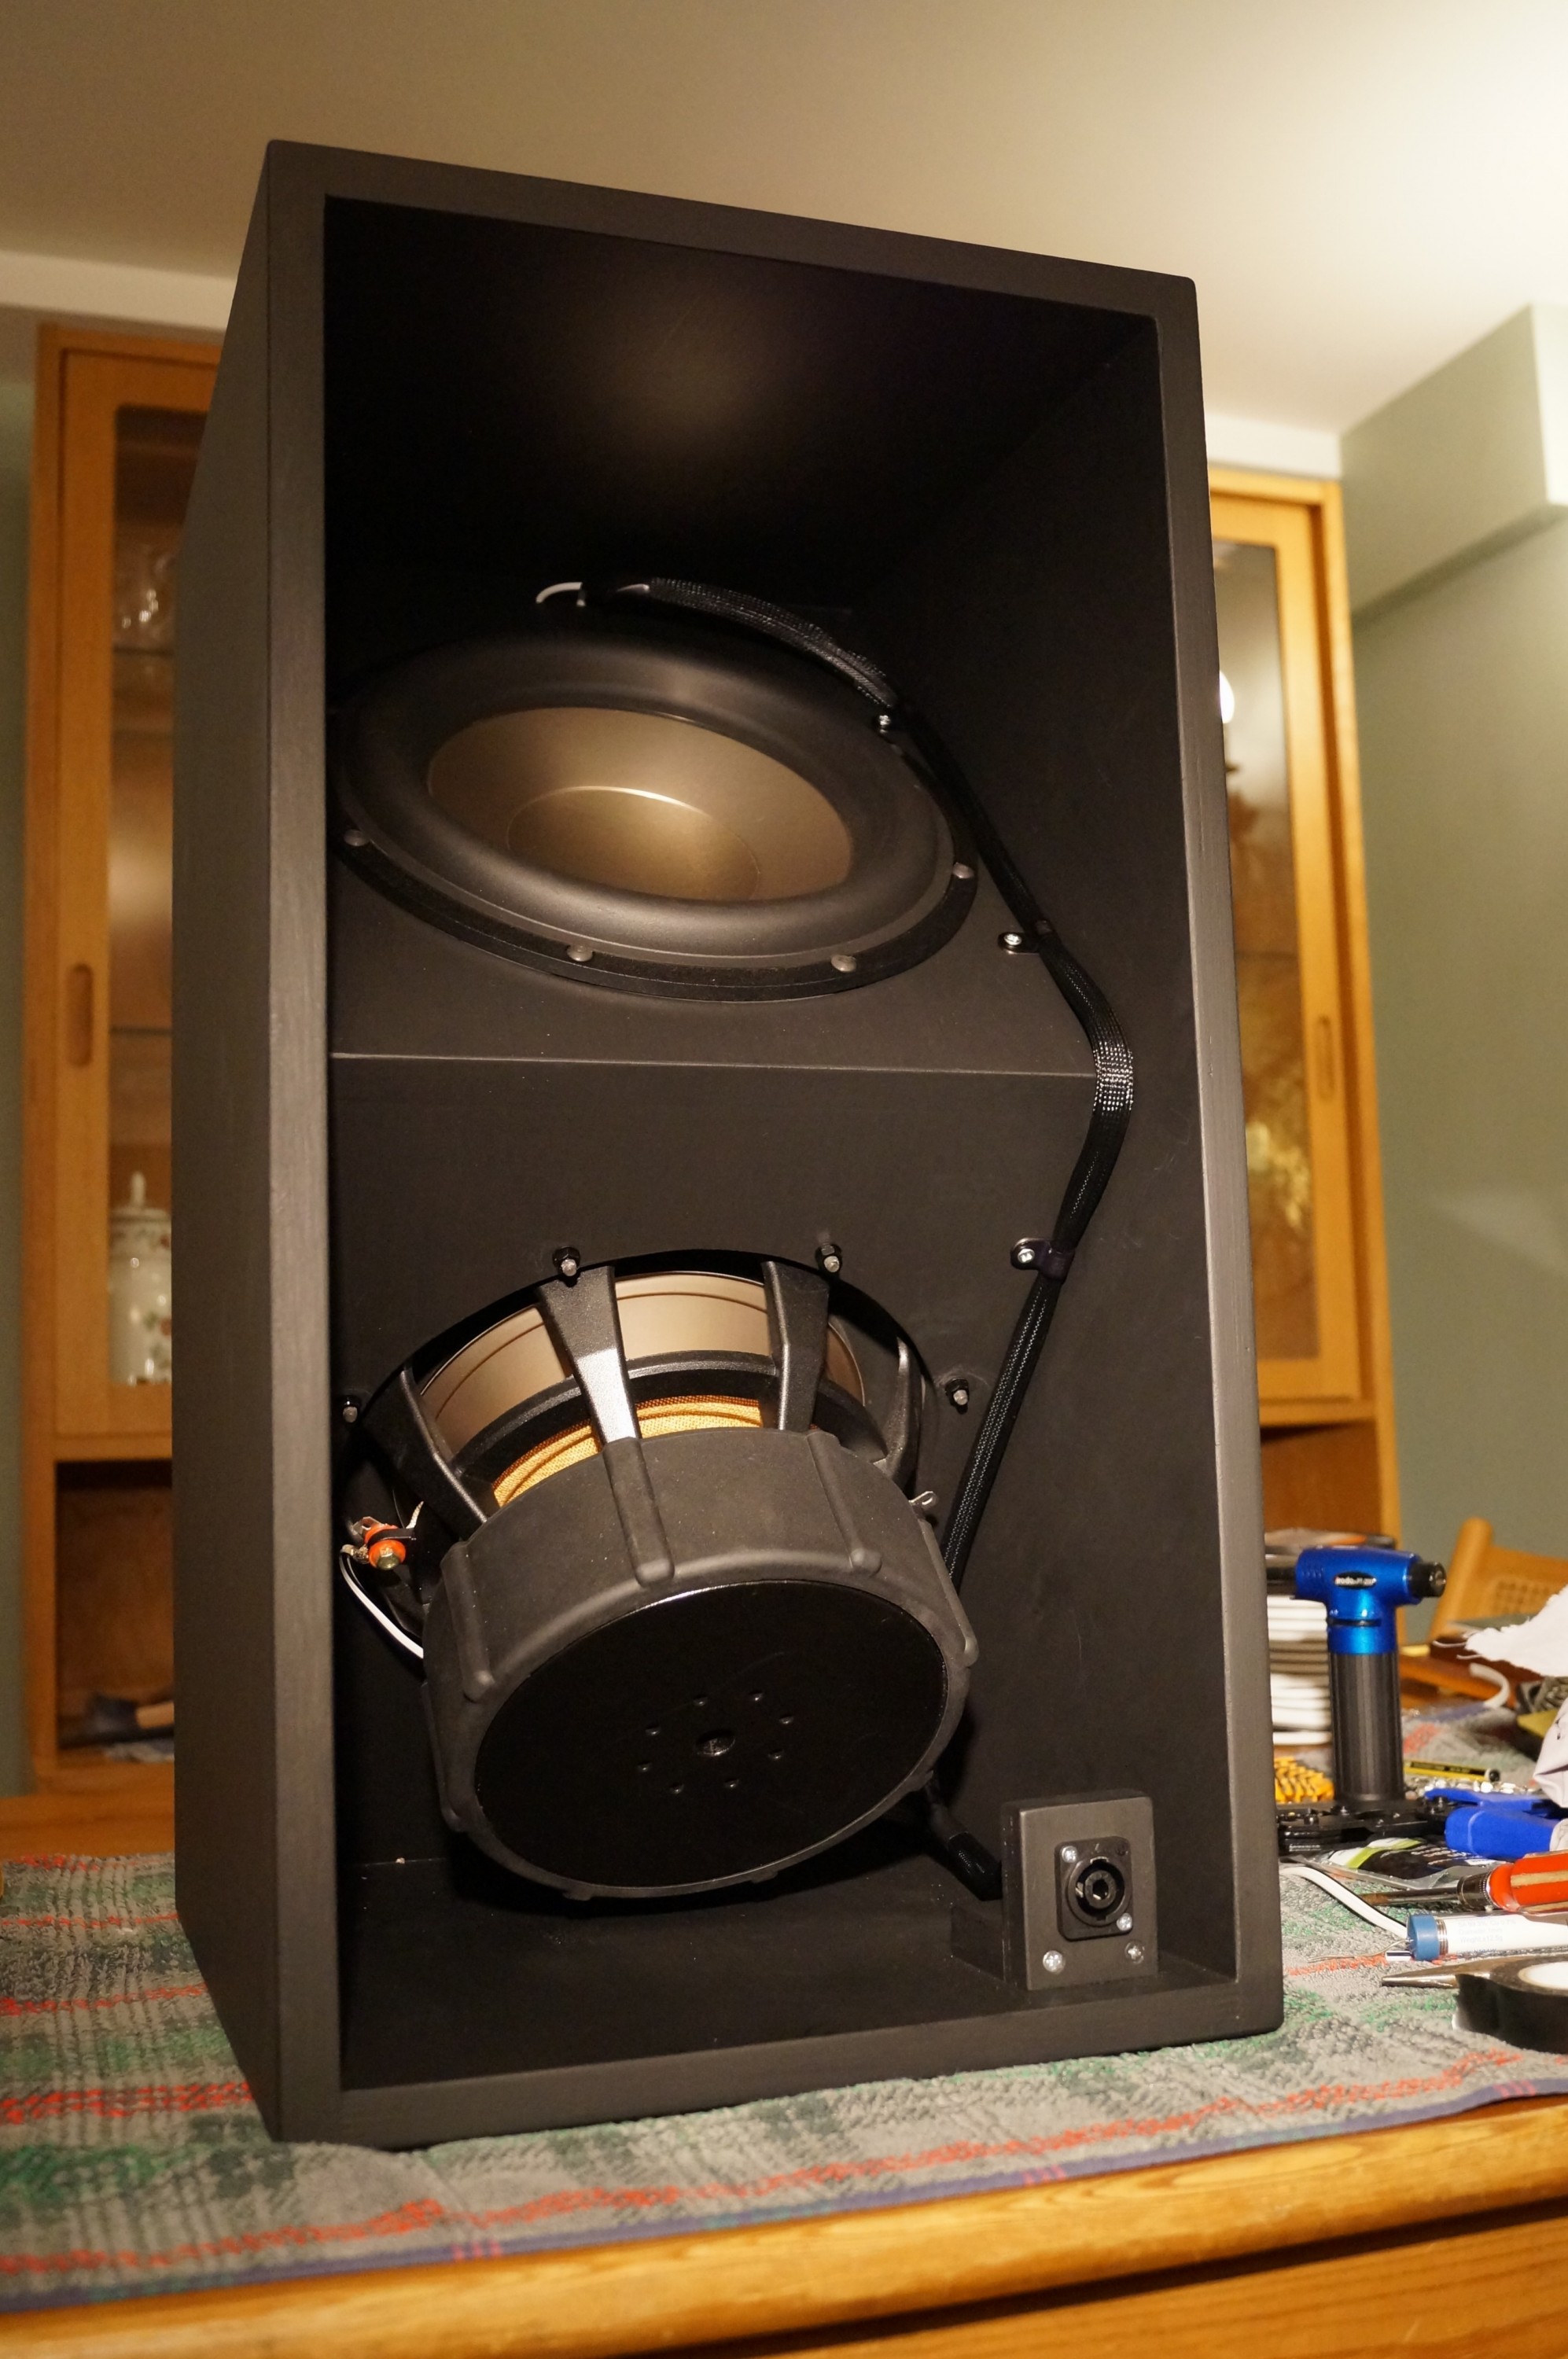
Woofer boxes done! My remaining tasks are to finish wiring the baffles and make up the speaker leads – only a few more days!