Last tasks…

Baffle wiring detail
Speakon black hole!
Speakon black hole!

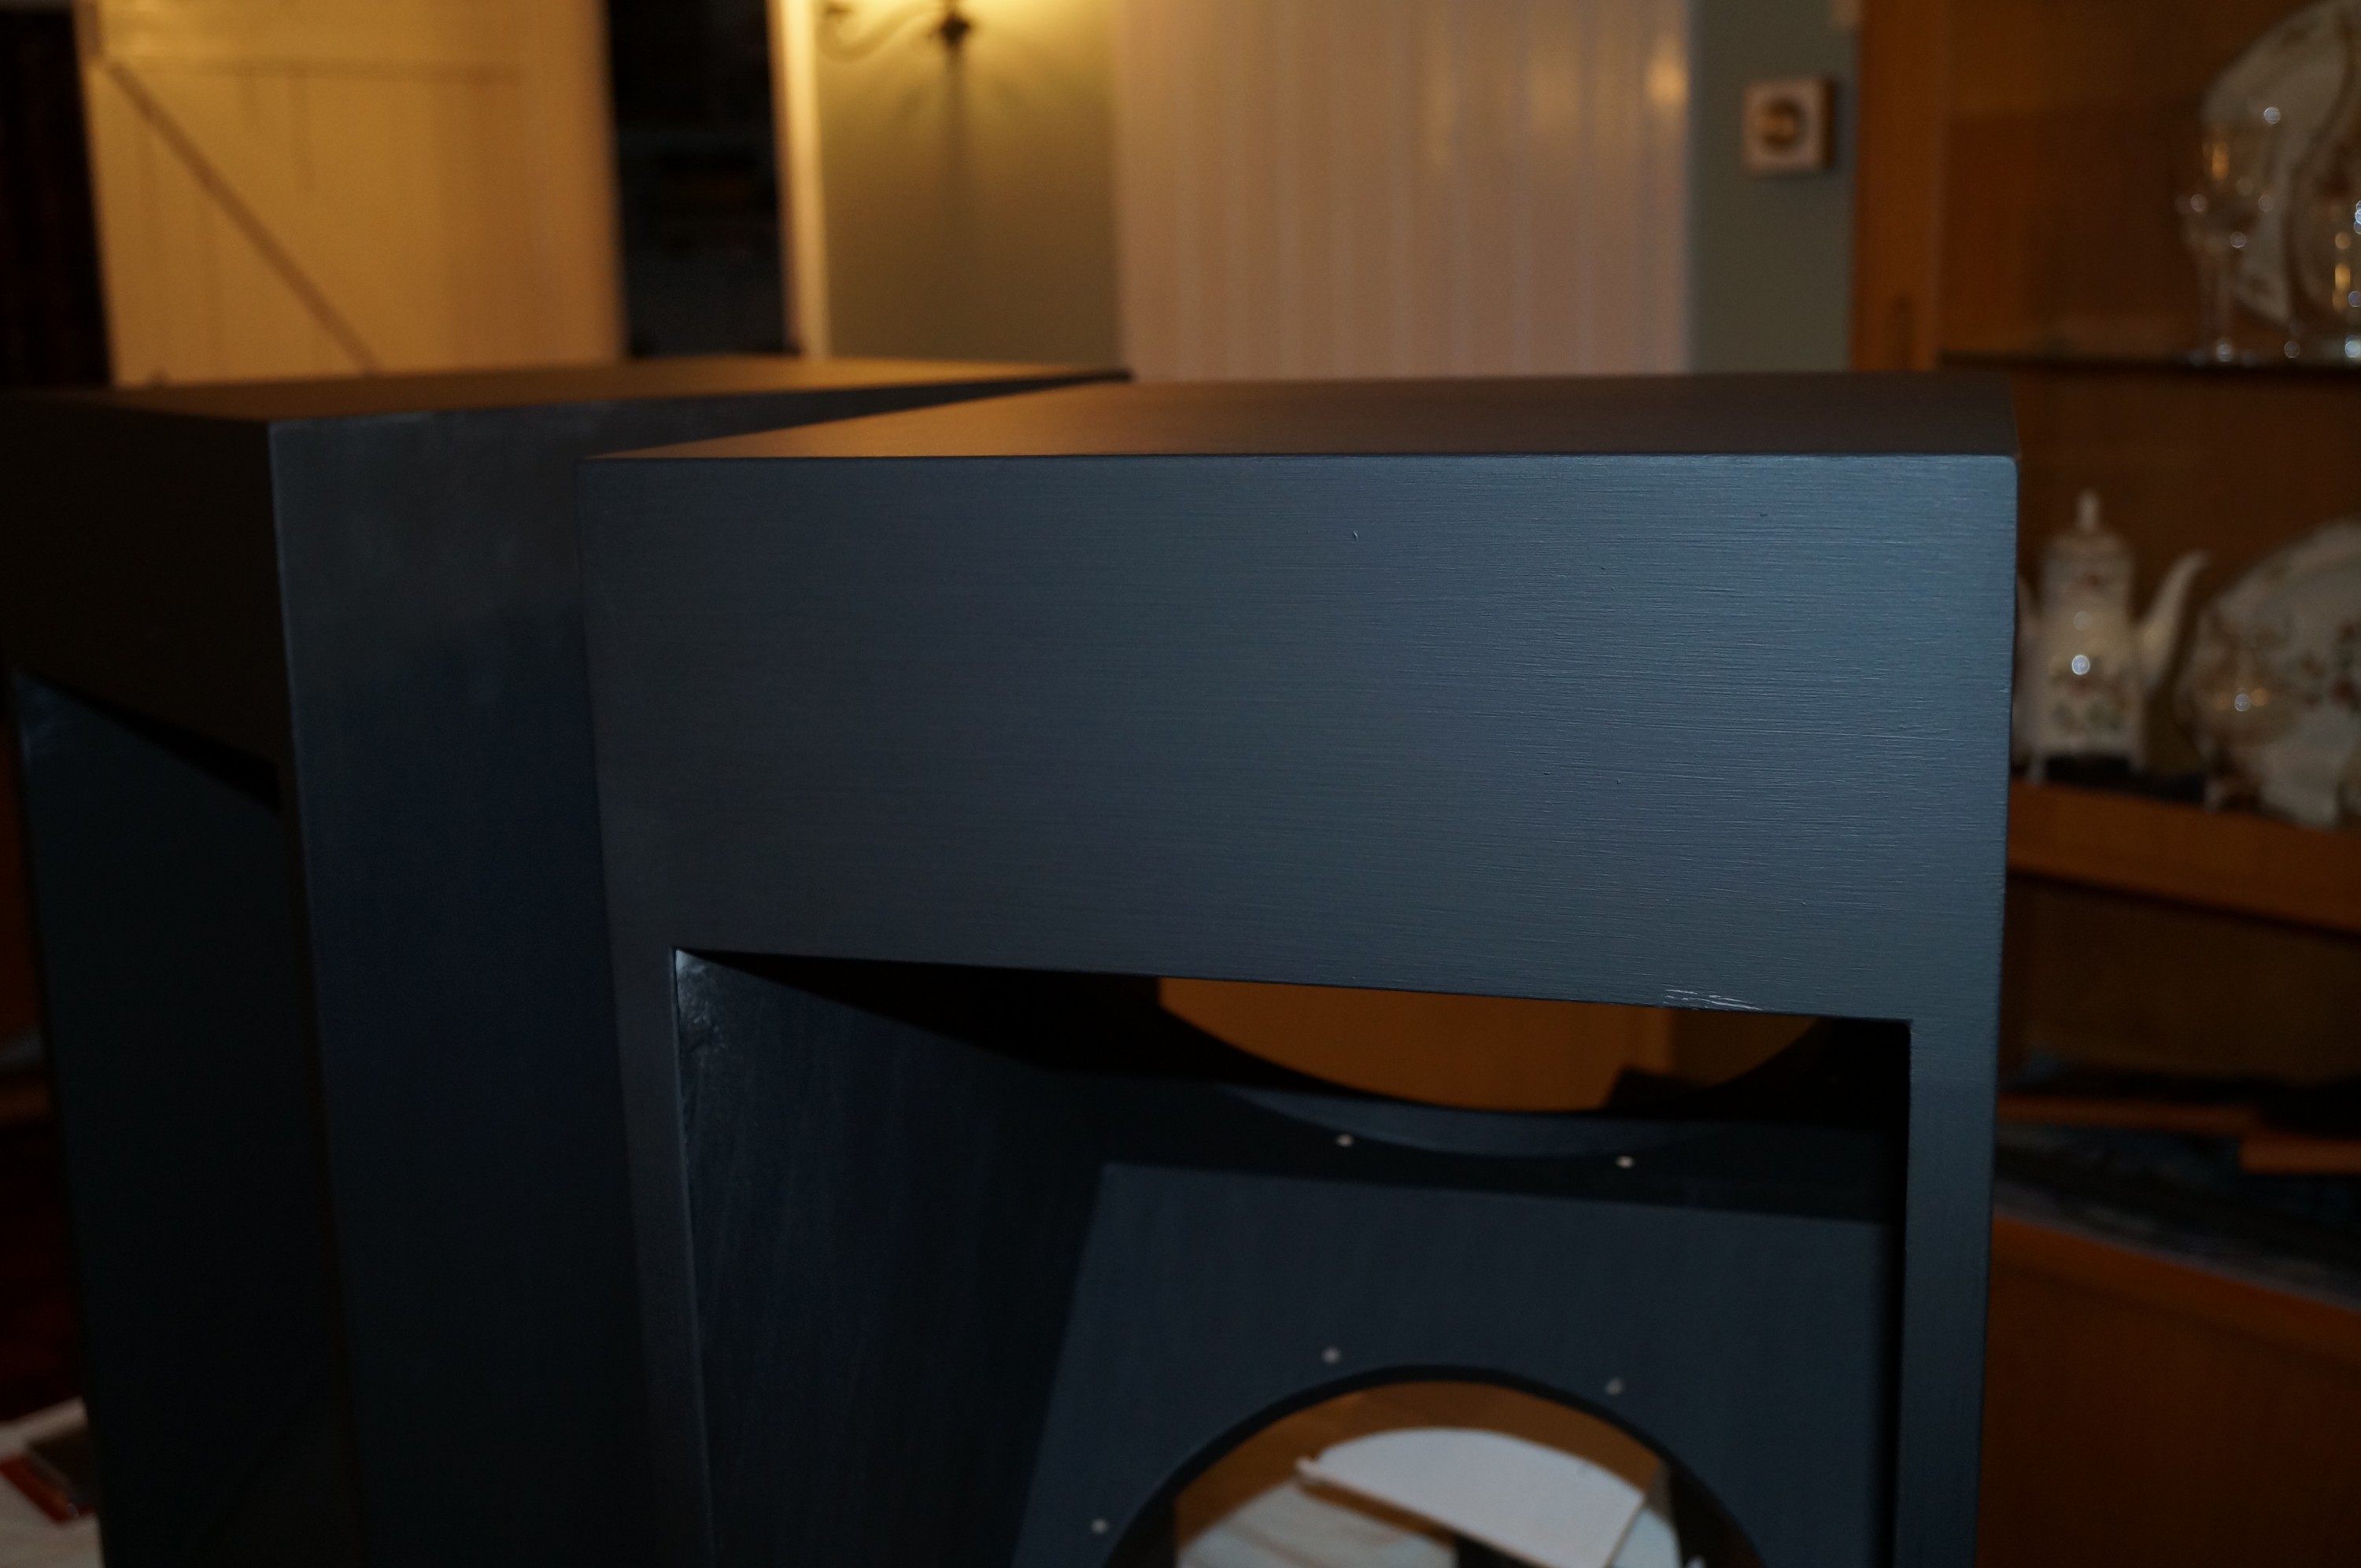
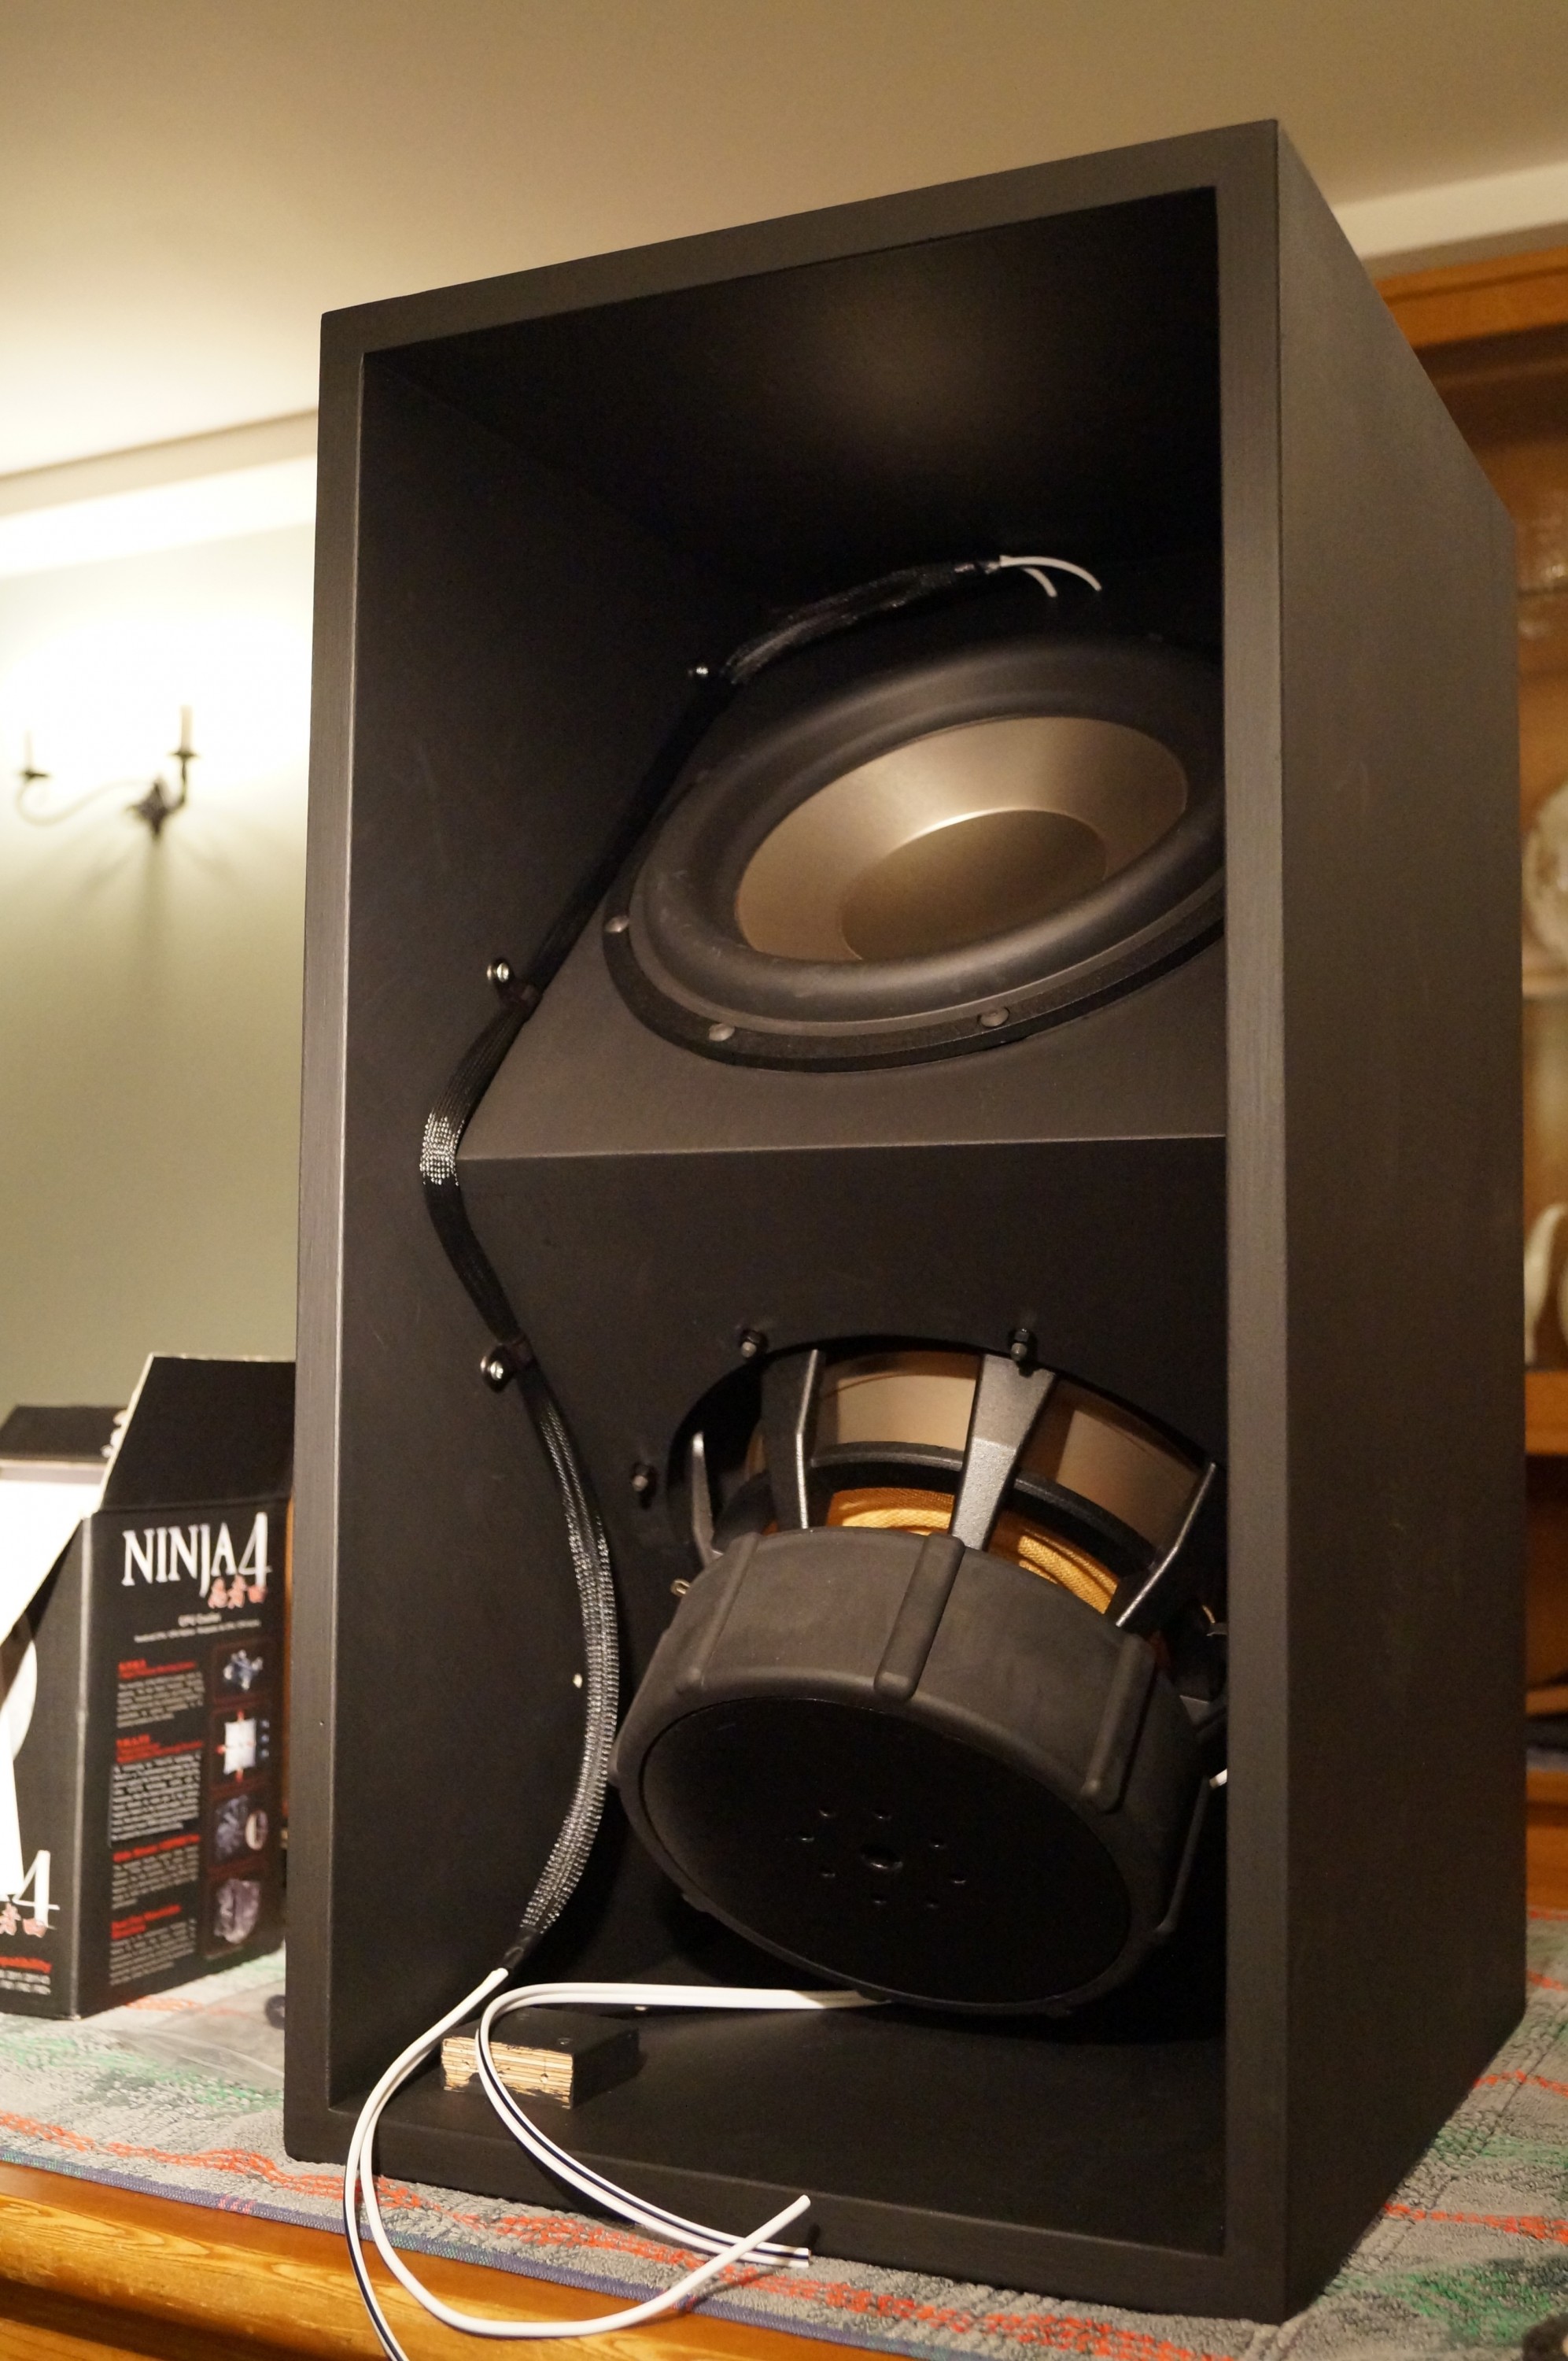
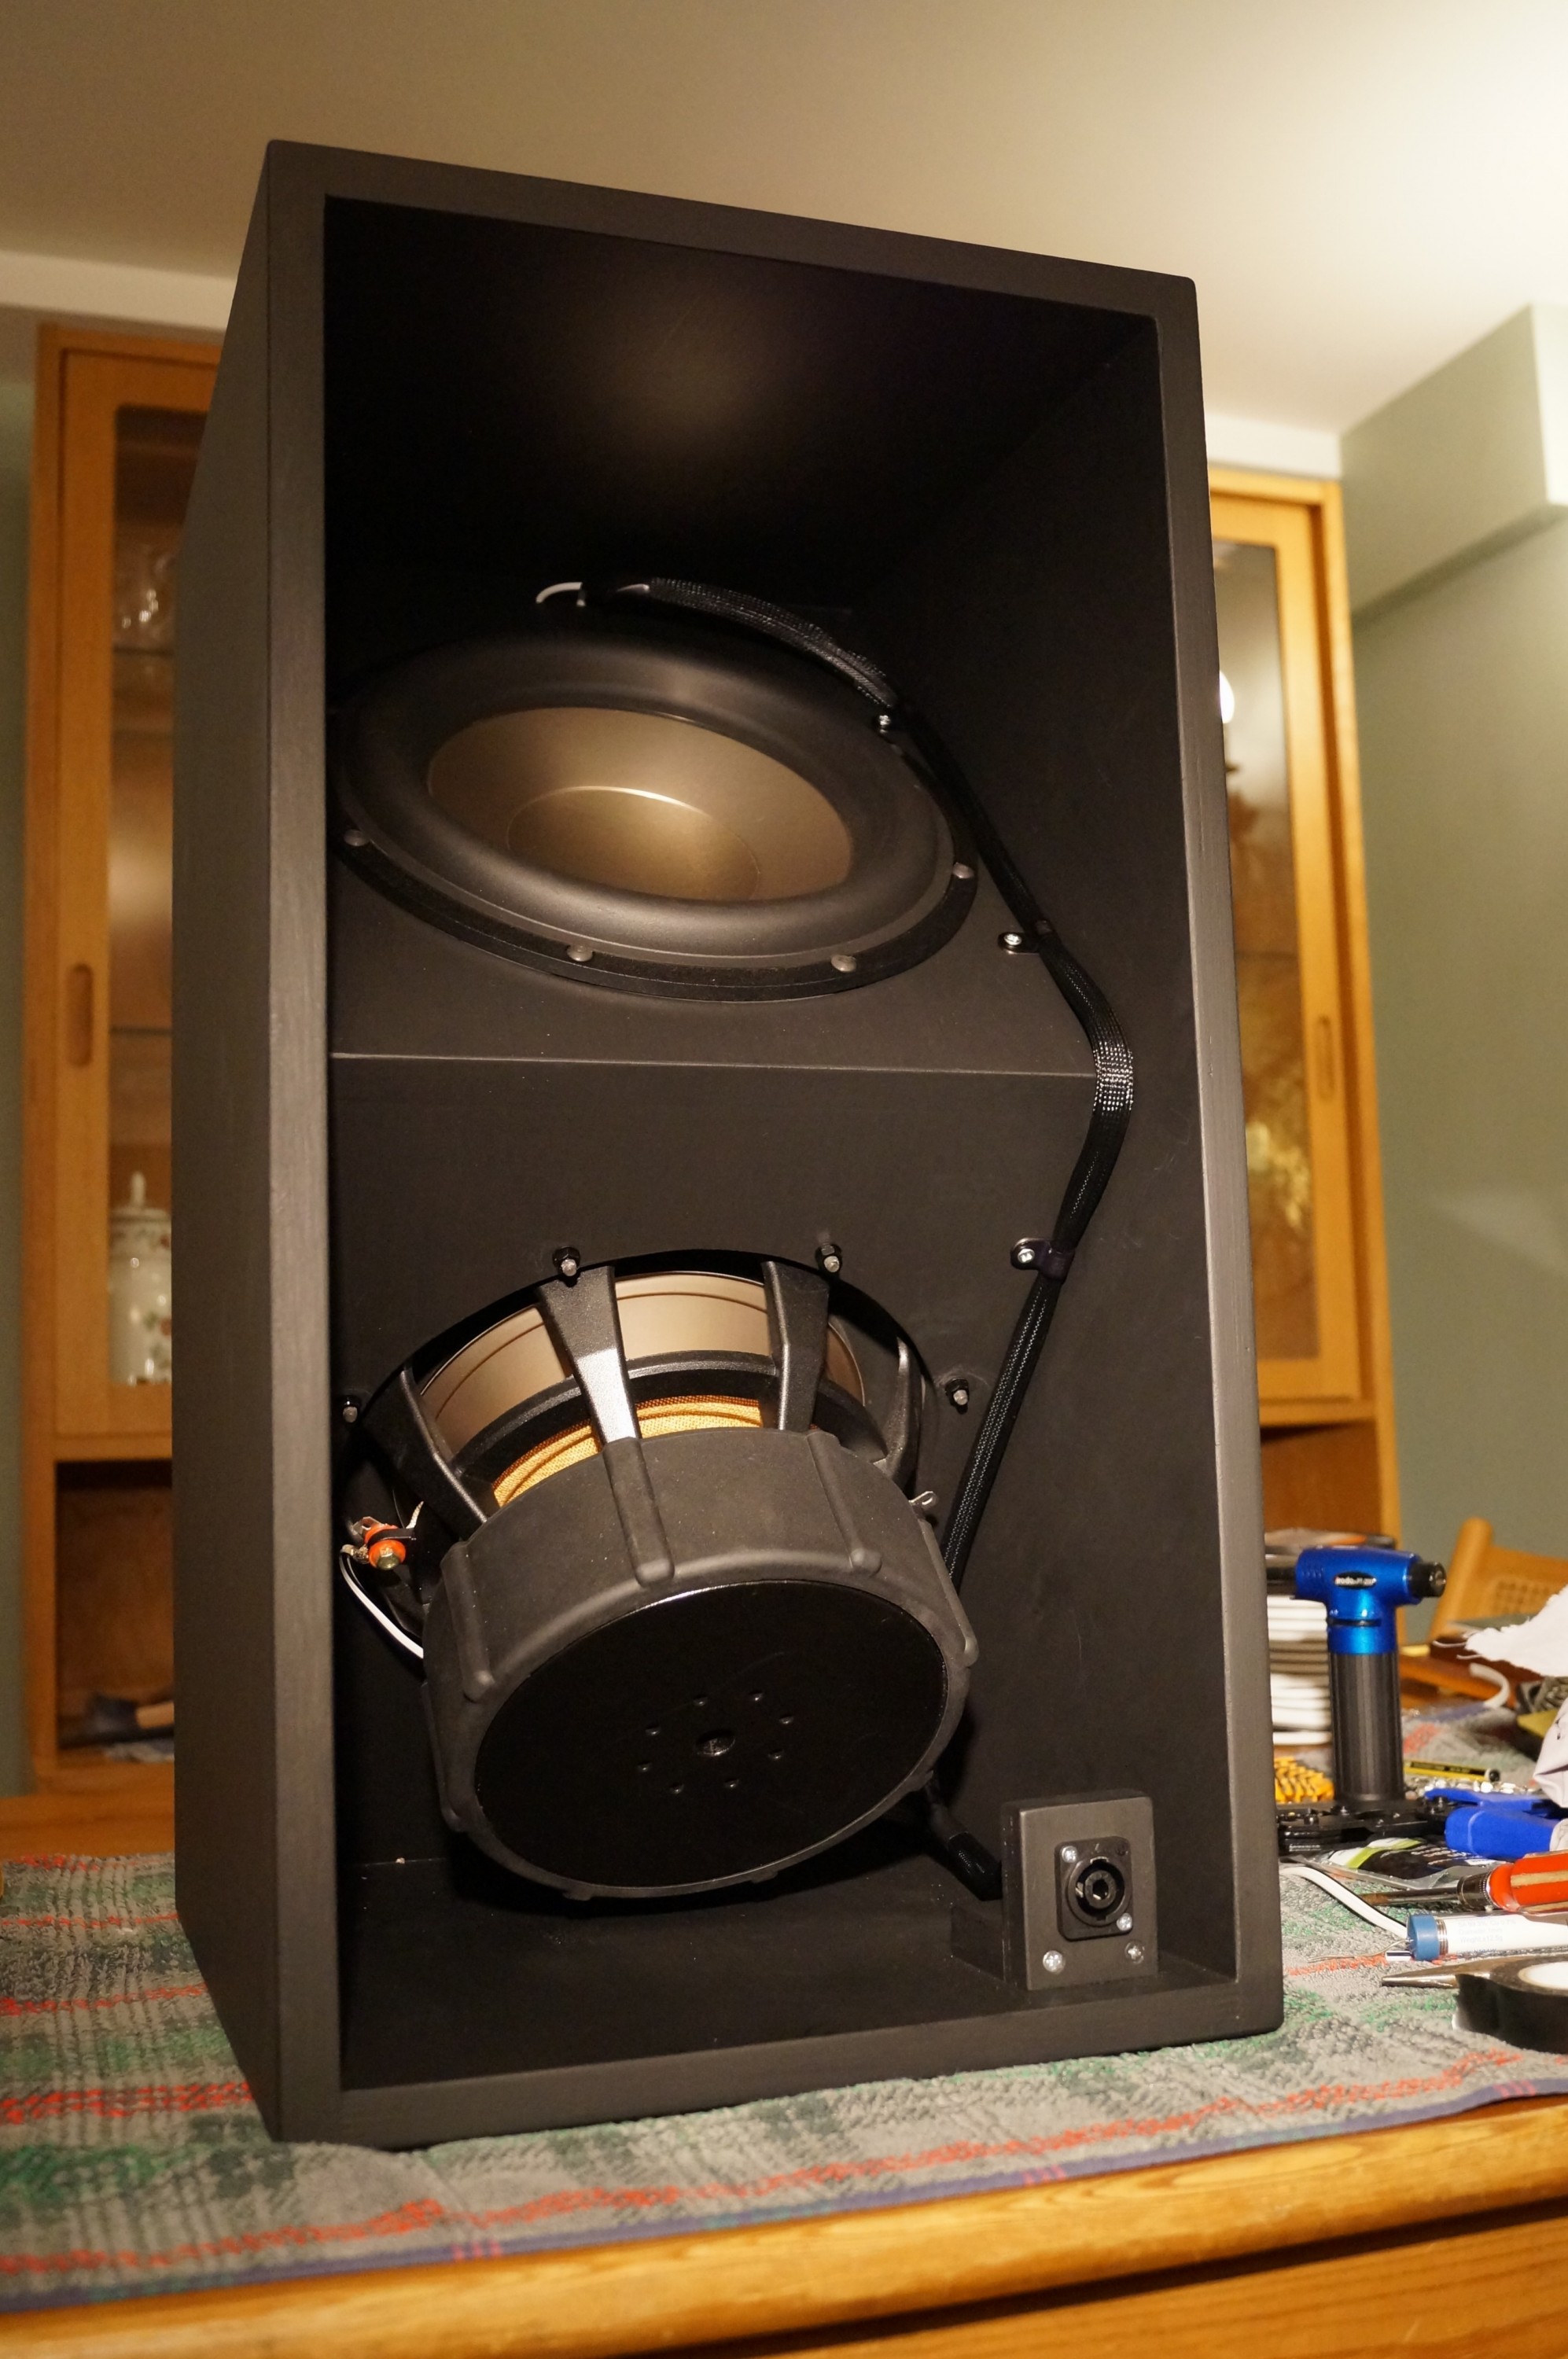
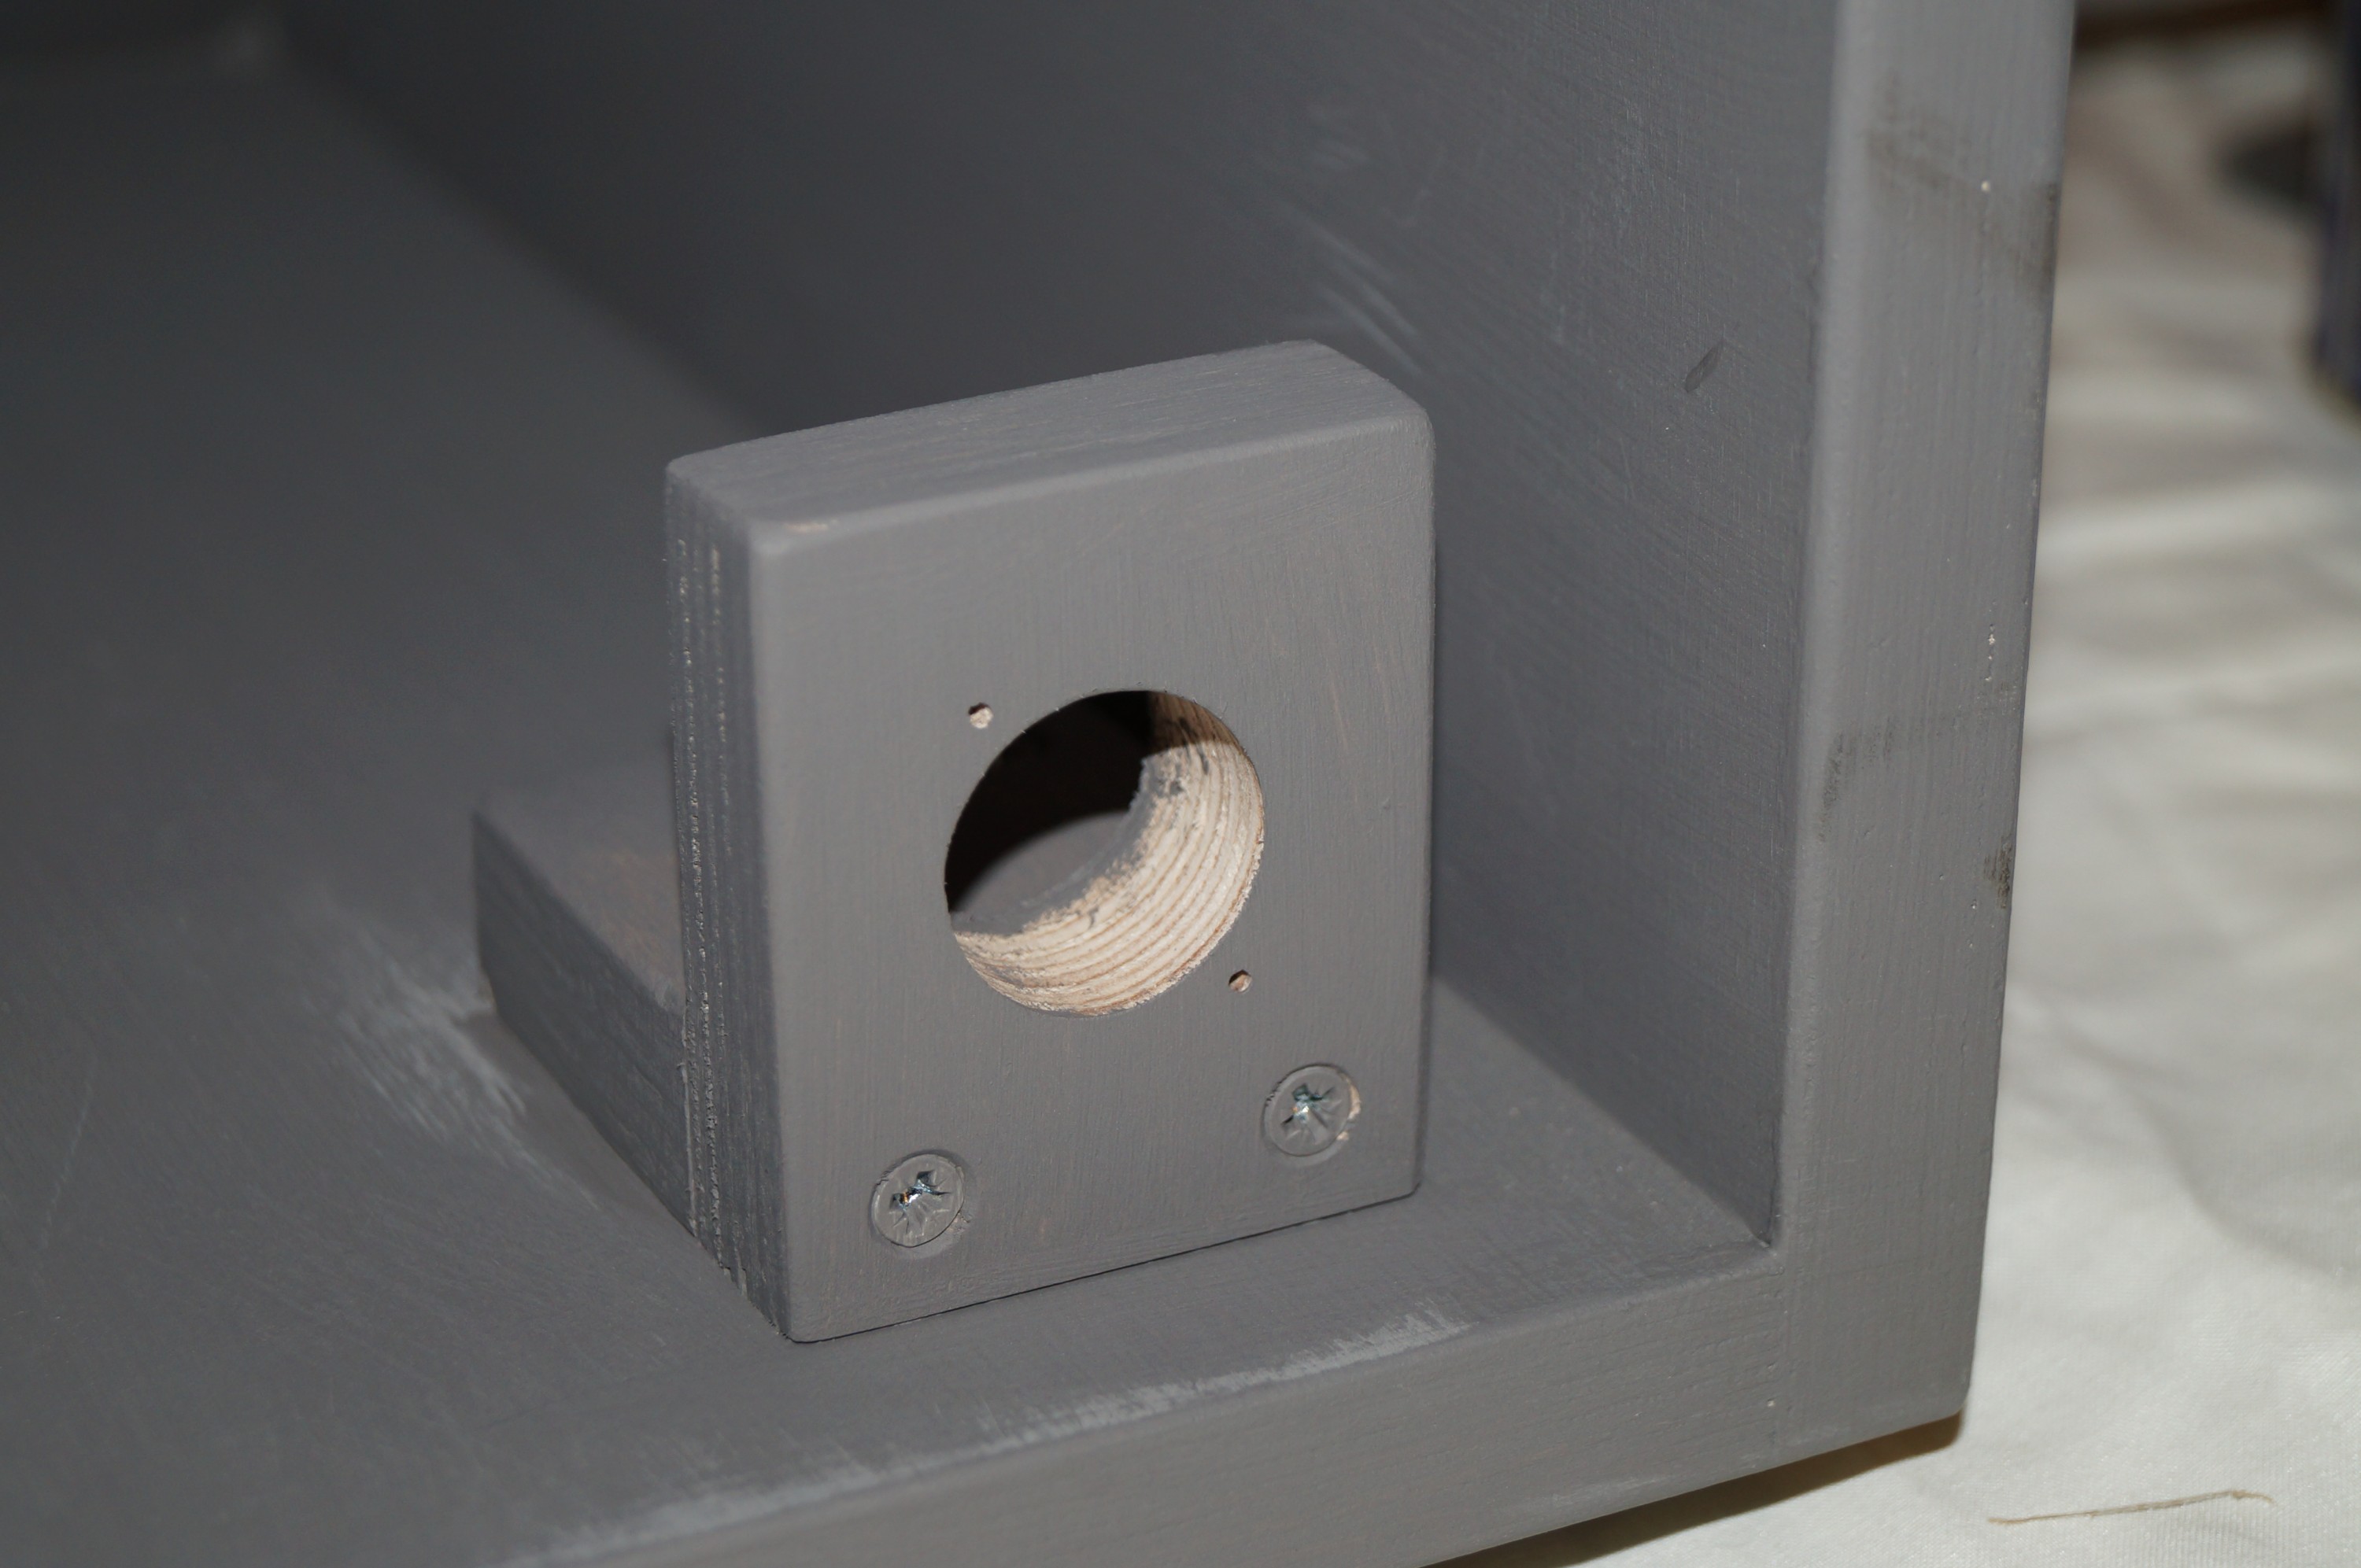
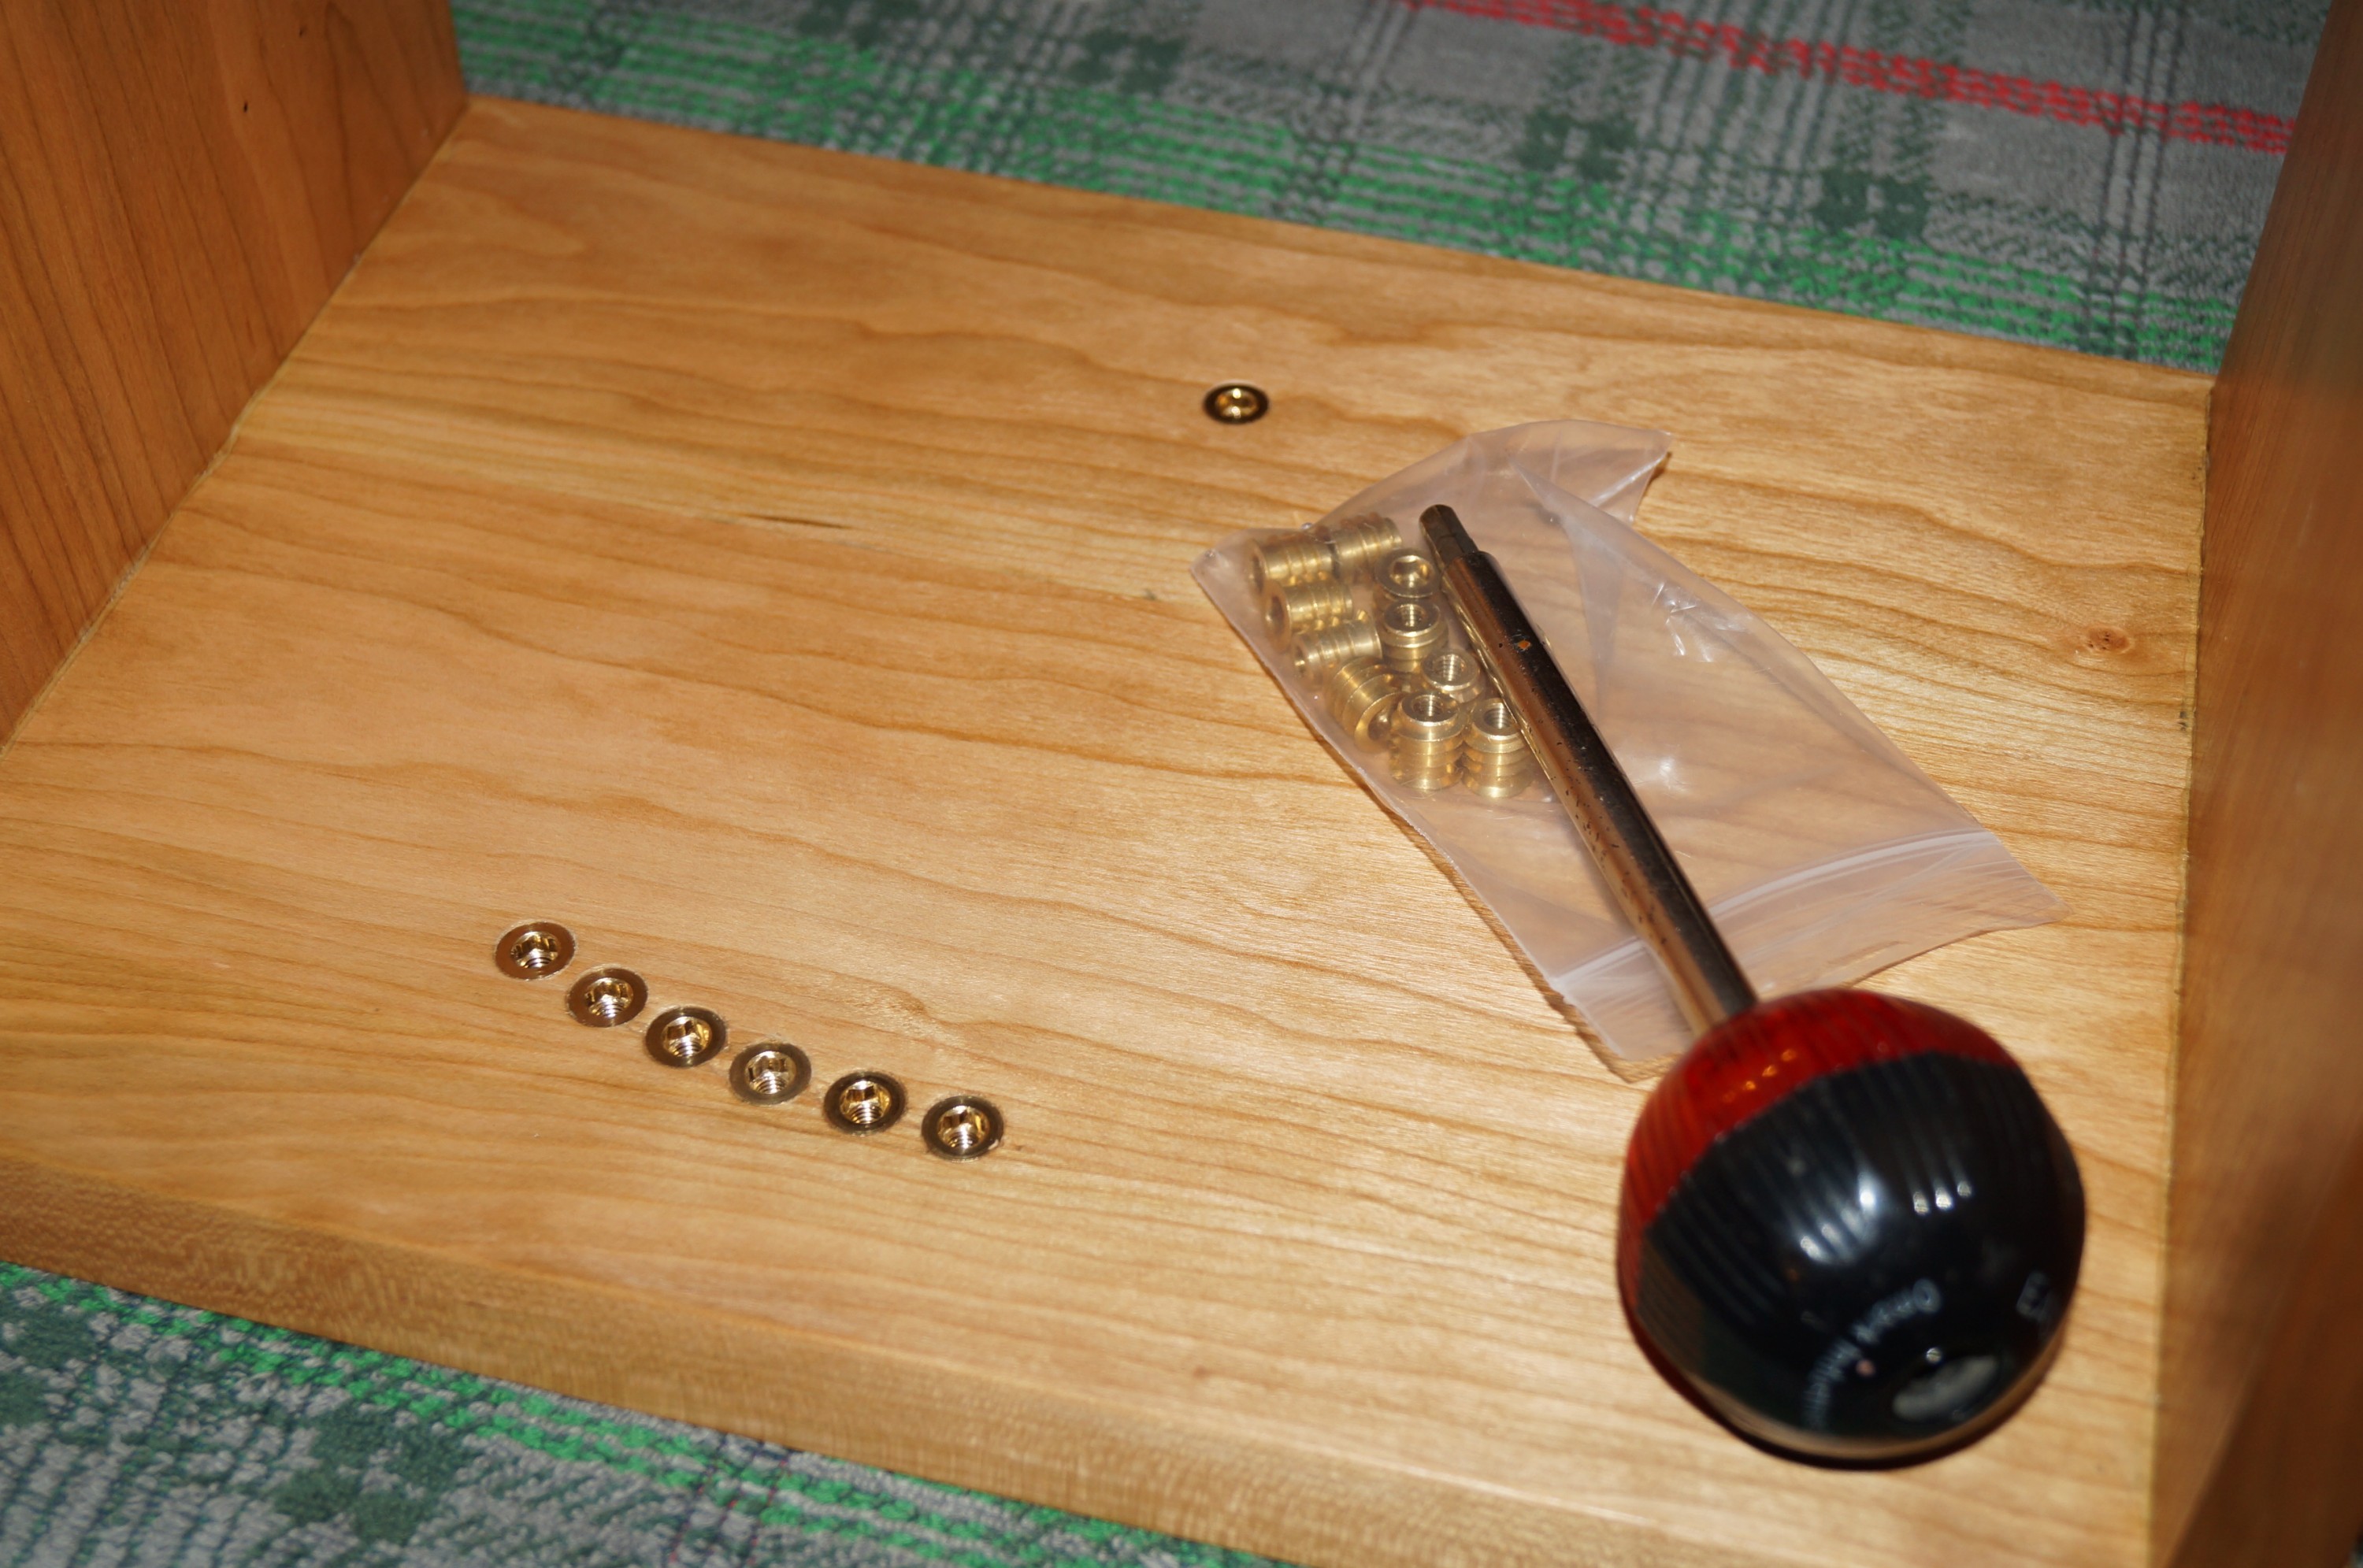
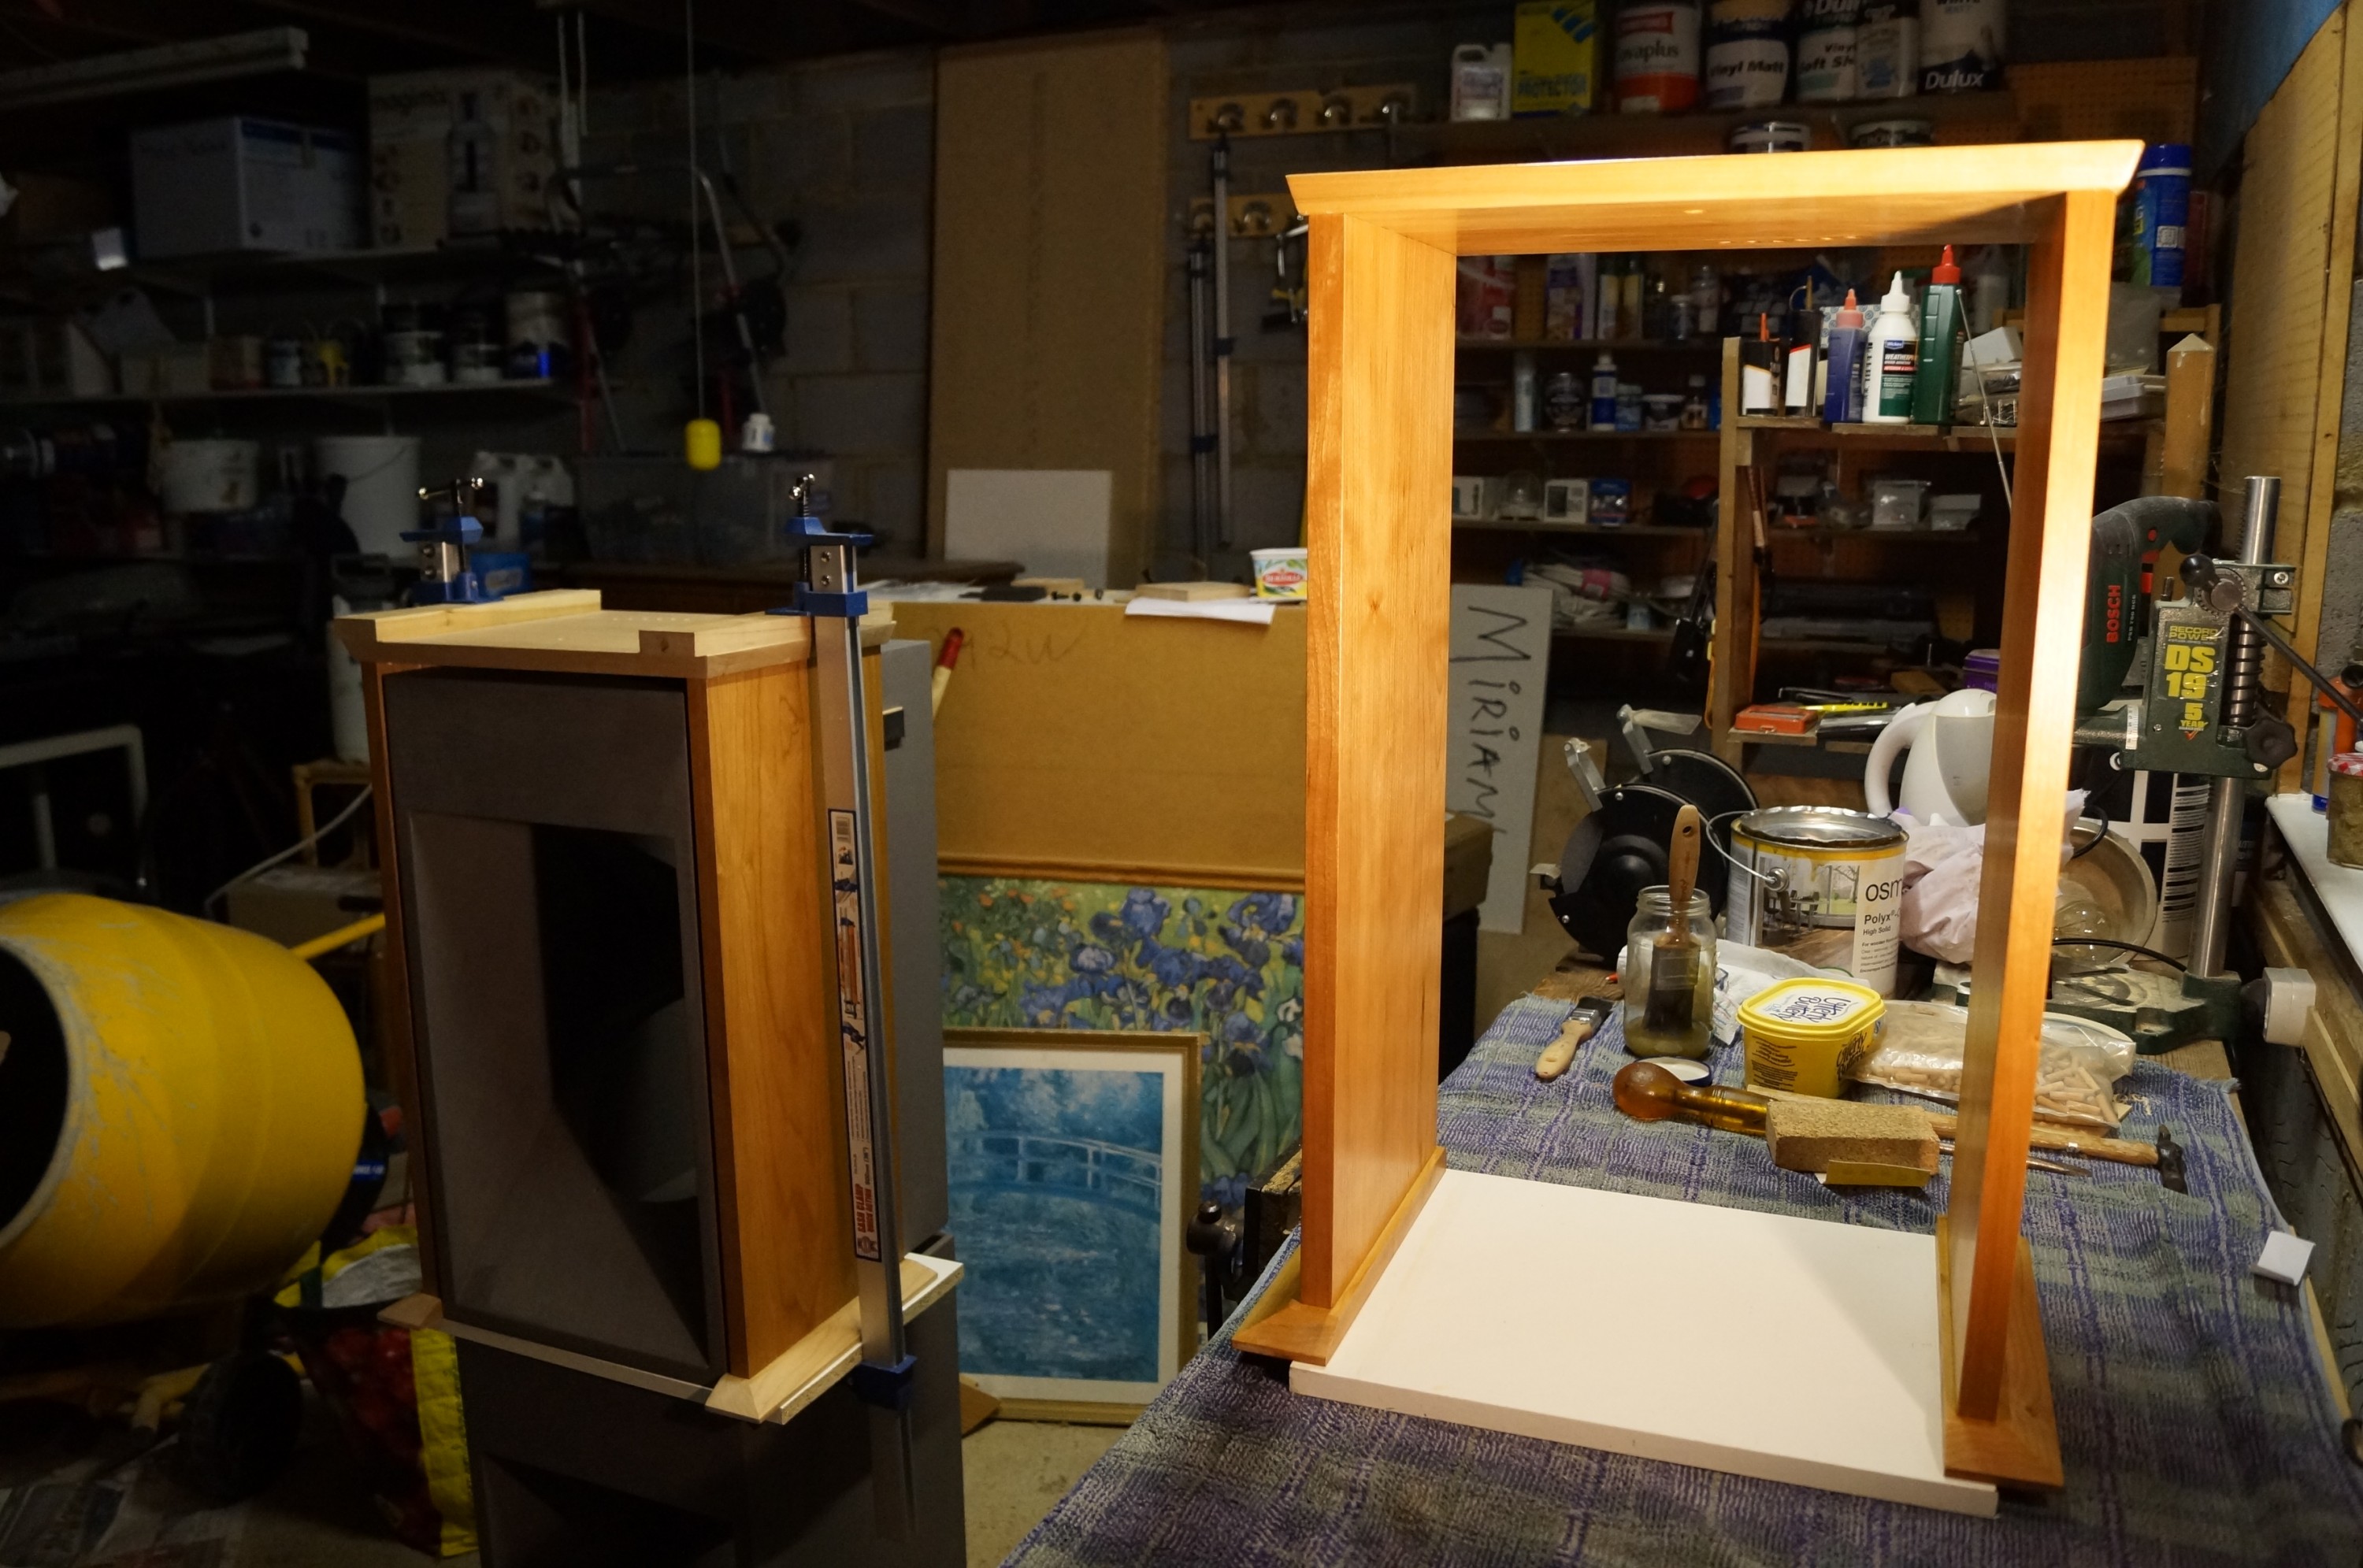
Neglected the log in the last few days, so writing in retrospect (I now have time on my hands… read on to discover the reason). The baffle wiring is complete. Not much to do here; mainly an exercise in managing Techflex and heatshrink, and keeping things neat. I carefully took some photos of the process and later discovered the camera’s SD card was still in the desk PC! – so pics of finished article only. I used the gas ring to “set” the end of the Techflex at a stretched diameter (threaded over a 24mm tube) to fit over the connections on the back of the Speakon mount. I remembered to wire the L and R baffles in mirror image which I feel adds a professional touch! I was very glad I had kept the little Speakon bracket detachable; it would have been impossible to fit the six terminals in the “black hole” otherwise.


The finished articles!

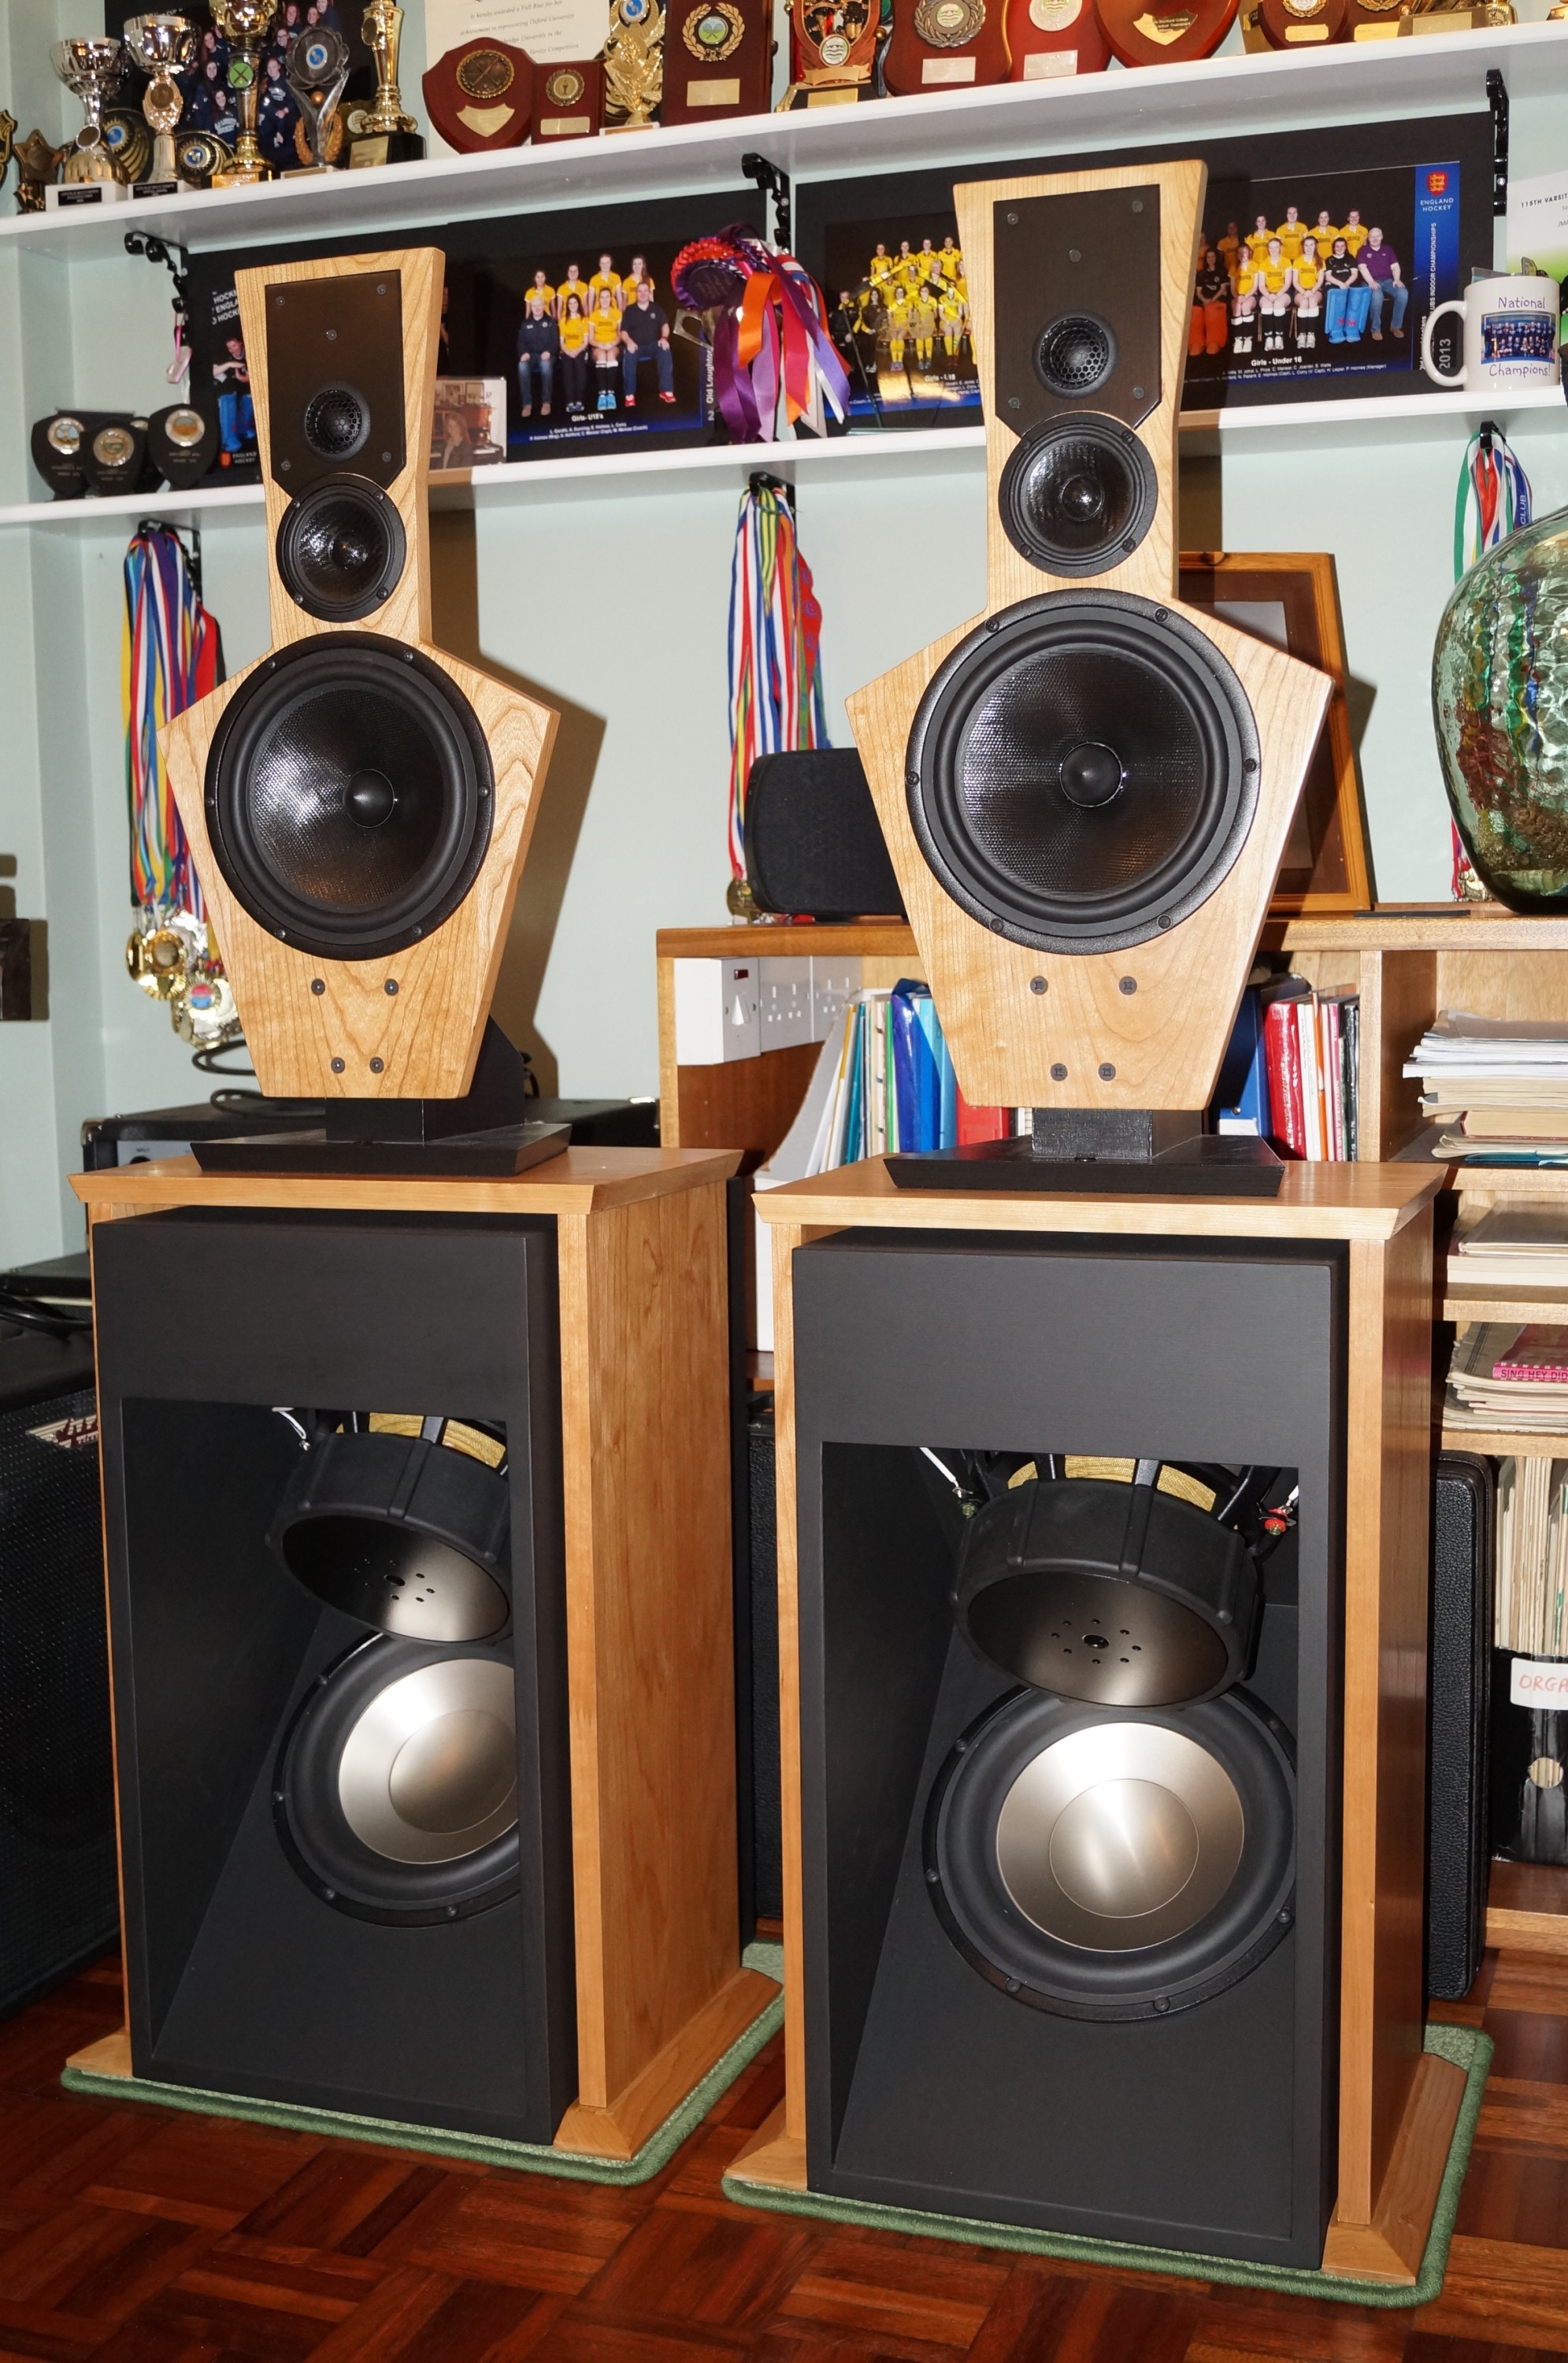
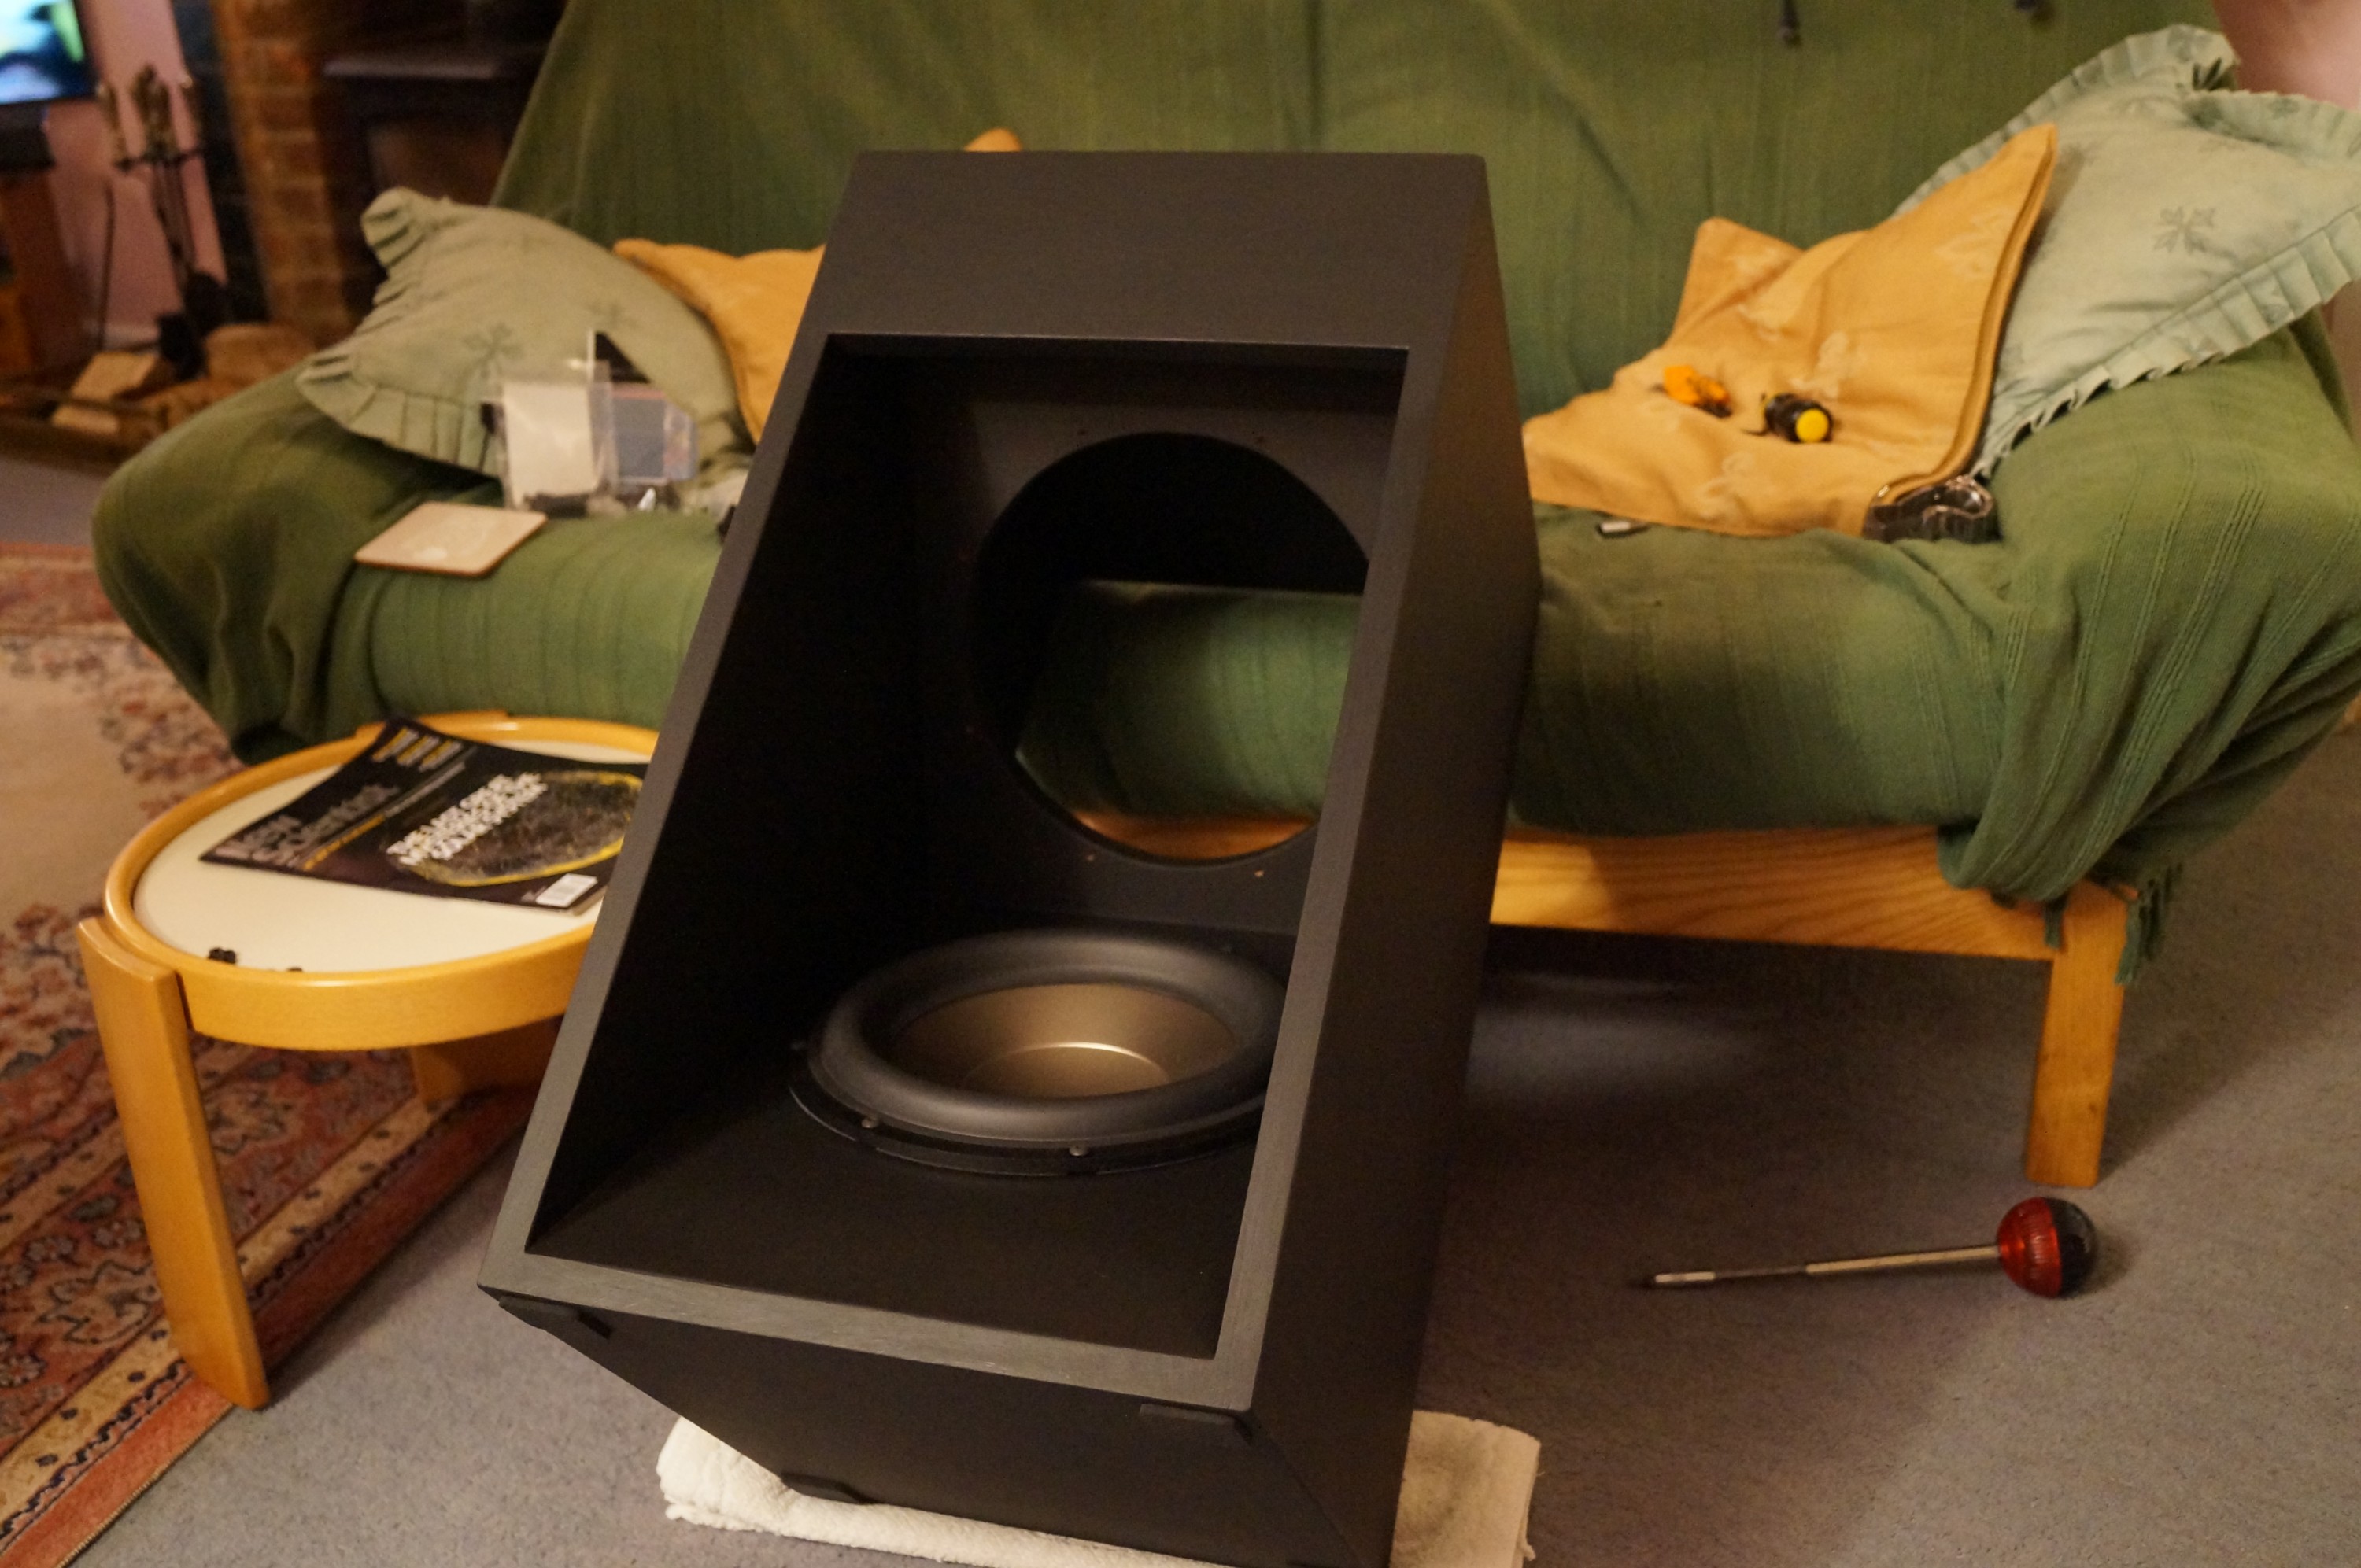
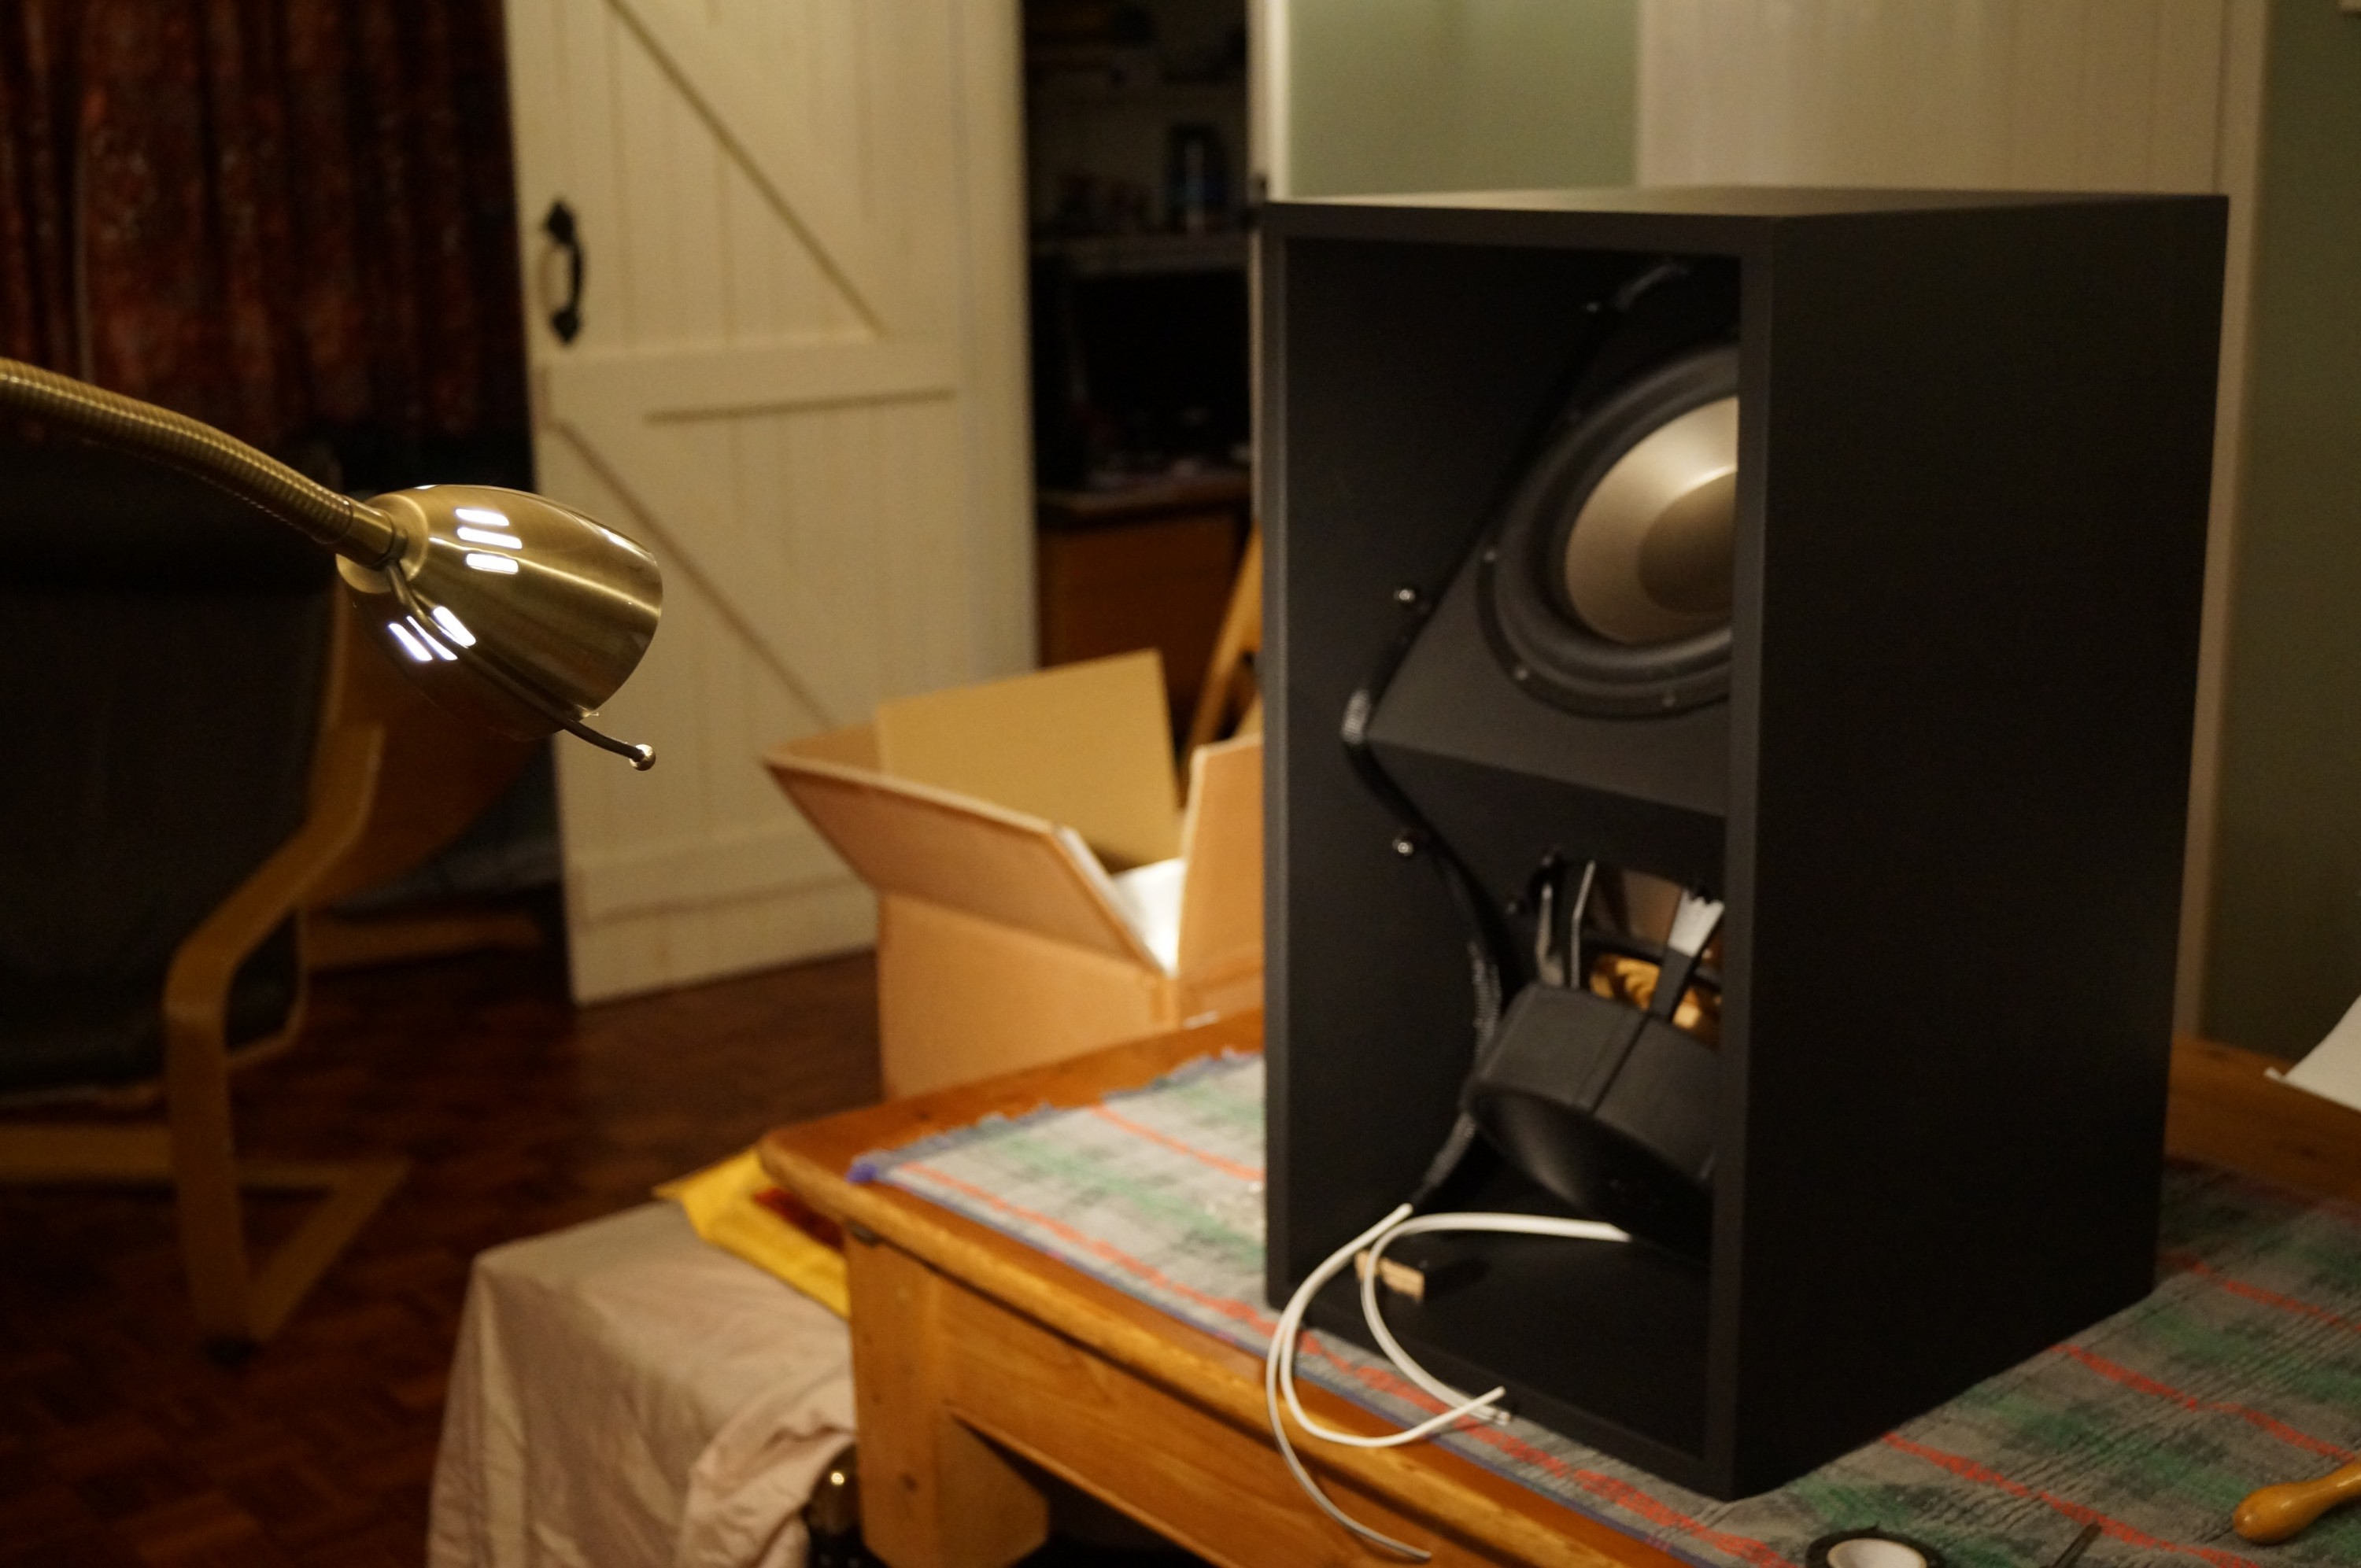
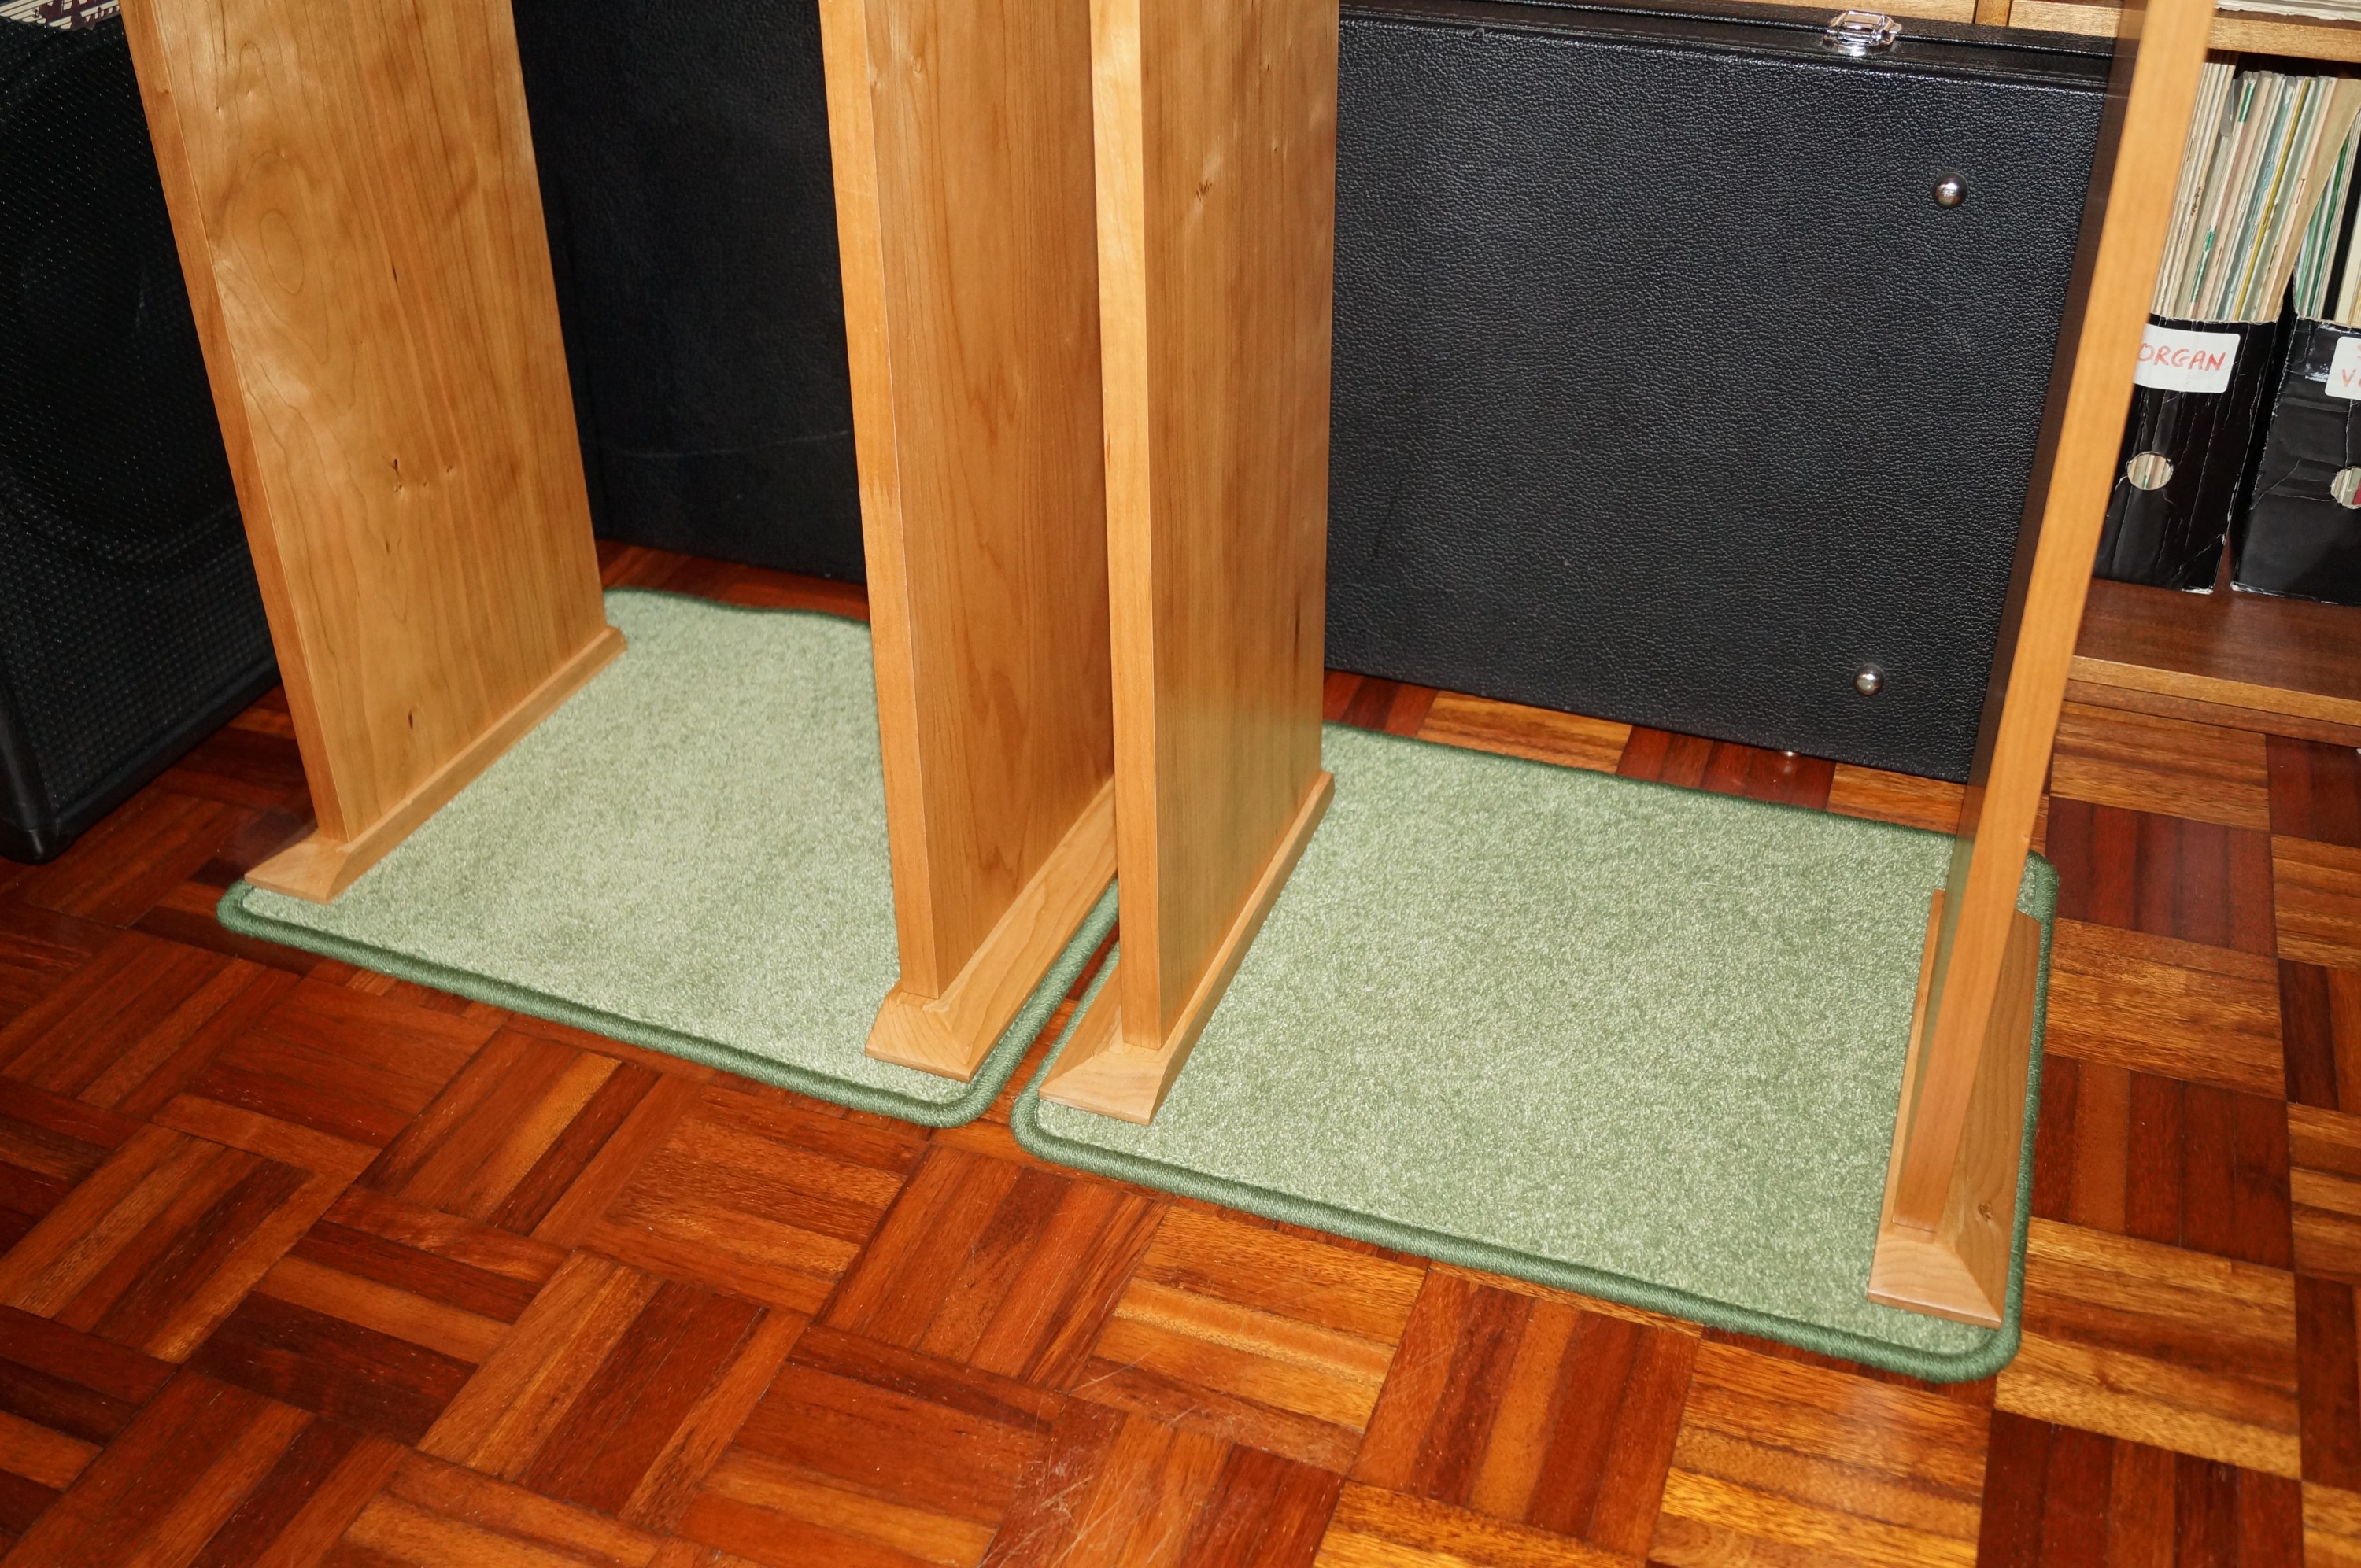
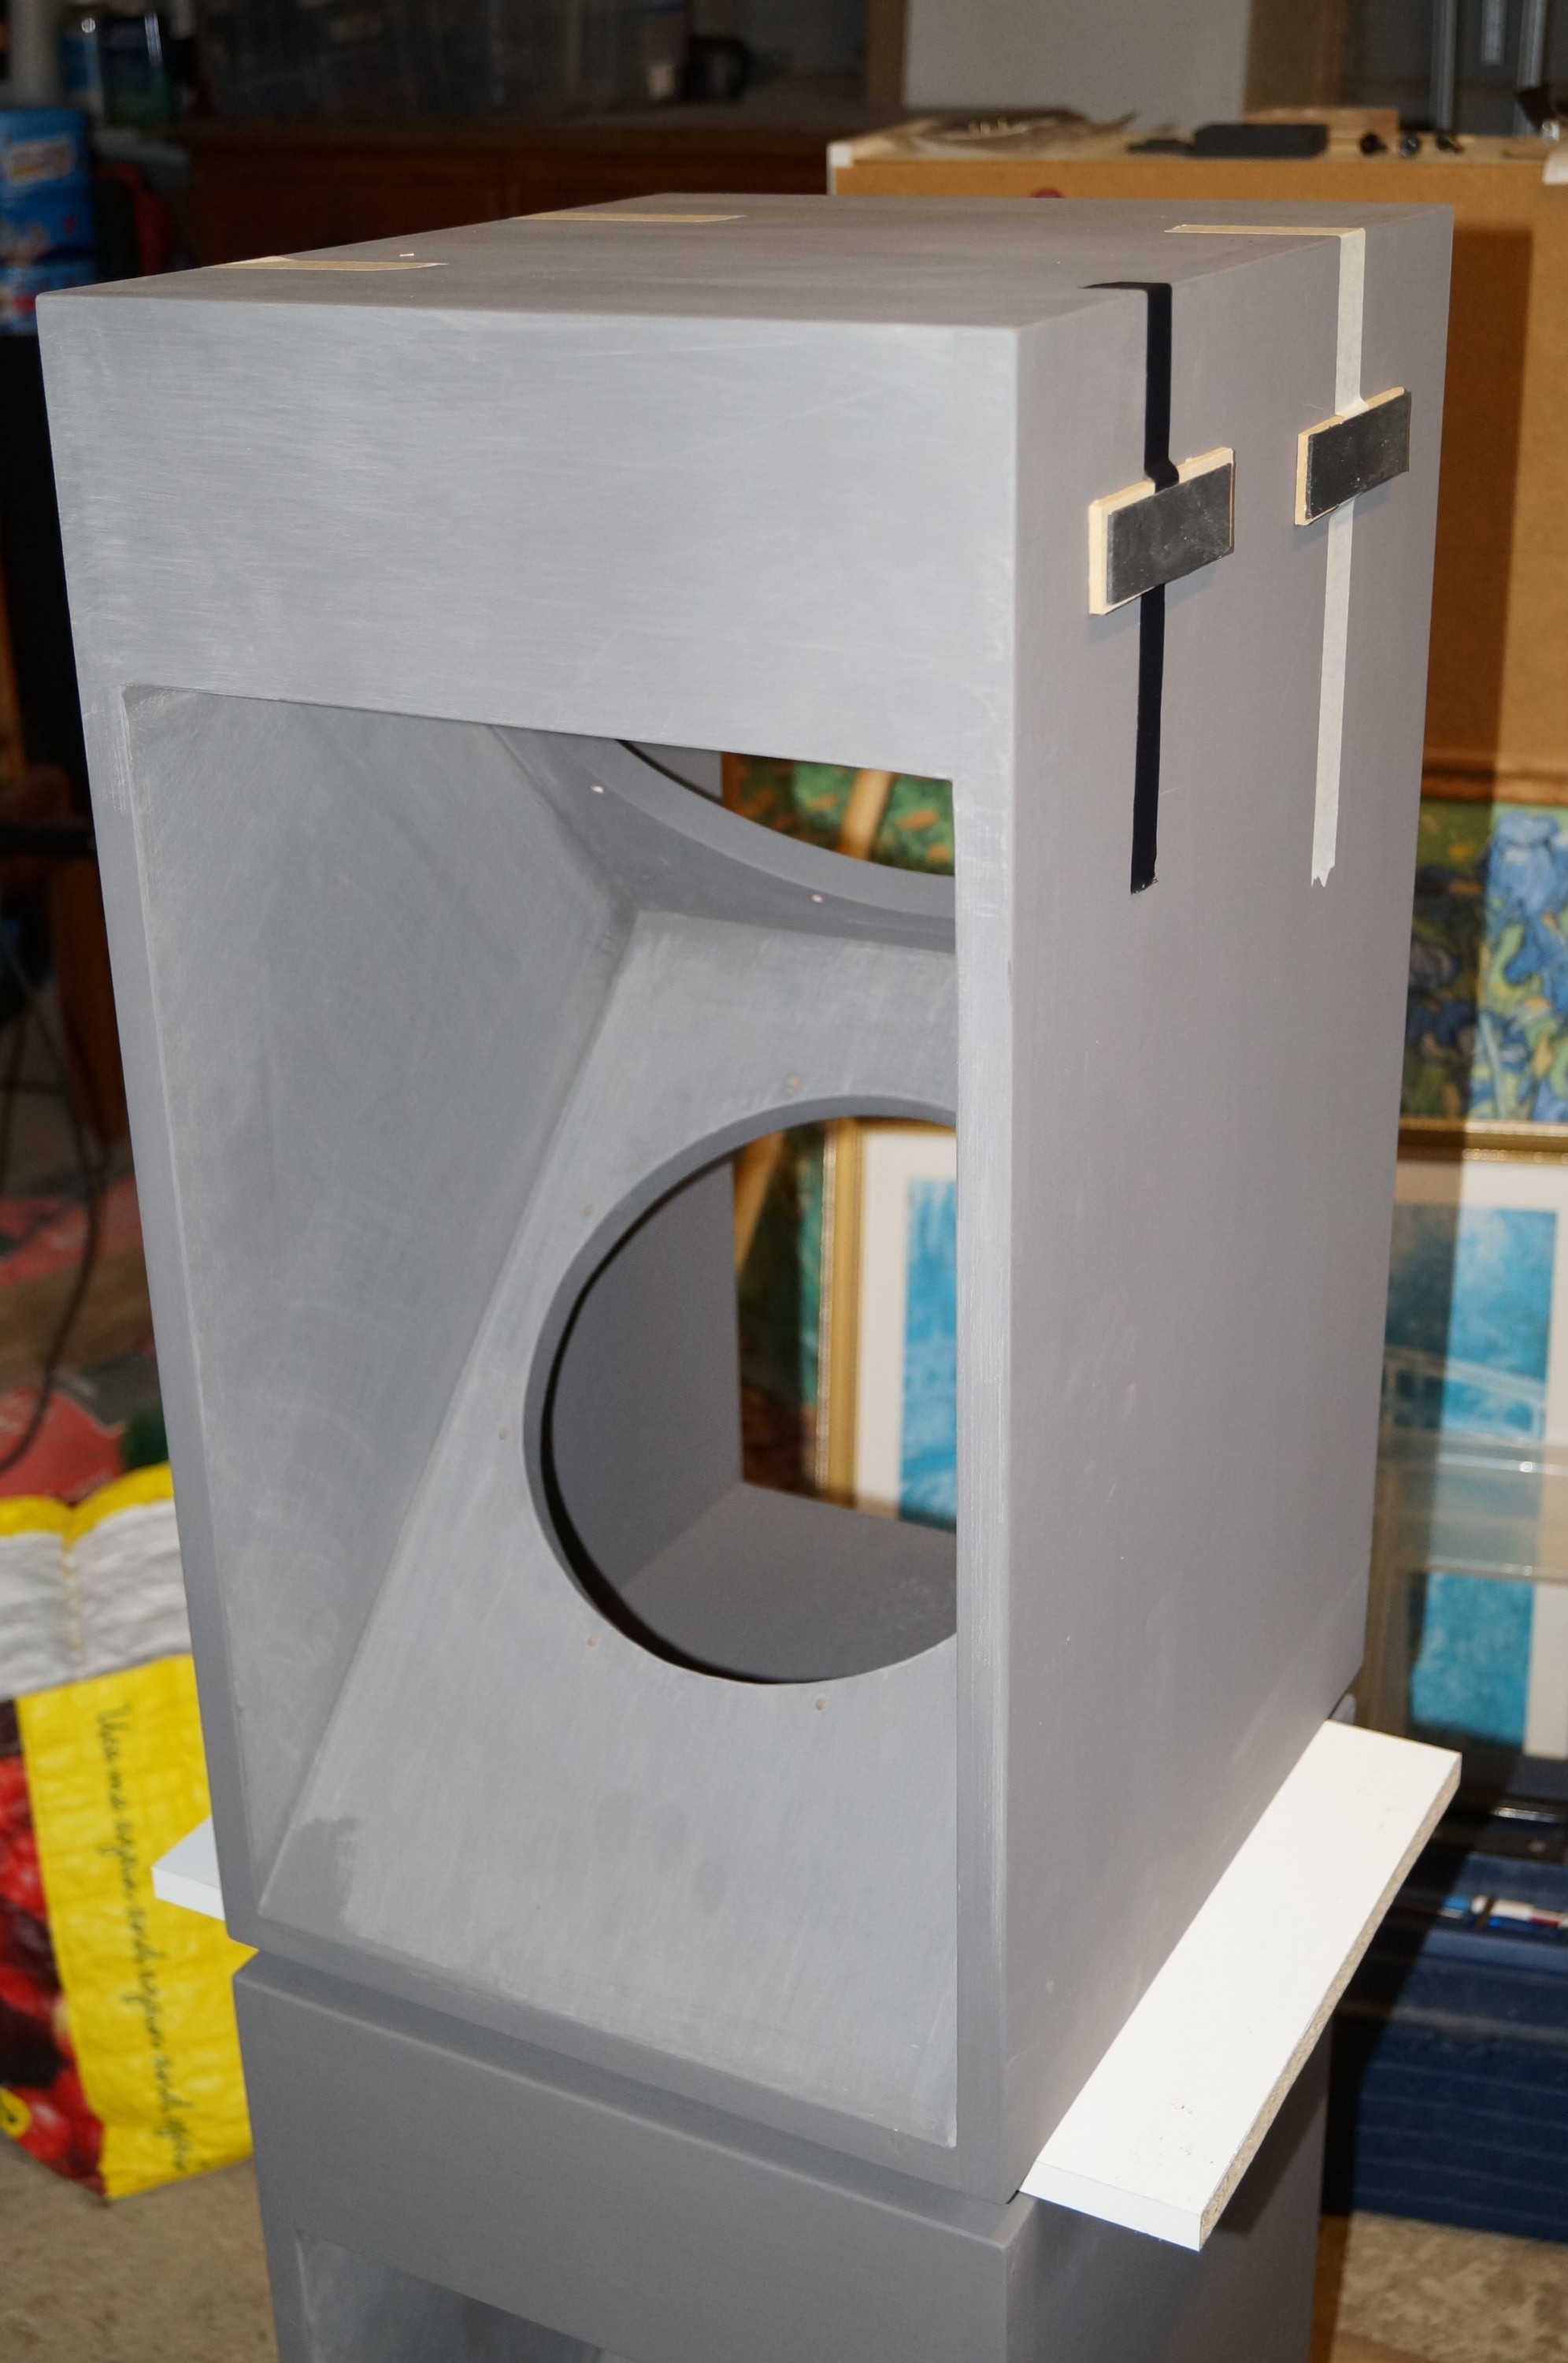
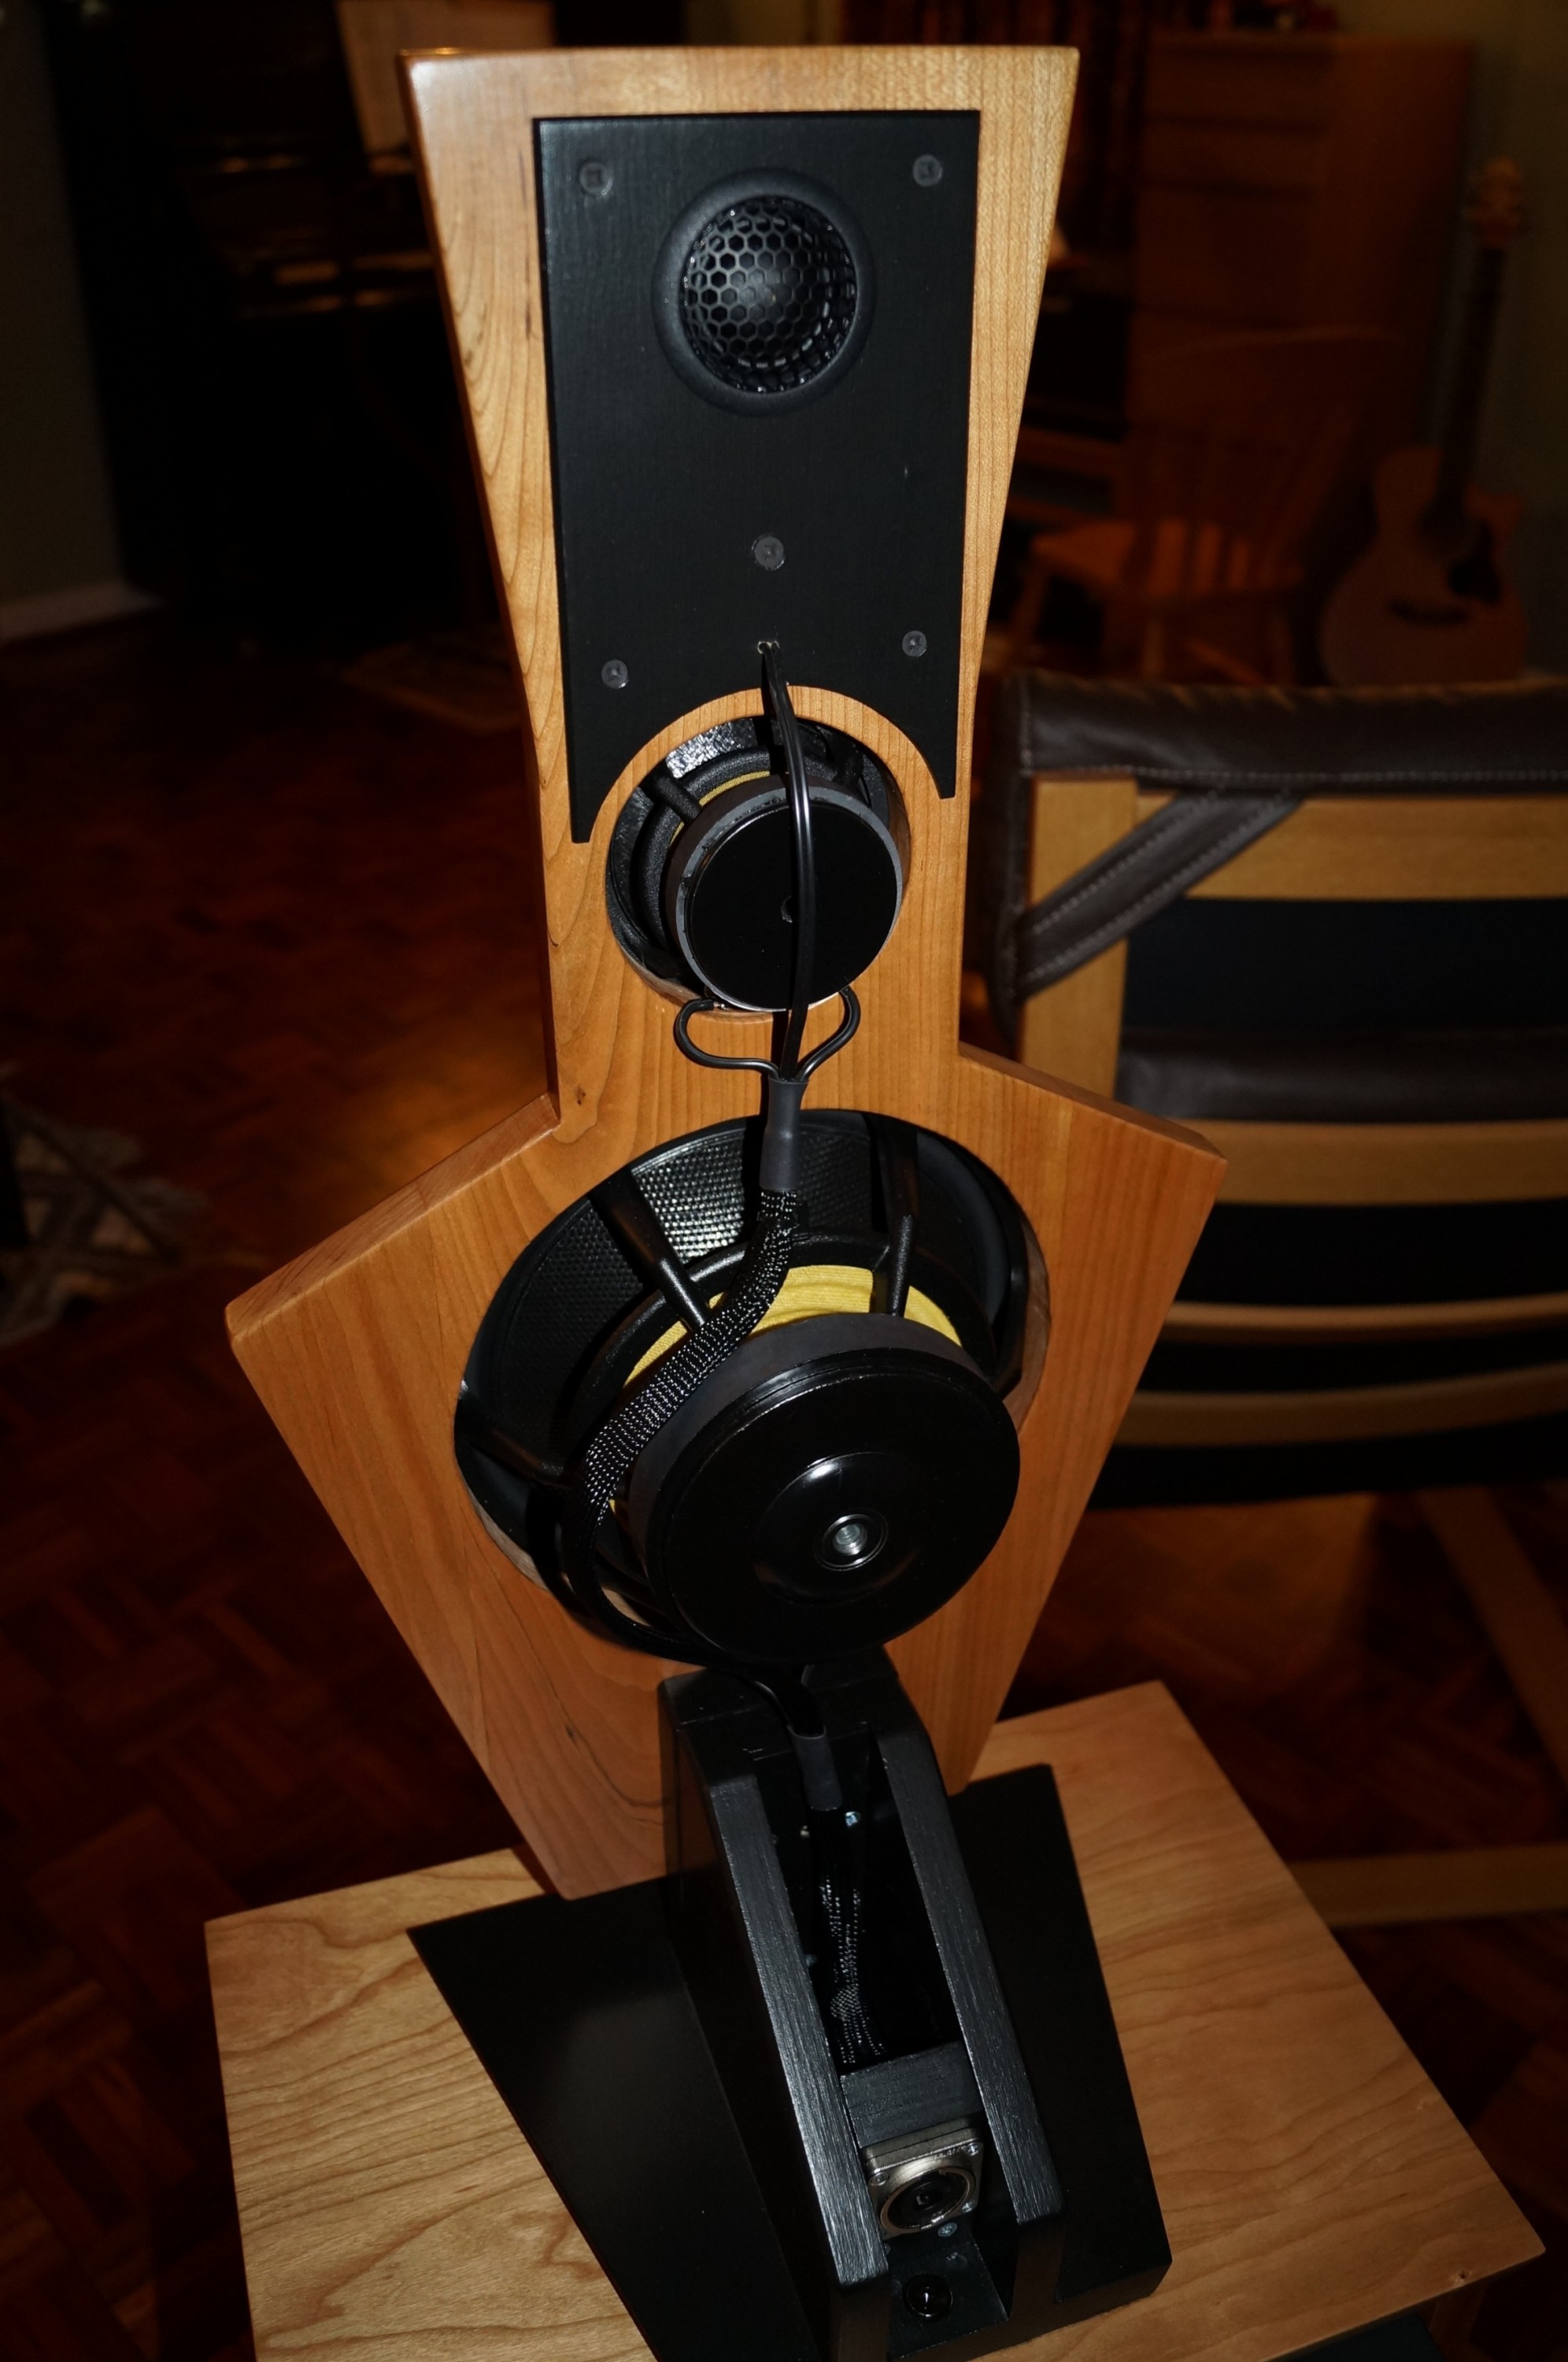
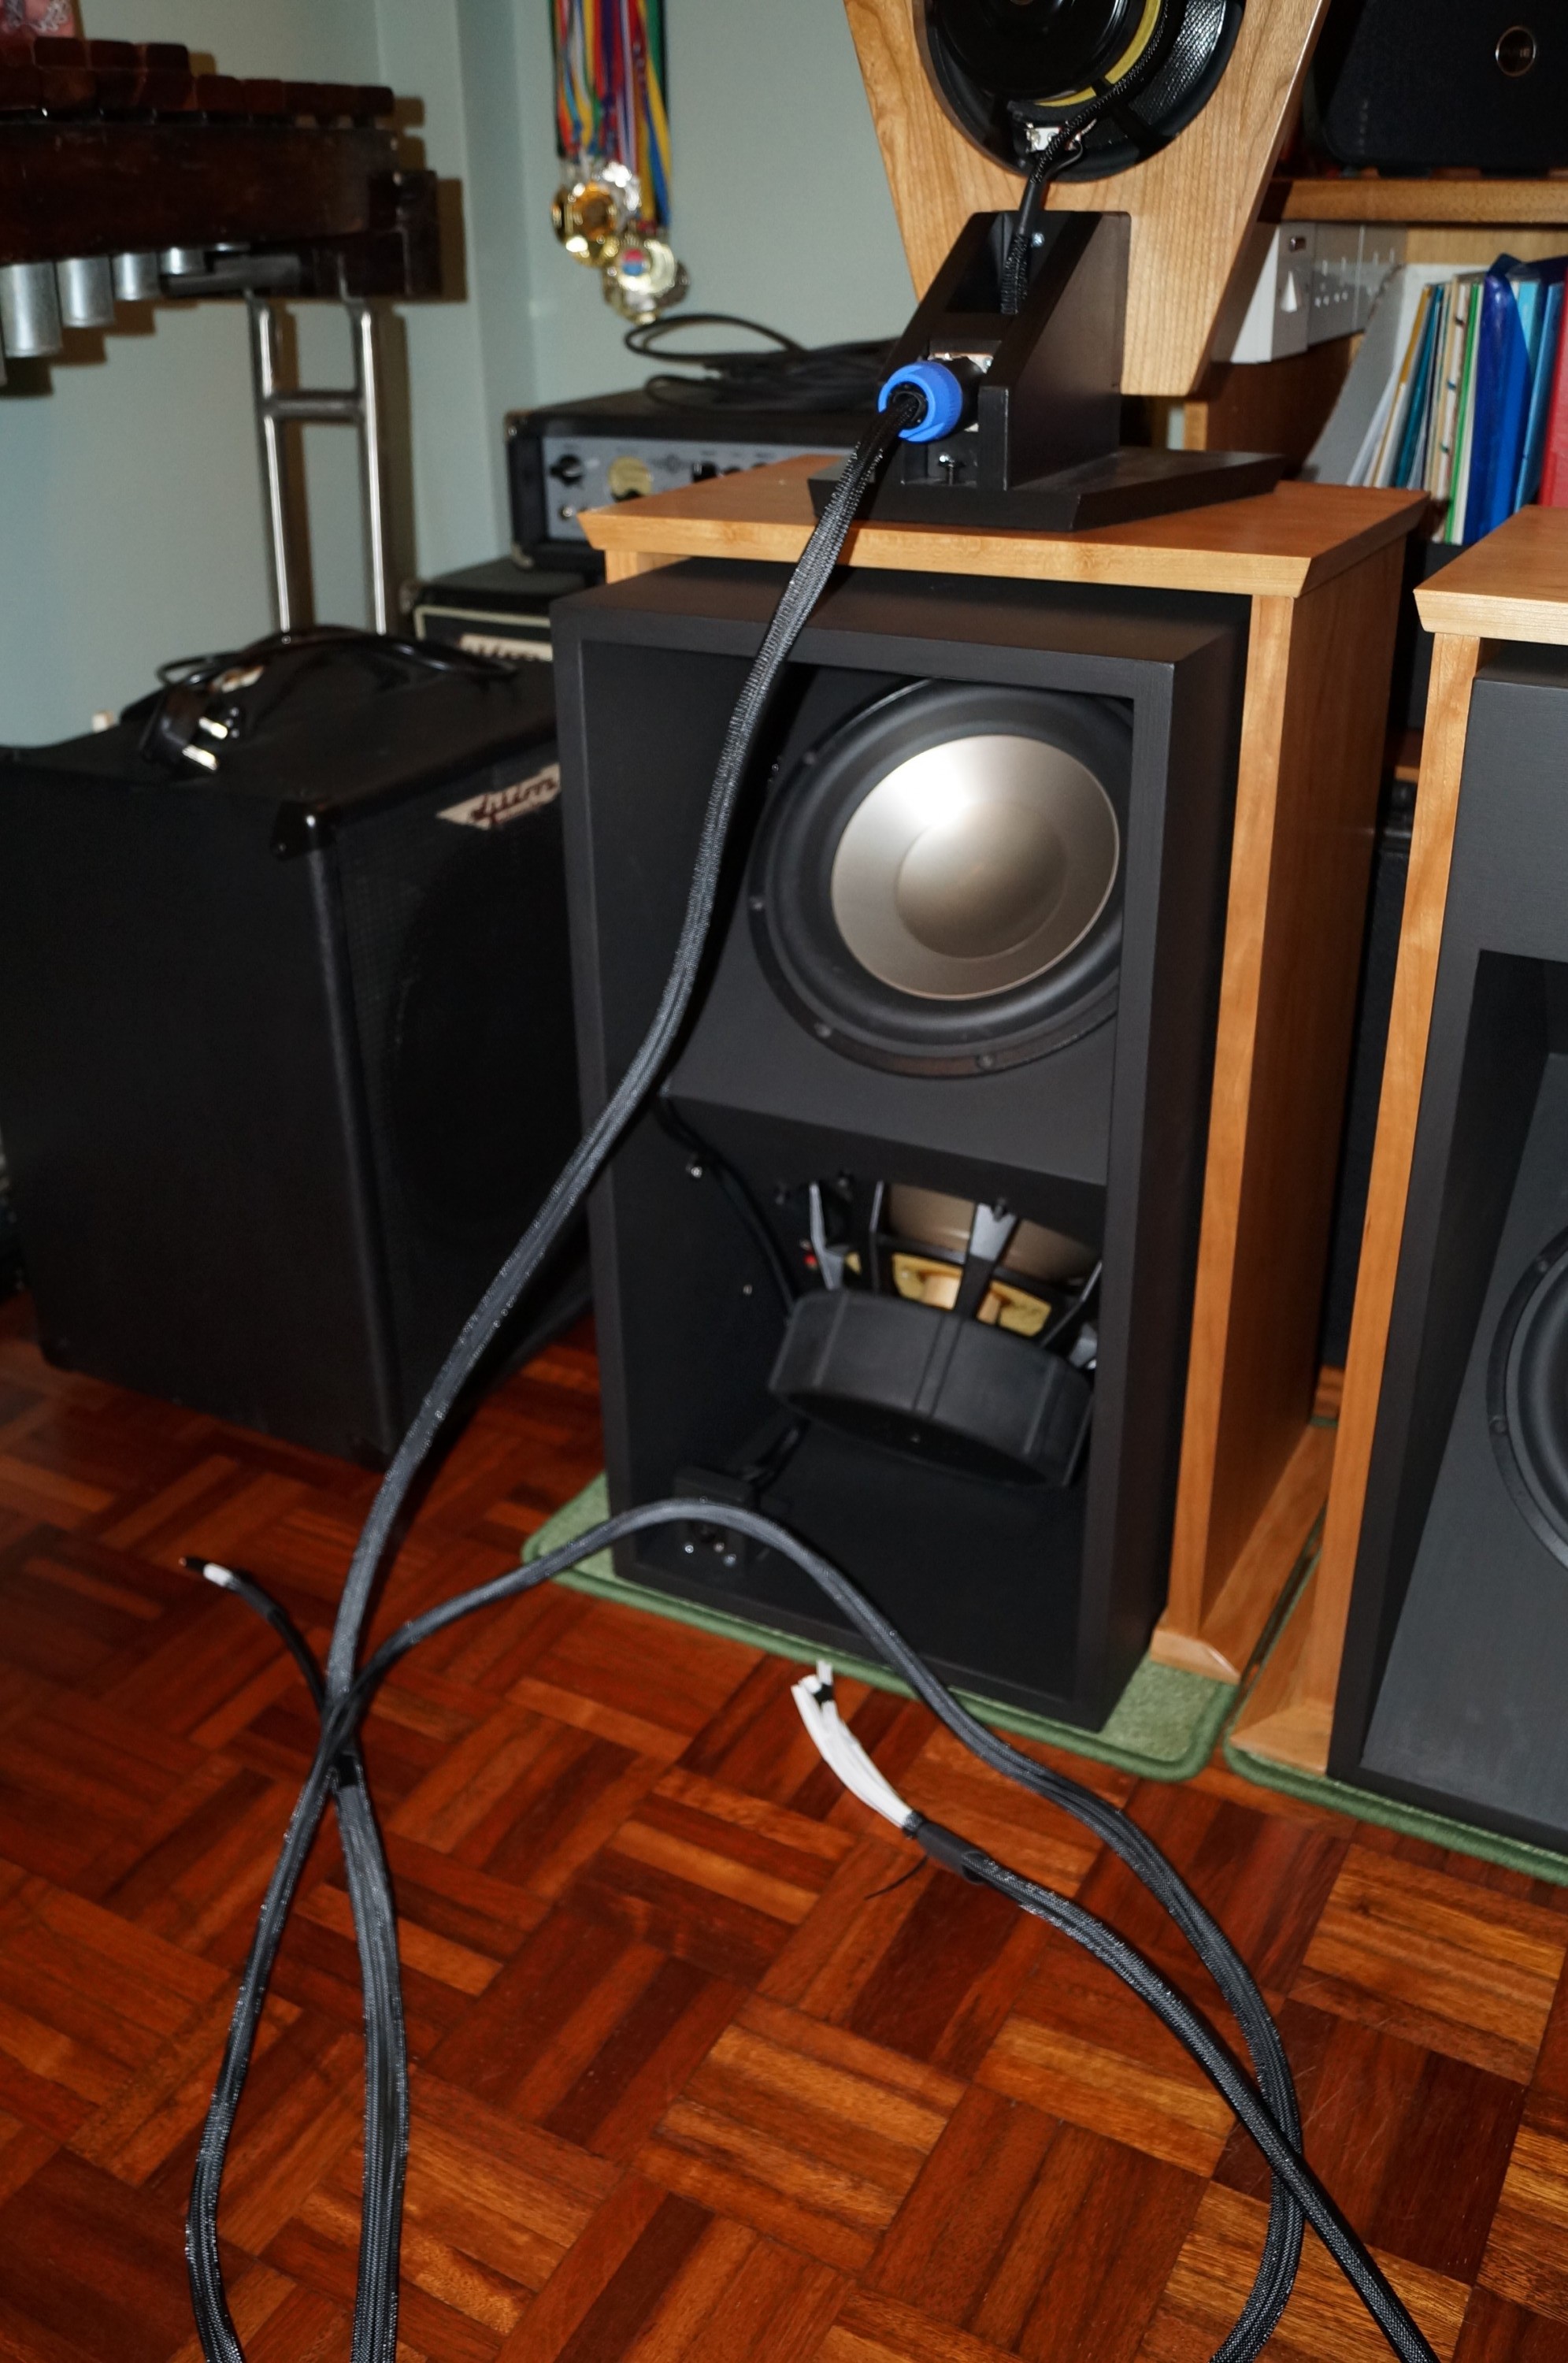
At this point I mounted the baffles on the bridges before taking my first snaps of the finished speakers. I knew I had created the same “design fault” as Bill Schneider described in that I had to take the baffles off the supports to allow the front pivot bolt to drop into its hole! Texted this pic to eldest daughter on her birthday (making it clear these were NOT birthday presents for her – she has already told me she wants them…) She was still gracious enough to reply that they “looked amazing”. They ain’t bad.

Ready for techflex
Ready for techflex

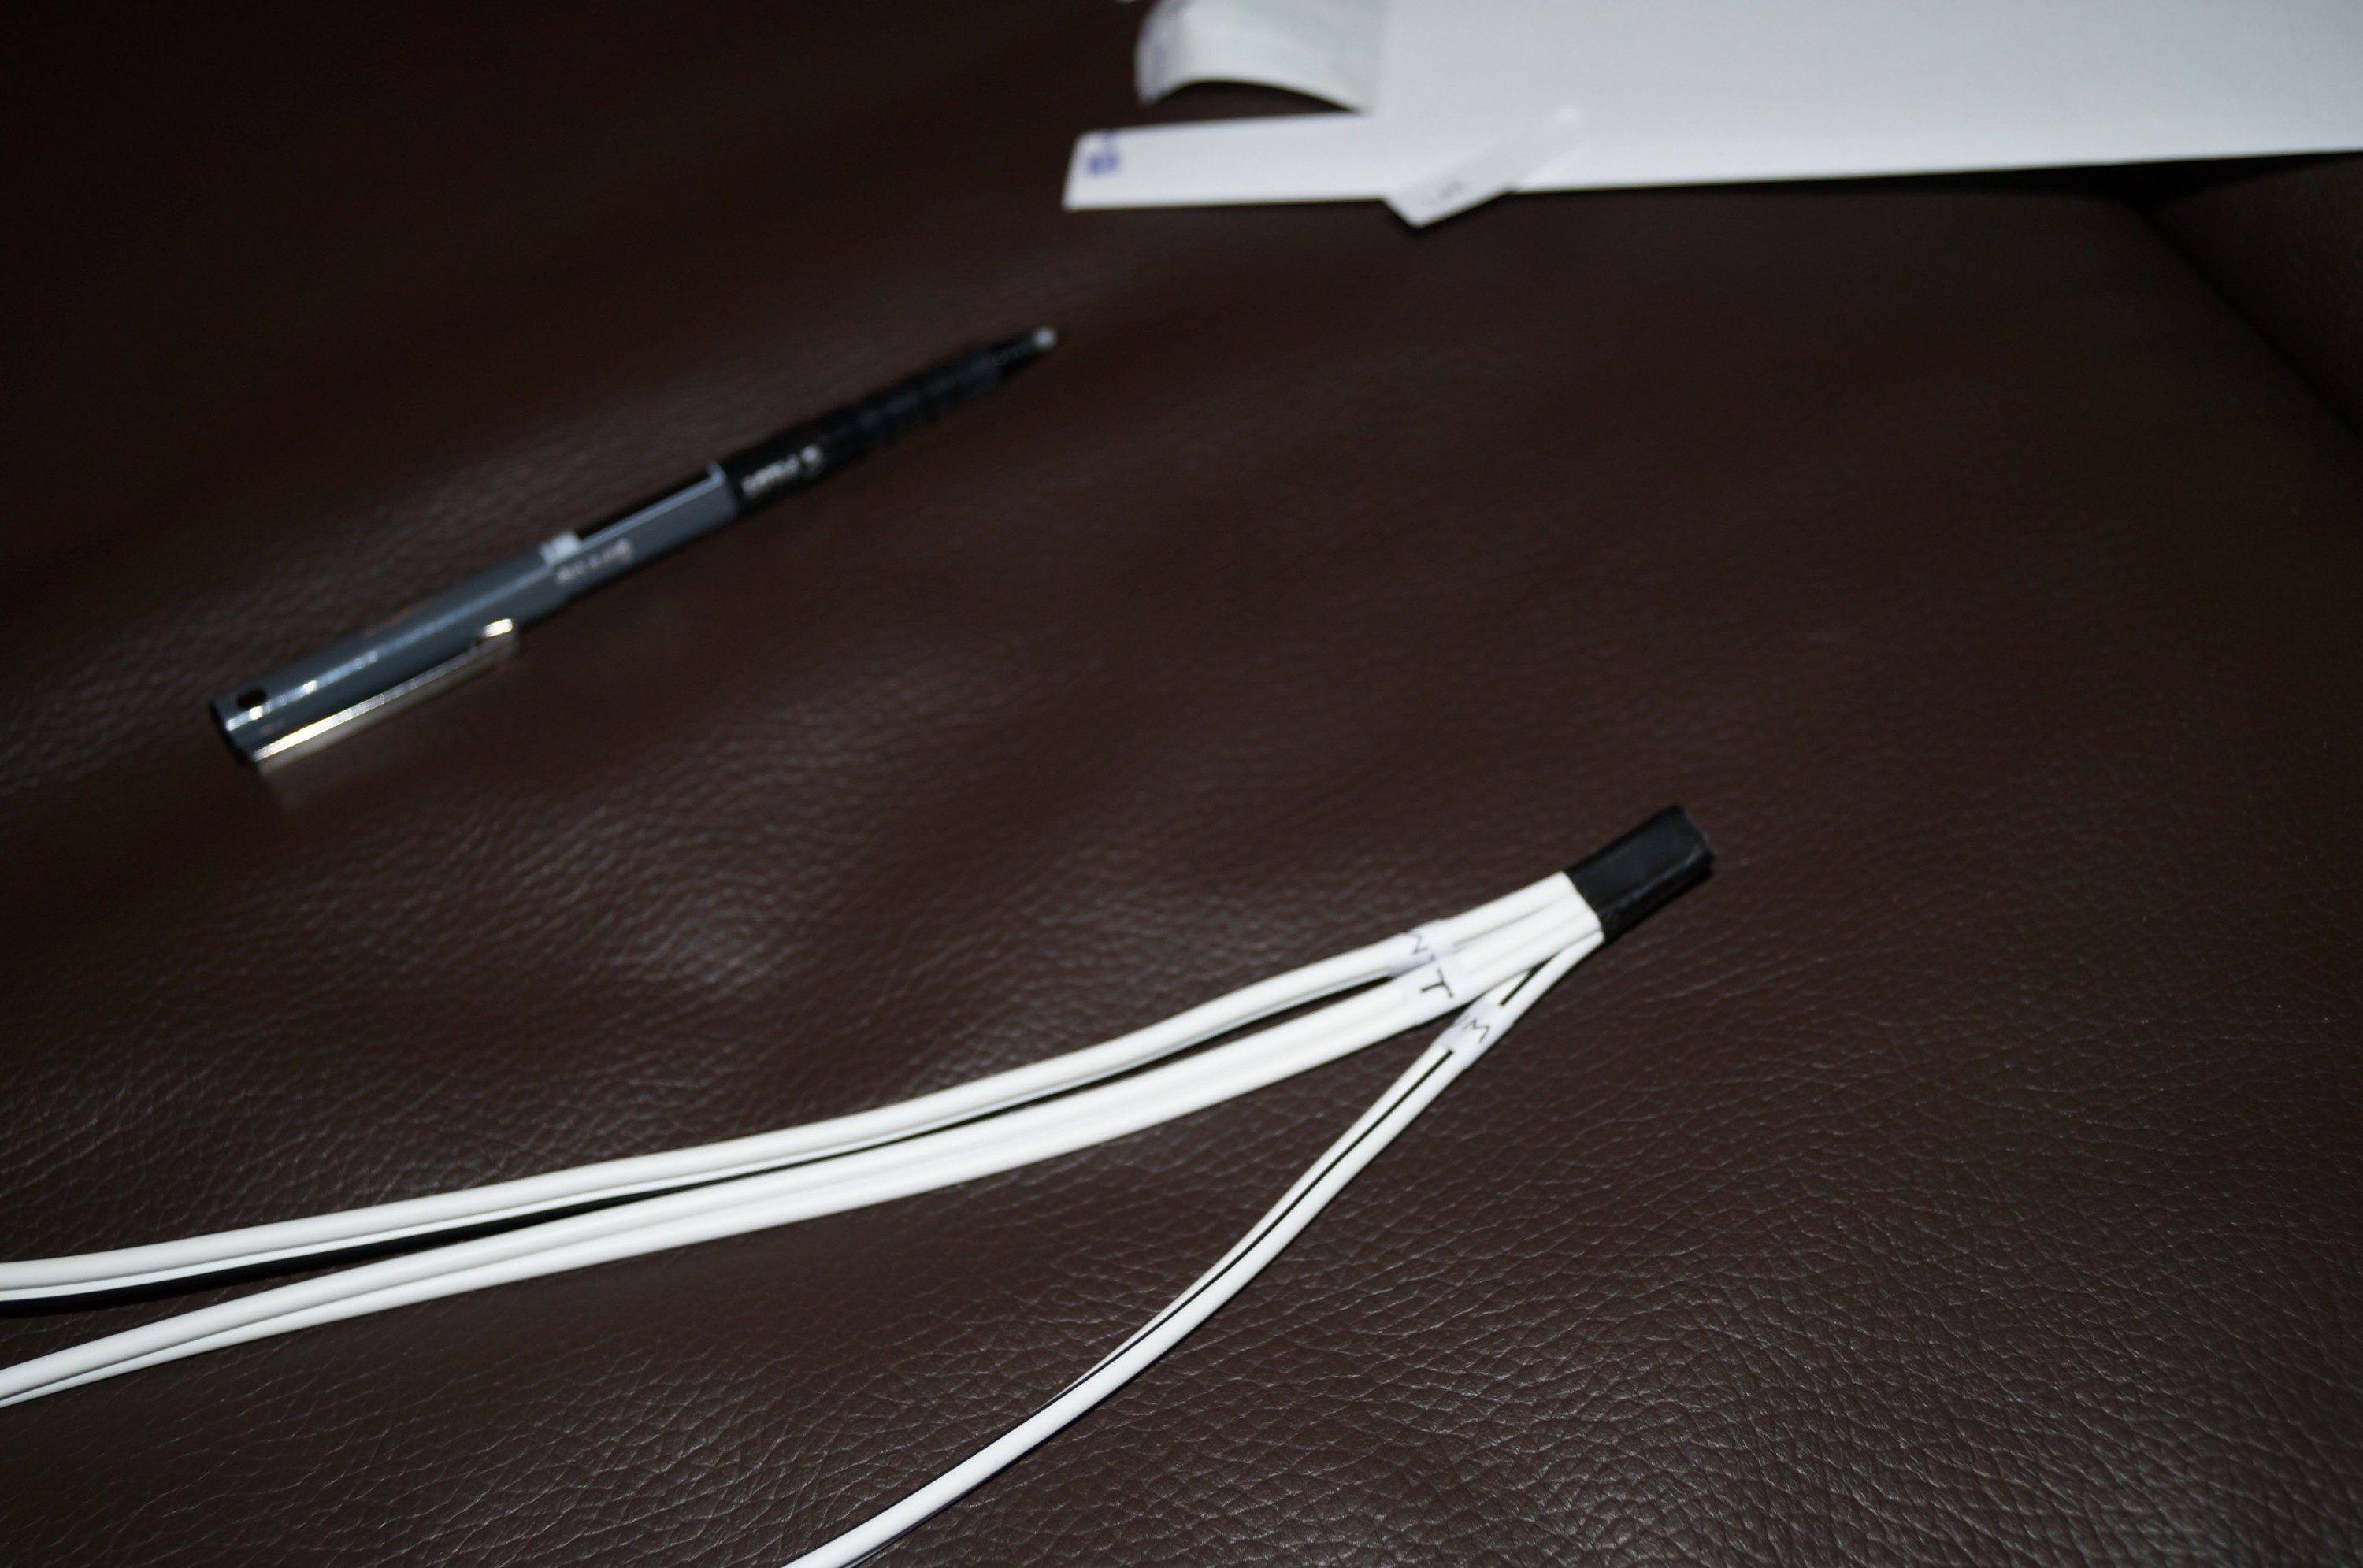
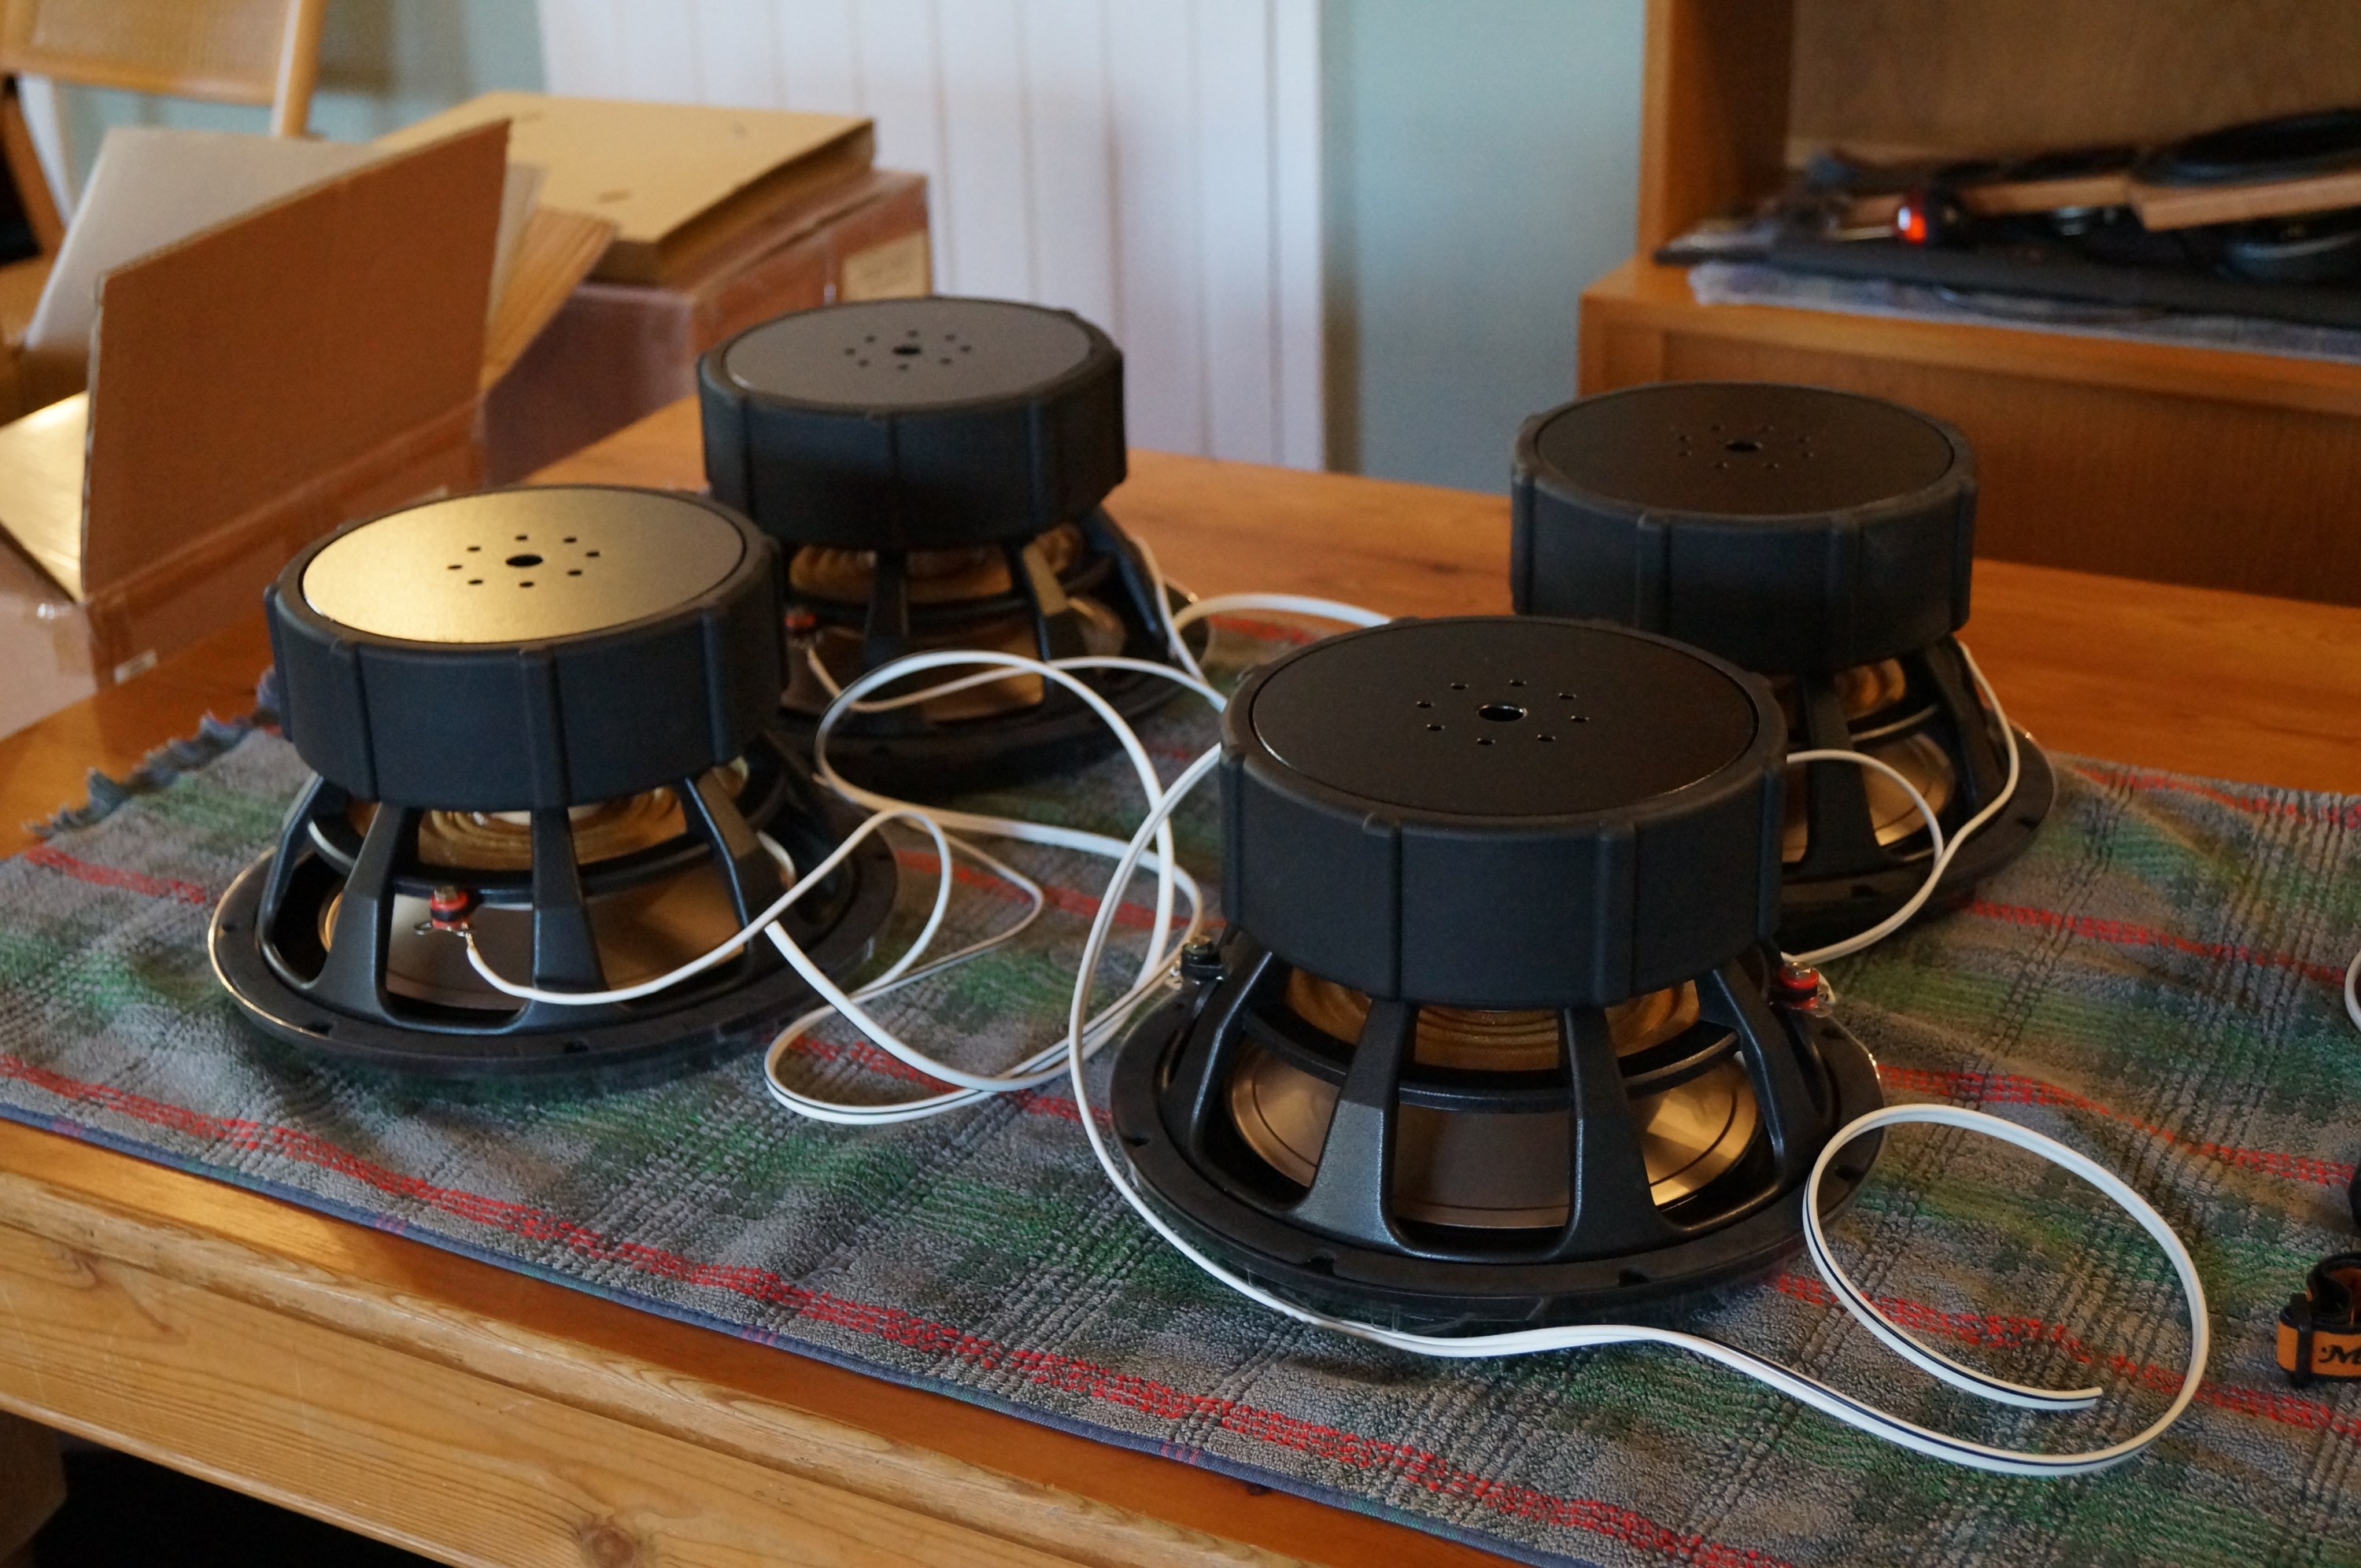
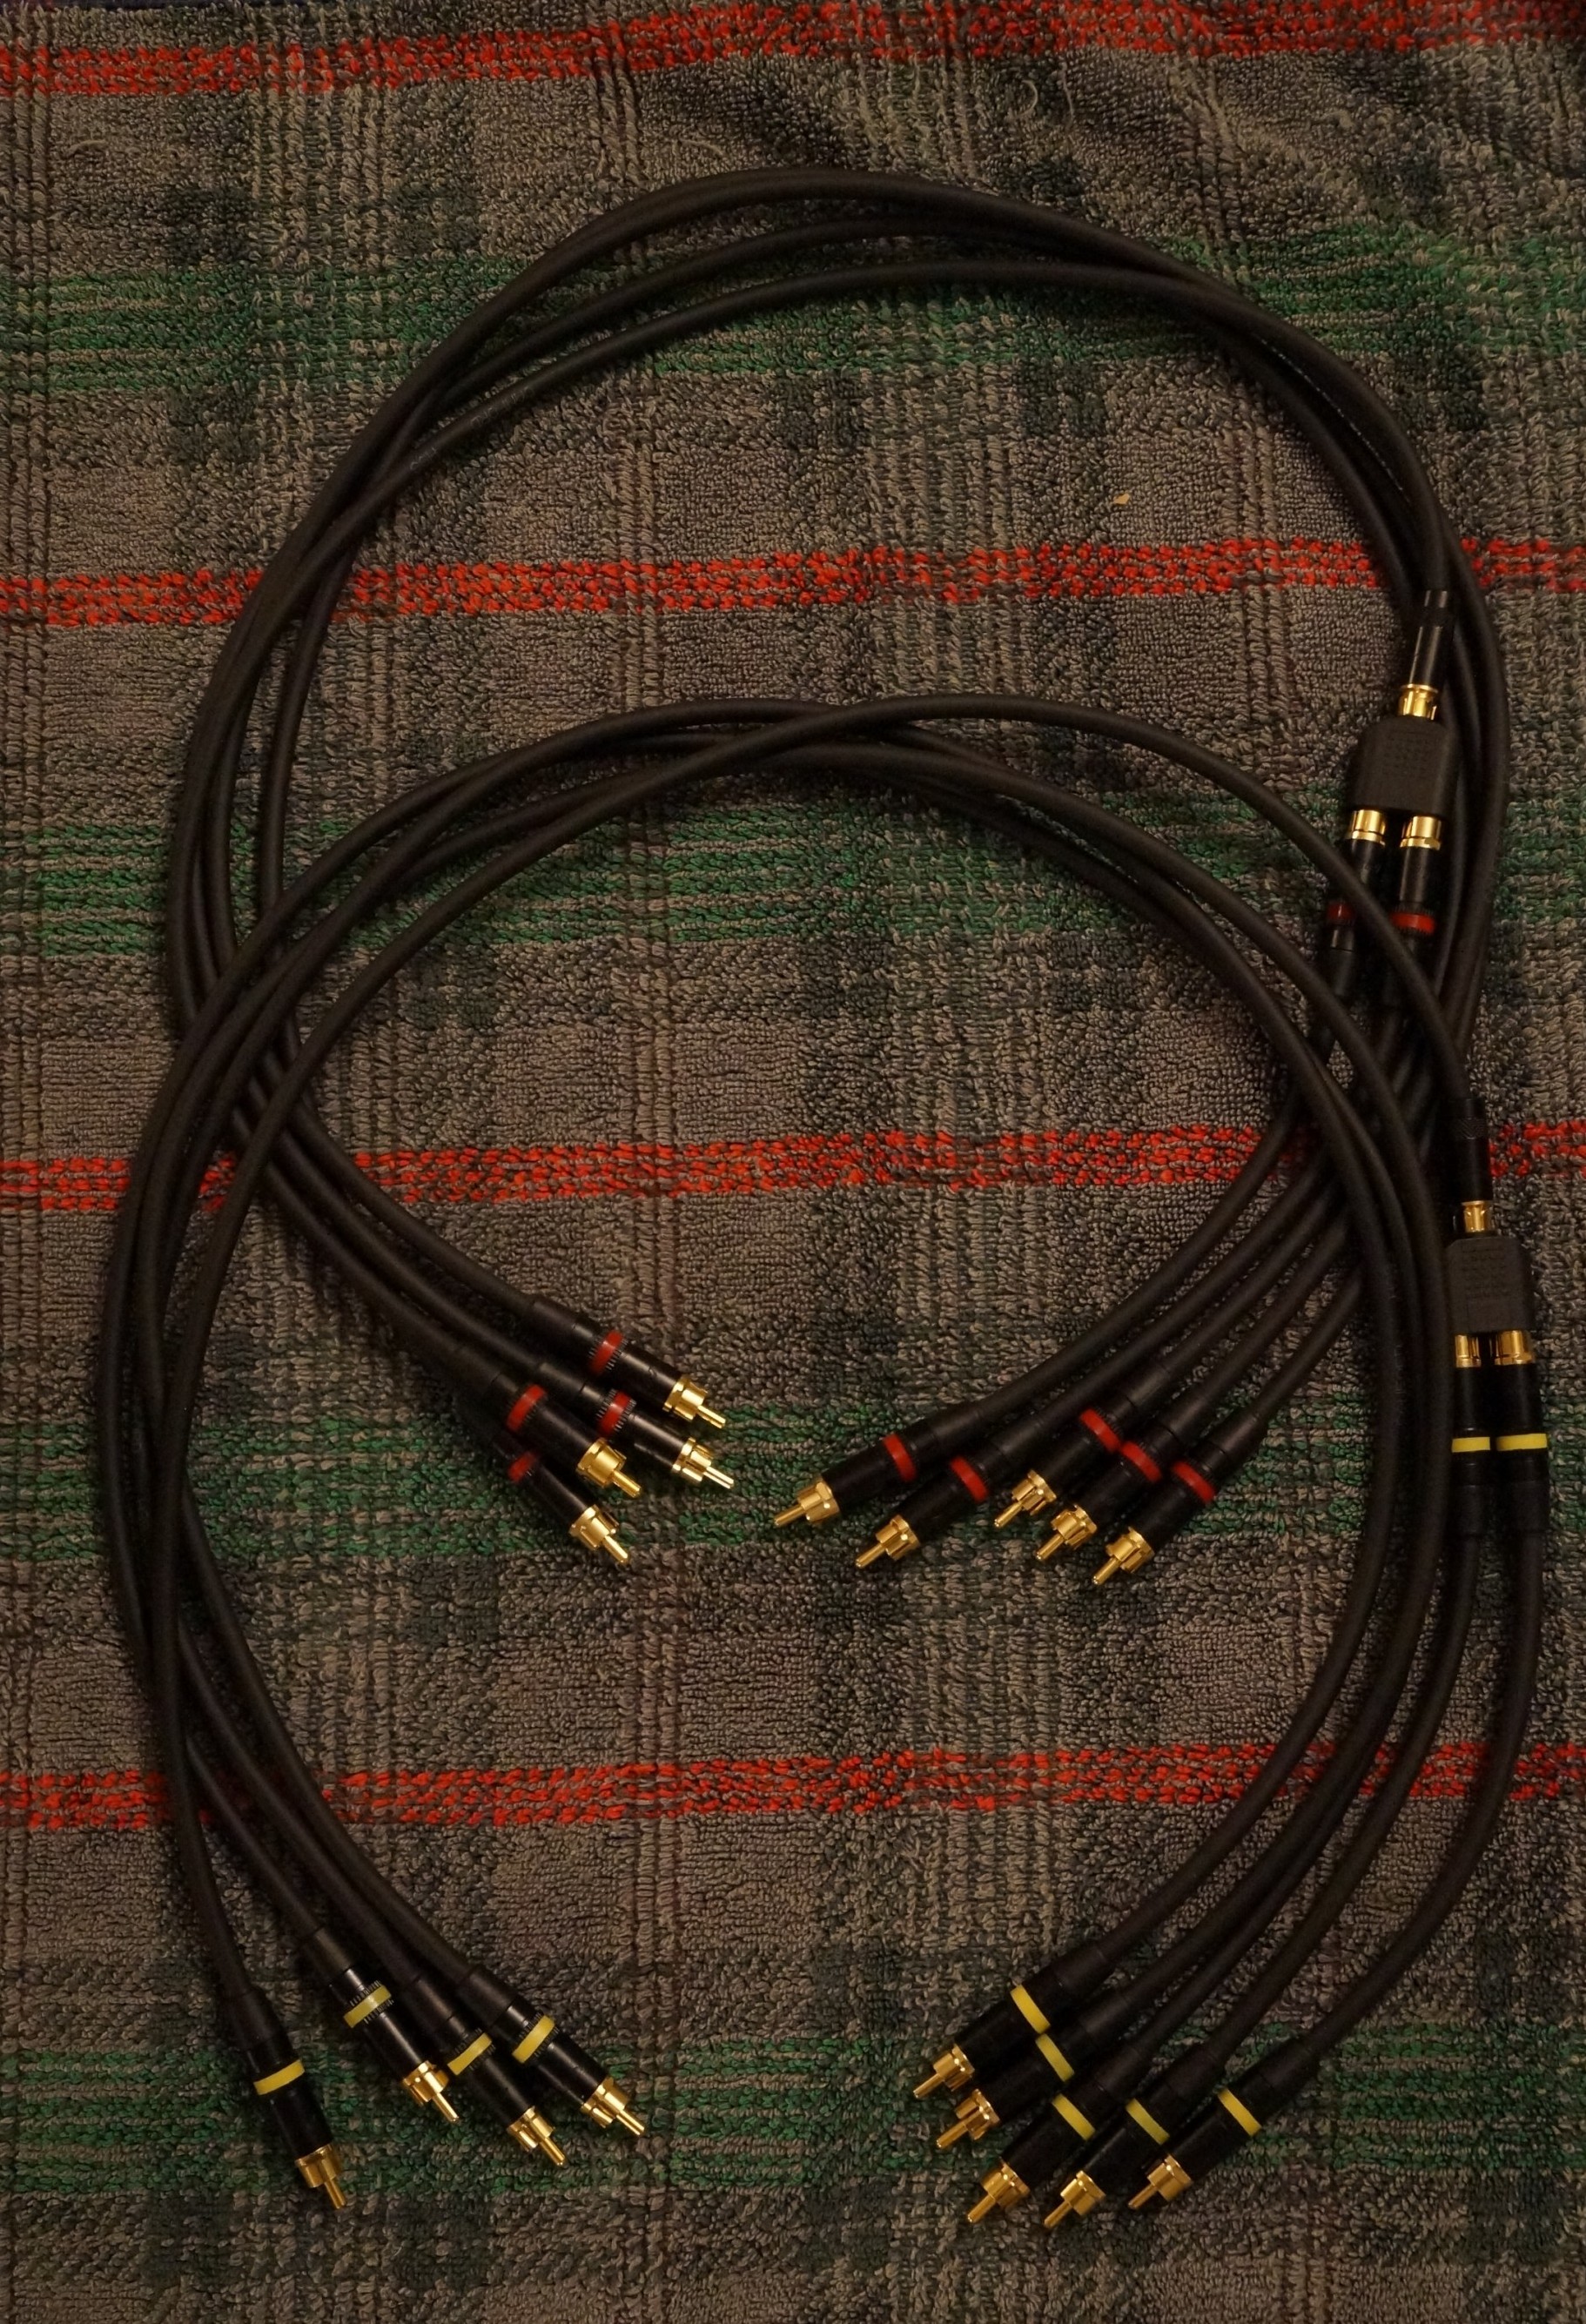
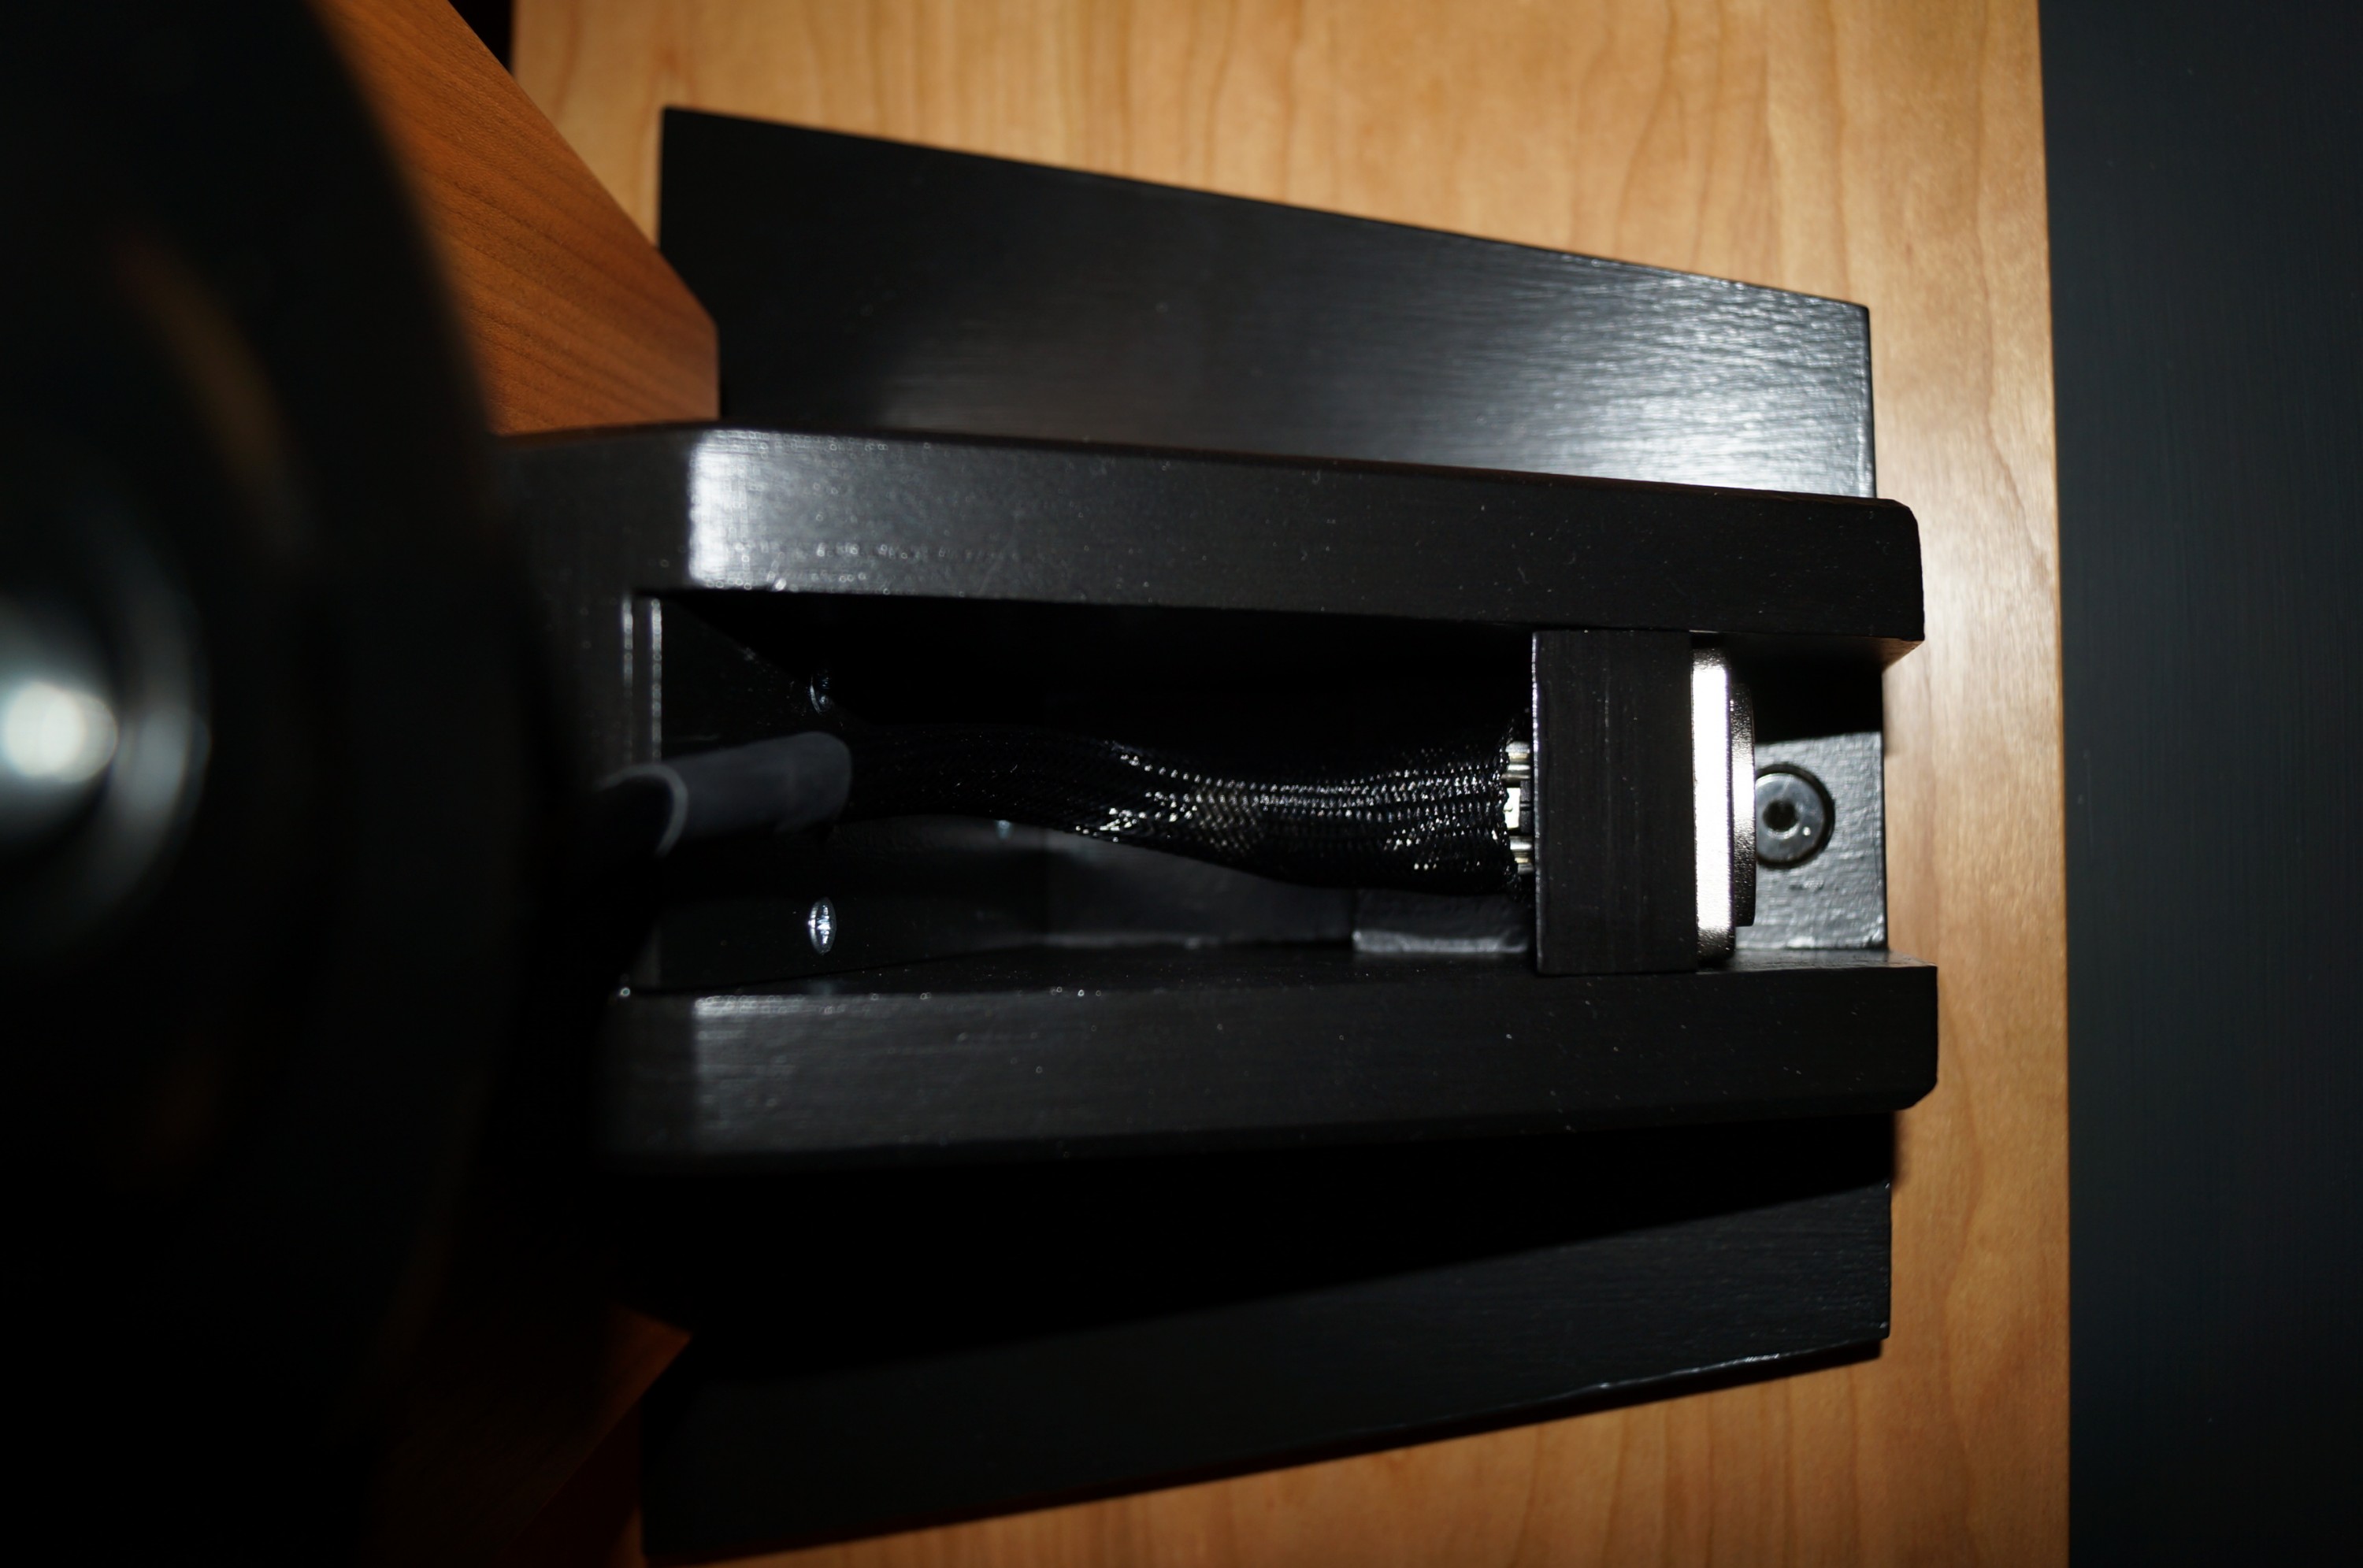
On to the speaker cables. Again this is an exercise in careful measuring, and labelling, to ensure the Speakon plugs are wired correctly. Threading the Techflex over five double wires requires staged pushing on rather like a caterpillar walking. I used heatshrink at the joint where the three baffle wires leave the woofer wires, and at the plug ends. I also found it helpful to use insulating tape to hold the cable ends together whilst wrestling with the Techflex. I’m leaving the amp ends battoned down with a cable tie for now until I know how much play I need to plug them all in.

Upper Speakon plug done

The pic shows the first cable approaching completion with the baffle Speakon wired in. I had not used Speakons before, and the first time I finished screwing the 6 wires onto the plug mount I discovered that I had not only slid the blue back cover upstream on the cable (correct) but also the male insert element as well (definitely incorrect – you cannot remove it without taking all the wires out again!). After this little learning curve the other three plugs went on without a hitch.

EDIT: For my records, the wiring for the 8 way Speakons is:

  • T+ to 4-
  • T- to 1-
  • UM+ to 2-
  • UM- to 3-
  • LM+ to 4+
  • LM- to 2+

Maybe a wire up and test tomorrow?


Finishing and wiring up woofers

Last filling!
Last filling!

Well, I finally managed to eradicate the end grain to the point where you have to strain to see it in strong light – it is not noticeable otherwise. Another coat of matt black and the painting is done.

My original plan was to finish with the soft satin, however I have had second thoughts for two reasons. Firstly, it’s difficult to obtain a really smooth finish with the brush (one can see the brushwork on

Before final coat
Before final coat

the tweeter baffles and baffle supports) but the matt finish is much more forgiving. Secondly, the wood finish is quite a gentle satin and I don’t want any gloss on the woofers to draw the eye away from the wood.  They do look really good in matt – wife says they look as if I had bought them, so that’ll do for me!


Woofers prepared
Woofers prepared

Next task was to prepare the woofer wiring. It proved impossible to locate any female 8mm push-on spade connectors in the UK so I soldered the wires to the drivers before installing them (upper woofer reverse polarity). I’m using  Maplin 79/0.18mm speaker cable  (equivalent to AWG 14) for the woofer boxes and the main speaker cables. This project needs plenty of wire – I needed three drums to allow 12 foot speaker leads.


Lower woofer first!
Lower woofer first!

Mounting the woofers is made straightforward by leaning the boxes against a sofa edge. The operation was extended however by a brain failure… I mounted an upper driver first. SL advises mounting the lower ones first. There is an excellent reason for this – you can’t get the lower one in if you start with an upper one! Unscrew everything and start again. Access to some of the bolts, washers and screws is somewhat restricted but not impossible – once a couple of bolts are secure you can turn the box round to work, but you do need decent light. At this point you realise how seriously heavy these bass units are…

Wiring L box
Wiring L box

On to the wiring up. I had ordered a reel of Techflex clean cut 12mm from Kustom PCs, together with two sizes of black heatshrink, to keep both the woofer box wiring and the speaker leads tidy. Clean-cut it is, but it soon frays out, and I quickly learned that once threaded over the wires it is wise to secure free ends with a temporary draw-tight cable tie before final fixing. Ends can be sealed by wafting them near a flame; I used a gas ring.  I secured the wiring run with some nylon P-clips I found on e-bay – my last online order for this project!

Good light essential!

Before soldering the Neutrik spade terminals and attaching the 4-way Speakon panel mount I labelled the wires UW and LW to keep track. During the wiring up a good light helps enormously; our music room “father and son” flexible lamp lit up the dim interior of the black boxes well.


Techflex and clips to finish - R box done
Techflex and clips to finish – R box done

Woofer boxes done! My remaining tasks are to finish wiring the baffles and make up the speaker leads – only a few more days!

Back to the woofer boxes

Nice and warm...
Nice and warm…

The woofer boxes had their second full primer coat several weeks ago now; it was with a mixture of relief and apprehension that I picked up where I had left off with them – relief that the end of the project was in sight, but apprehension about achieving a reasonable quality finish – especially round the corners of the front / top. That stubborn end grain persists in showing through despite much sanding already.

Simple Speakon brackets

First thing was to set up shop with dust sheets etc in the music room; temperatures have plummeted to -4 deg C overnight in the last few days. Woofer boxes and paint now ensconced indoors – WAF surprisingly compliant.  I was planning to give the boxes an initial coat of matt black to assess finish to date, and almost forgot that I hadn’t made the Speakon brackets! Back out to the garage, well layered up… Quick job though – pics show these in place. Again, I am not gluing these to make wiring up easier later.

First coat of black
First coat of black

On with the matt black – and they look really good. However on closer inspection the problems with visible joints and end grain around the top front flap remain considerable, especially the box on the right in the pic. The flash photography is merciless here, and makes the problem look even worse than is apparent in real life. At this point one voice in my head was telling me “no-one will notice – get the woofers in!” whilst the other (OCD) voice said “you’ve got this far – a few more days is a small price to pay…”.

What have I done?..
What have I done?..

It was a close thing, but the OCD came out on top, and a radical sandpaper attack on the top fronts followed. To get the joint lines clean I had to go back down to bare wood in places. Stress. It also meant lugging the boxes repeatedly between house and garage for the sanding. Back to the primer, and three coats later (fine sanding between coats) one box was good – I now cannot see any wood grain even in strong light. The other box however is putting up more of a fight, and despite another coat and sand the end grain STILL keeps popping up. So back to the filler again… hopefully after a gentle sand-off tomorrow and yet more primer it will capitulate. The back corners can look after themselves however – the OCD lost this one!

Damage detail
Damage detail

I took several more photos of this miserable process, but, you know, they are so boring, so I am sparing my readers…


Recalcitrant corner
Recalcitrant corner


After a further sand down and more primer, this looked practically the same!


Custom mats from carpet offcuts

Whilst all this was going on I had been mulling over floor protection, and remembered we had some small rolls of carpet offcuts. Better still, I discovered a local carpet edging company only 15 mins away (had thought about, er, learning another skill, but some quick research made it clear that acquiring the necessary kit would cost a lot more than their charges). I now have two custom mini-rugs for my speakers!


Indoor jobs…

Replacing brass inserts into underside of bridges

The bridges are done – the final coat of wax-oil was applied in the music room to speed up drying time. I am increasingly trying to find reasons to avoid venturing out to the garage as the temperature is dropping fast; we are forecast the first really cold spell this winter. All that remained was to screw the brass inserts back in to their previously prepared holes in the underside of the tops.

Completed bridges!
Completed bridges!

What I should be doing next is returning to the woofer boxes… in the garage… Instead I decided to dispatch the tedious job of making up the phono leads that will run between the MiniDSP and my NAD CI9120 12-channel power amp – in the warmth of the kitchen. Sadly, NAD have discontinued this amp, but I was fortunate in picking one up second hand on E-bay. Ten of the twelve channels are needed for the LX521.4 setup. Decent phono leads go for silly prices in the shops, so some weeks earlier I had ordered from Canford a quantity of Rean heavy-duty plugs and several metres of their good quality HSS screened cable.

Phono leads with splitters made up

It took me the best part of four hours to solder and assemble the 24 connectors – but they are thankfully now all ready (see photo – note the fourth lead for L and R needs a splitter as upper and lower woofers share MiniDSP output but each have their own power amp channel).


Black felt on baffle support base

A much quicker (and easier) task was to cut some self-adhesive black felt to stick onto the bases of the baffle supports before giving them a trial fit onto the bridges. With the front M5 bolts in place the rear ones lined up perfectly with the toe-in holes – relief!

My last LX521 job of the day was to order some Techflex sheathing and heatshrink in anticipation of making up the speaker leads. This should be my last on-line order for this project – a cause for celebration in itself as it certainly all adds up…


Finishing and glueing up bridges


First coat wax-oil on
First coat wax-oil to inside surfaces

Progress has been slowed by various domestic mechanical and electrical failures; New Years Day was the day when a bulb failure blew an obscurely sited fuse, the girls’ power shower gave up, and the washing machine decided to just keep washing and not bother with rinsing or spinning – the rule of 3’s is live and well. I now know how to change a Bosch washing machine heater element and door seal (but it’s still washing ad infinitum; a new thermostat is now in the post… esperons).

Glueing setup
Glueing setup

In a way these distractions have helped conquer any impatience with the bridge finishing. It is tempting to rush in with the second wax-oil coat before the first has thoroughly dried – the first paint-on application really needs a good 36 hours to dry and harden up (more if panels left in a cold garage) before any light fine sanding and the second rub-off coat. I finished the side panels before glueing but left the feet and tops until the bridges were assembled.


Spacer detail
Spacer detail
First bridge glue-up
Wax-oiling top
Wax-oiling top
Second bridge glue-up. First needs one more coat of wax-oil.

I was concerned about how to ensure the bridges were glued accurately so the sides ended up parallel to the woofer boxes. The feet take care of the bottom end, but not the top. My method was to assemble them around a woofer box, taping some hardboard and sticky-backed foam spacers onto the upper sides of the latter to ensure the bridge sides were held exactly the right distance from the woofer boxes (see photos). I cut some spare shelving to act as a base I could clamp from, and this worked very well – I was surprised how solid the resulting 8-dowel joints between top and sides turned out. I had purchased some small metal right-angle brackets but now I don’t think I need them. I am equally pleased that the mild bowing in the bridge tops has been completely eradicated by the clamp glueing onto the sides as I had hoped.

Next job is to wax-oil the top and feet. One has its first coat so far (see photo). Once the remaining wax-oiling is done I will then need to screw in all the brass inserts, stick some protective felt onto the feet and the bridges will be done. Then it’s back to the woofer boxes for final sanding and black paint. The end of this project is definitely in sight!

Reviewing the post, I realise the penultimate pic has a somewhat “Wolf Hall” feel to the lighting. Pity it wasn’t a candle in the background…