
Progress has been slowed by various domestic mechanical and electrical failures; New Years Day was the day when a bulb failure blew an obscurely sited fuse, the girls’ power shower gave up, and the washing machine decided to just keep washing and not bother with rinsing or spinning – the rule of 3’s is live and well. I now know how to change a Bosch washing machine heater element and door seal (but it’s still washing ad infinitum; a new thermostat is now in the post… esperons).
In a way these distractions have helped conquer any impatience with the bridge finishing. It is tempting to rush in with the second wax-oil coat before the first has thoroughly dried – the first paint-on application really needs a good 36 hours to dry and harden up (more if panels left in a cold garage) before any light fine sanding and the second rub-off coat. I finished the side panels before glueing but left the feet and tops until the bridges were assembled.
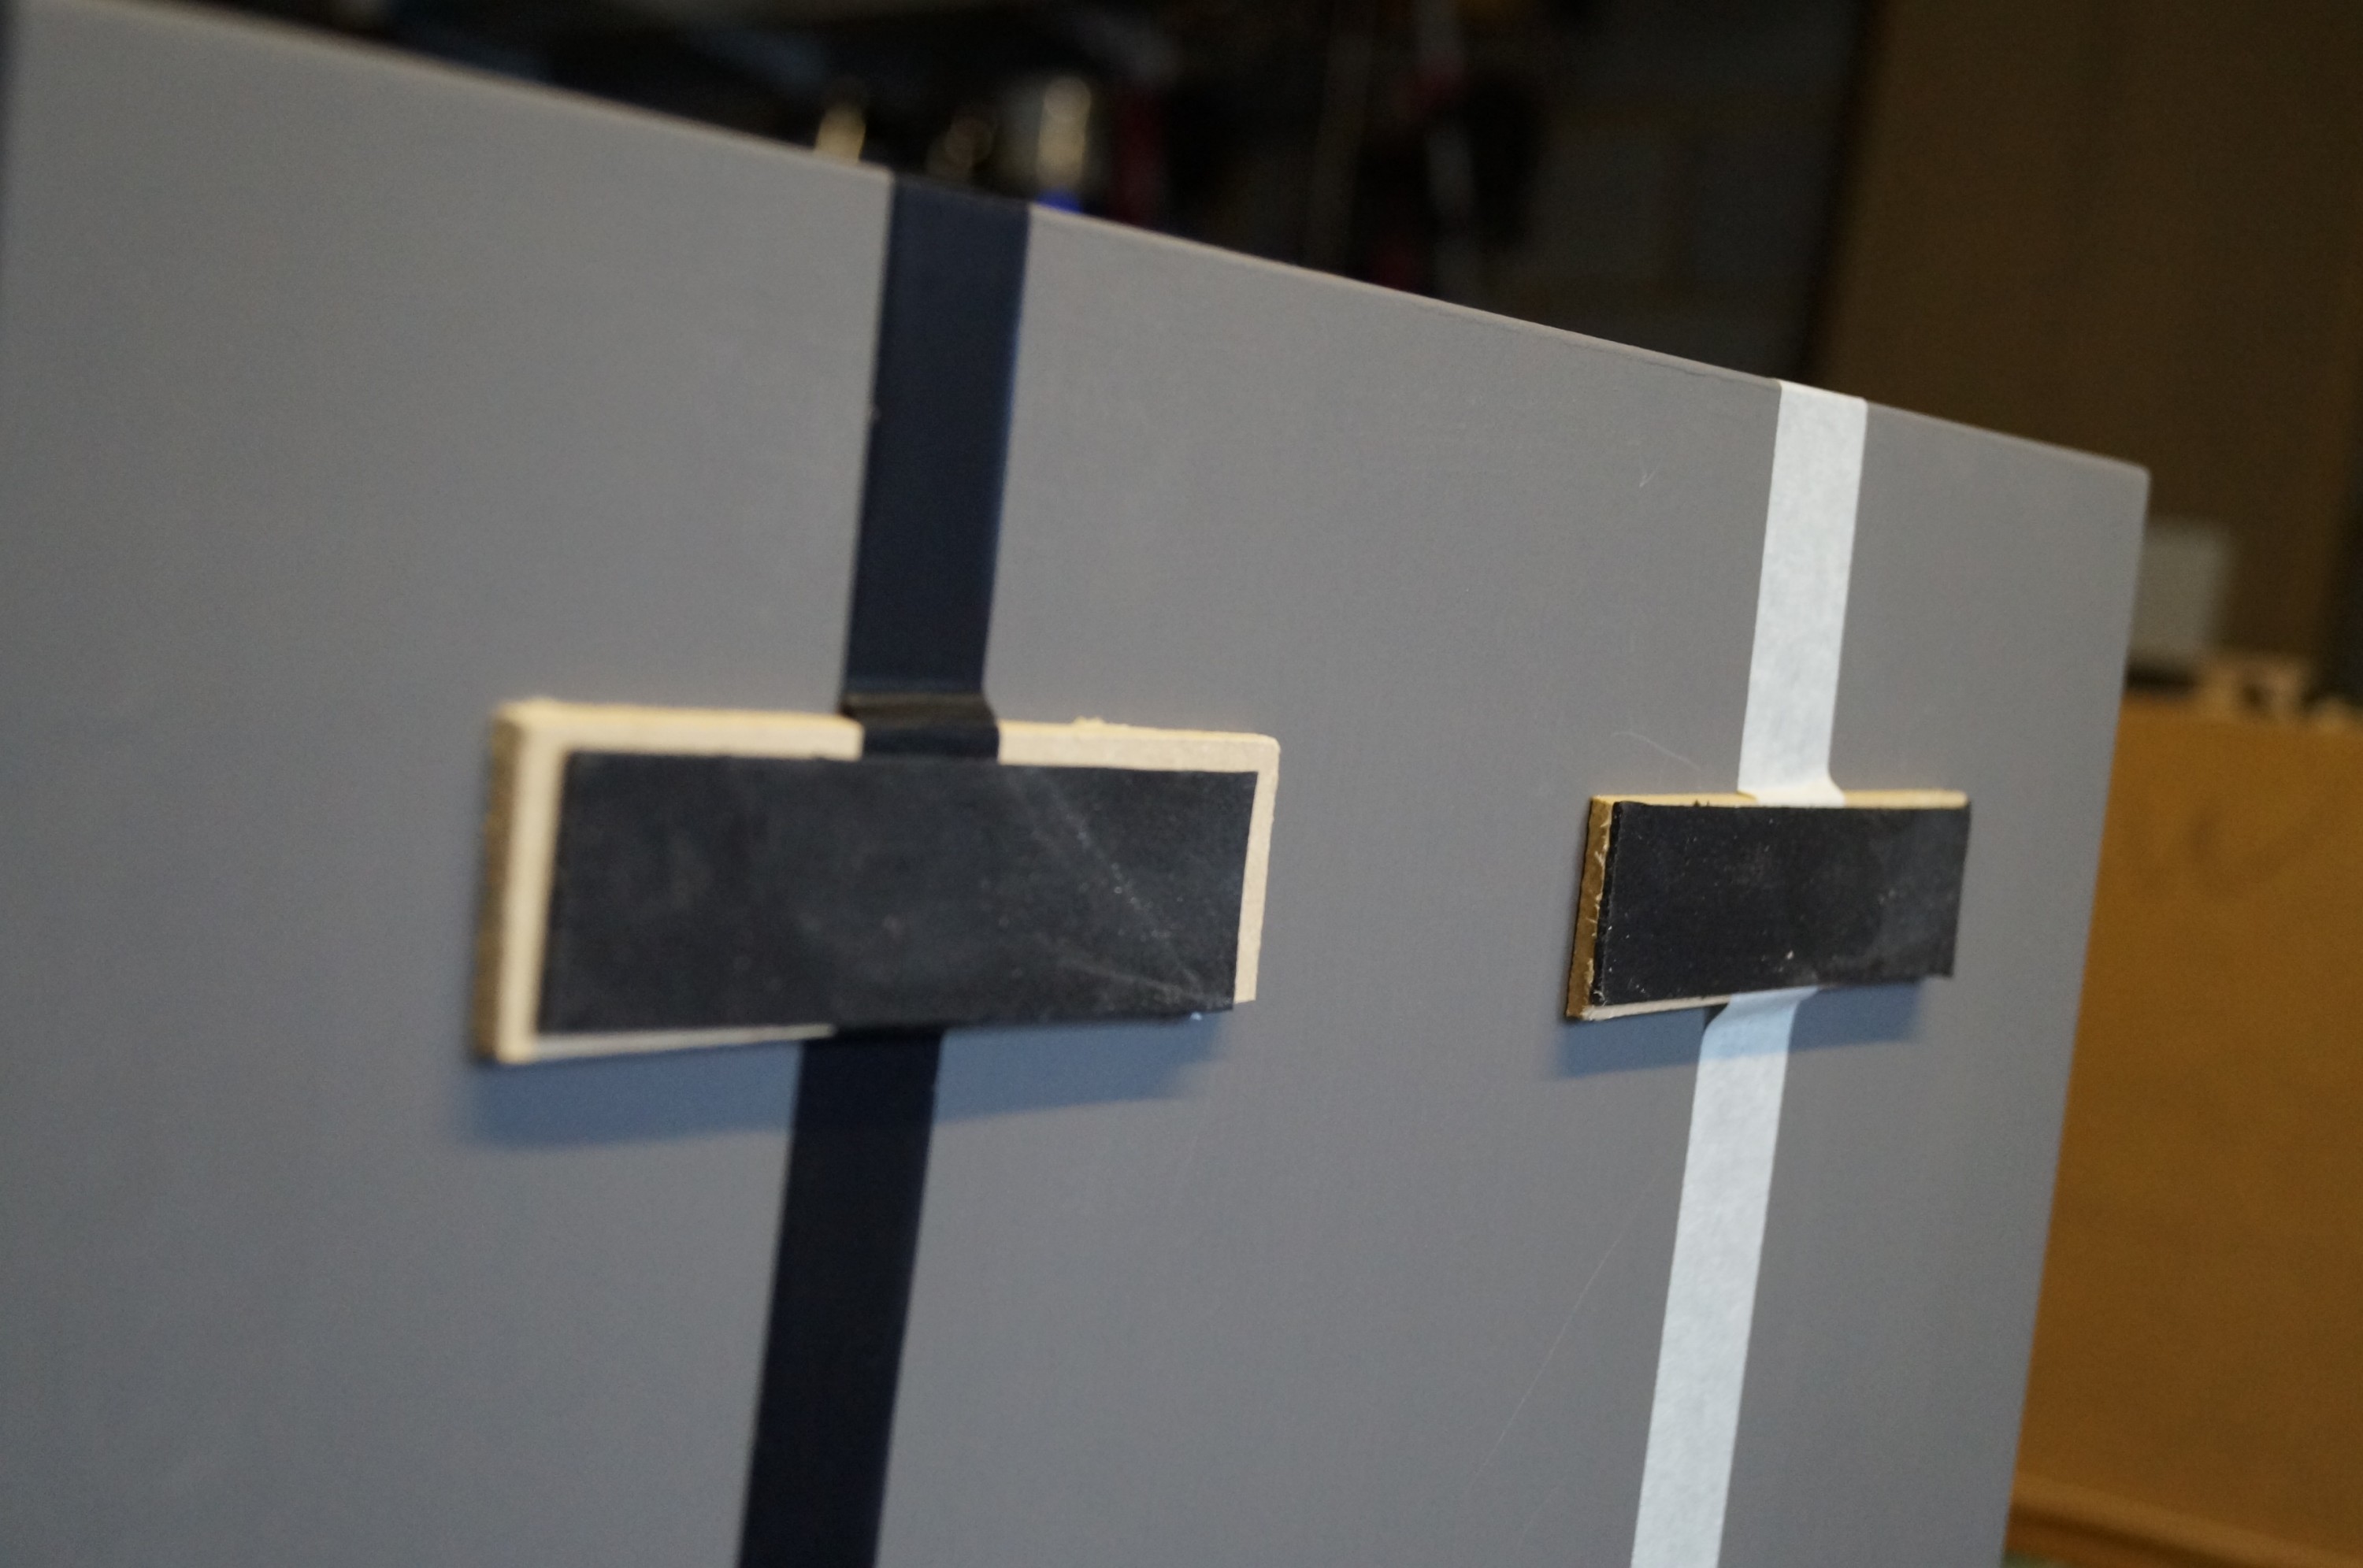

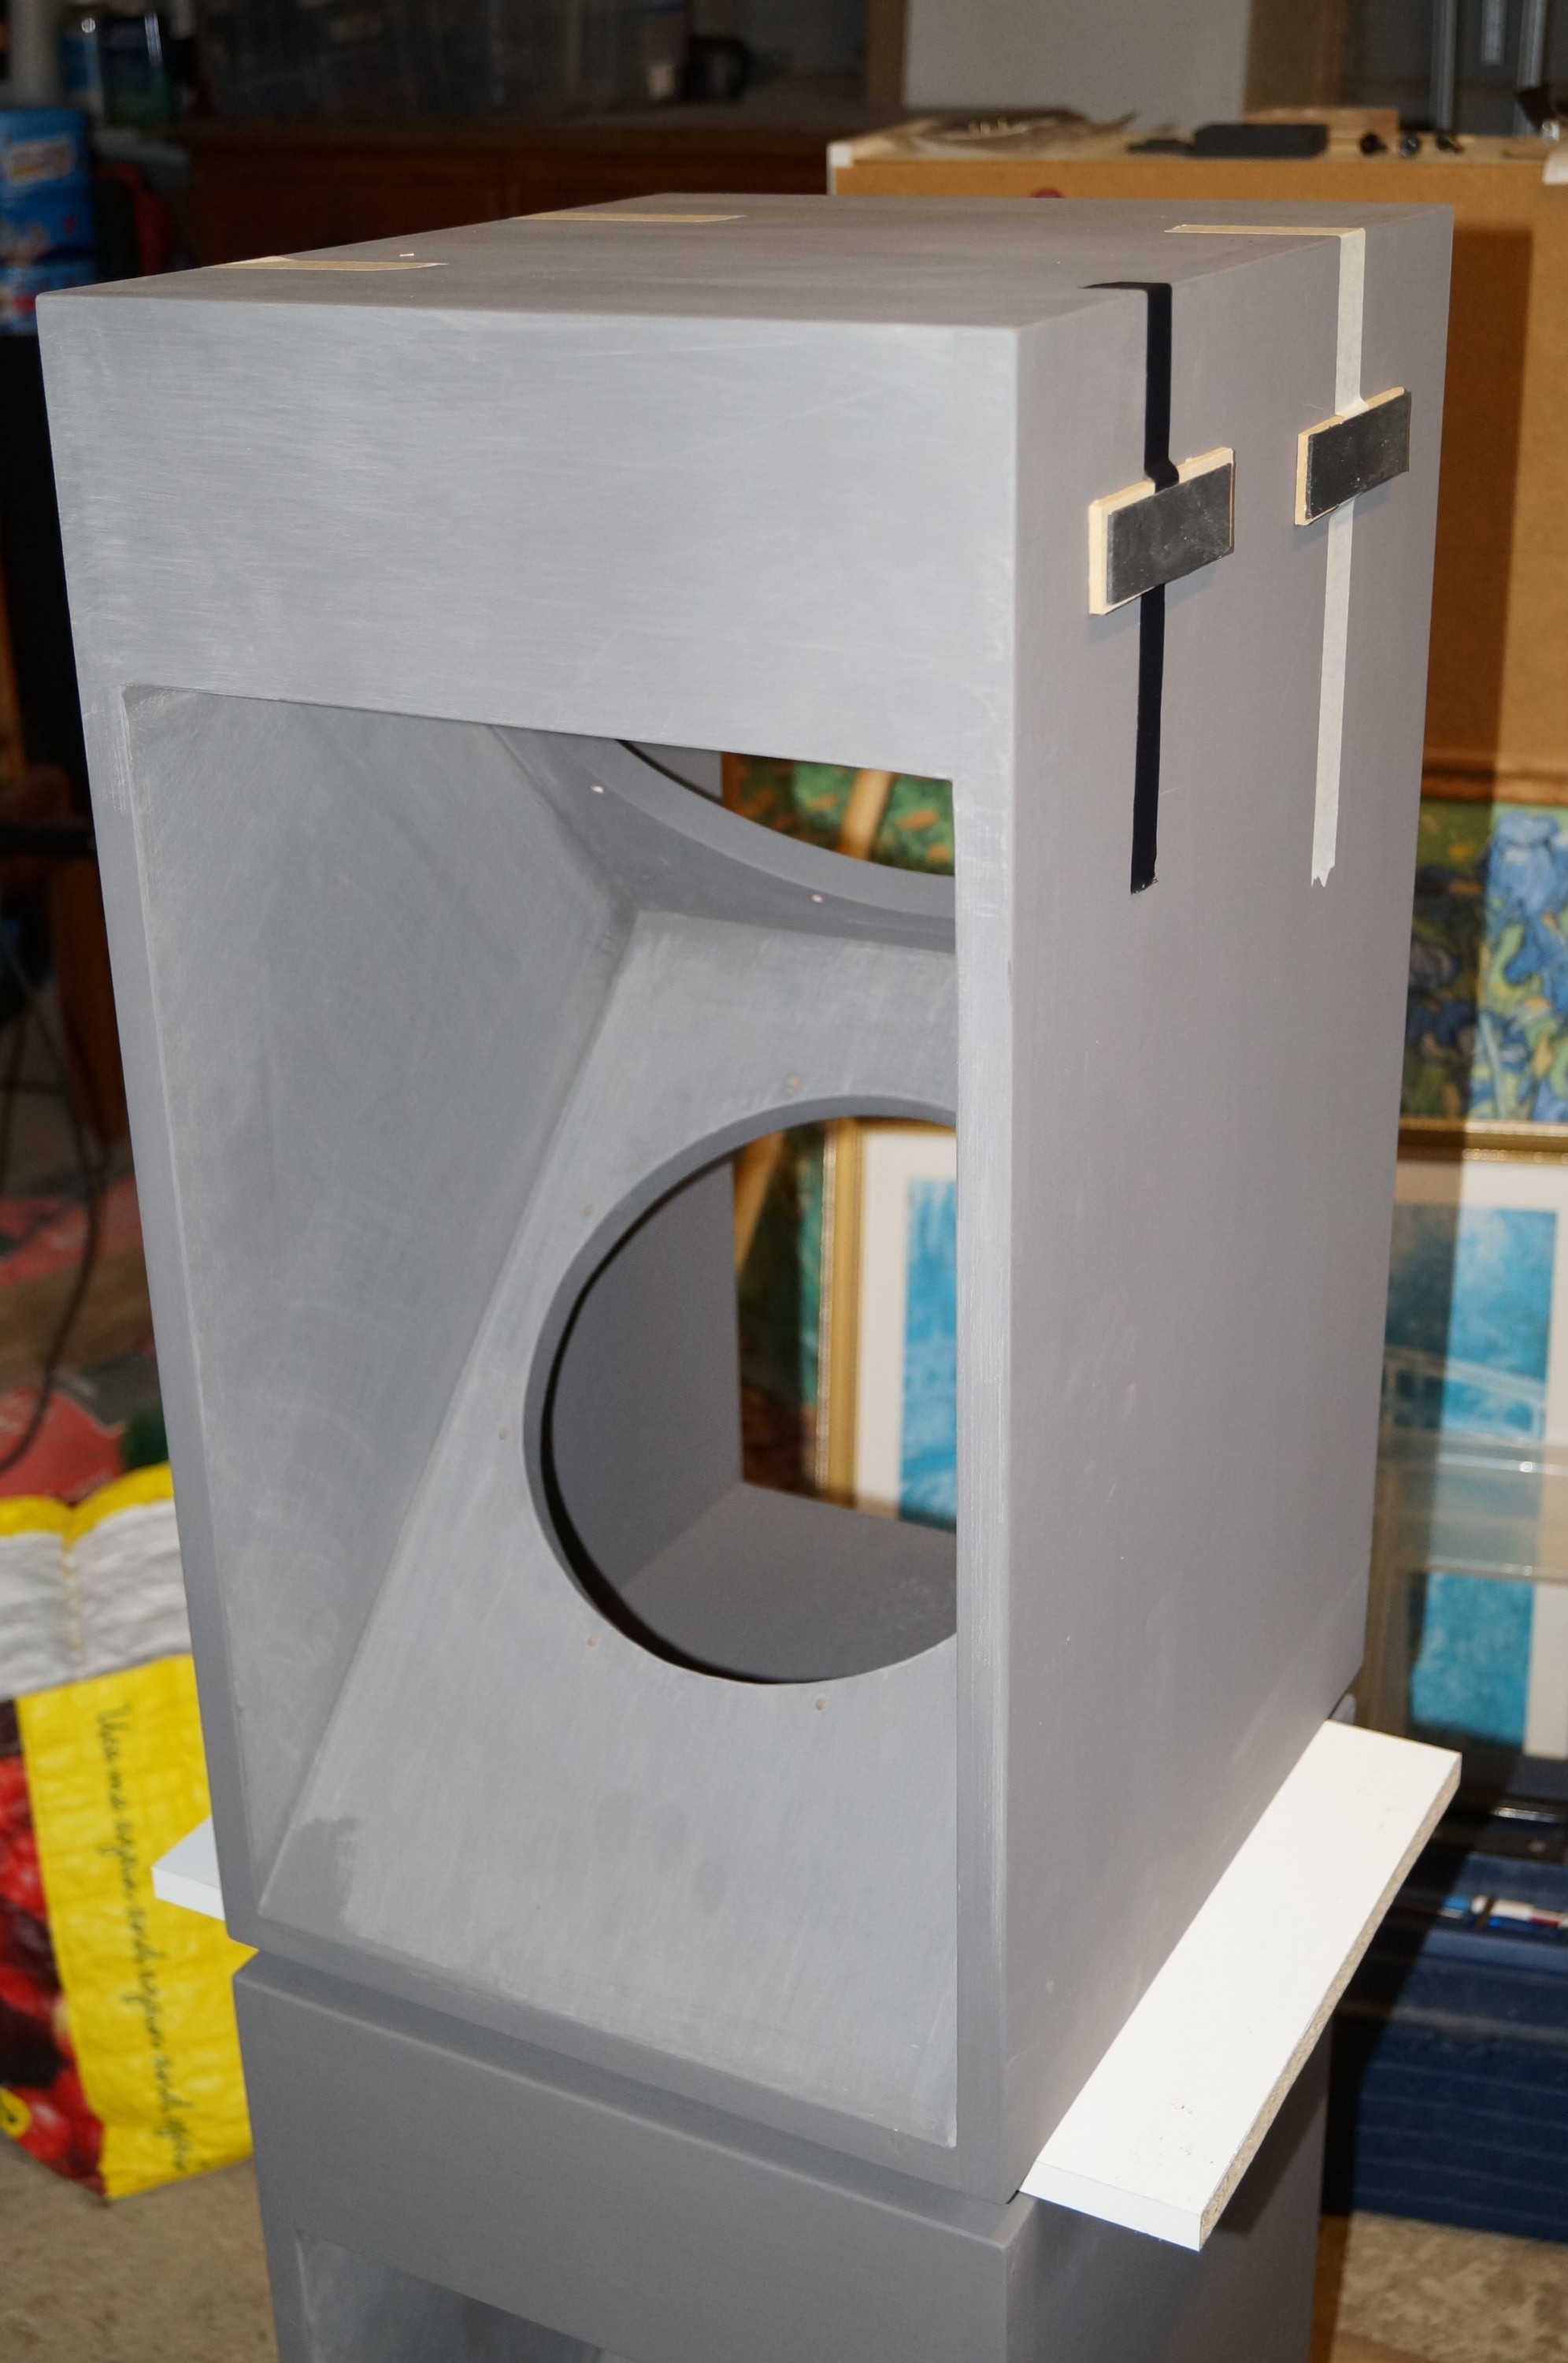
I was concerned about how to ensure the bridges were glued accurately so the sides ended up parallel to the woofer boxes. The feet take care of the bottom end, but not the top. My method was to assemble them around a woofer box, taping some hardboard and sticky-backed foam spacers onto the upper sides of the latter to ensure the bridge sides were held exactly the right distance from the woofer boxes (see photos). I cut some spare shelving to act as a base I could clamp from, and this worked very well – I was surprised how solid the resulting 8-dowel joints between top and sides turned out. I had purchased some small metal right-angle brackets but now I don’t think I need them. I am equally pleased that the mild bowing in the bridge tops has been completely eradicated by the clamp glueing onto the sides as I had hoped.
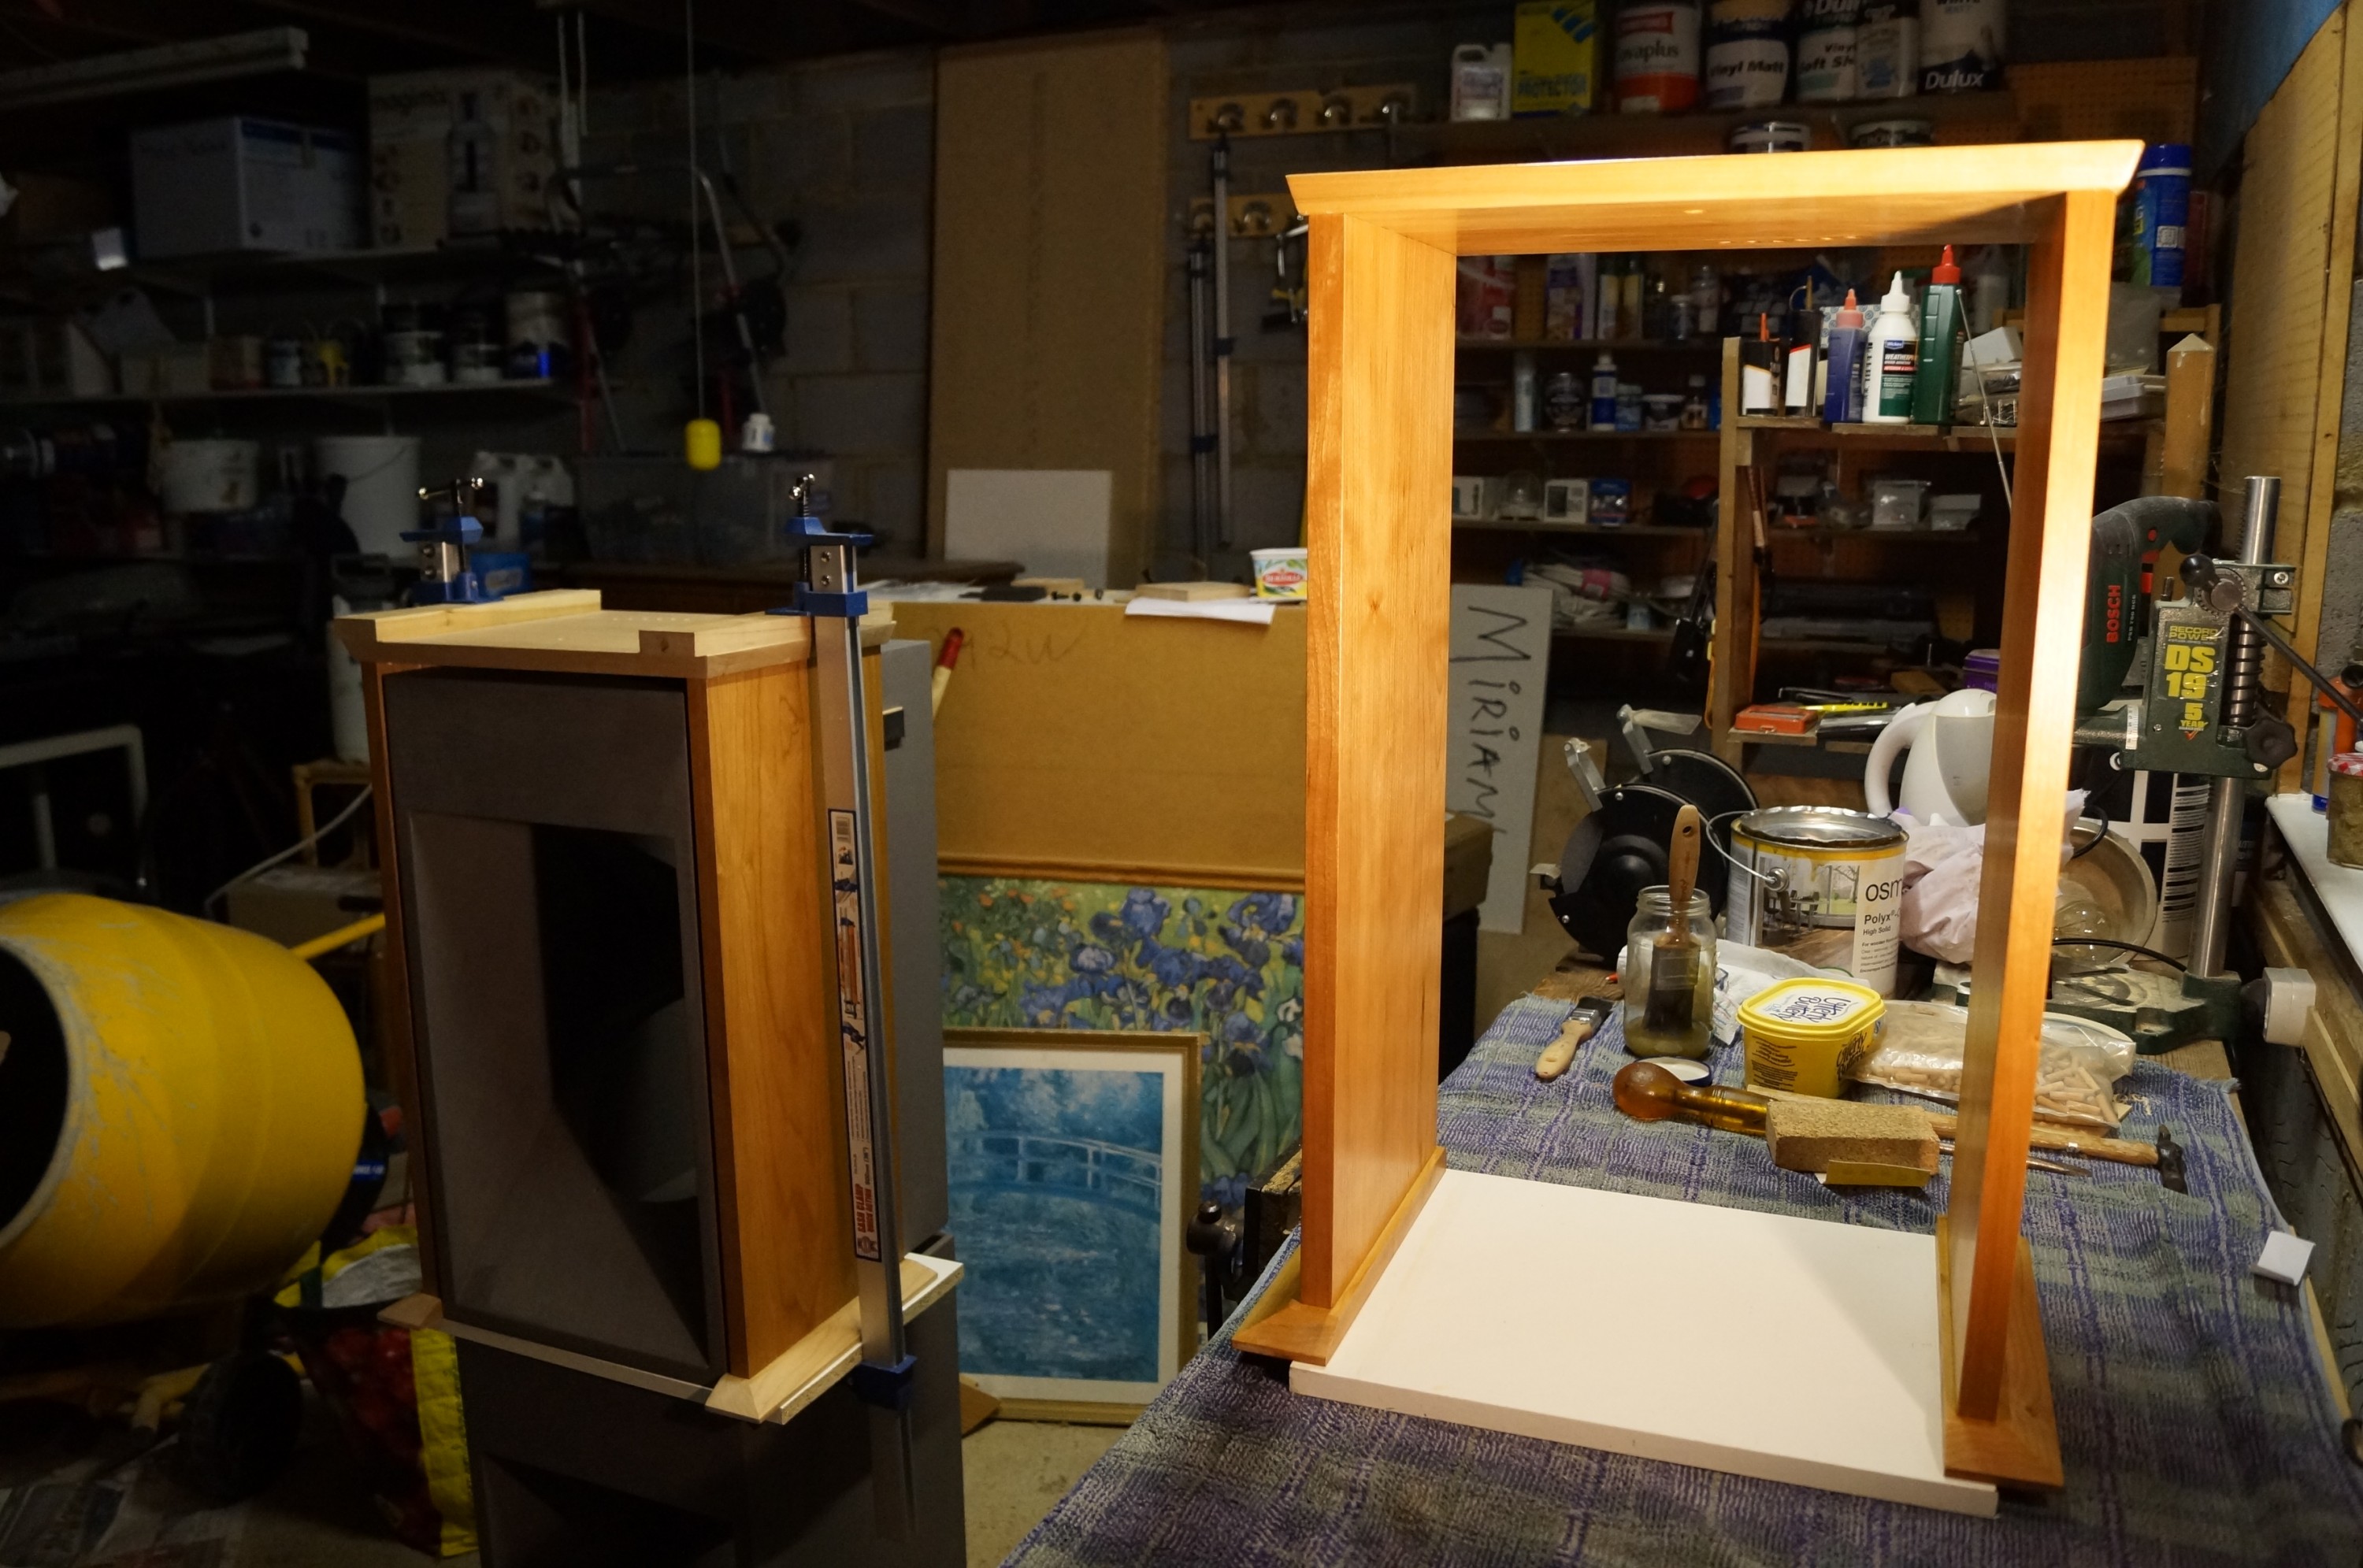
Next job is to wax-oil the top and feet. One has its first coat so far (see photo). Once the remaining wax-oiling is done I will then need to screw in all the brass inserts, stick some protective felt onto the feet and the bridges will be done. Then it’s back to the woofer boxes for final sanding and black paint. The end of this project is definitely in sight!
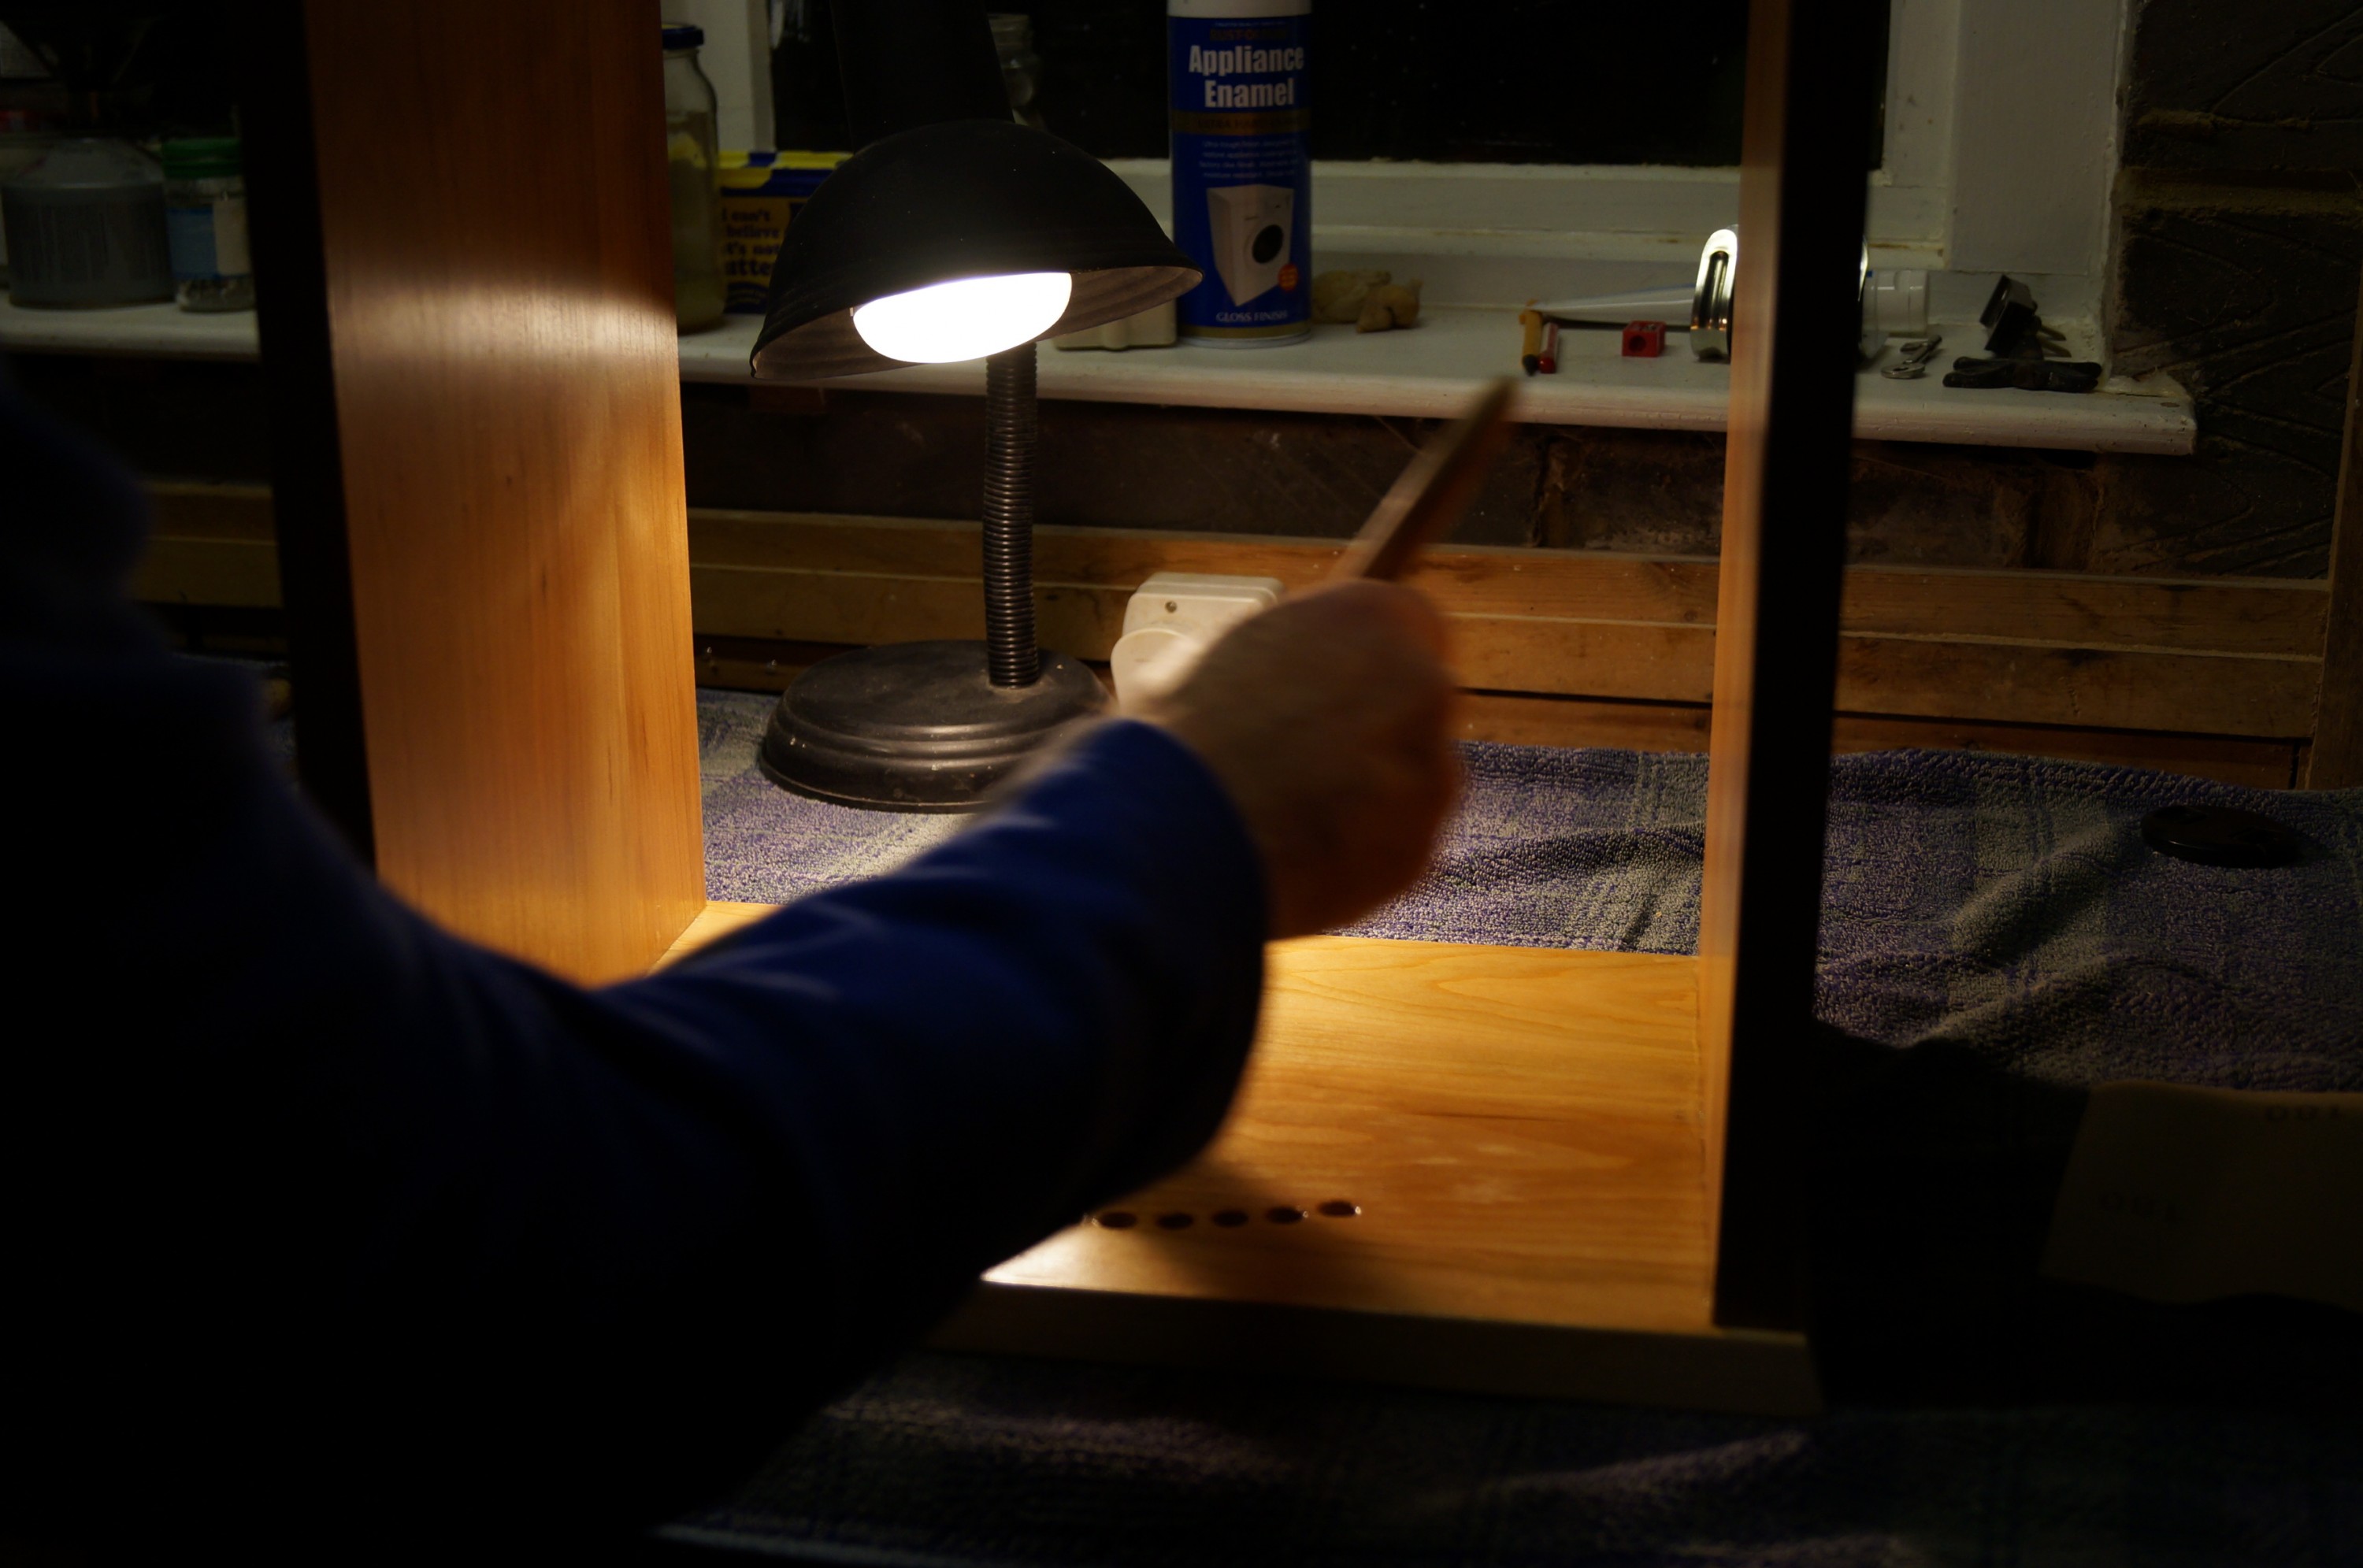
Reviewing the post, I realise the penultimate pic has a somewhat “Wolf Hall” feel to the lighting. Pity it wasn’t a candle in the background…