
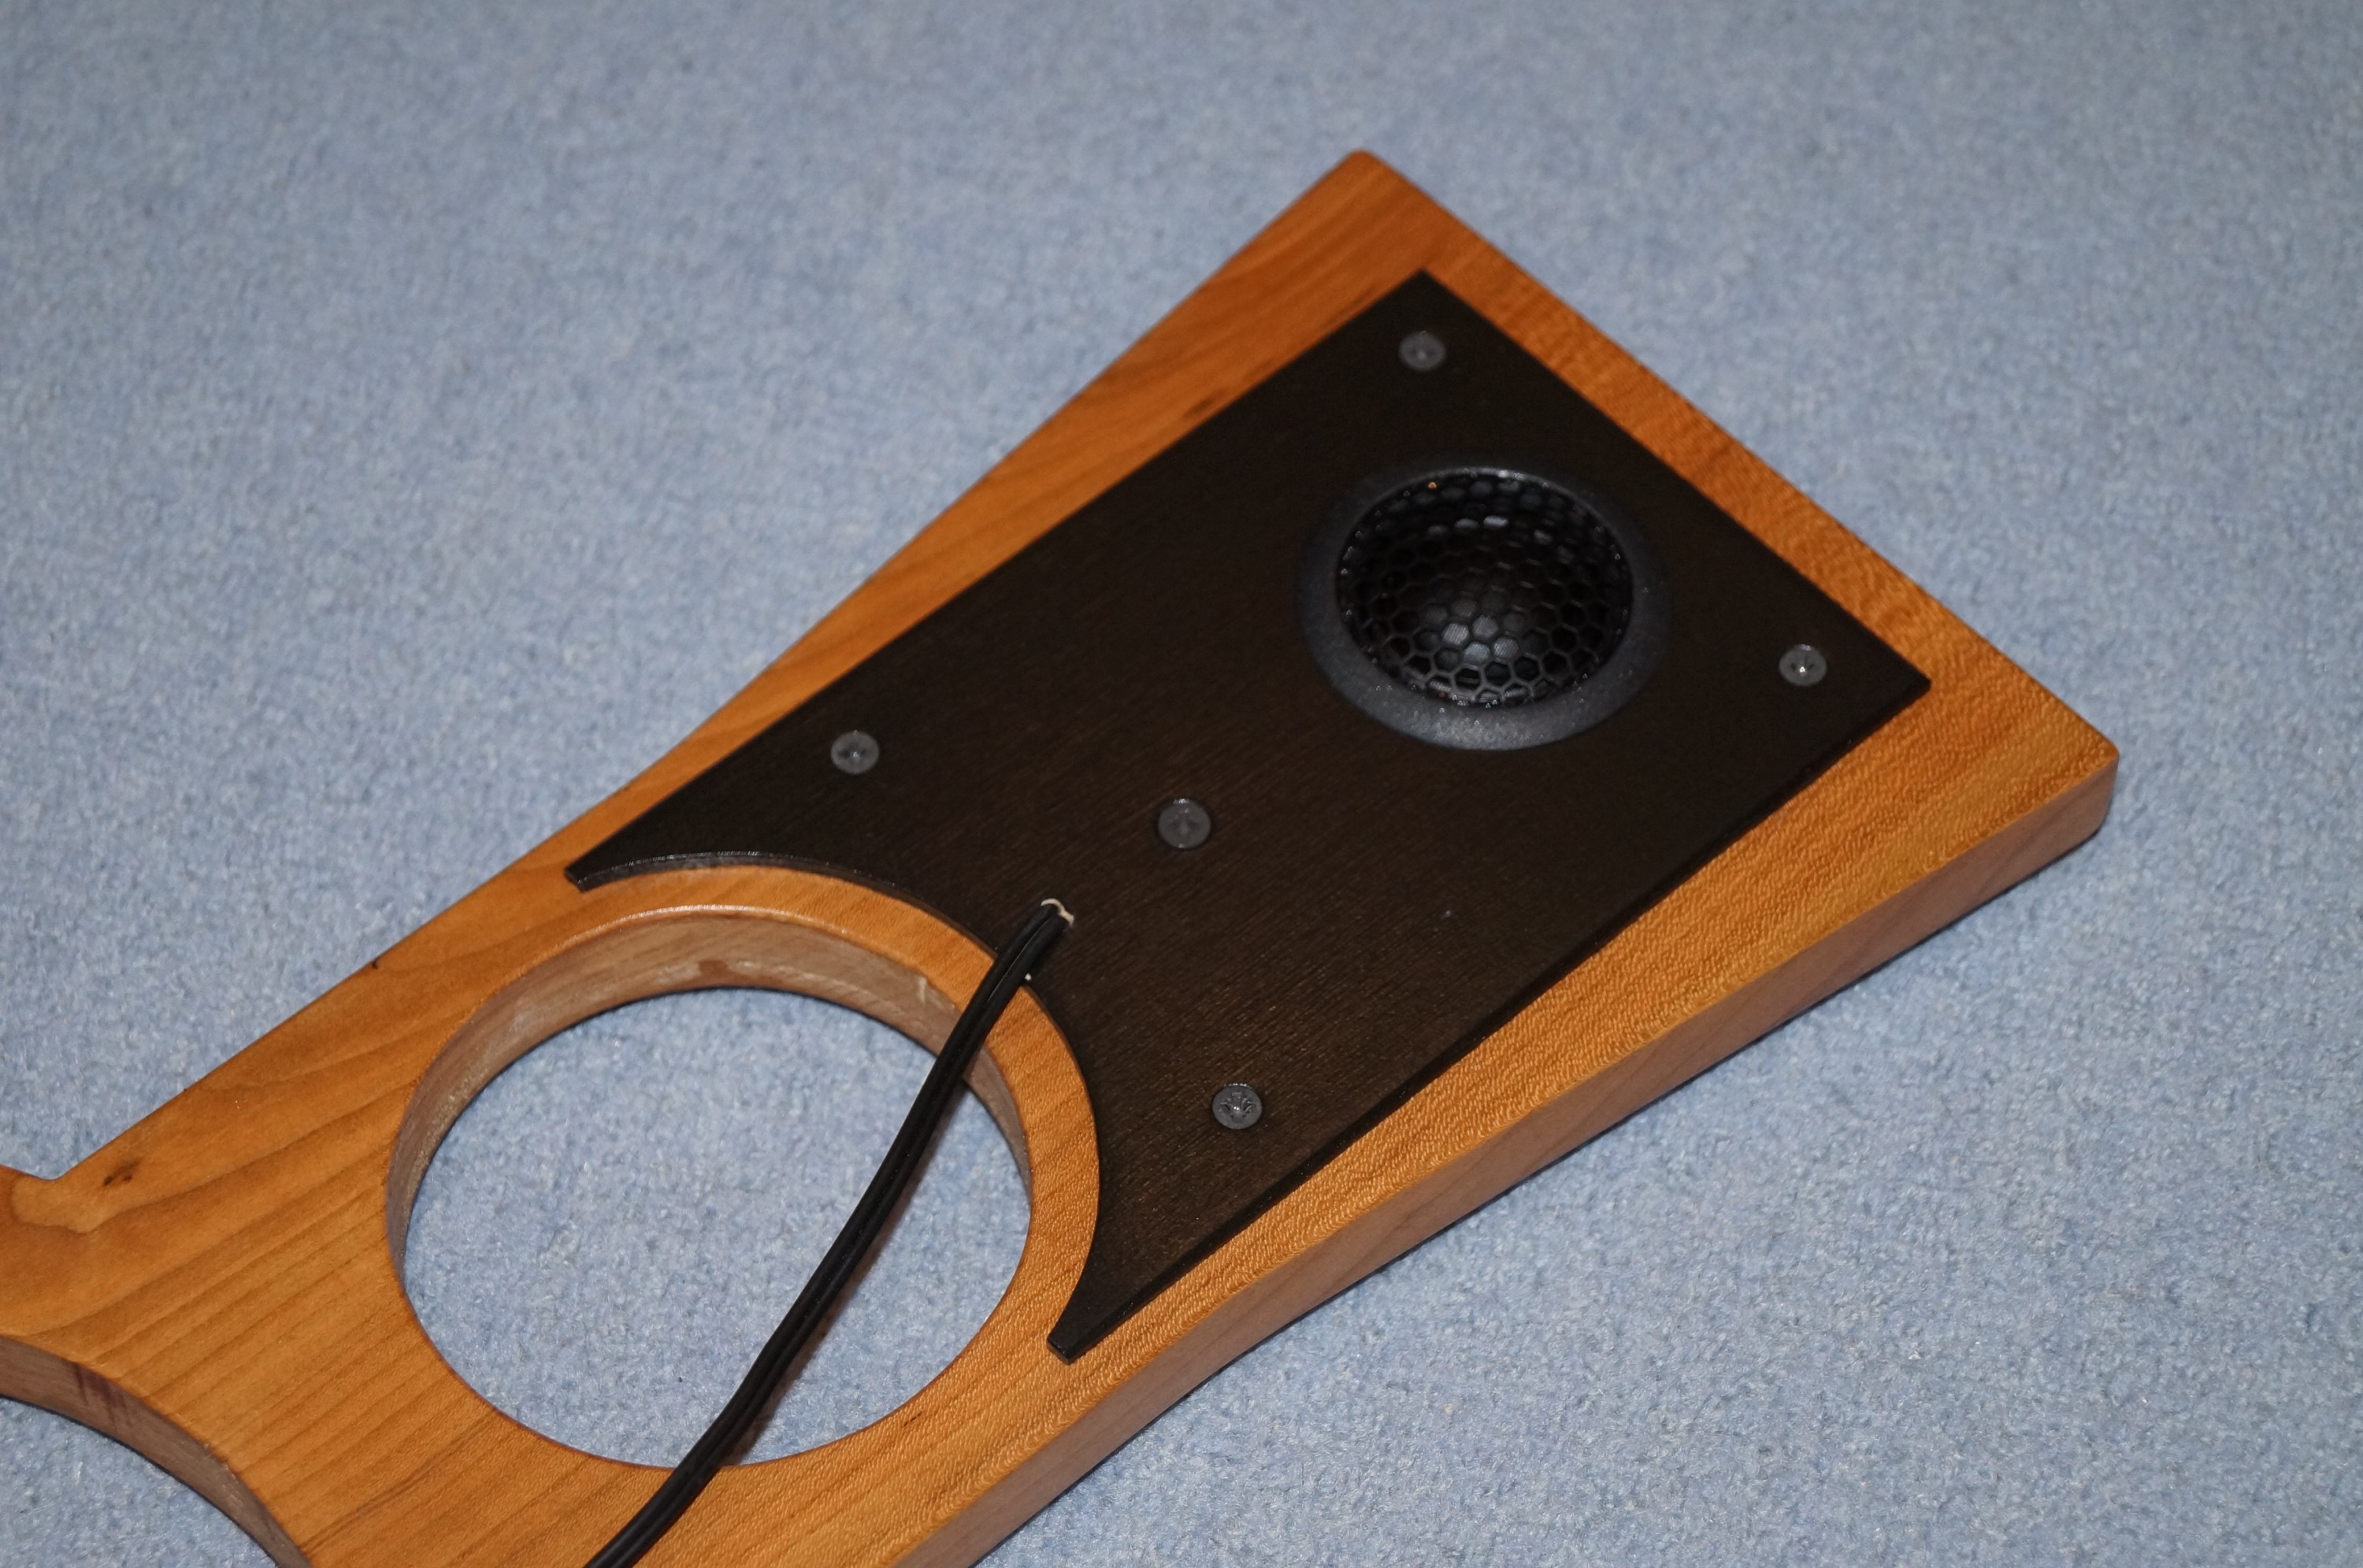
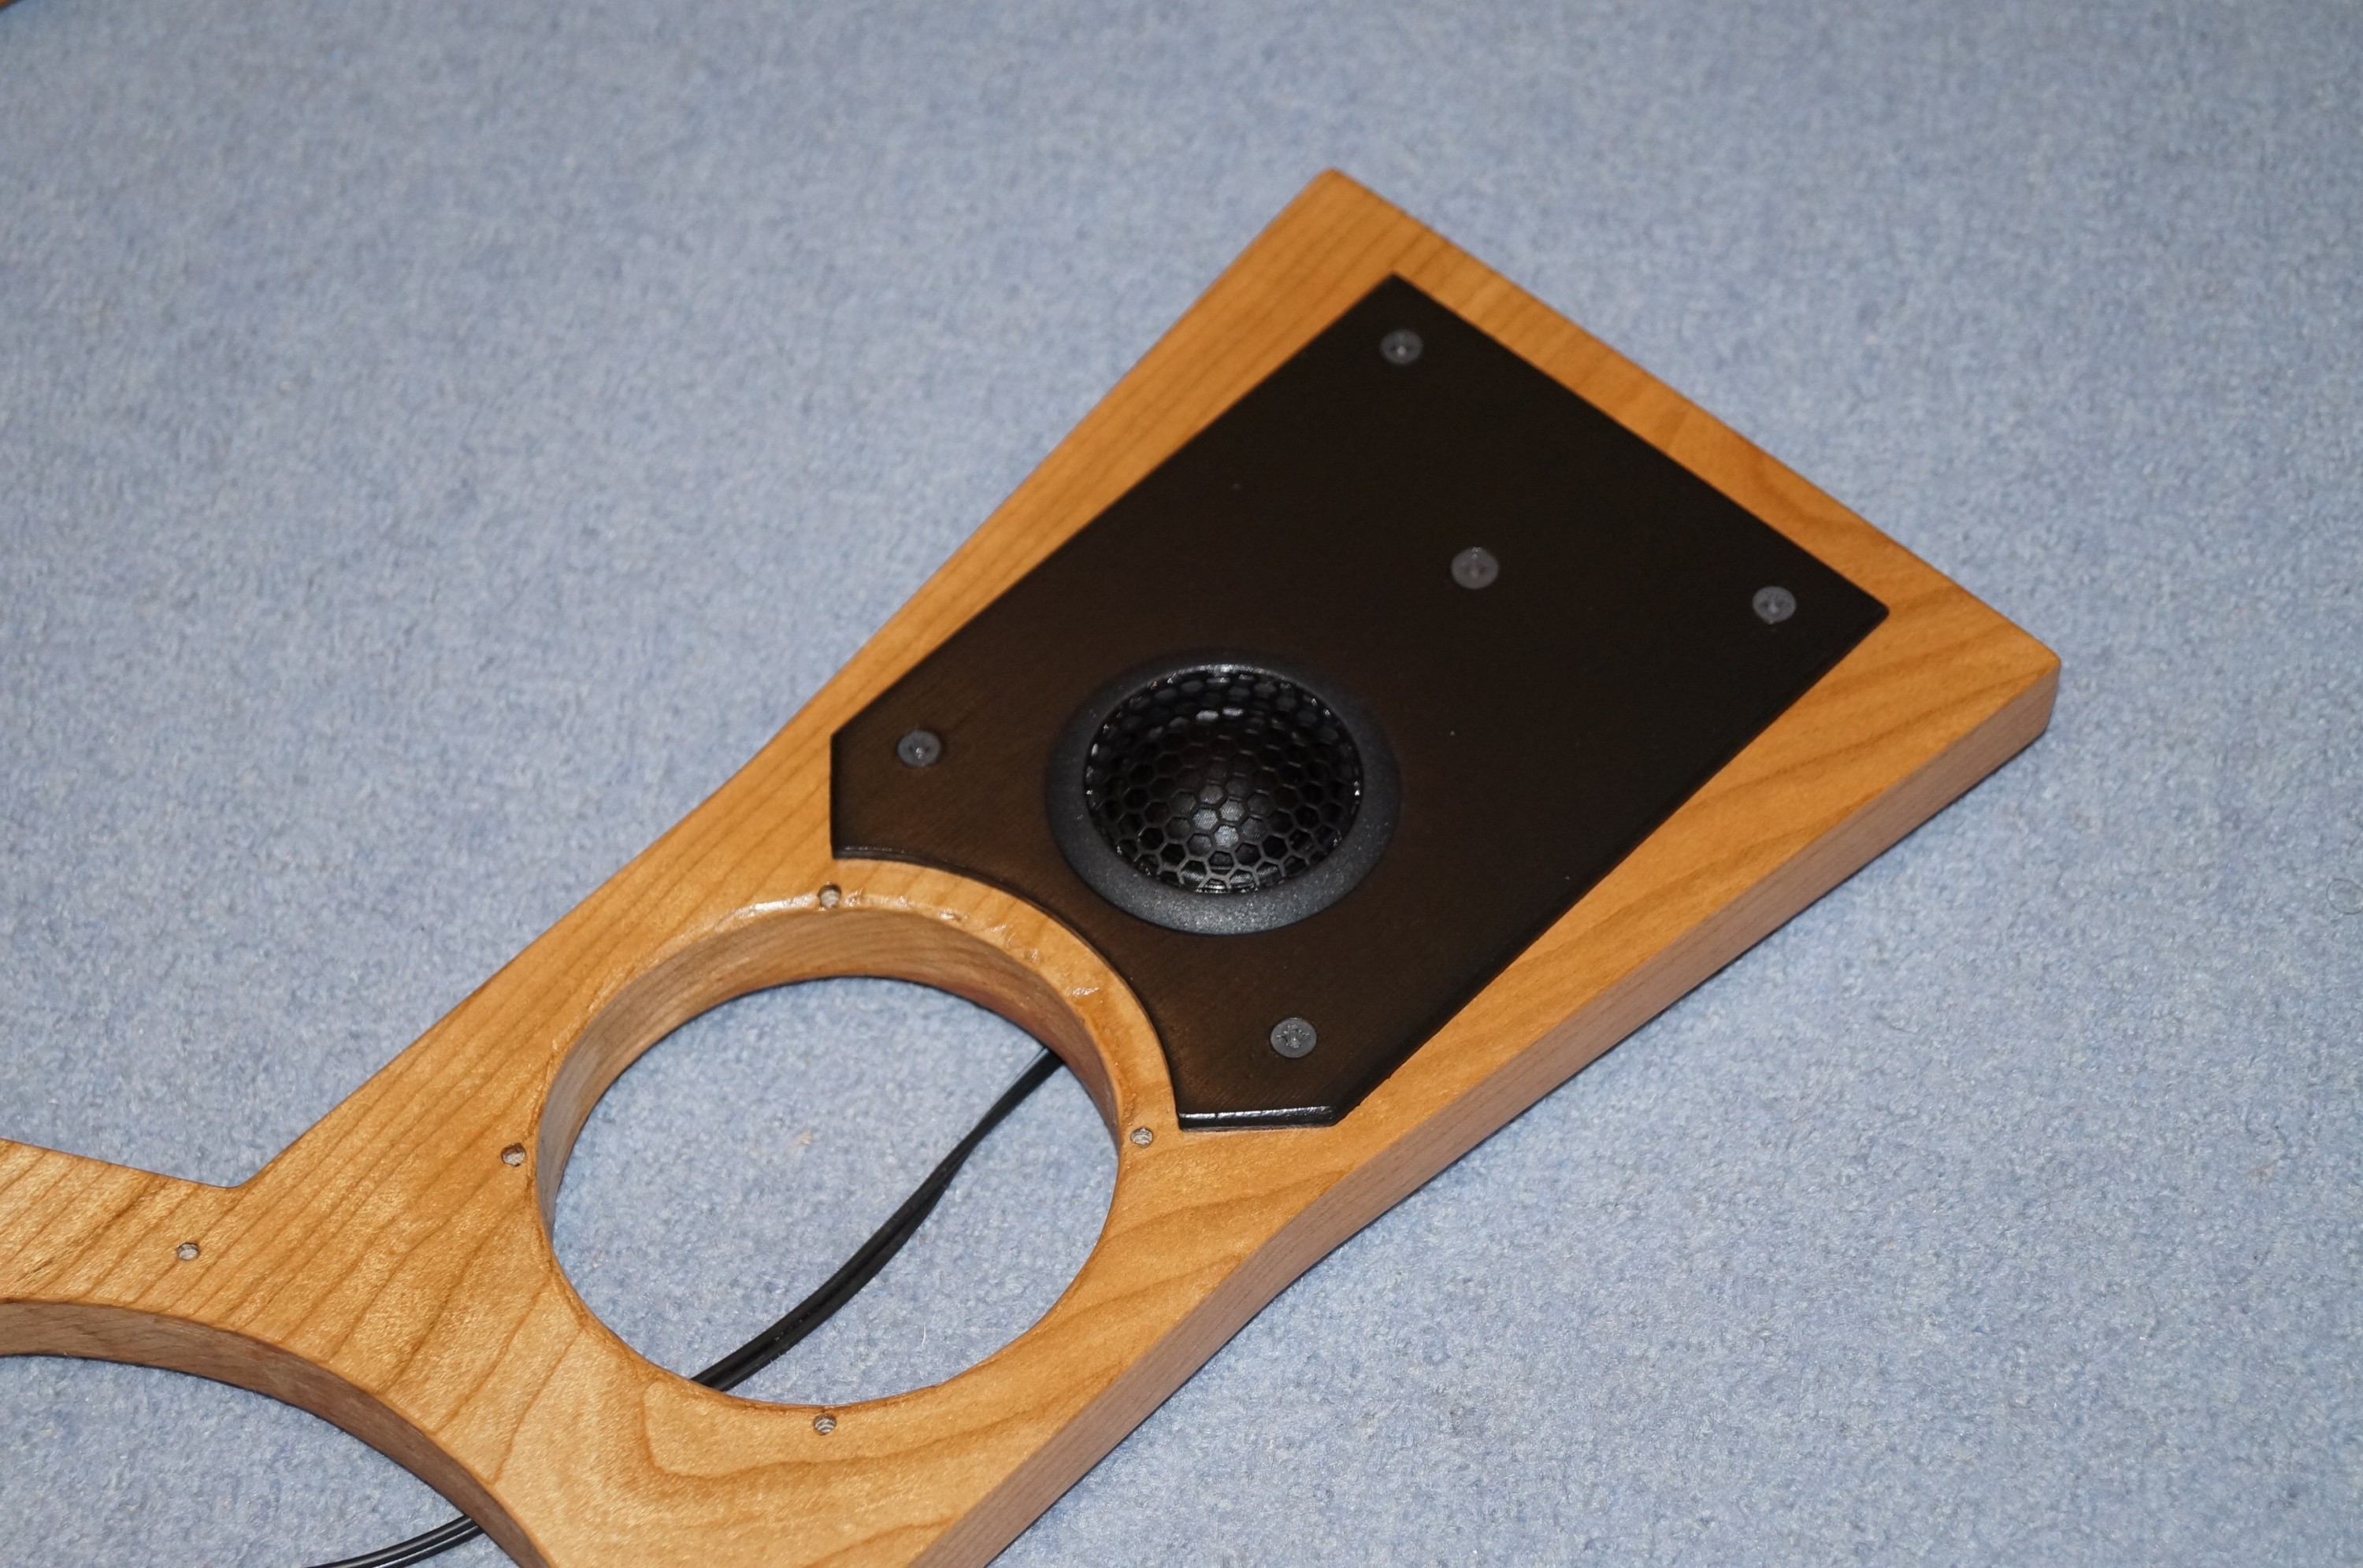
Woodwork and painting for the baffle assemblies is now complete, and the tweeters are wired in.
The main challenges when finishing the baffles concerned the final wax oil applications and final painting of the tweeter baffles – I did have some problems achieving a really smooth finish.

With the cherry baffles I experimented with a buffing technique (demonstrated on YouTube) by lightly pressing a spinning Scotchbrite pad (using a sander, or in my case the drill and drum sander!) to smooth off the first brush-applied coat of wax oil. This does give a very smooth surface, however unfortunately it can leave some faint circular scratch marks on the wax surface. I therefore used some 240G sandpaper to take the surface down before reapplication. In the end I used four coats, two with brush and two rubbed off with rag.

I finished the tweeter baffles with a coat or two of matt black, sanding with 180G in between, followed by the soft satin. They needed careful brush work , and I had to redo one baffle twice because of minor bubbles / imperfections before I was satisfied.

Wiring the tweeters is another fiddly job, and (as is often the case with this project) I only worked out the best approach by doing the first one. A hole is needed for the supply wire in the lower half of the rear tweeter baffle just inside the tweeter recess, so I marked this from the front. An old towel protects the wood whilst working. I also cut four little sticky backed foam grommets which I stuck to the back of the tweeter baffles to fill any dead space behind the tweeters (and insure against rattles).
In case this is useful for would-be builders, the most efficient order of work I arrived at was:
- Screw rear tweeter baffle in place.
- Thread about 12″ of speaker wire through rear tweeter baffle wire hole into front (lower) tweeter recess and separate about 6″
- Thread the -ve wire through one of the previously drilled holes between the two tweeter recesses and out to the rear.
- Solder a short length of wire to the -ve terminal of rear tweeter (this will go to the -ve on the front tweeter) before positioning.
- Bring rear tweeter alongside its hole and solder previously prepared -ve supply wire to its +ve terminal (much easier than when in final position). Rear tweeter is wired with reverse polarity.
- The short wire from the -ve terminal is now threaded through to the lower recess, and any excess on the other wire is pulled back through as the tweeter is placed into position. The front baffle can now be screwed on and the rear tweeter secured with its 8mm M4 screw.
- The +ve supply wire, shortened to remove excess, together with the wire from the -ve terminal of the rear tweeter, are brought through to the front for soldering to the lower tweeter.
- Finally, the excess supply wire is pulled back through the rear tweeter baffle as the front tweeter is manoeuvred into place, taking care to ensure the wiring lies around the circumference of the tweeter body.
- Before final tightening of the M4 retaining screws the tweeters can be rotated to orientate the grills horizontally.
I didn’t photograph all these steps! – concentrating on the job in hand.