Not posted for a while – the small matter of Christmas intervening… however I have been chipping away at the woodwork (ho ho) now and then. Work on the bridges is now well under way – I have decided to press on with these prior to finishing the woofer boxes to get the remainder of the woodwork out of the way.
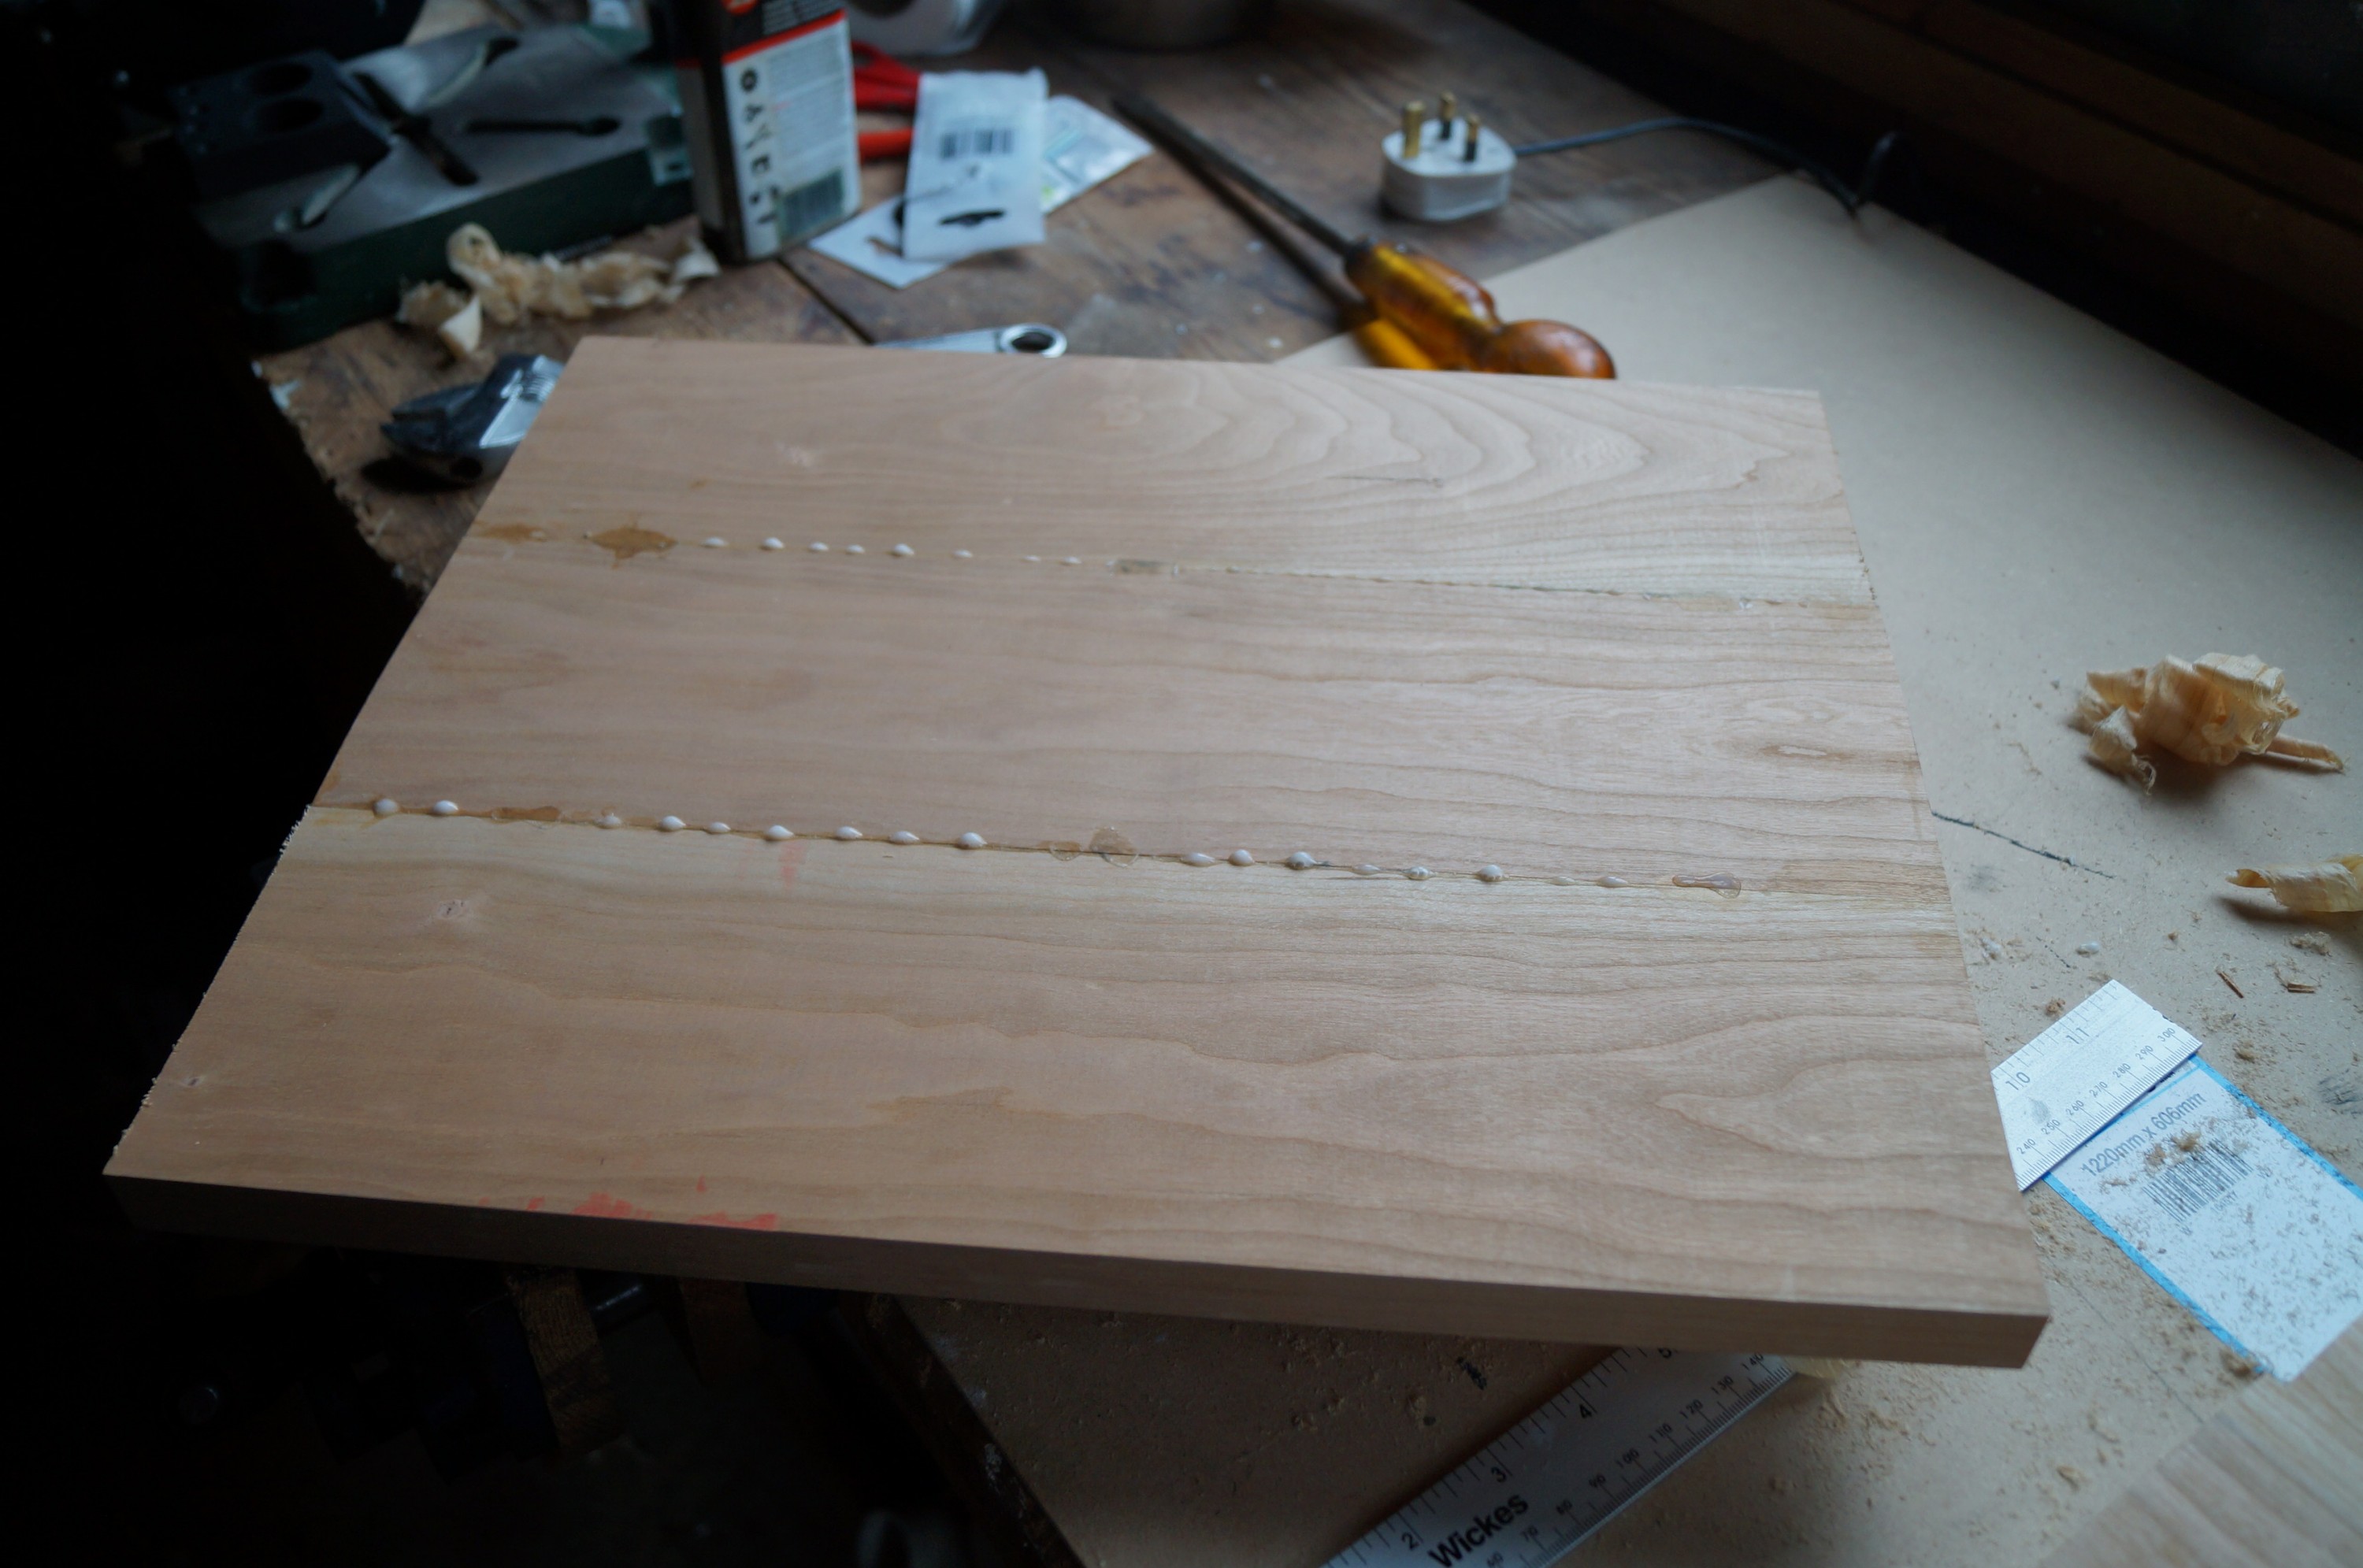
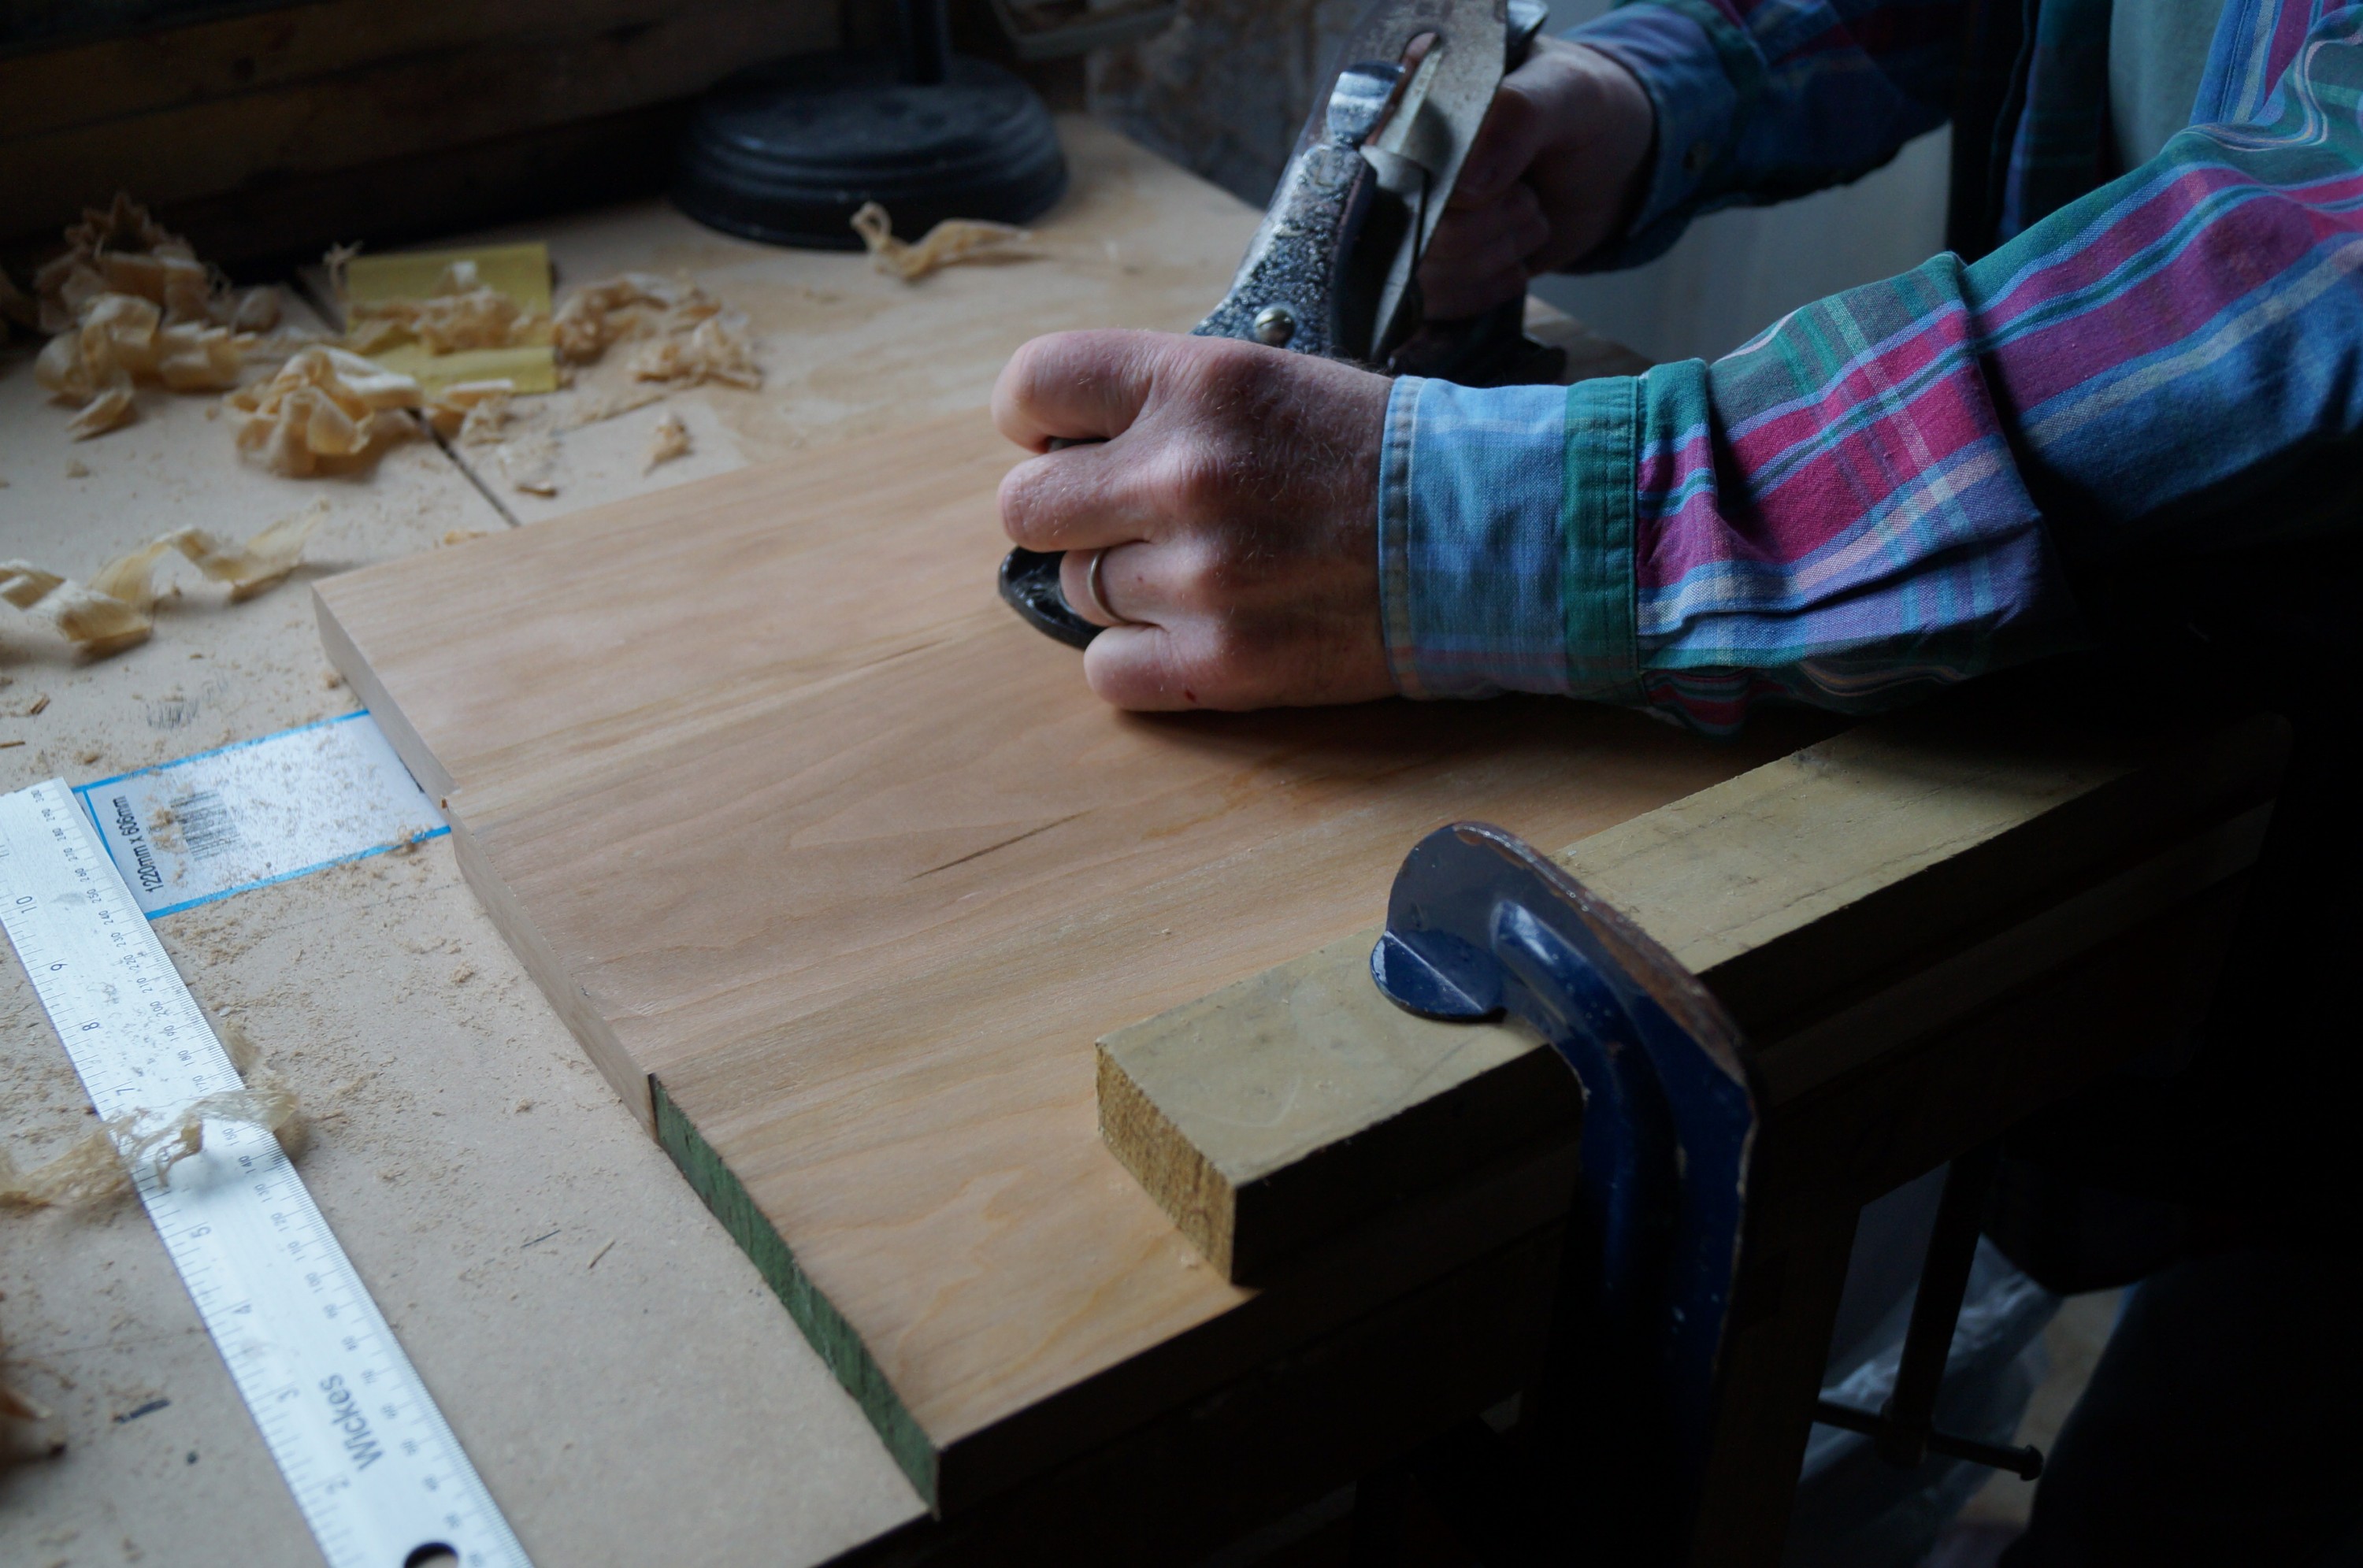
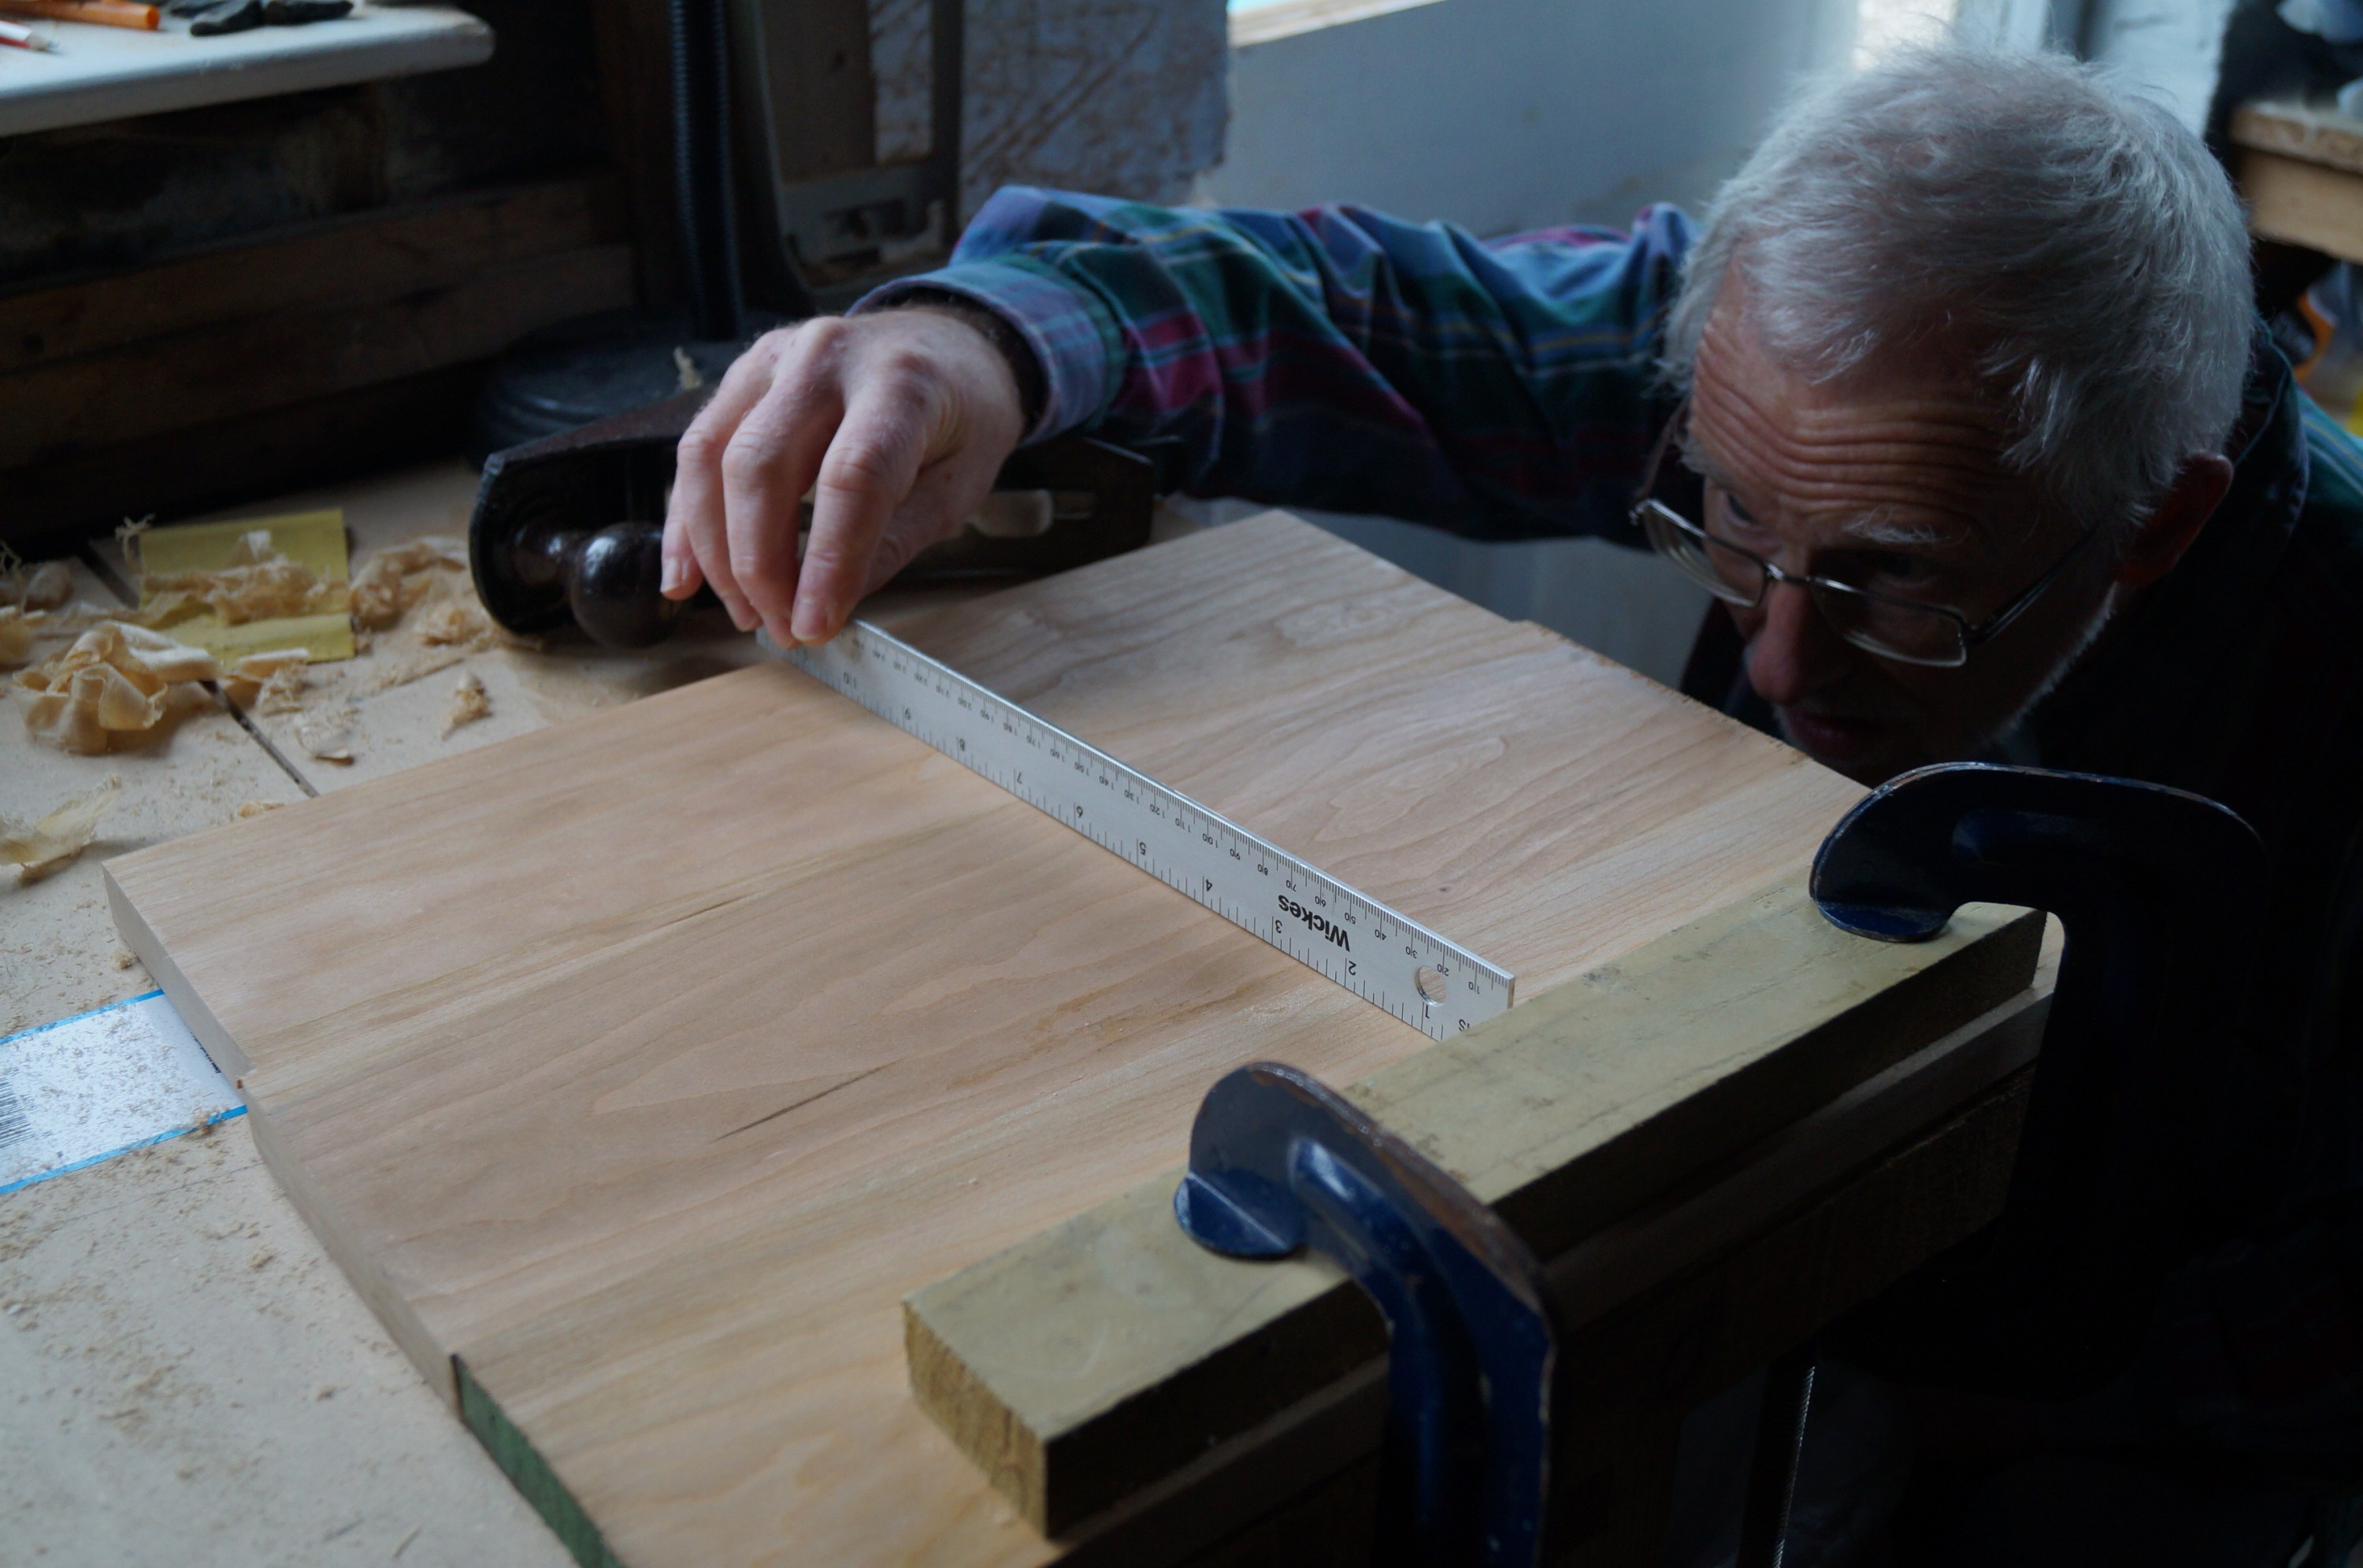
The bridge tops are solid cherry made from glueing three boards together as with the baffles. The assembled boards were reasonably flat, although there was a slight warp which had developed in the boards before glueing which I was able to reduce with the plane. I’m reckoning on eliminating any residual bowing when clamping and glueing the tops to the sides.
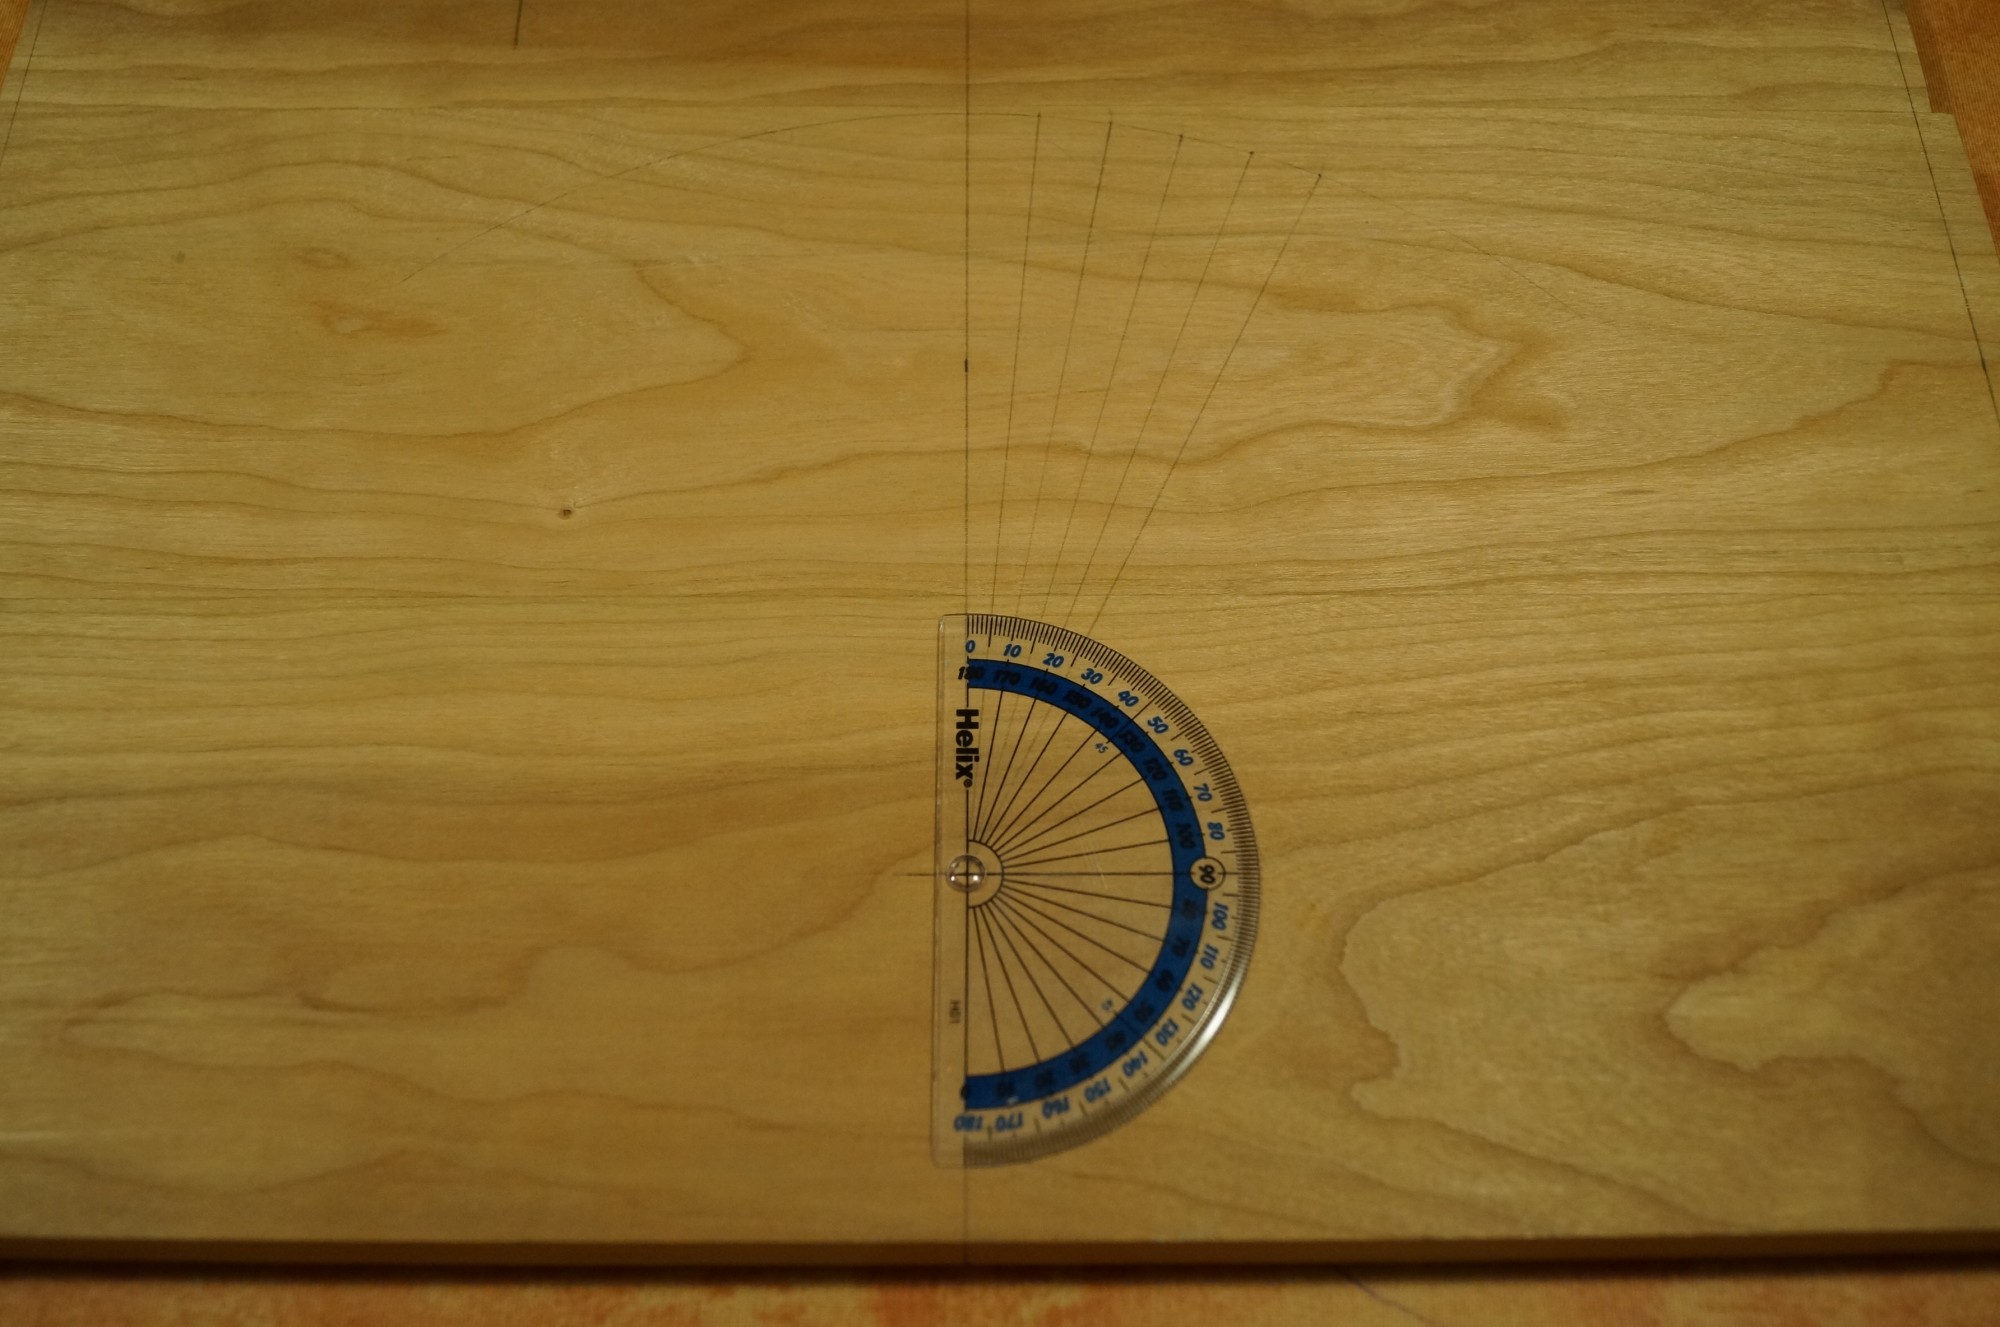
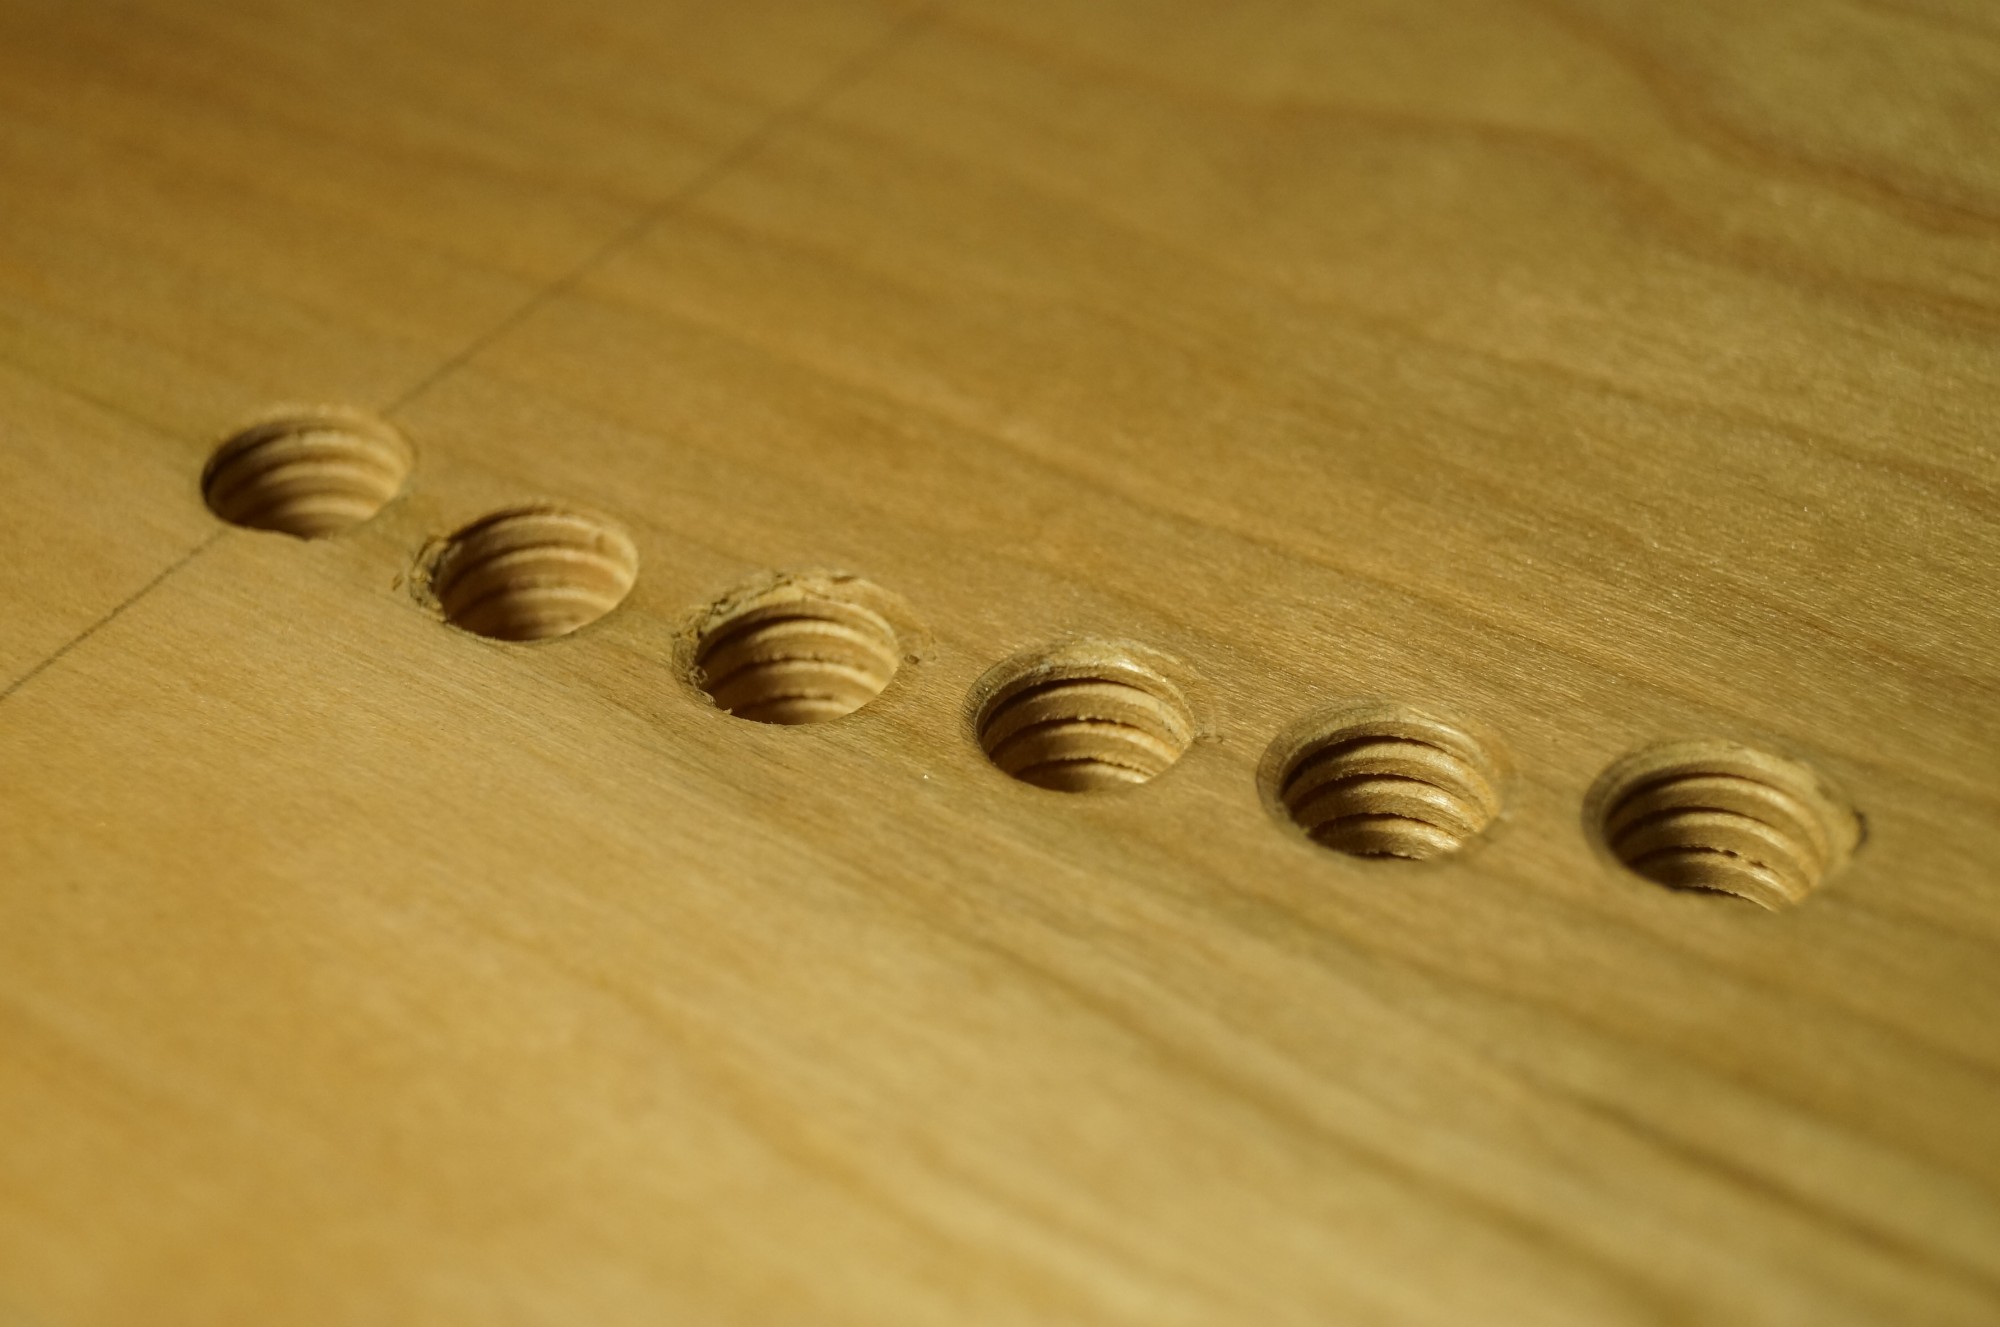
I mentioned in an earlier post that from reading both SL’s material and that of other LX521 owners I realised that including a toe-in facility was an essential element in the design if using these speakers in smaller rooms. My solution was to sink five extra brass inserts into each bridge, as alternative placements for the rear baffle support bolts, along an arc at 5 degree intervals, thus allowing a maximum toe-in of 25 degrees for each baffle. The photos show the marking out for these. I am setting the baffle supports slightly further back on the bridge so that the bases do not protrude over the bridge top when set at maximum toe-in.
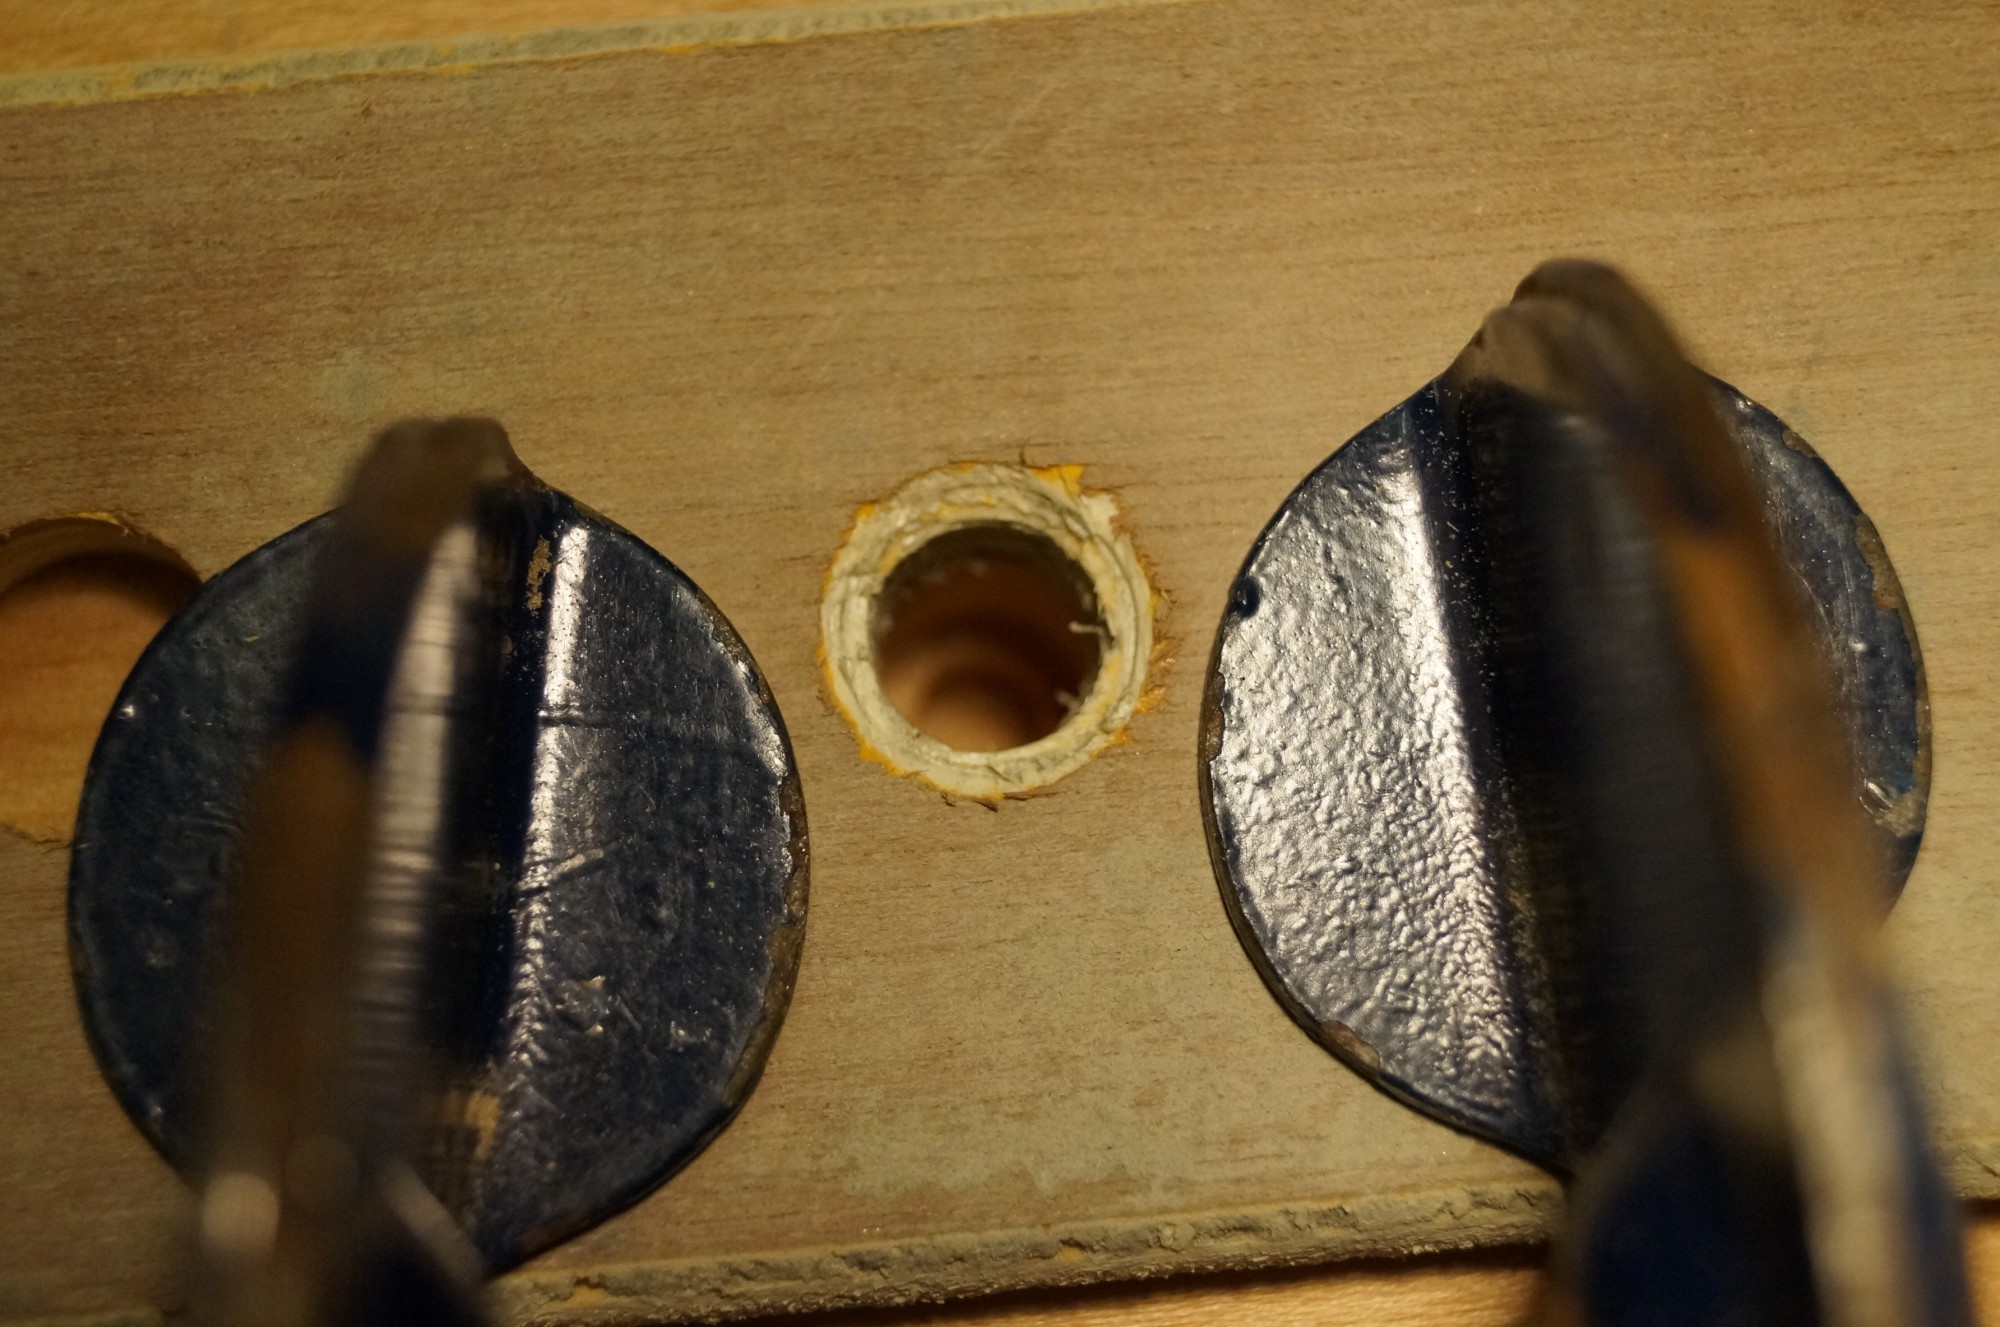
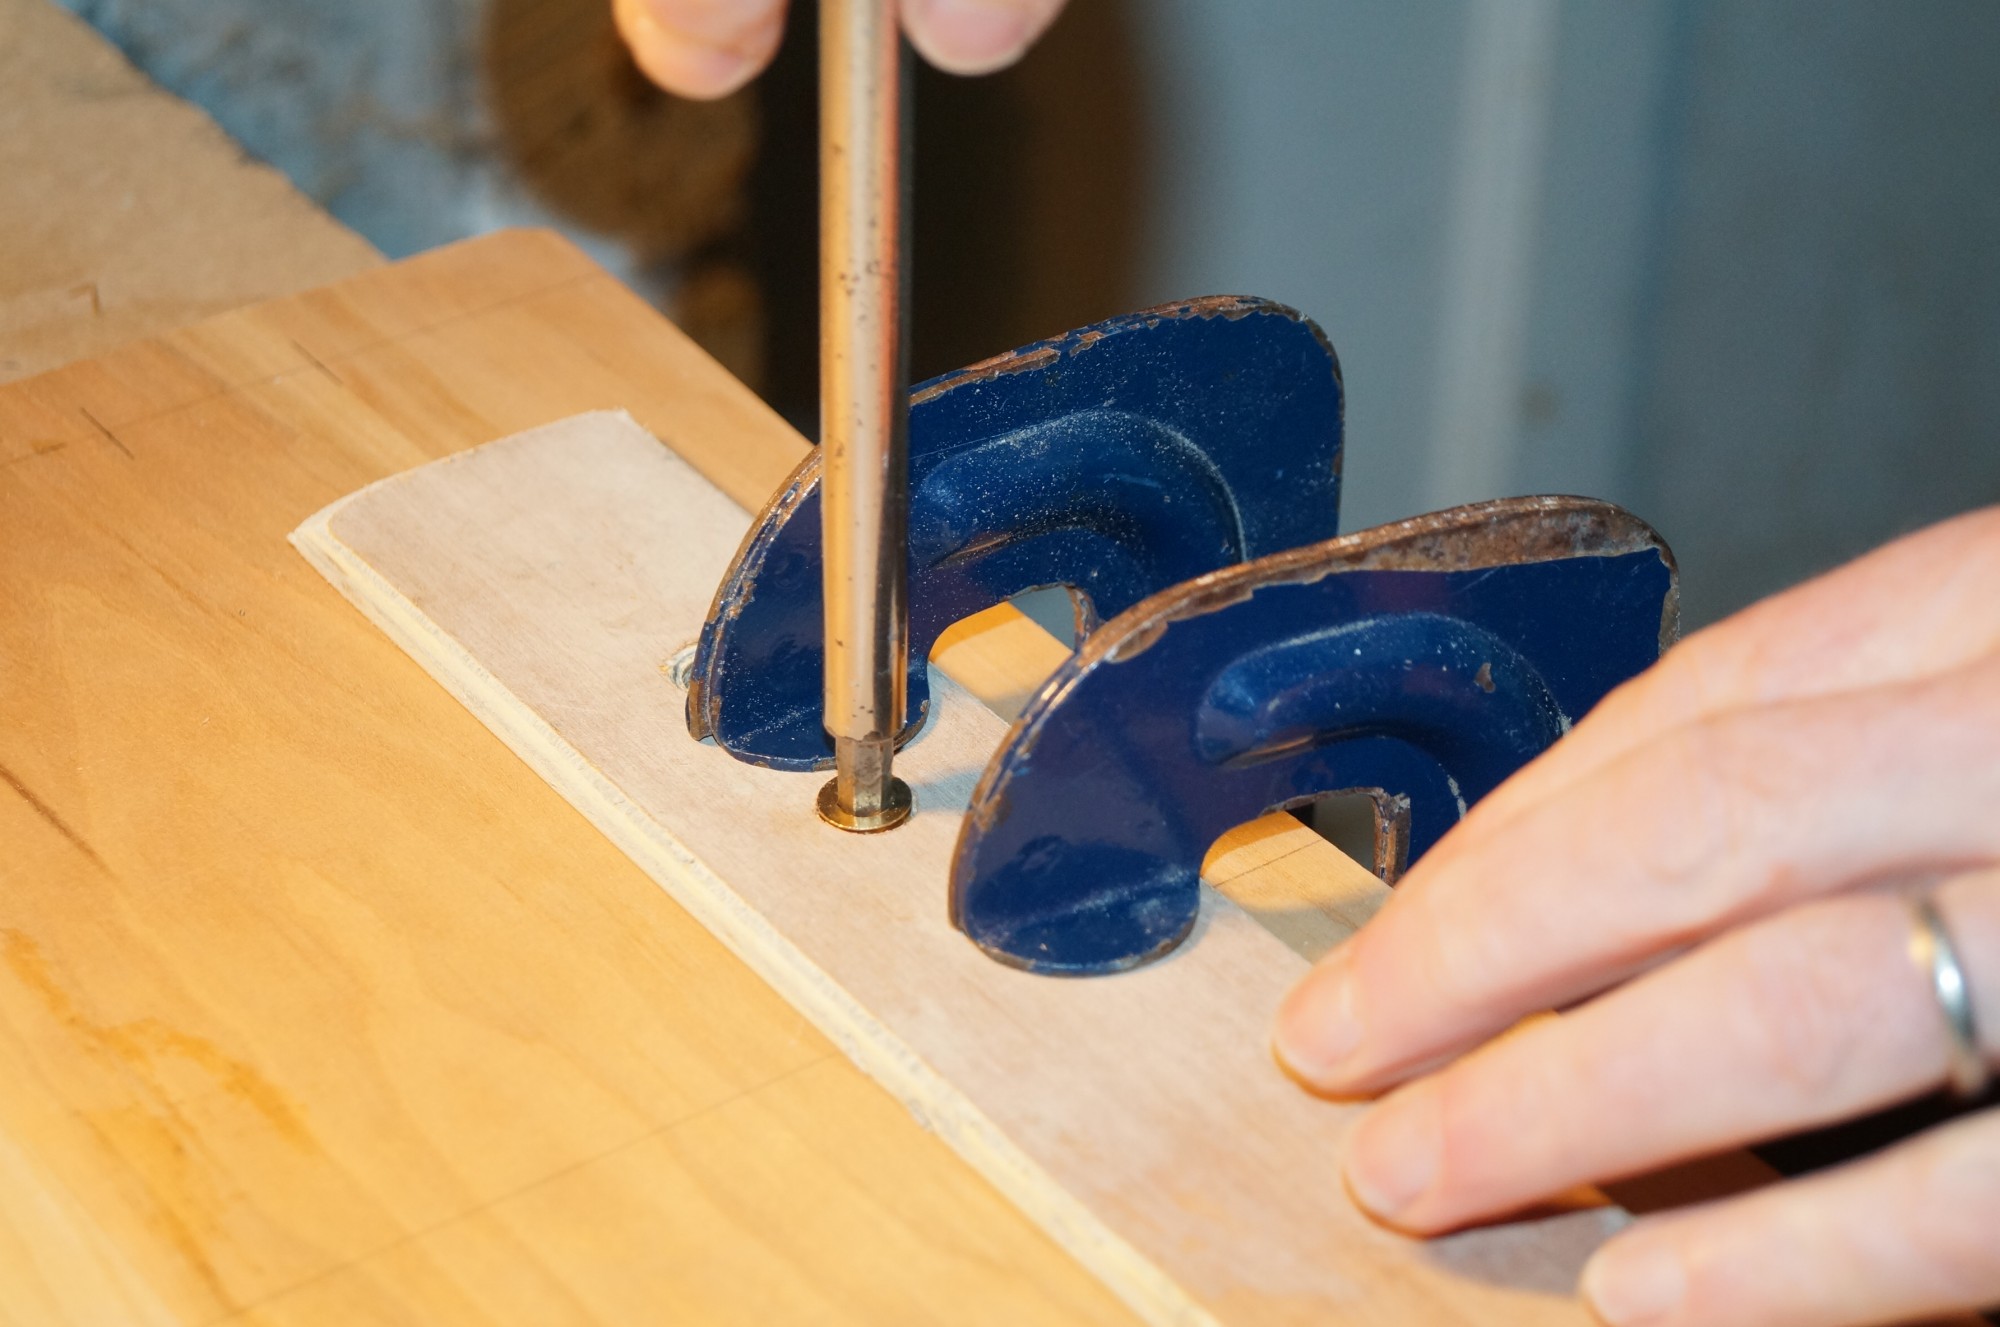
My earlier experience with sinking brass inserts was less than satisfactory because of the difficulty avoiding the grain lifting and splitting, so I experimented with using some 10mm ply to act both as a guide and to apply support pressure to the wood around the counterbore recesses. I cut two holes, one smaller and threaded to start the holes in the bridge, the second larger (ie the diameter of the top of the inserts) as a guide when screwing the inserts home. The ply was positioned carefully over each hole and clamped down onto the cherry. It worked well, with much cleaner results. None of this will be seen anyway as the inserts are on the underside of the bridge tops.
Next task: cutting and planing bridge tops and feet to final size… and then a lot of hand sanding – ugh.