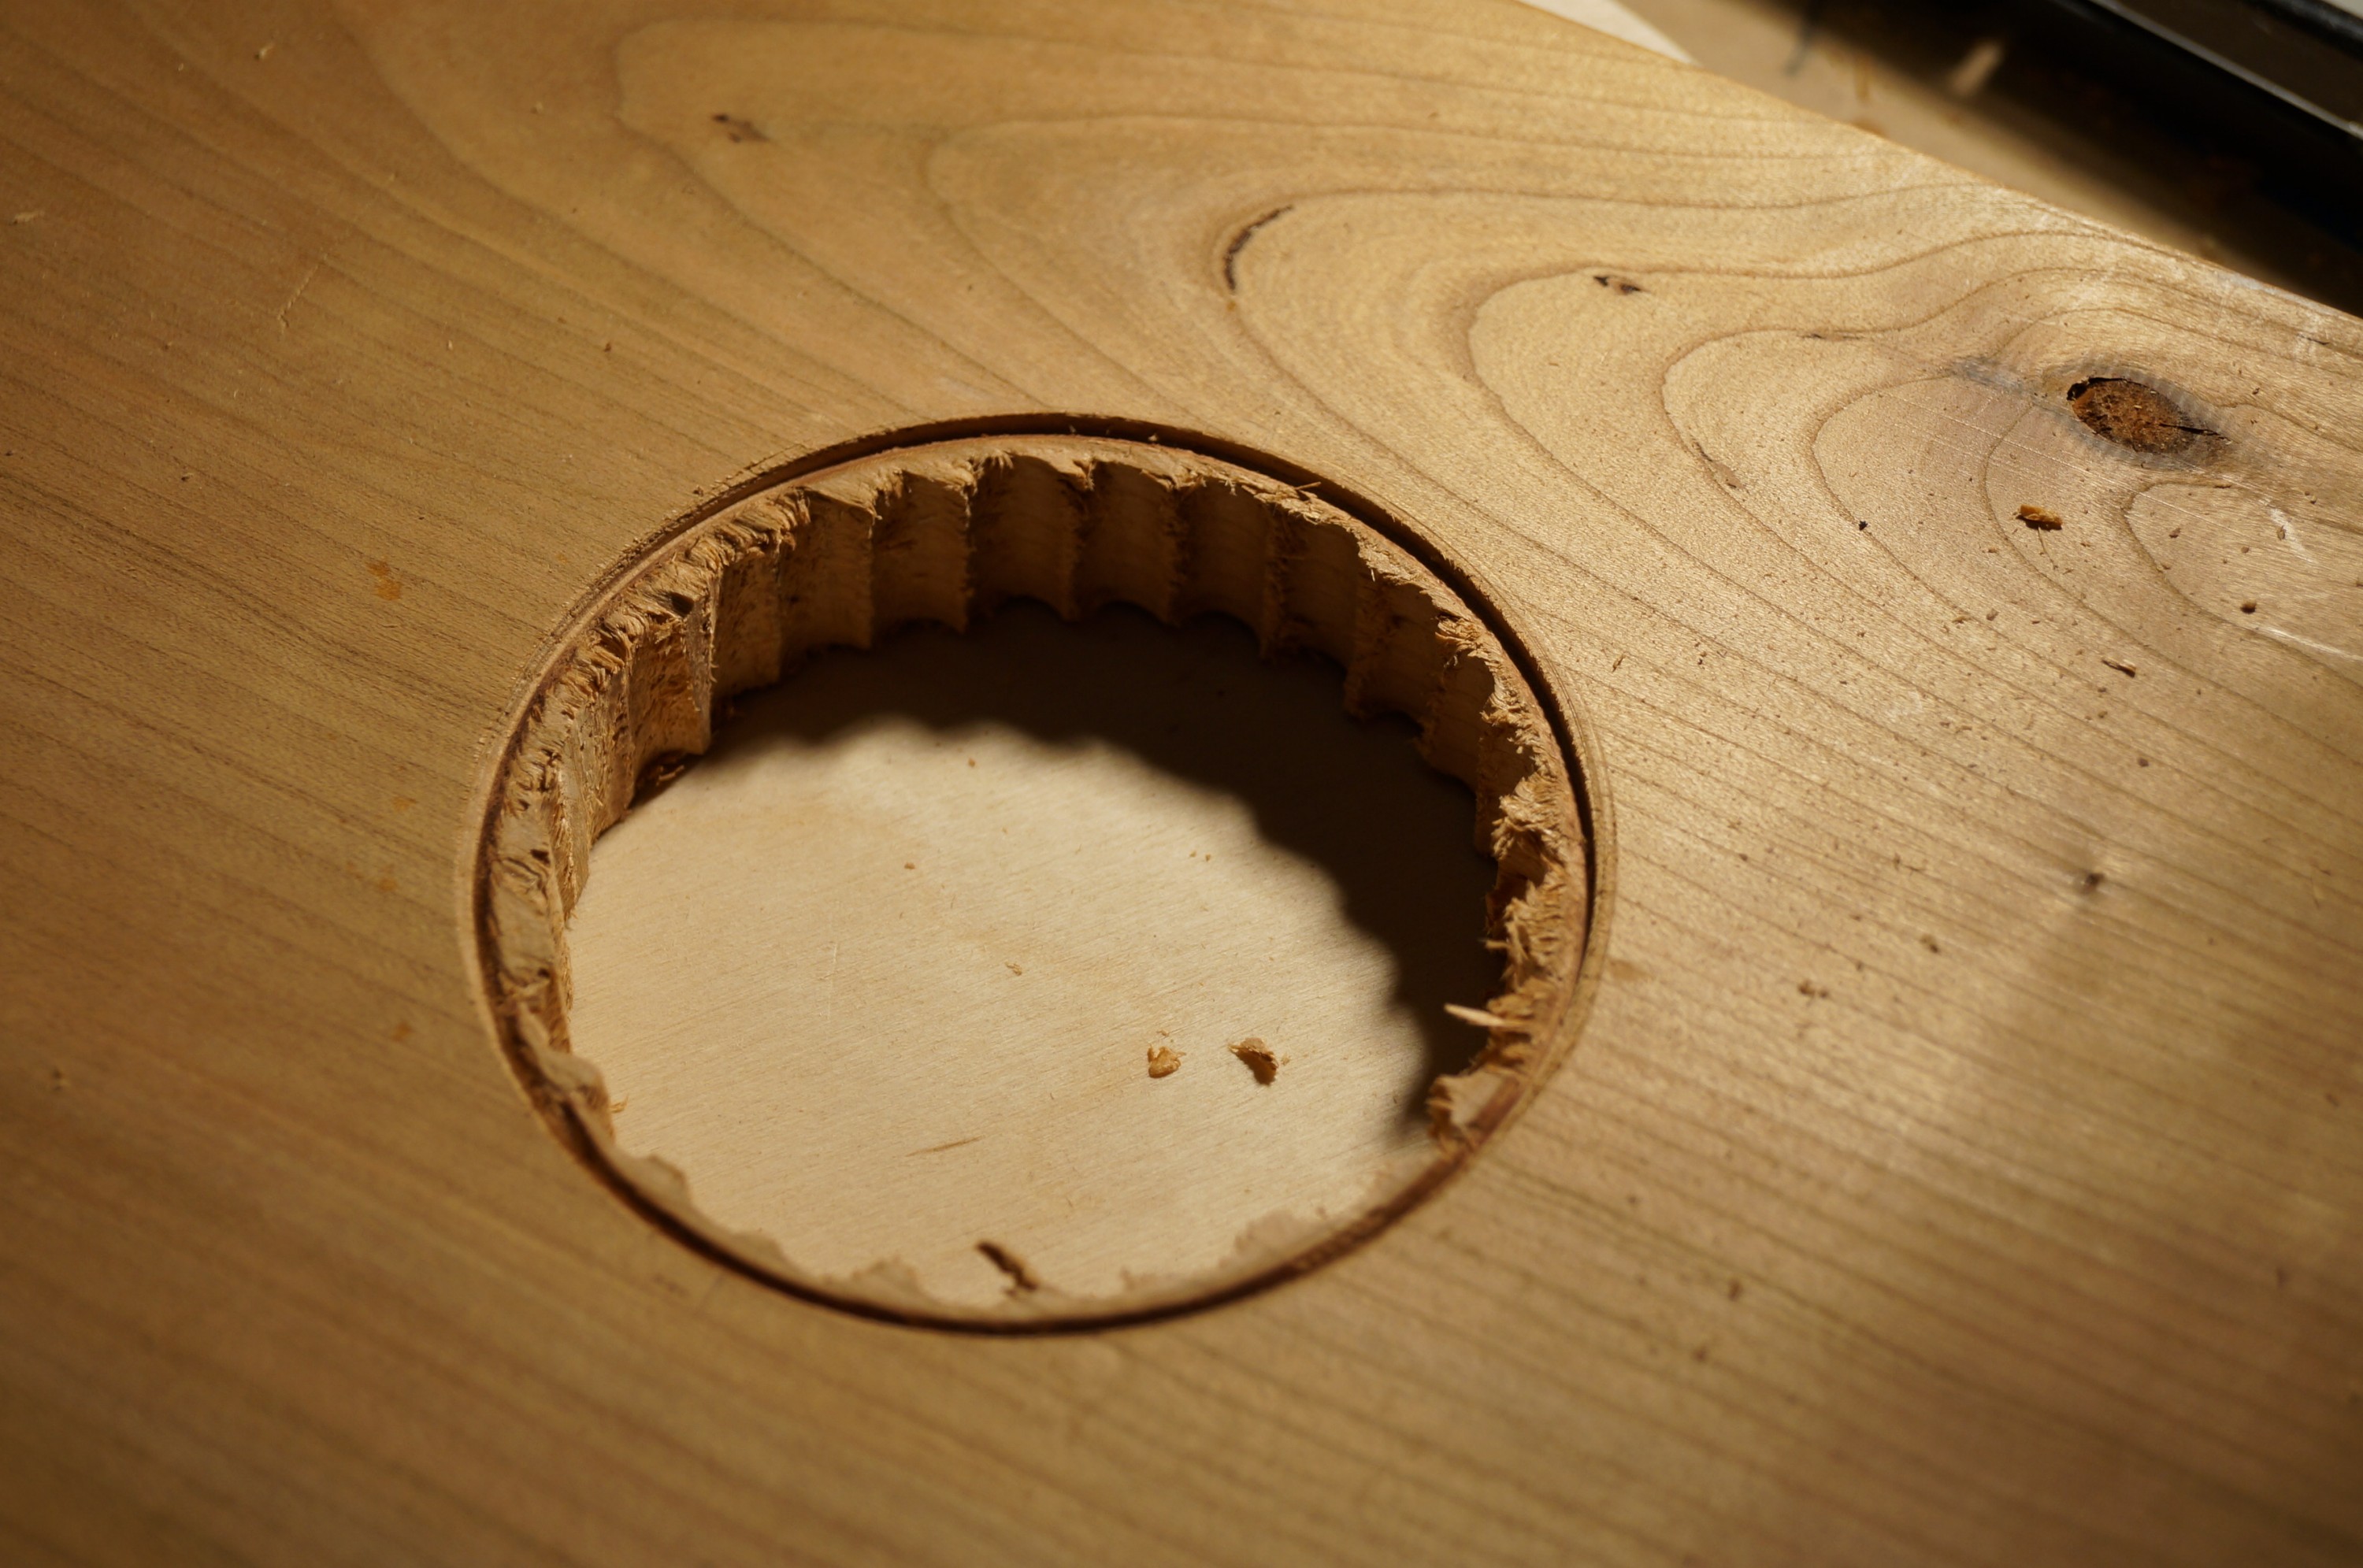
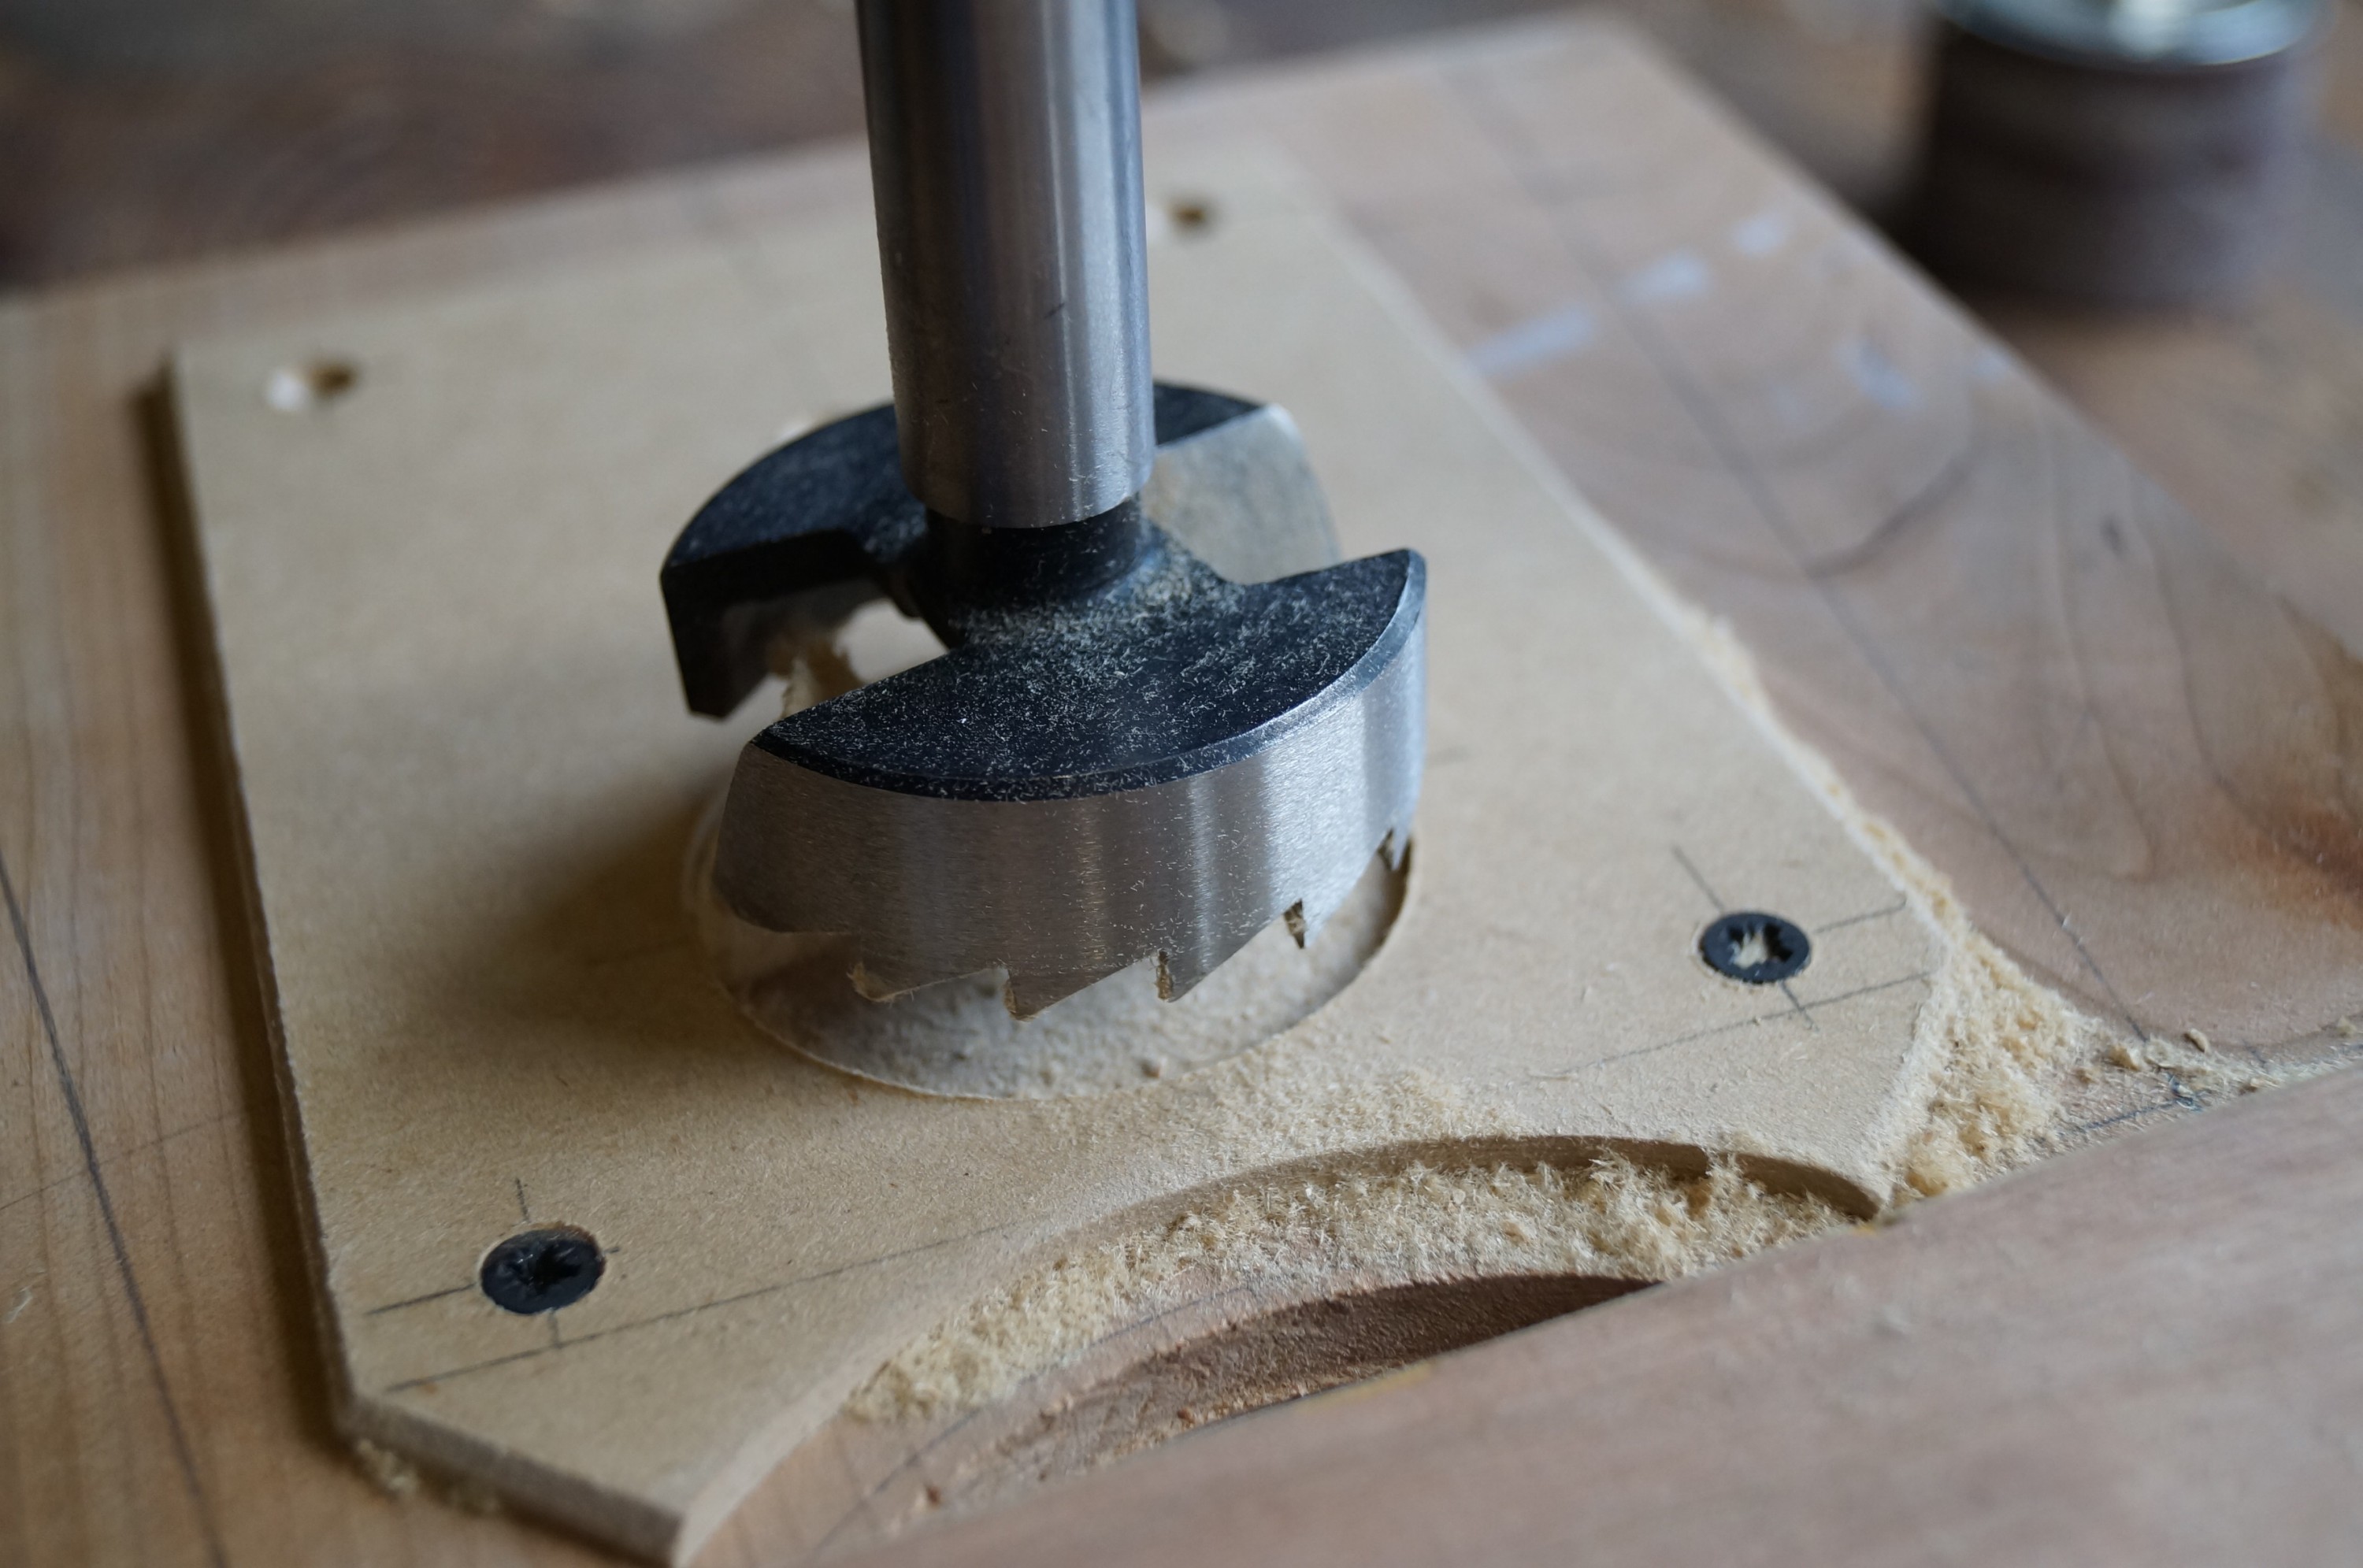
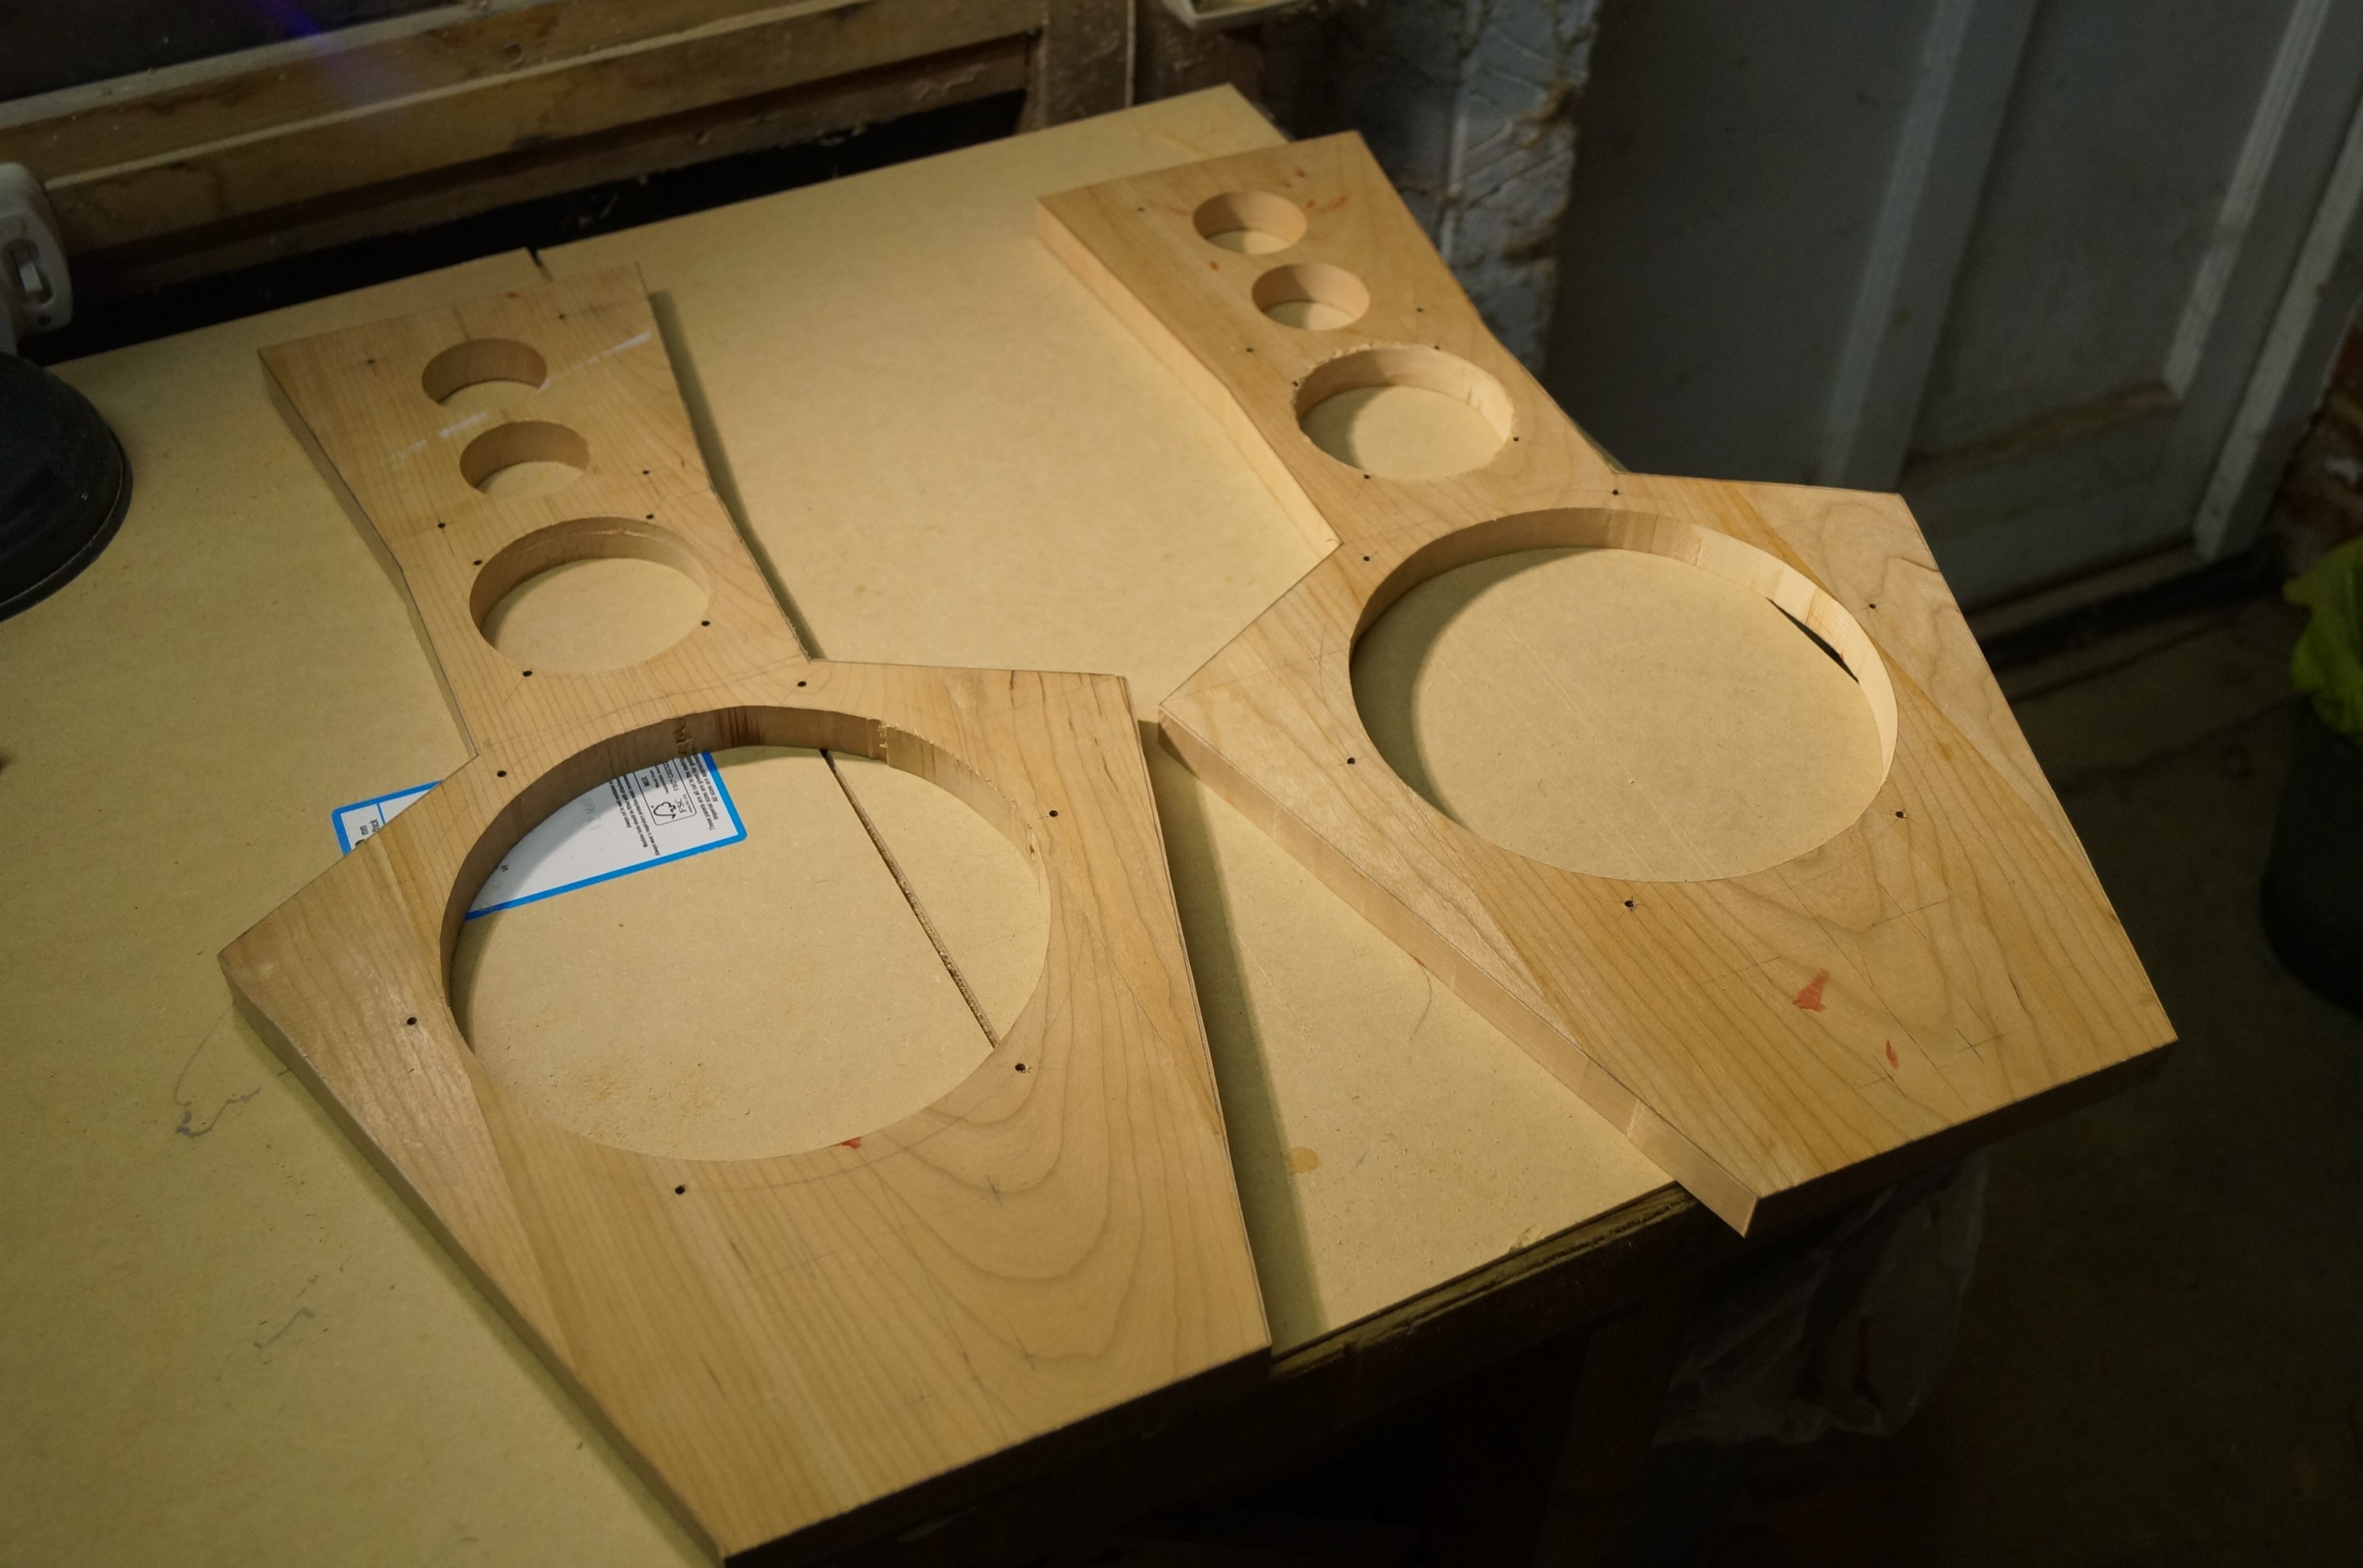
I had a good couple of hours uninterrupted work on the baffles this evening (lady wife having retired to bed early) and made good progress. The second baffle is now drilled. I decided to start with the UM hole first to get it out of the way. Shallow marker cuts with the big Forstner first, then waste drilled out completely – I anticipated the Forstner would have no trouble dealing with the remaining thin ring of waste.

Wrong! Even this was too much for it – the photo shows how far it got before I abandoned it in favour of the jigsaw followed by the drum sander. End result cleaner than baffle one. The moral for any prospective builders is: if money is no object buy a high end 3 1/4″ Forstner for the UM driver hole – if you feel you’ve spent enough already on your LX521 project use a jig saw and a drum sander!

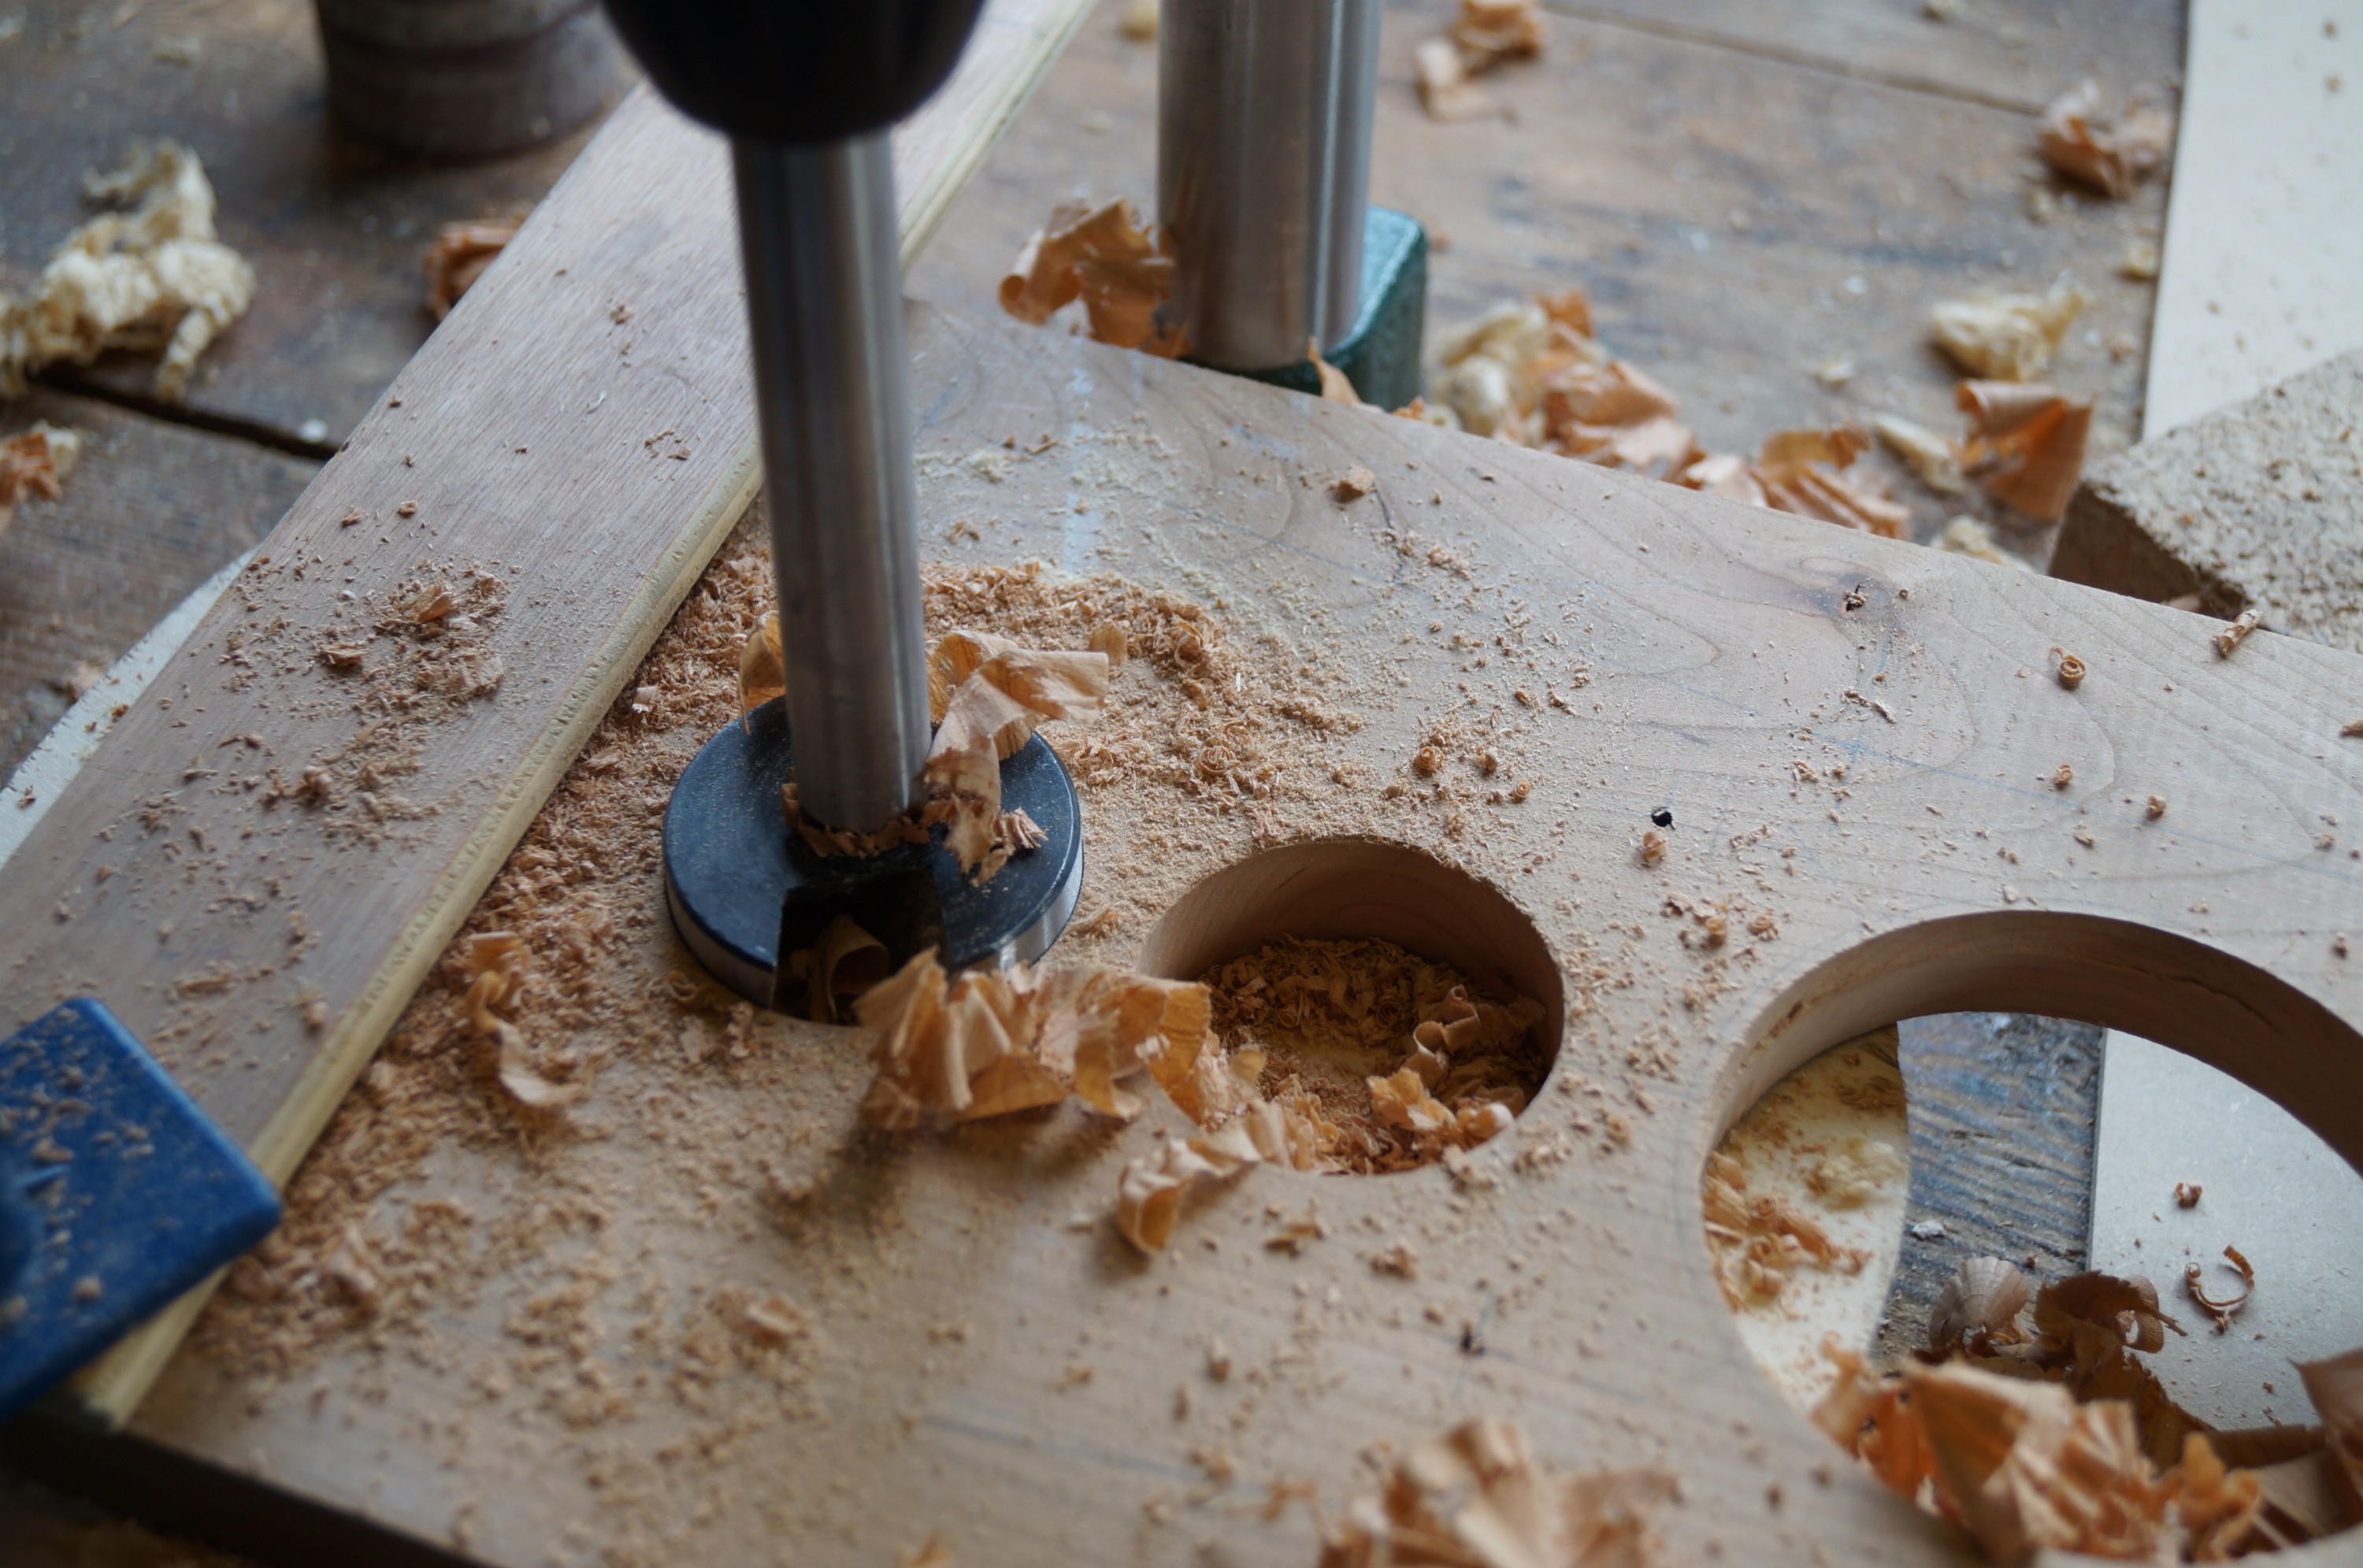
By contrast the tweeter holes were a doddle this time, and their baffles were tidy using the two stage drilling plan. I then cut the lower midrange holes using the jigsaw, carefully noting the grain direction around the marked circle first to keep all jigsaw runs with the grain – this required four separate runs in differing directions. Back to the drum sander to tidy up and bring back to the line.
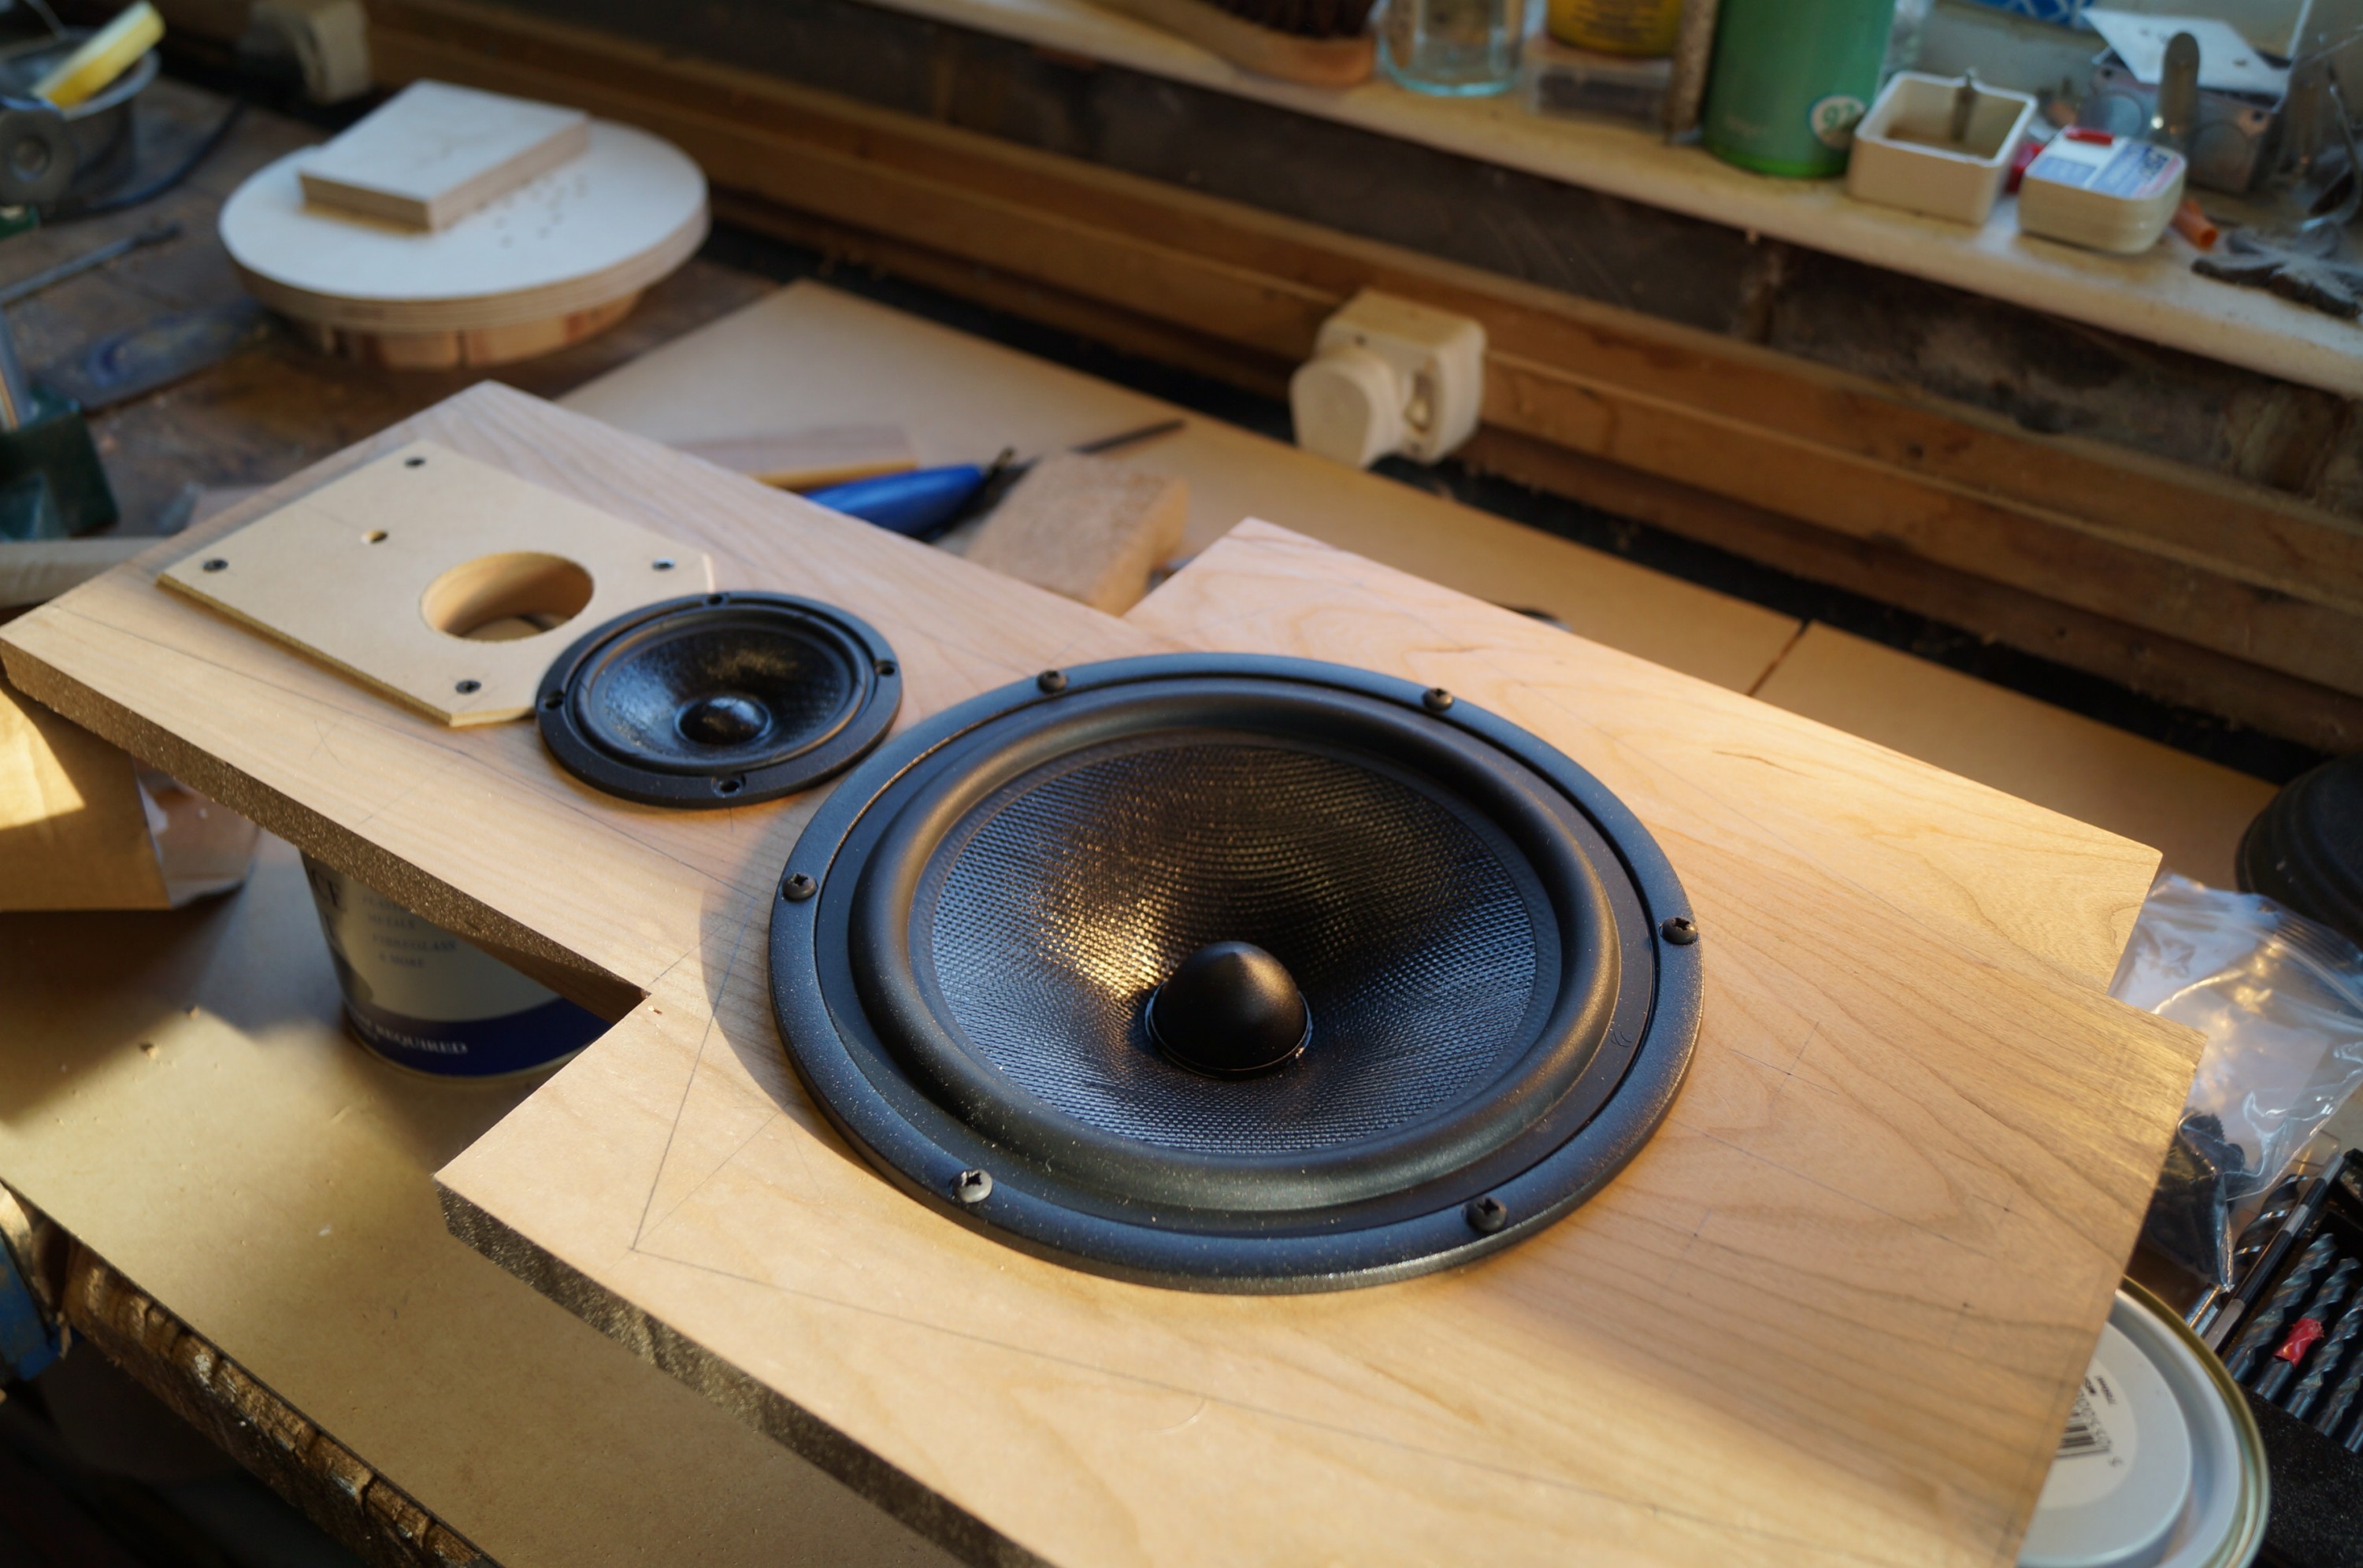
With the holes completed I did a trial mount of the midrange units to mark the fixing screw positions. I’m using black No 8 self-tapping button head pozi screws for both units (Accuscrews again), but if I made another pair I would definitely use No. 6 for the UM driver; the screw holes are very close to the margins of the driver hole and one of my holes cut out ever so slightly with No 8 guage. Rock solid still, but a tad untidy; it needs a small glue repair.

With all mounting holes drilled (bar those for the M6 bolts that screw the baffles to the supports) it was time to cut out SL’s angular baffle shape. I planed the top and bottom edges first so no worries about splitting. Thankfully my jigsaw was in genial mood today, and I was able to cut the side edges to within a millimetre without incident – again ensuring all runs were avoiding cuts into end grain.
The long lower sides of the baffles can be planed, but because of the shape of the upper part of the baffles I will have to rely on hard work with the sanding block for all other edges.
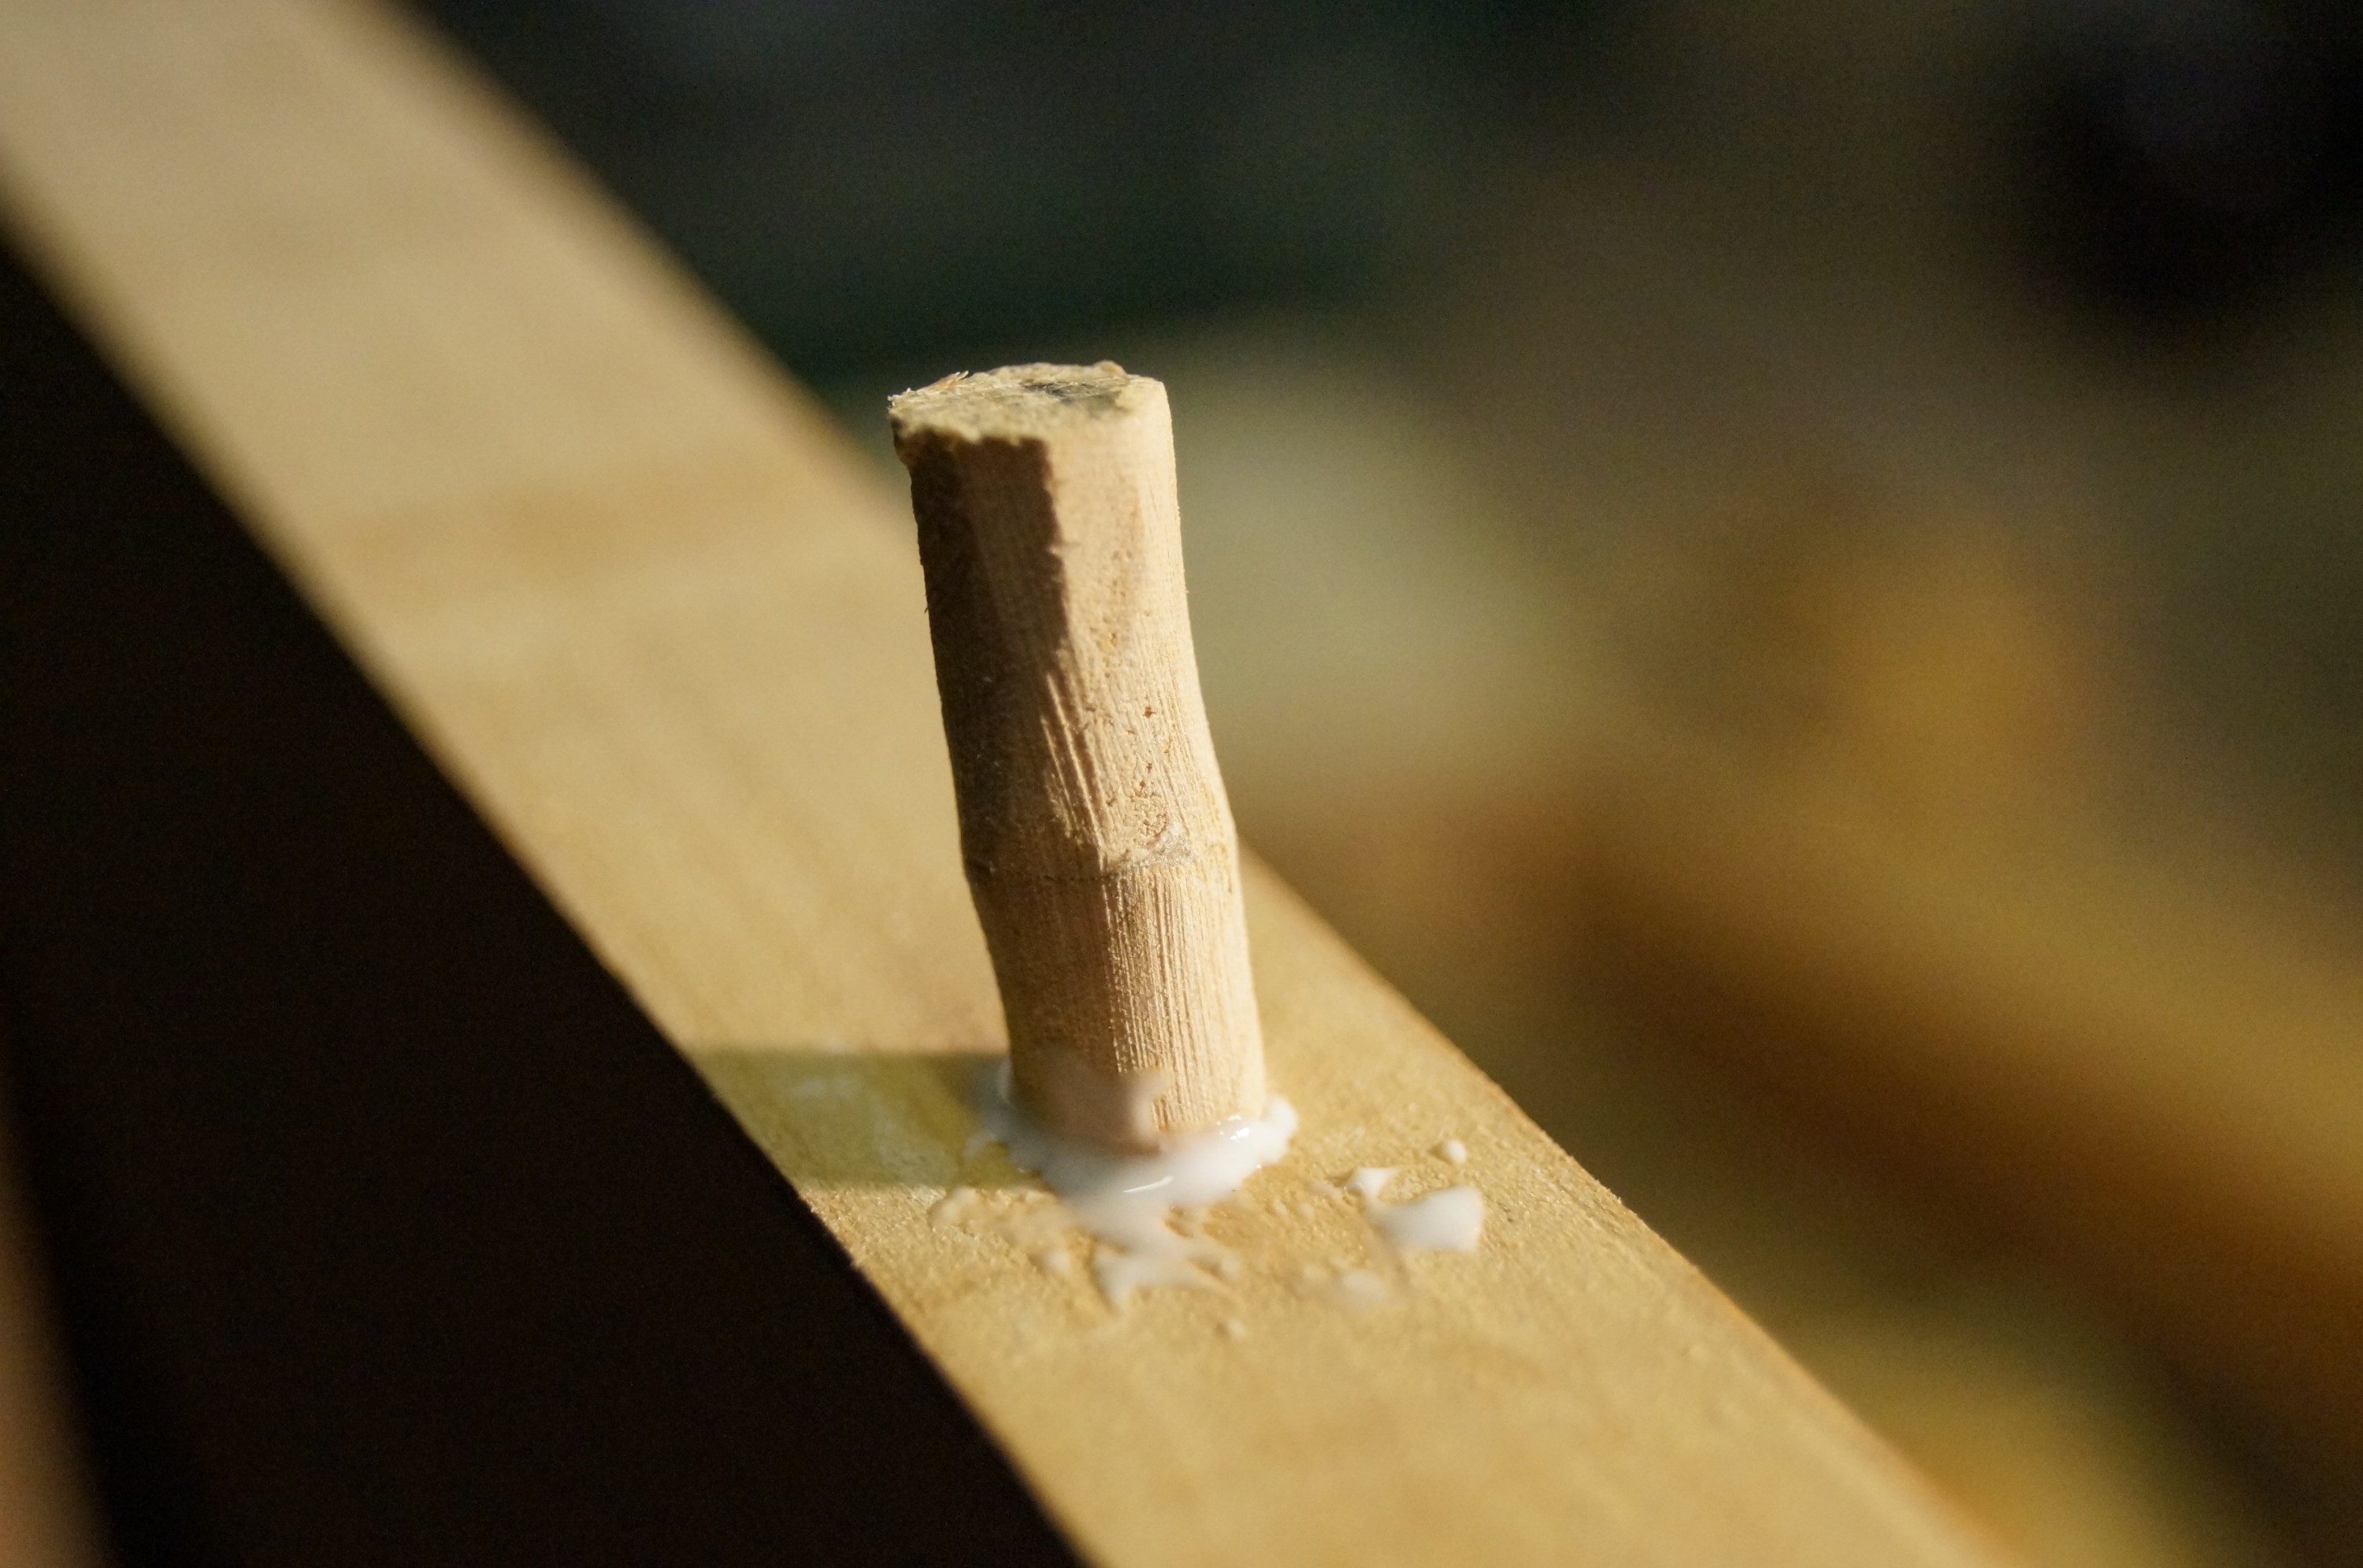
Cutting the baffle outlines revealed a small dowel hole in the bottom edge of one of the baffles; I was expecting this as when experimenting with a dowel joint for the panels I miscalculated a dowel hole depth. I fashioned a small round peg from the adjacent waste and glued this into position, carefully noting the grain direction first; this should be all but invisible once planed off and sanded.
I finished the evening by sanding the edges of the first baffle, initially with the drum sander, and then moving on to 80G paper. This was hard work, but the sanding block took out the residual unevenness left by jigsaw and drum sander better than I was expecting. I’ll return to the edges with finer grades in due course.

With the waste removed my drill press could now reach the position of the mounting bolt holes, so I drilled these next, and did a trial fit to the baffle support bracket. To my relief all bolts engaged without undue difficulty in the brass inserts – one is rather stiff however and I think some grease or soap is in order. After countersinking I reassembled, and took my final photo.
I still have to drill wire runs between the two tweeter holes; other than that, all this baffle now needs is its final sanding and some Osmo Polyx wax oil, and it will be finished.