Category Archives: LX 521 Loudspeaker Build

Back to the woofer boxes

Nice and warm...
Nice and warm…

The woofer boxes had their second full primer coat several weeks ago now; it was with a mixture of relief and apprehension that I picked up where I had left off with them – relief that the end of the project was in sight, but apprehension about achieving a reasonable quality finish – especially round the corners of the front / top. That stubborn end grain persists in showing through despite much sanding already.

Simple Speakon brackets

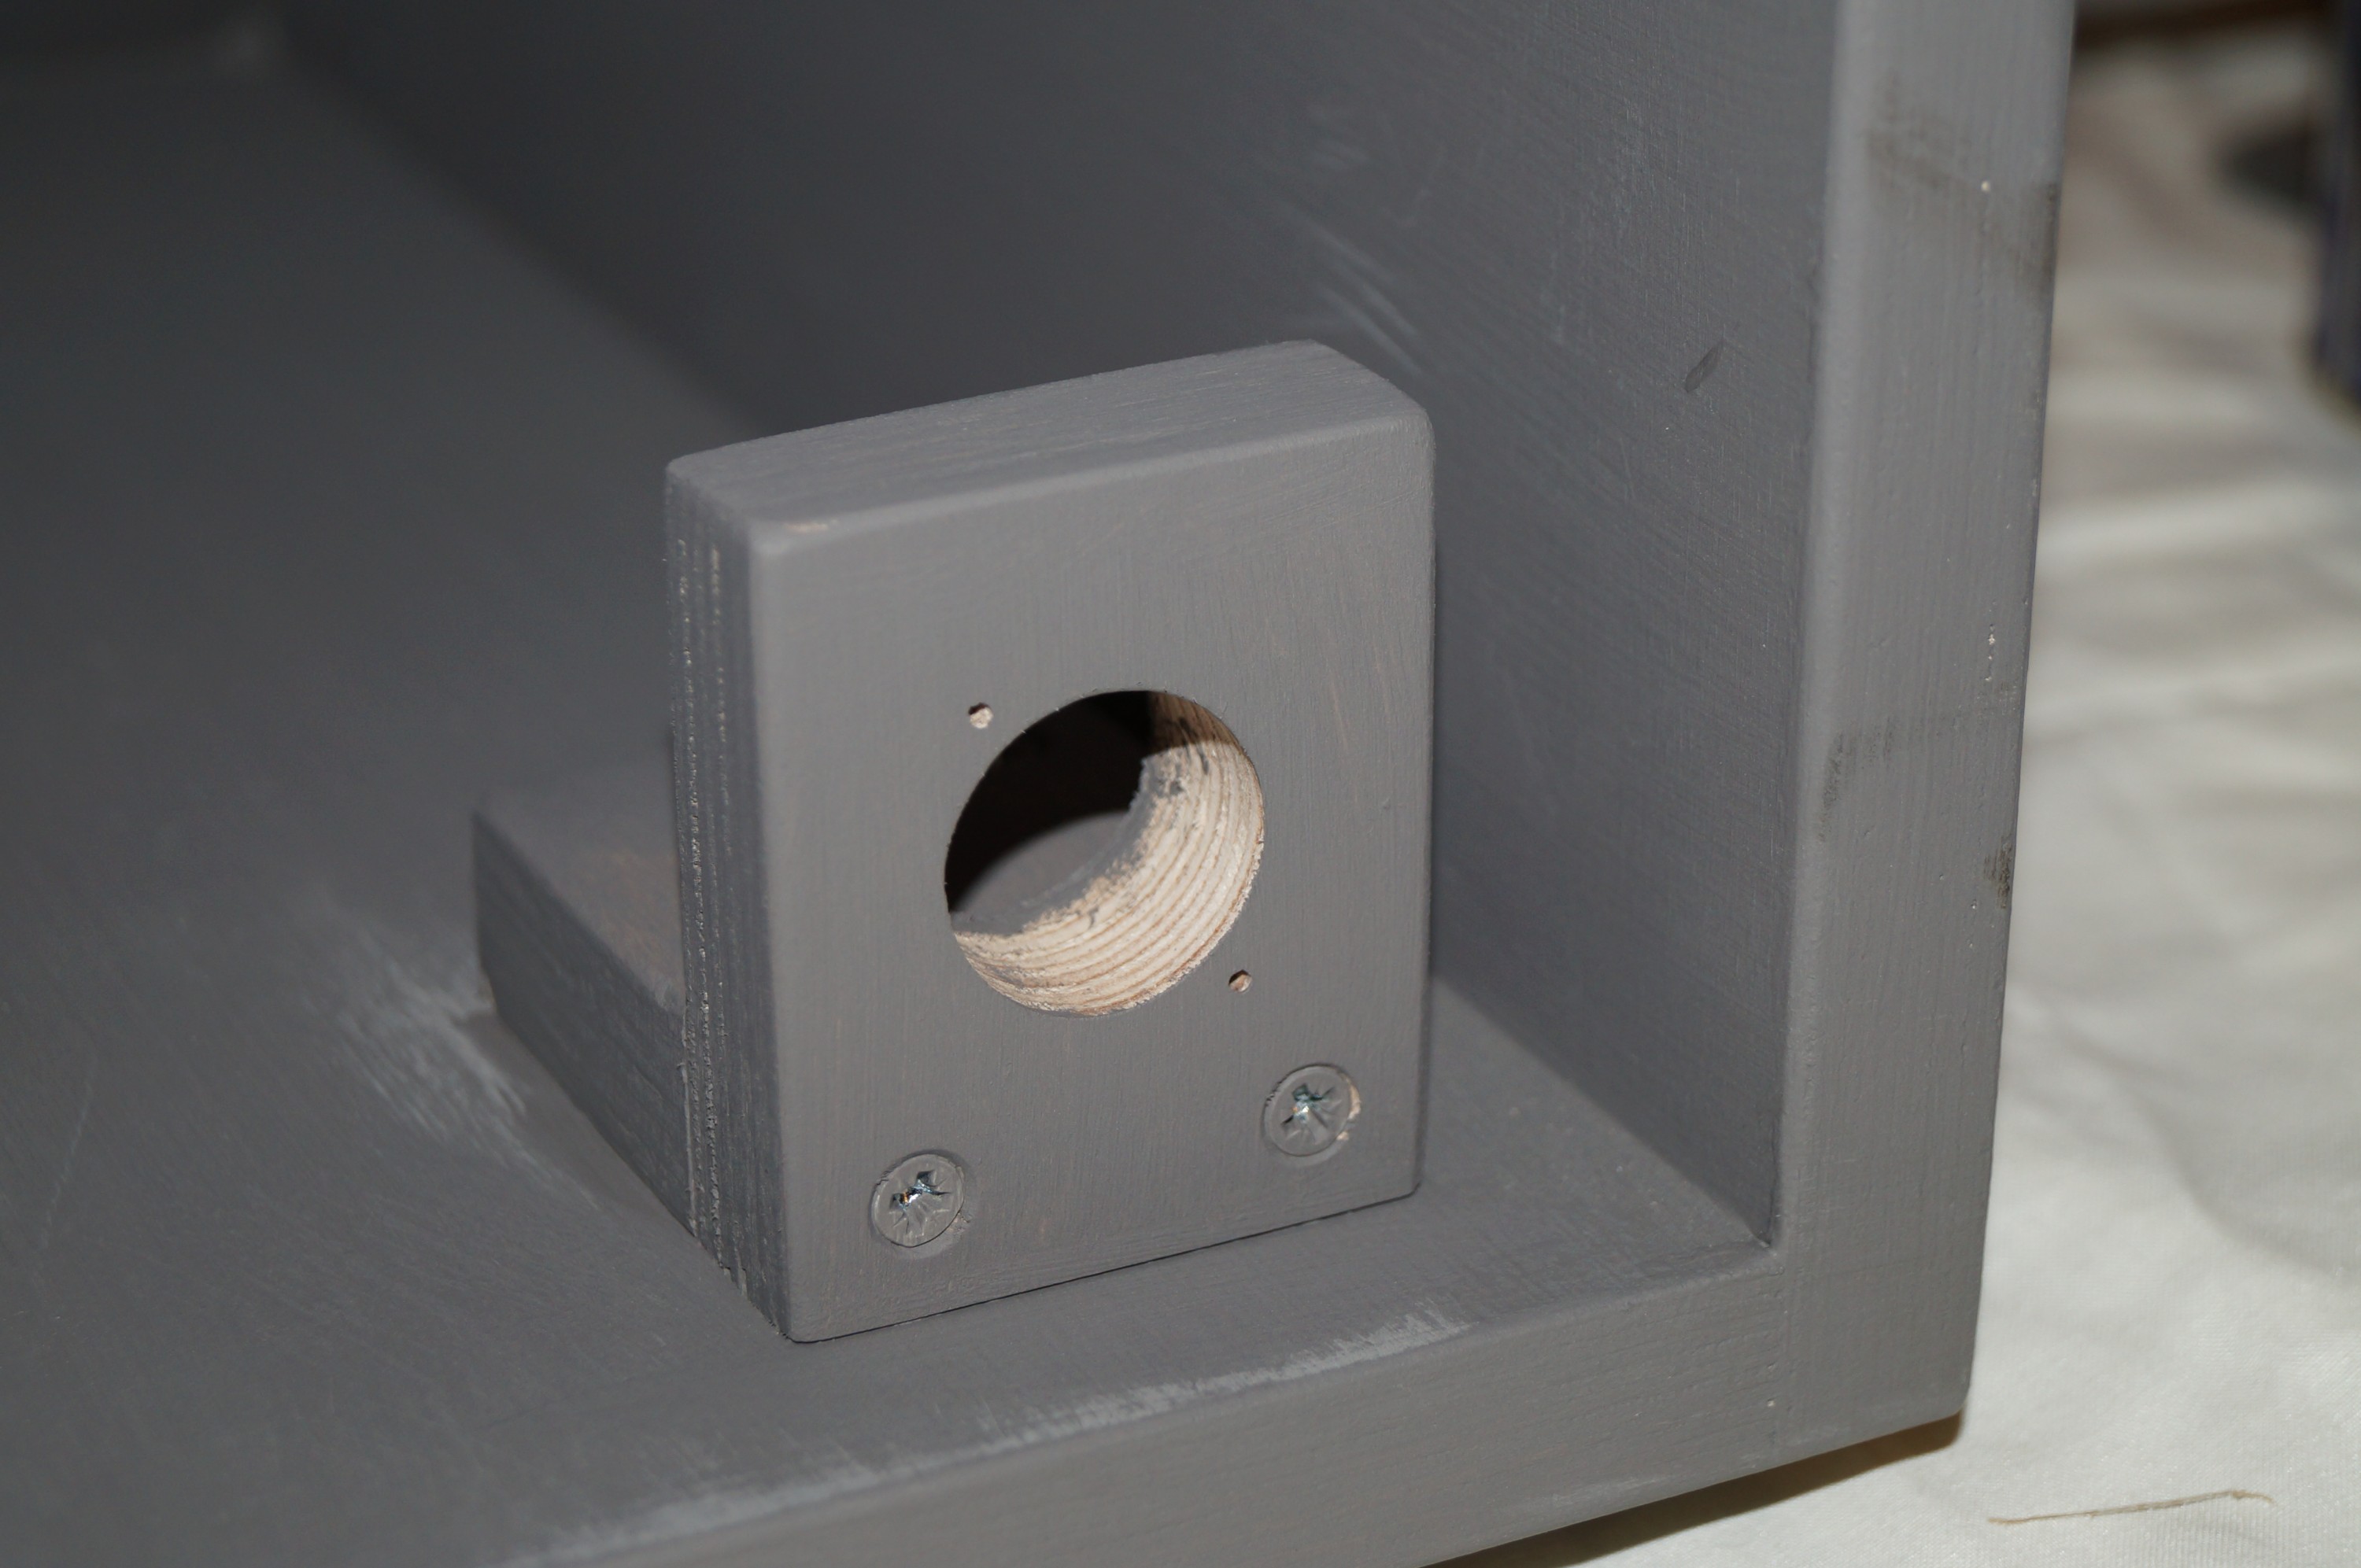
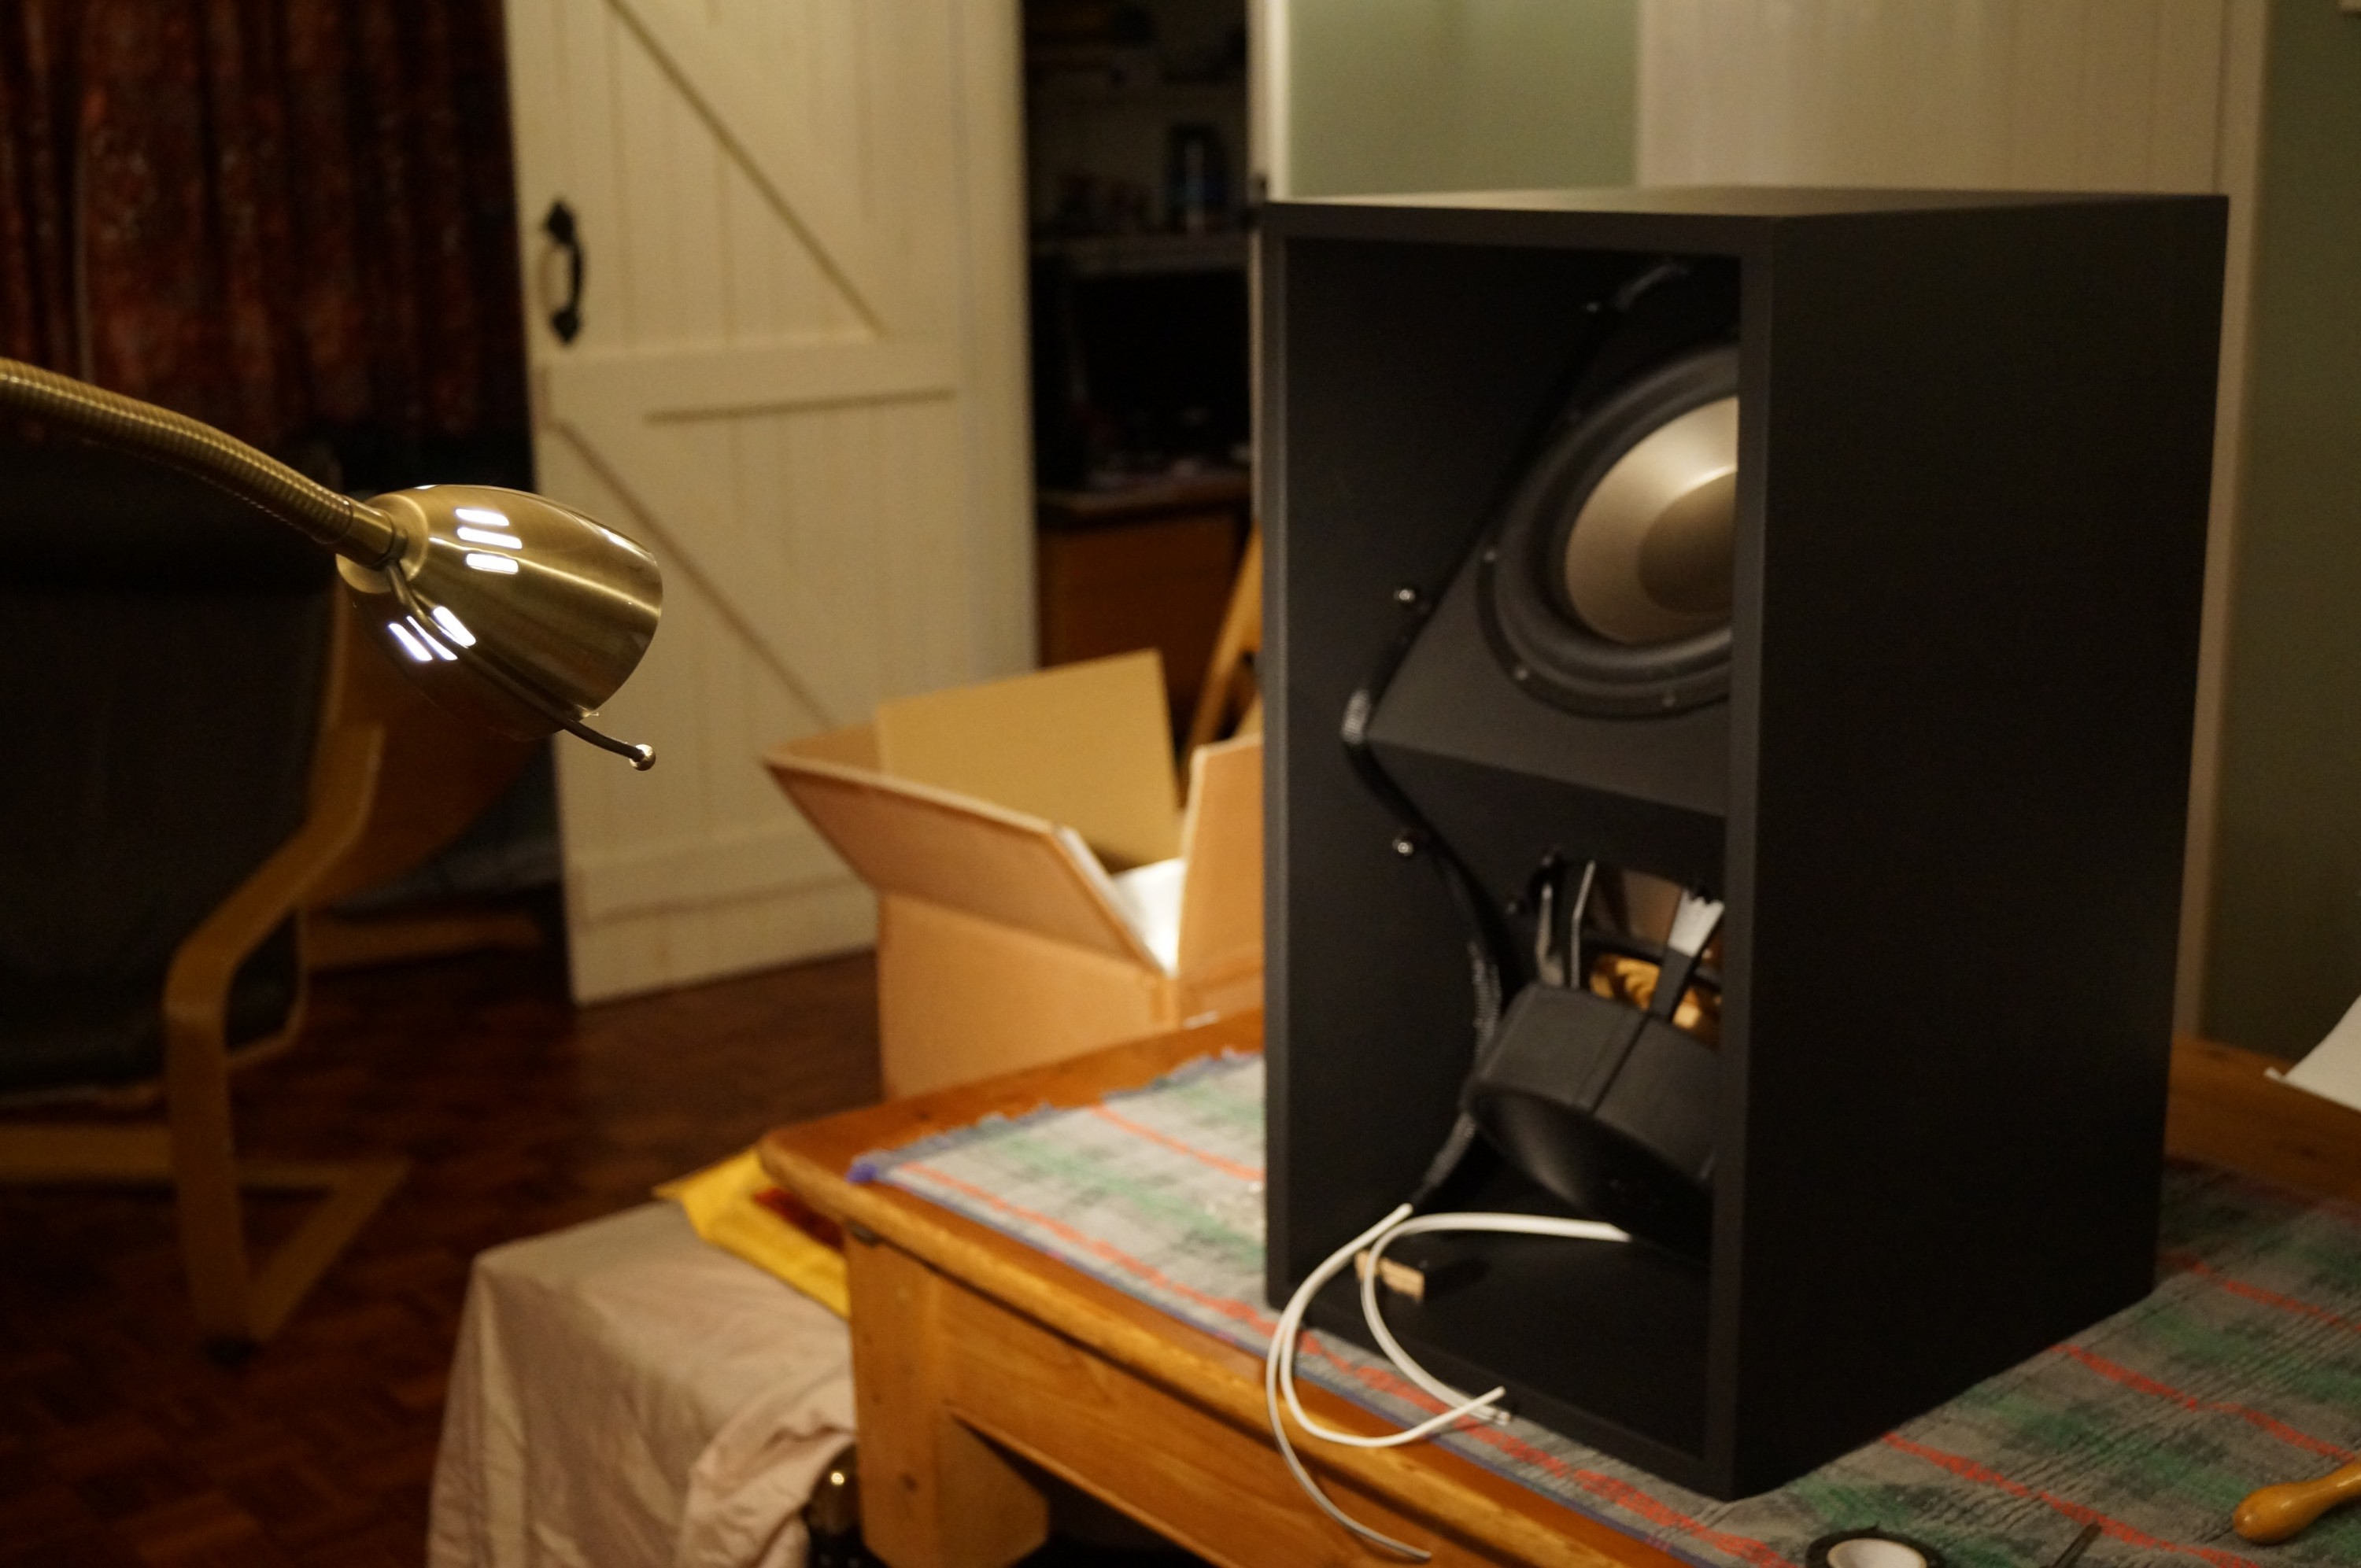
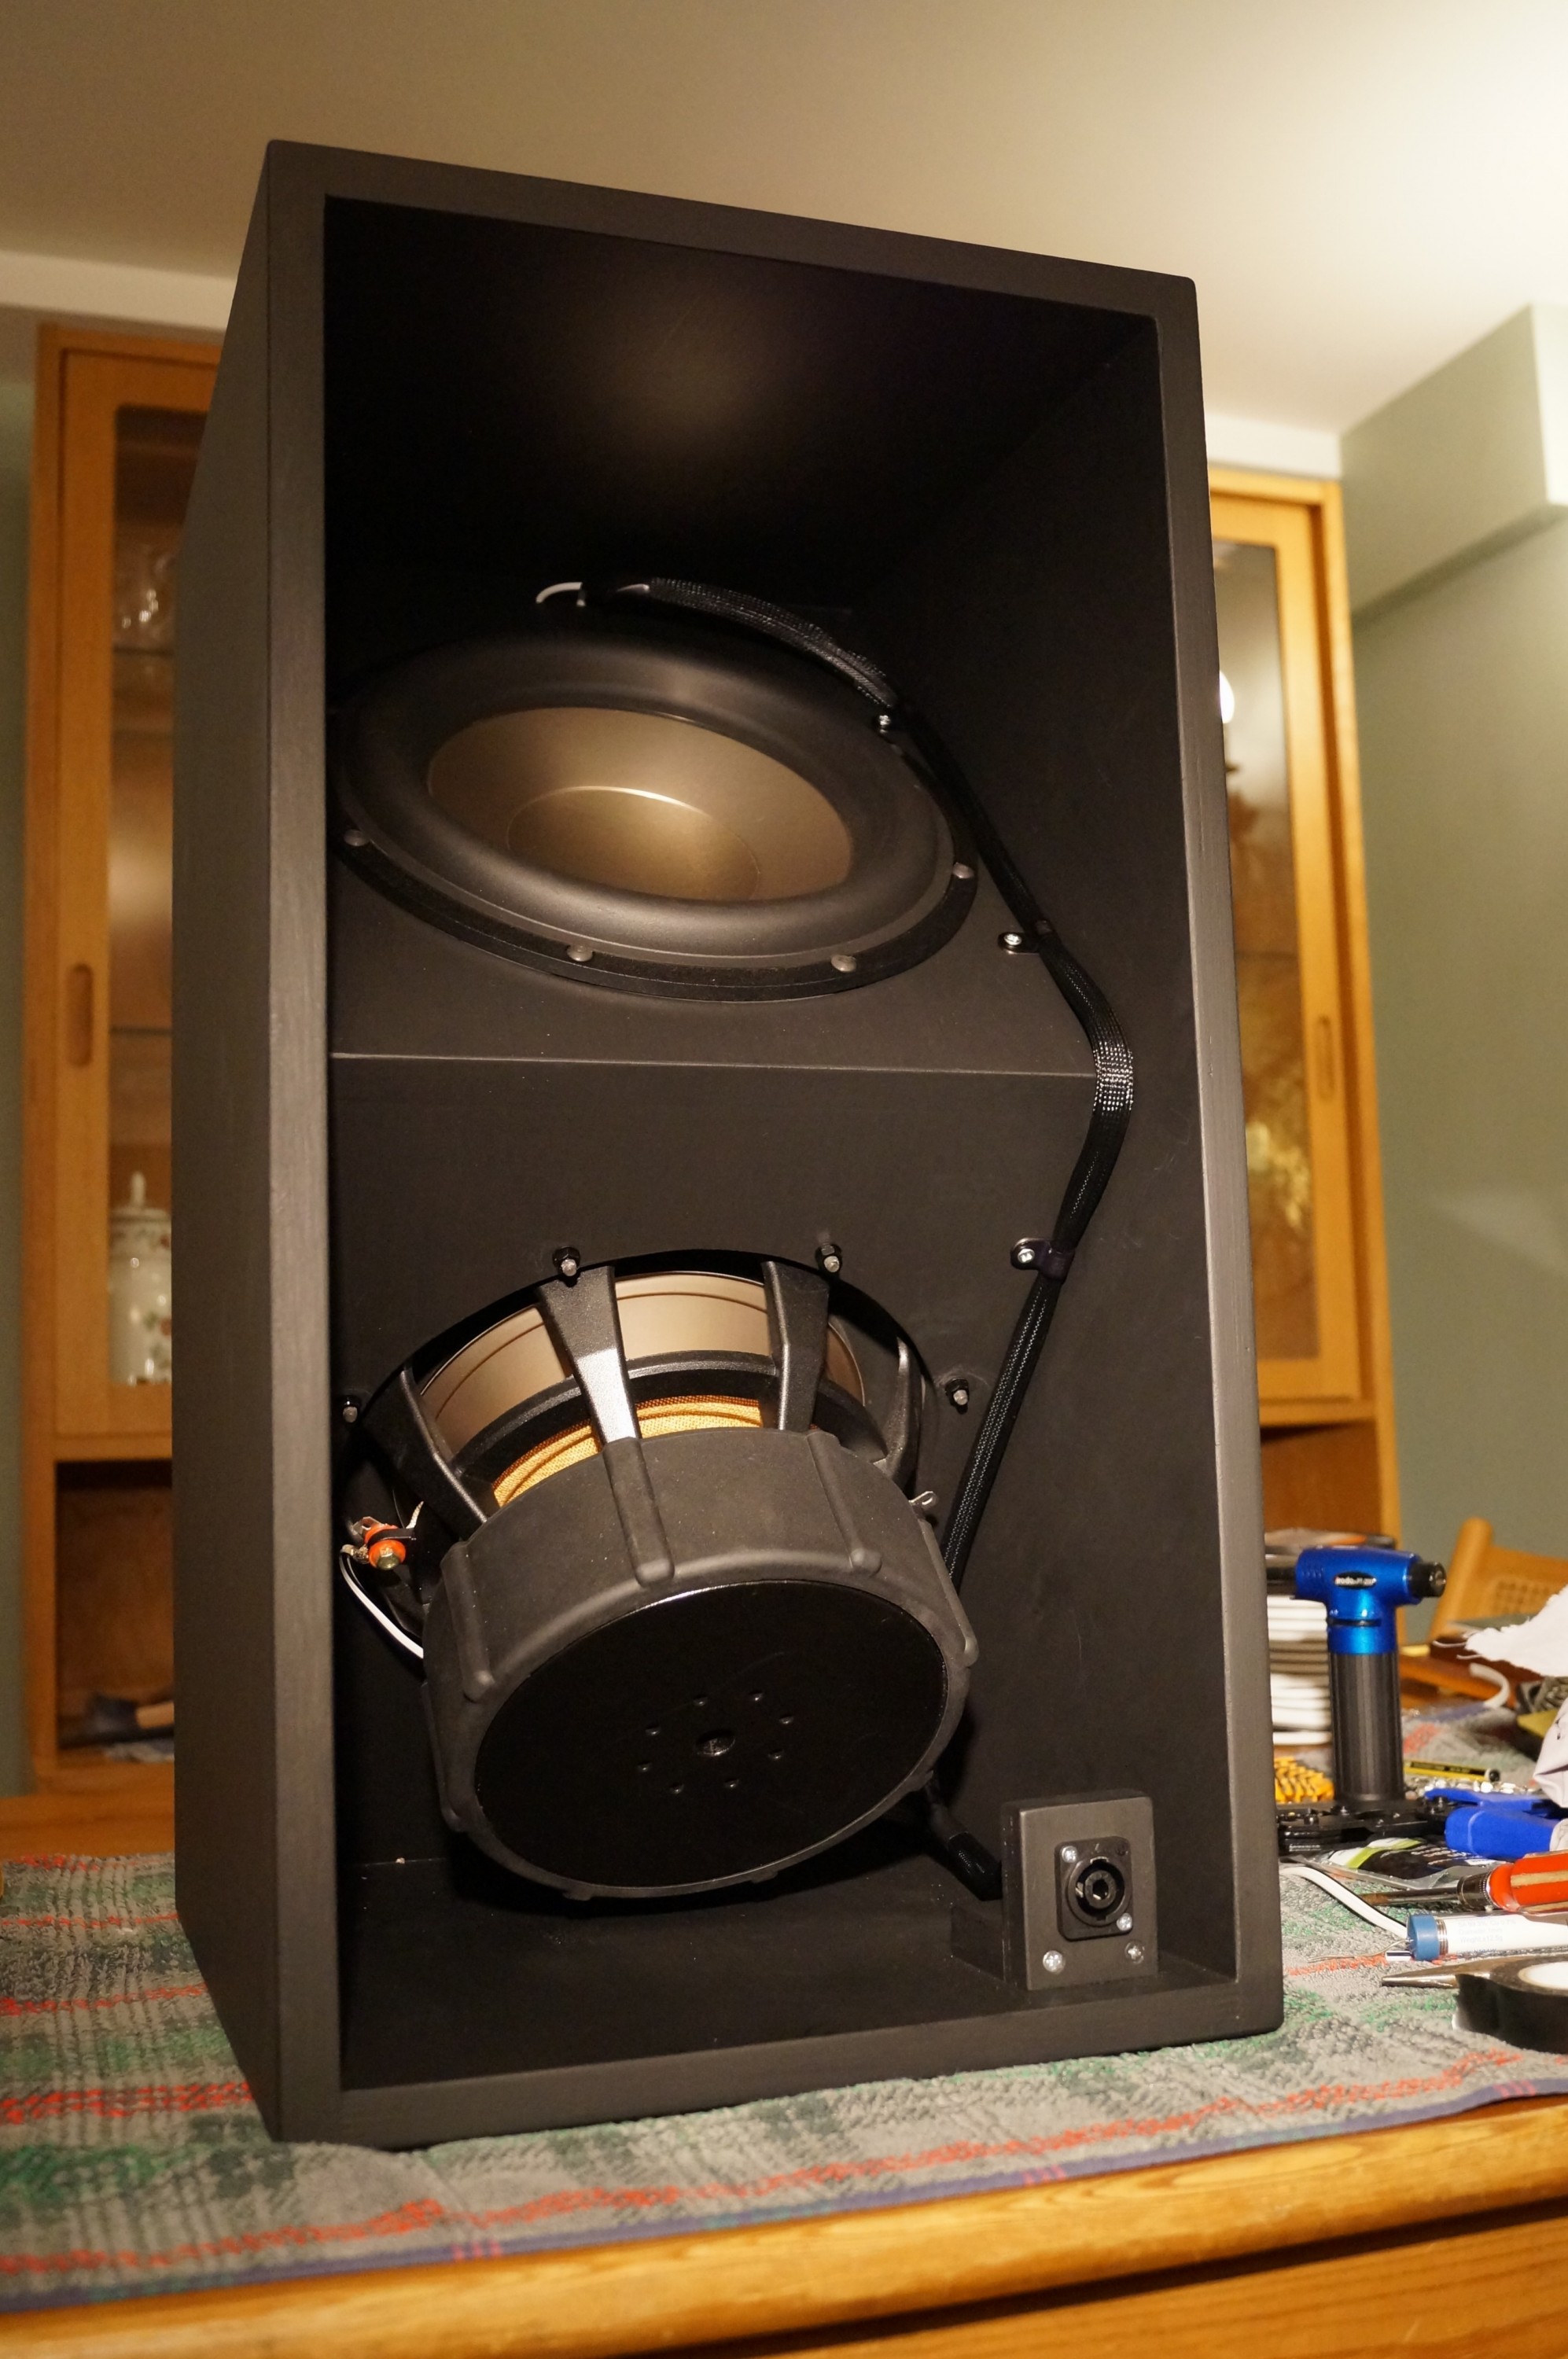
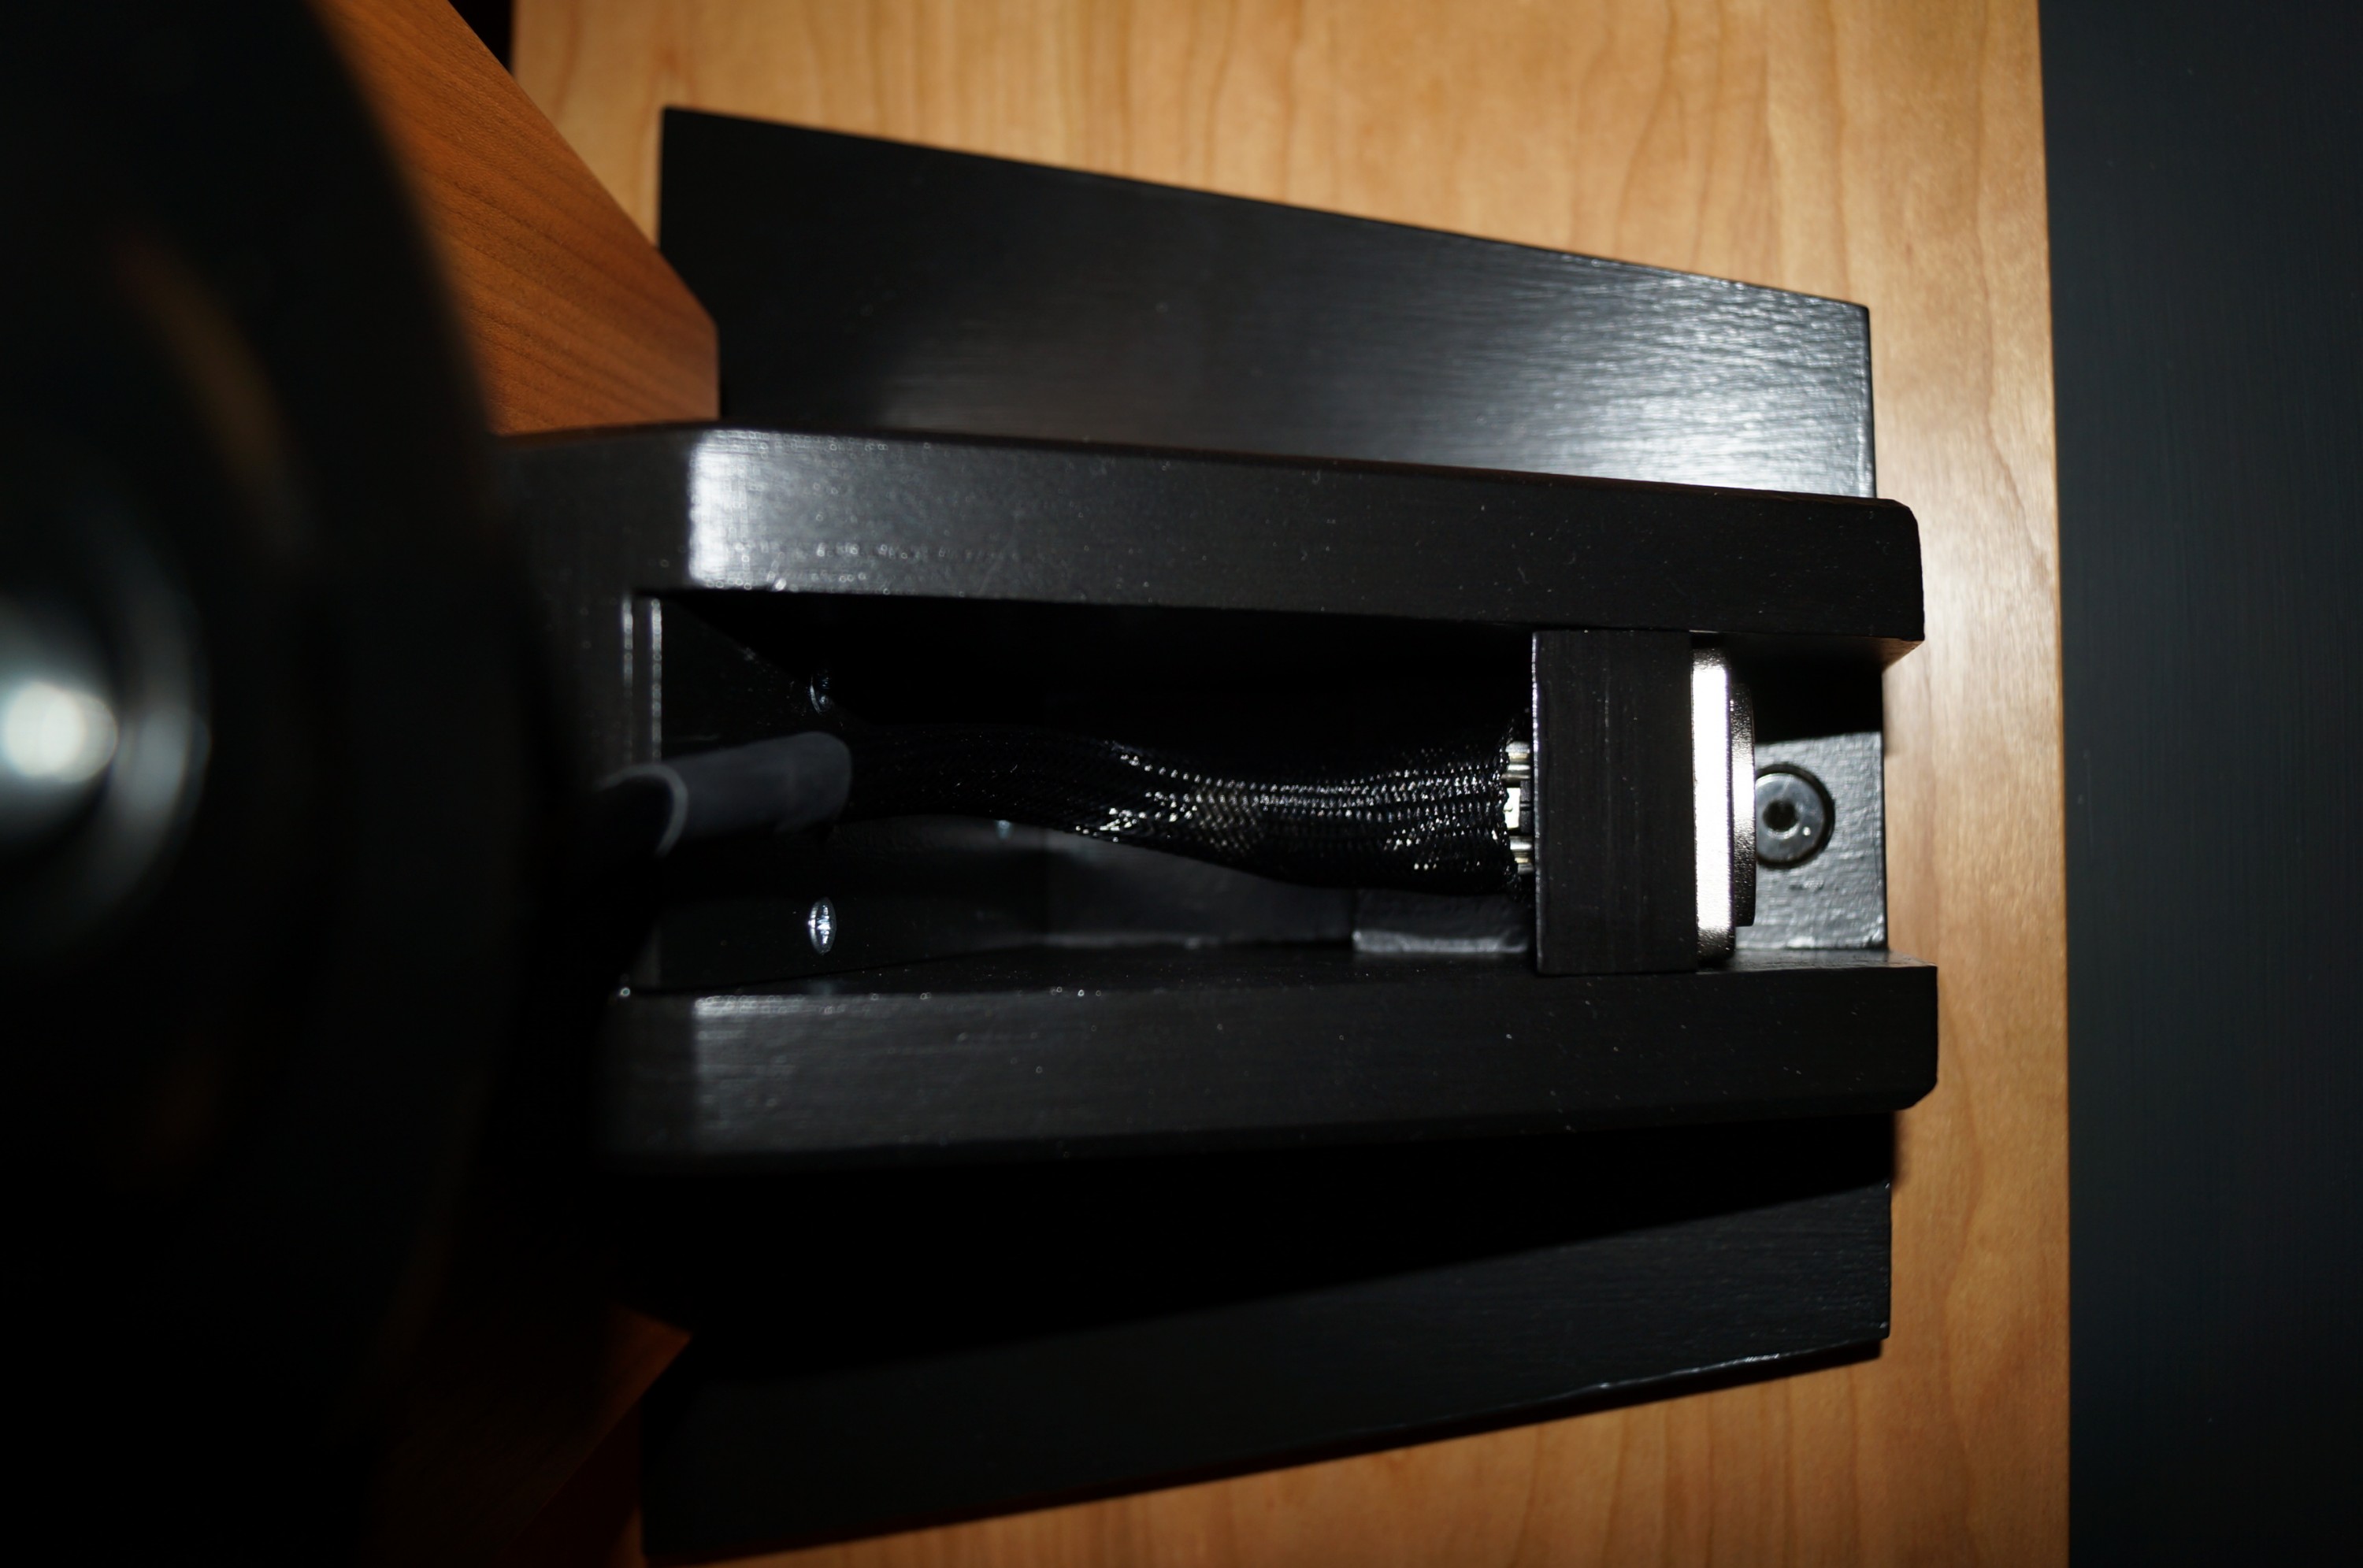
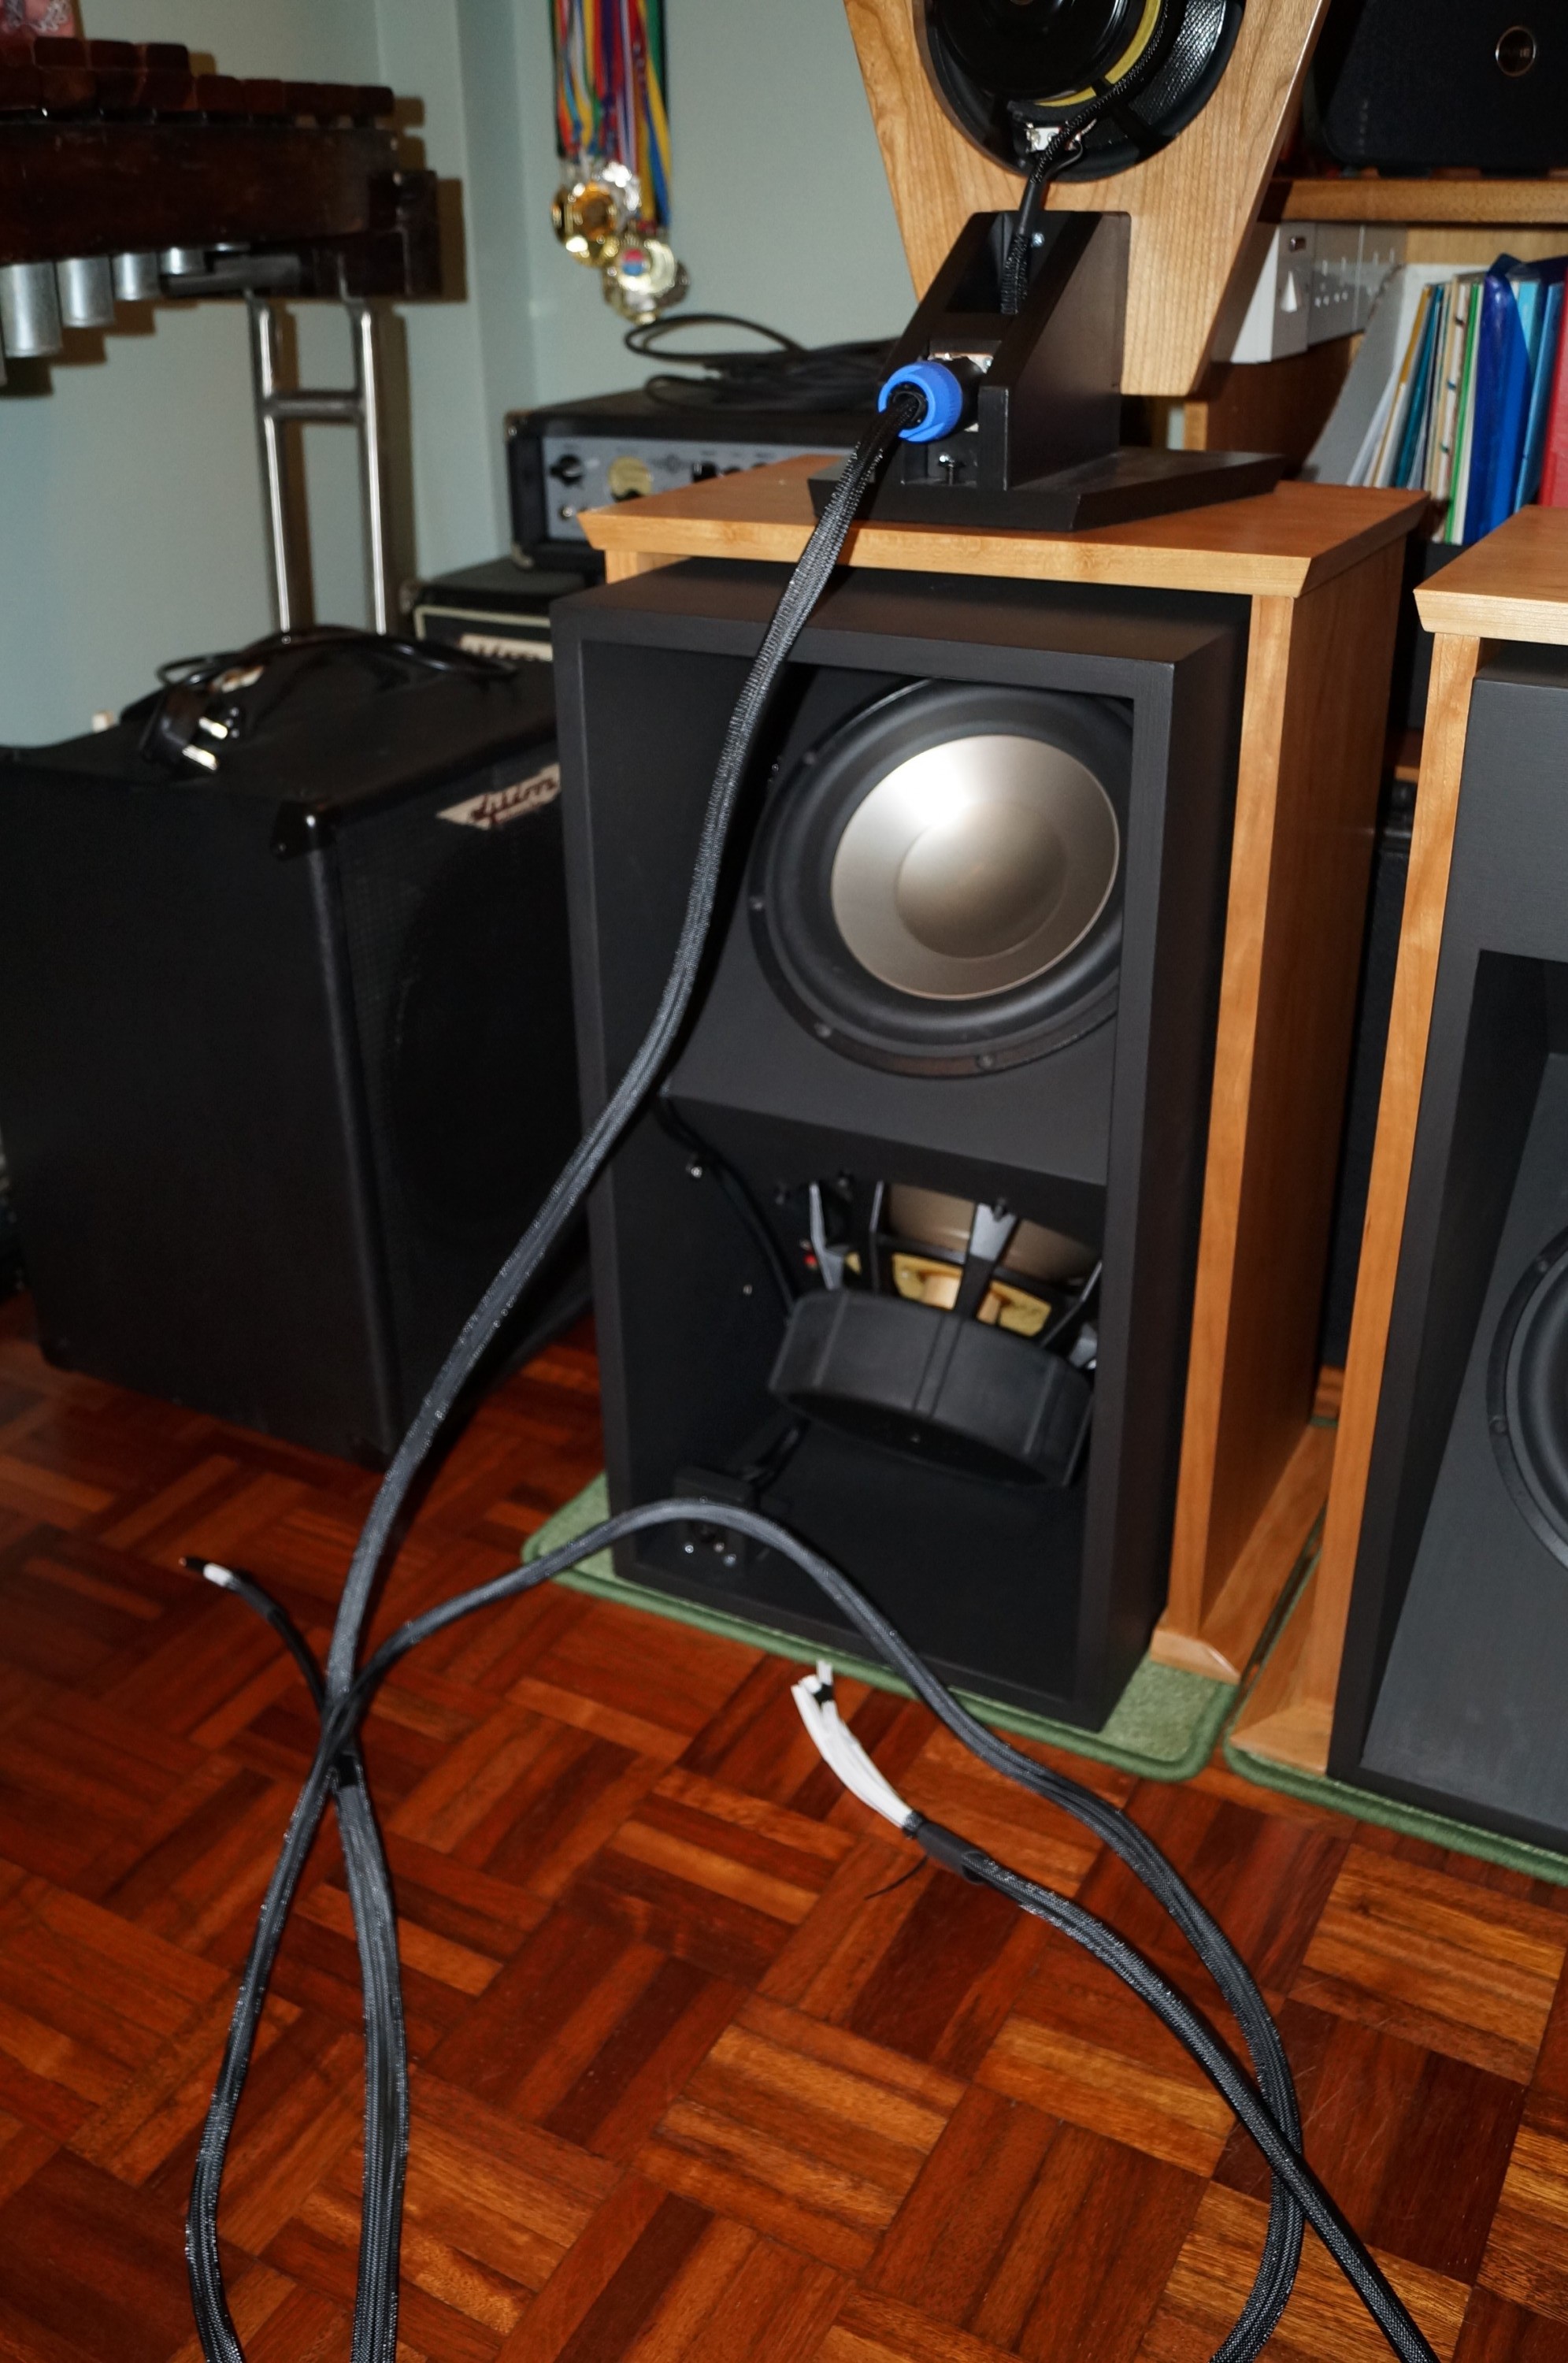
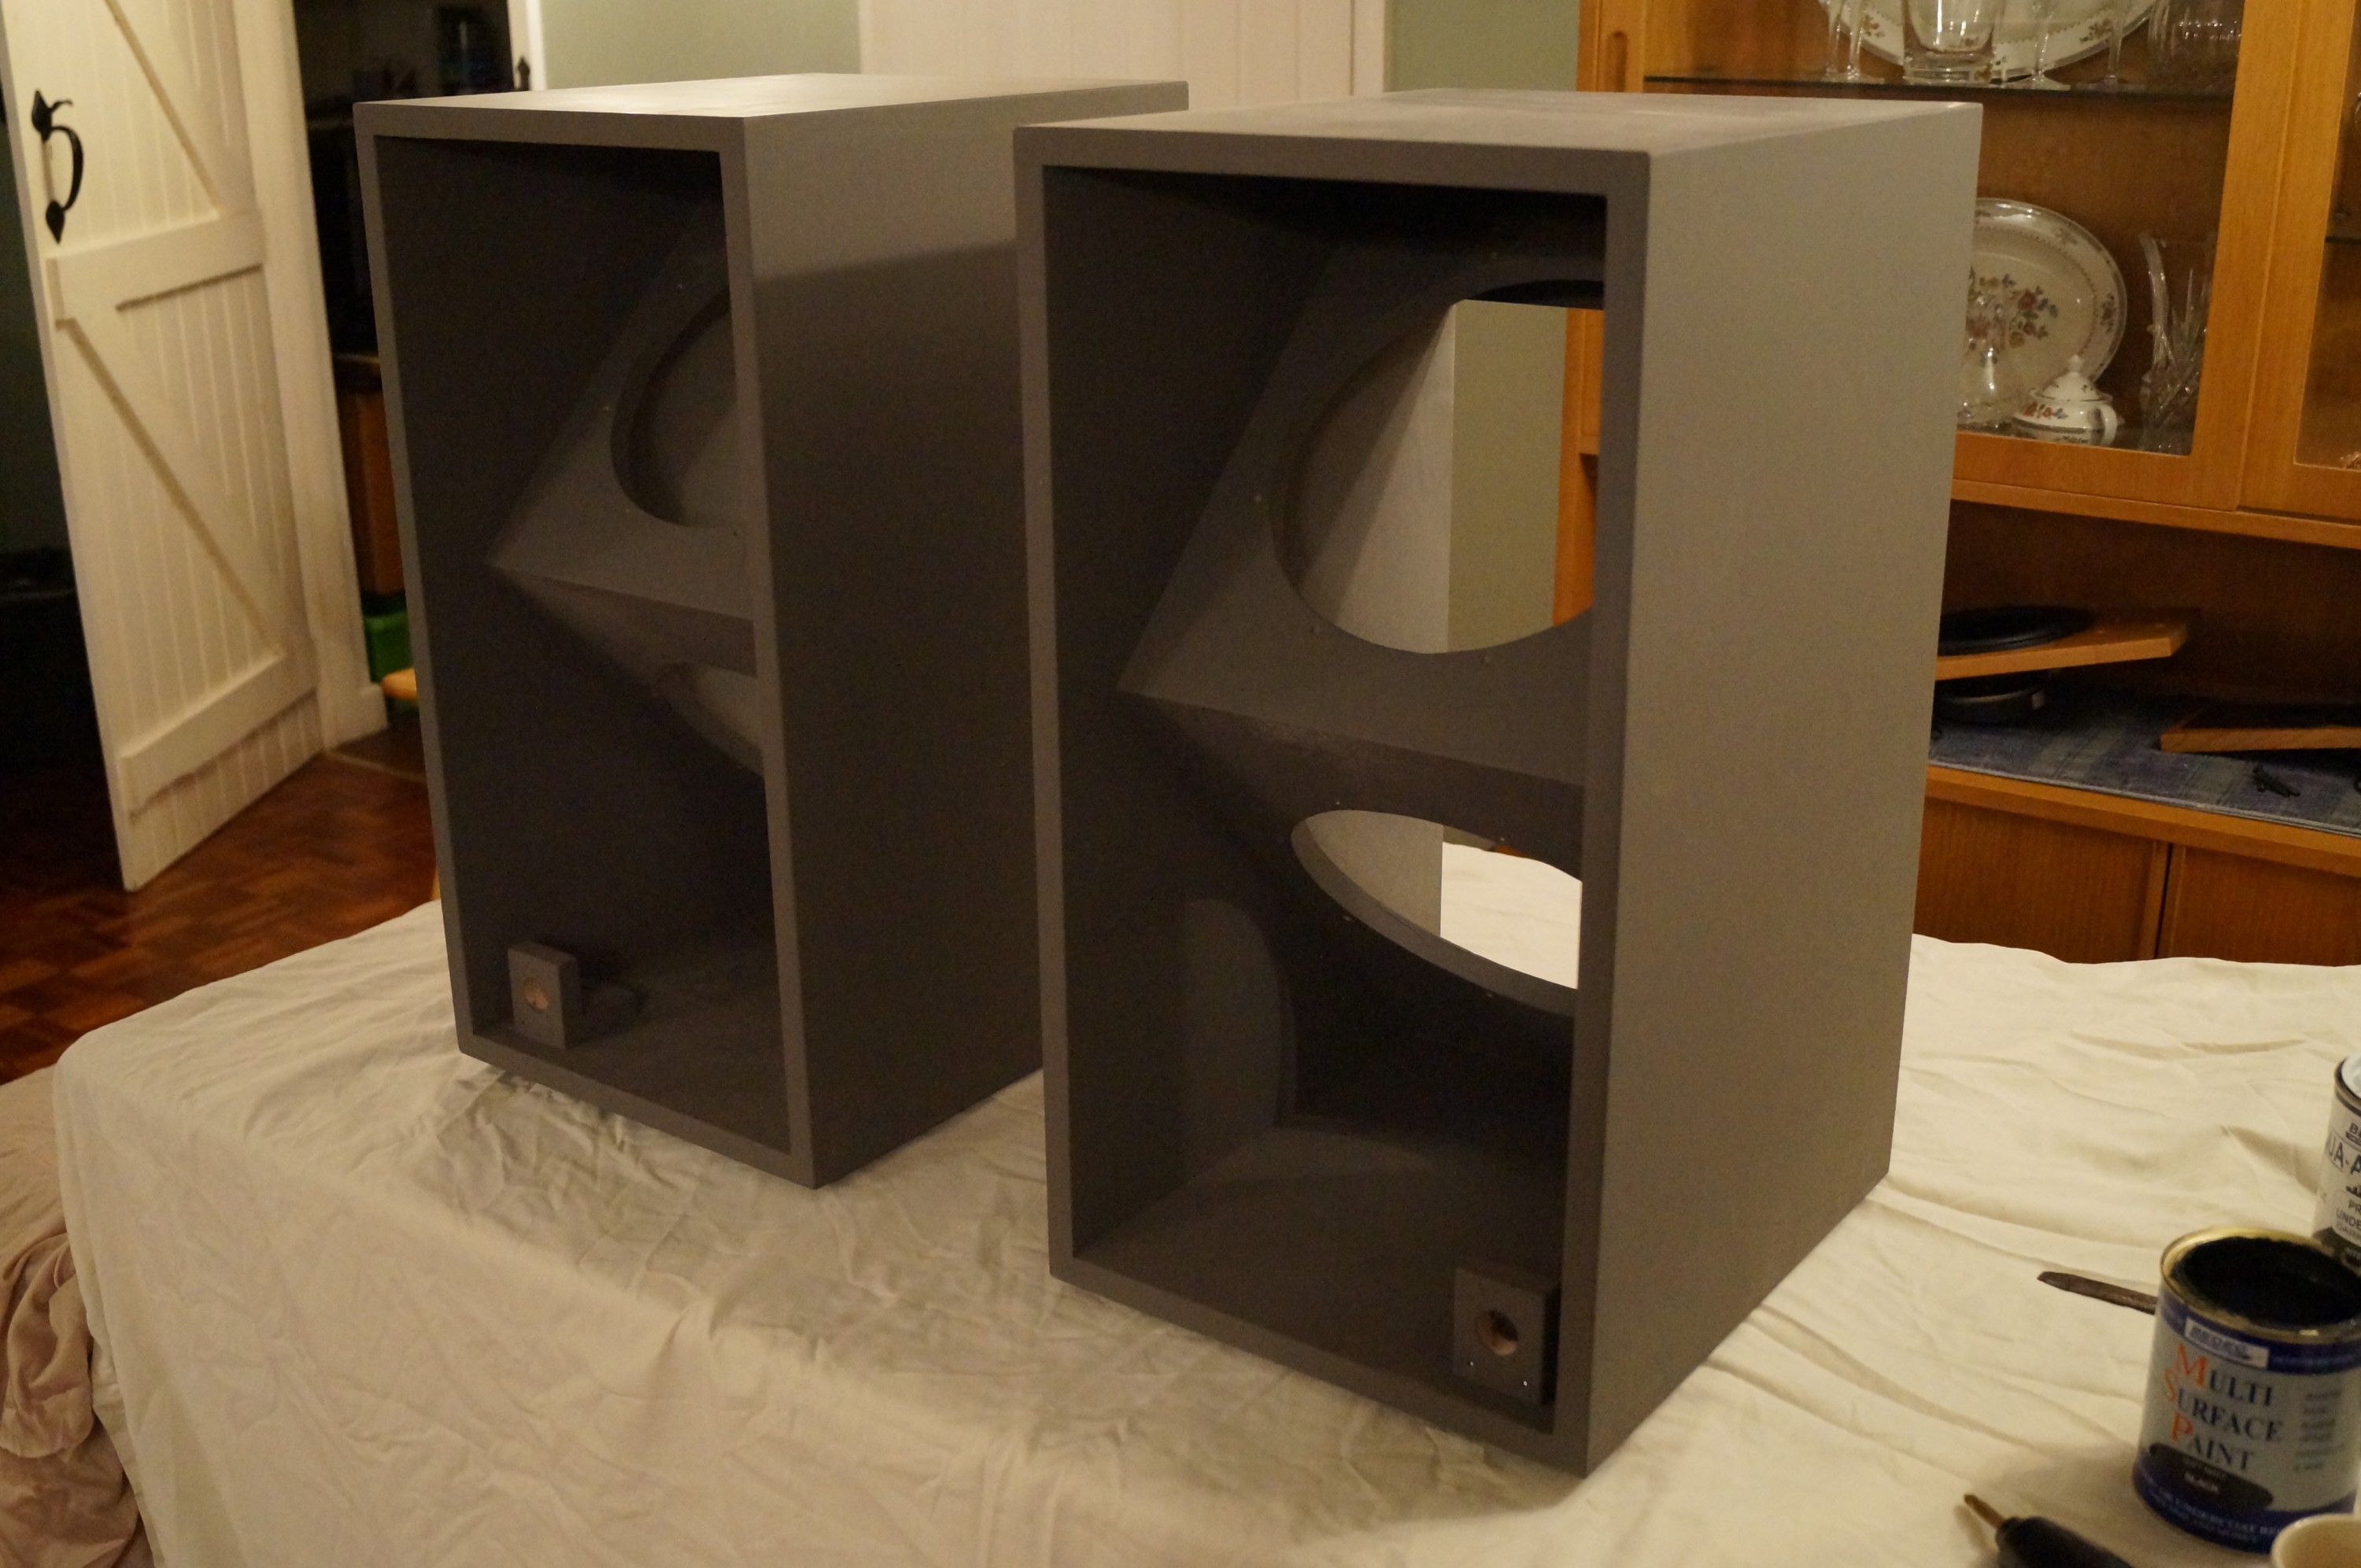
First thing was to set up shop with dust sheets etc in the music room; temperatures have plummeted to -4 deg C overnight in the last few days. Woofer boxes and paint now ensconced indoors – WAF surprisingly compliant.  I was planning to give the boxes an initial coat of matt black to assess finish to date, and almost forgot that I hadn’t made the Speakon brackets! Back out to the garage, well layered up… Quick job though – pics show these in place. Again, I am not gluing these to make wiring up easier later.

First coat of black
First coat of black

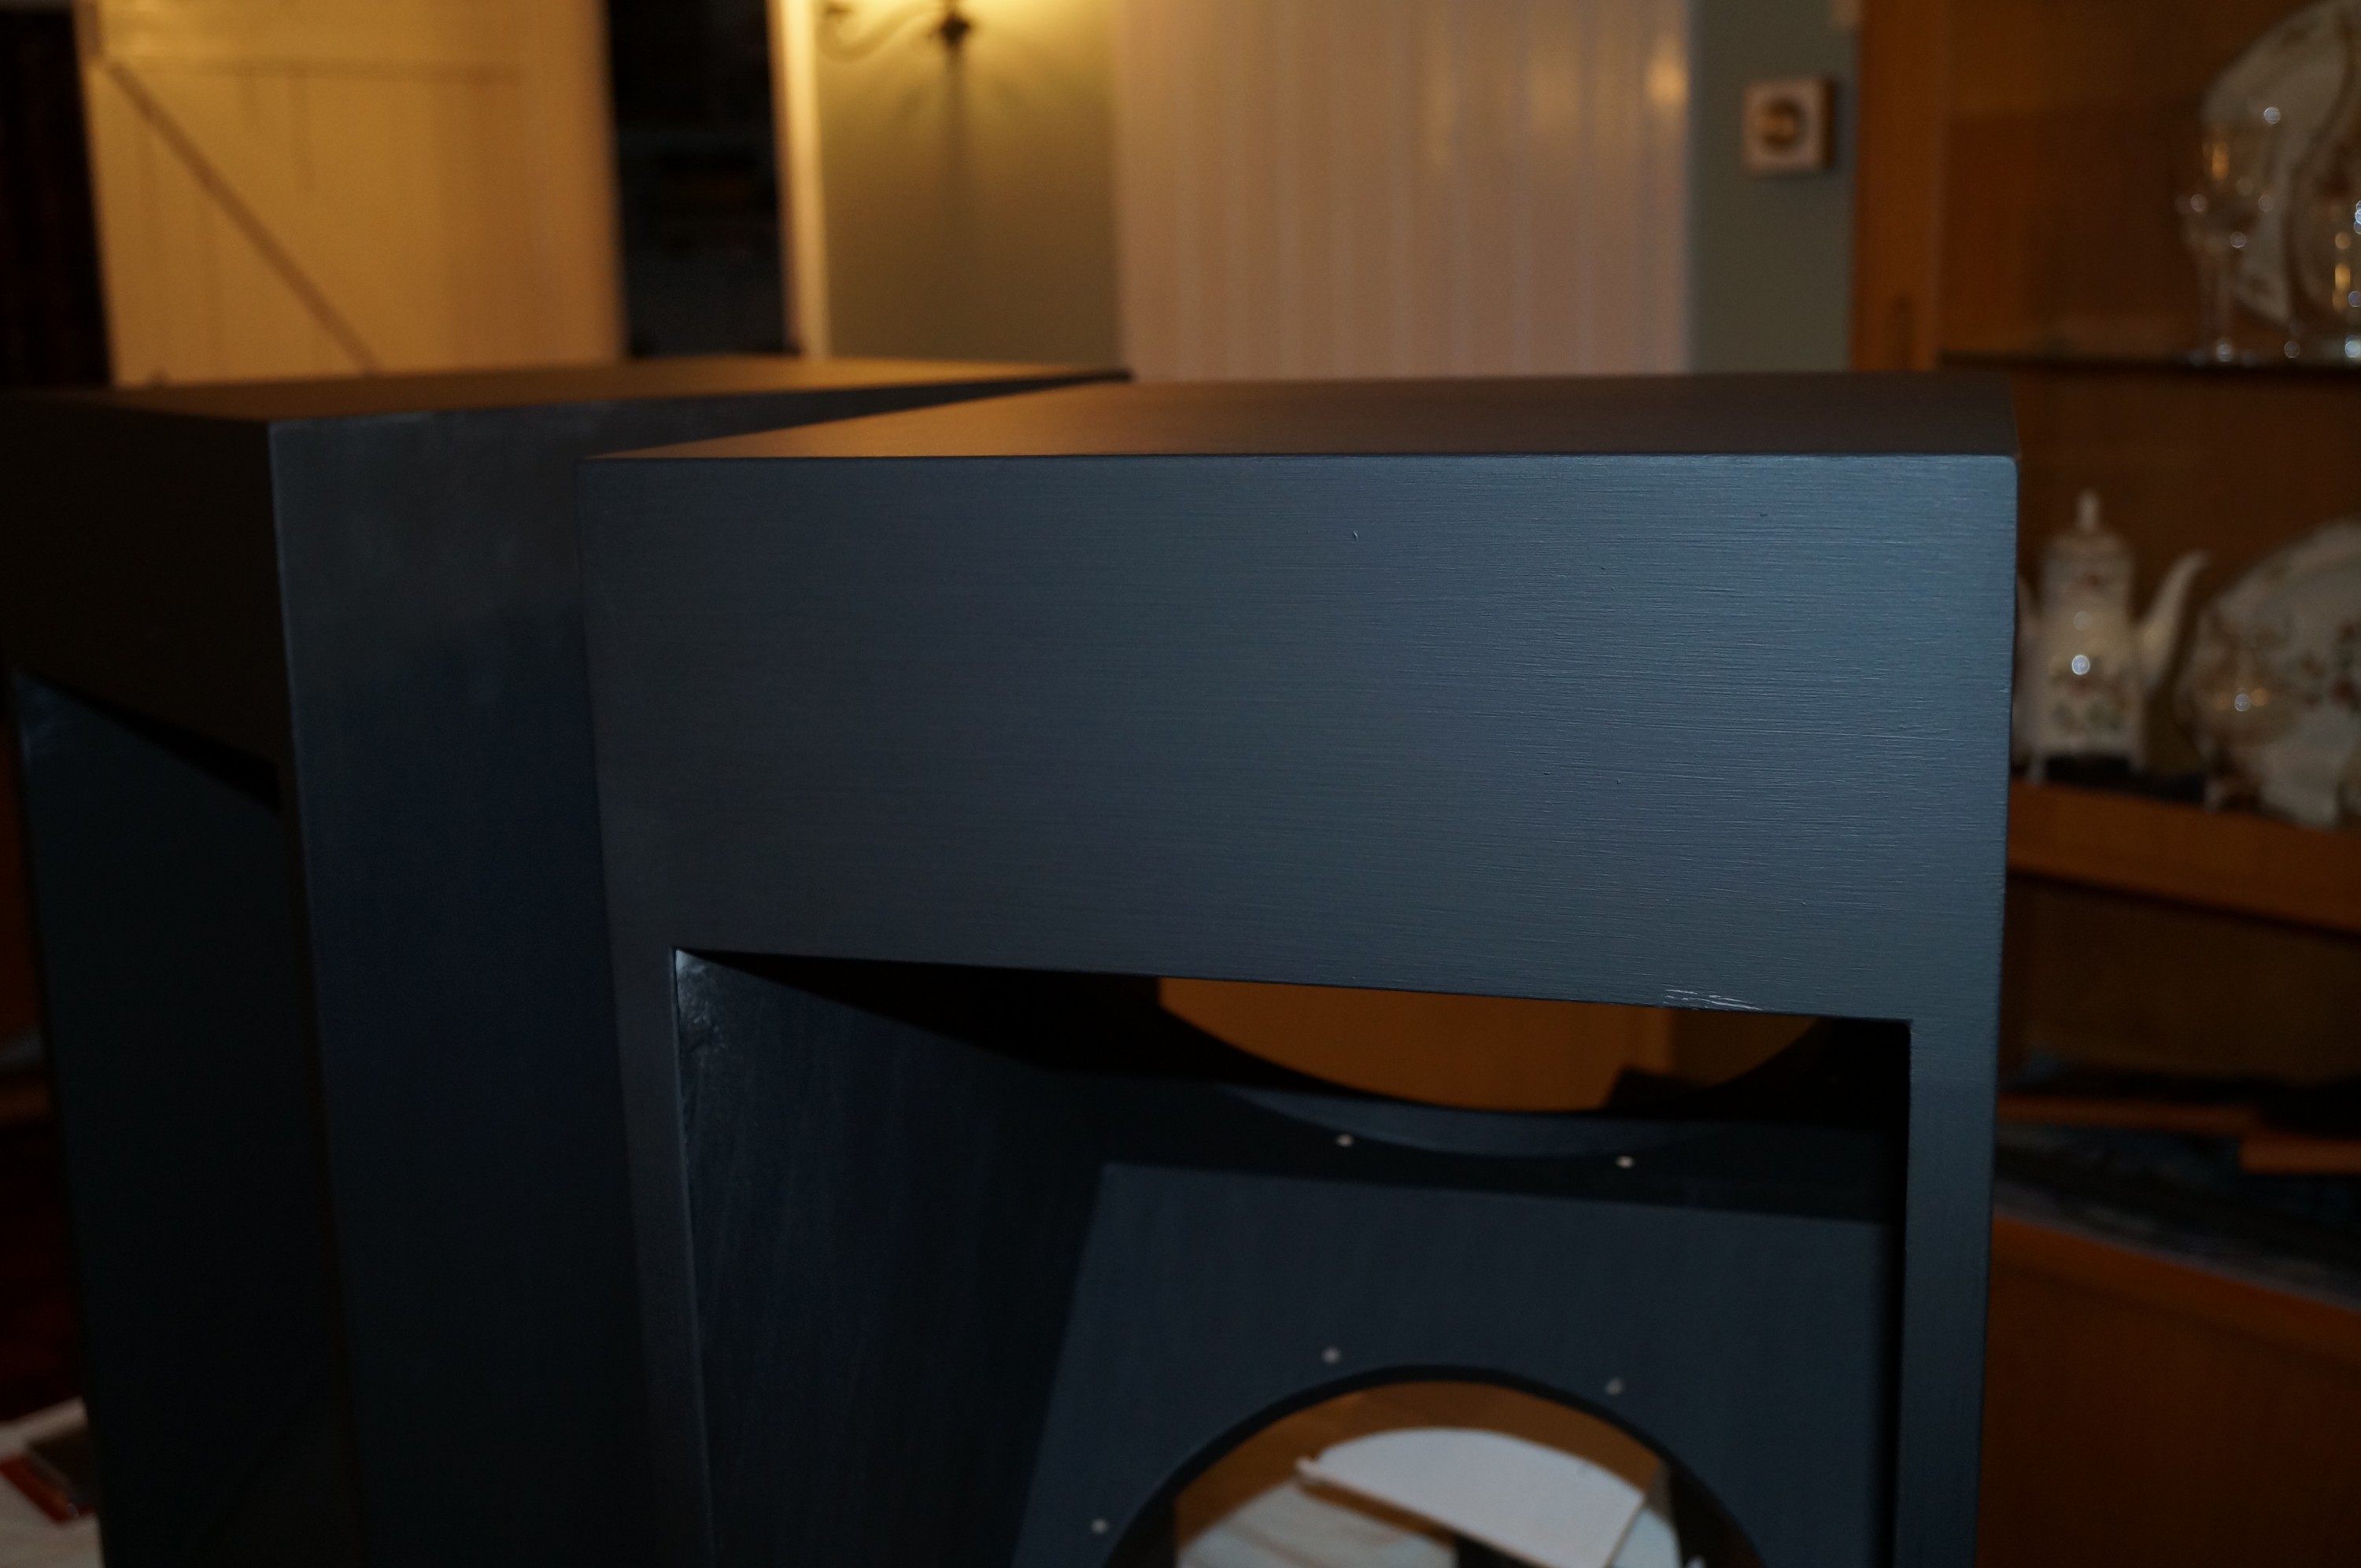
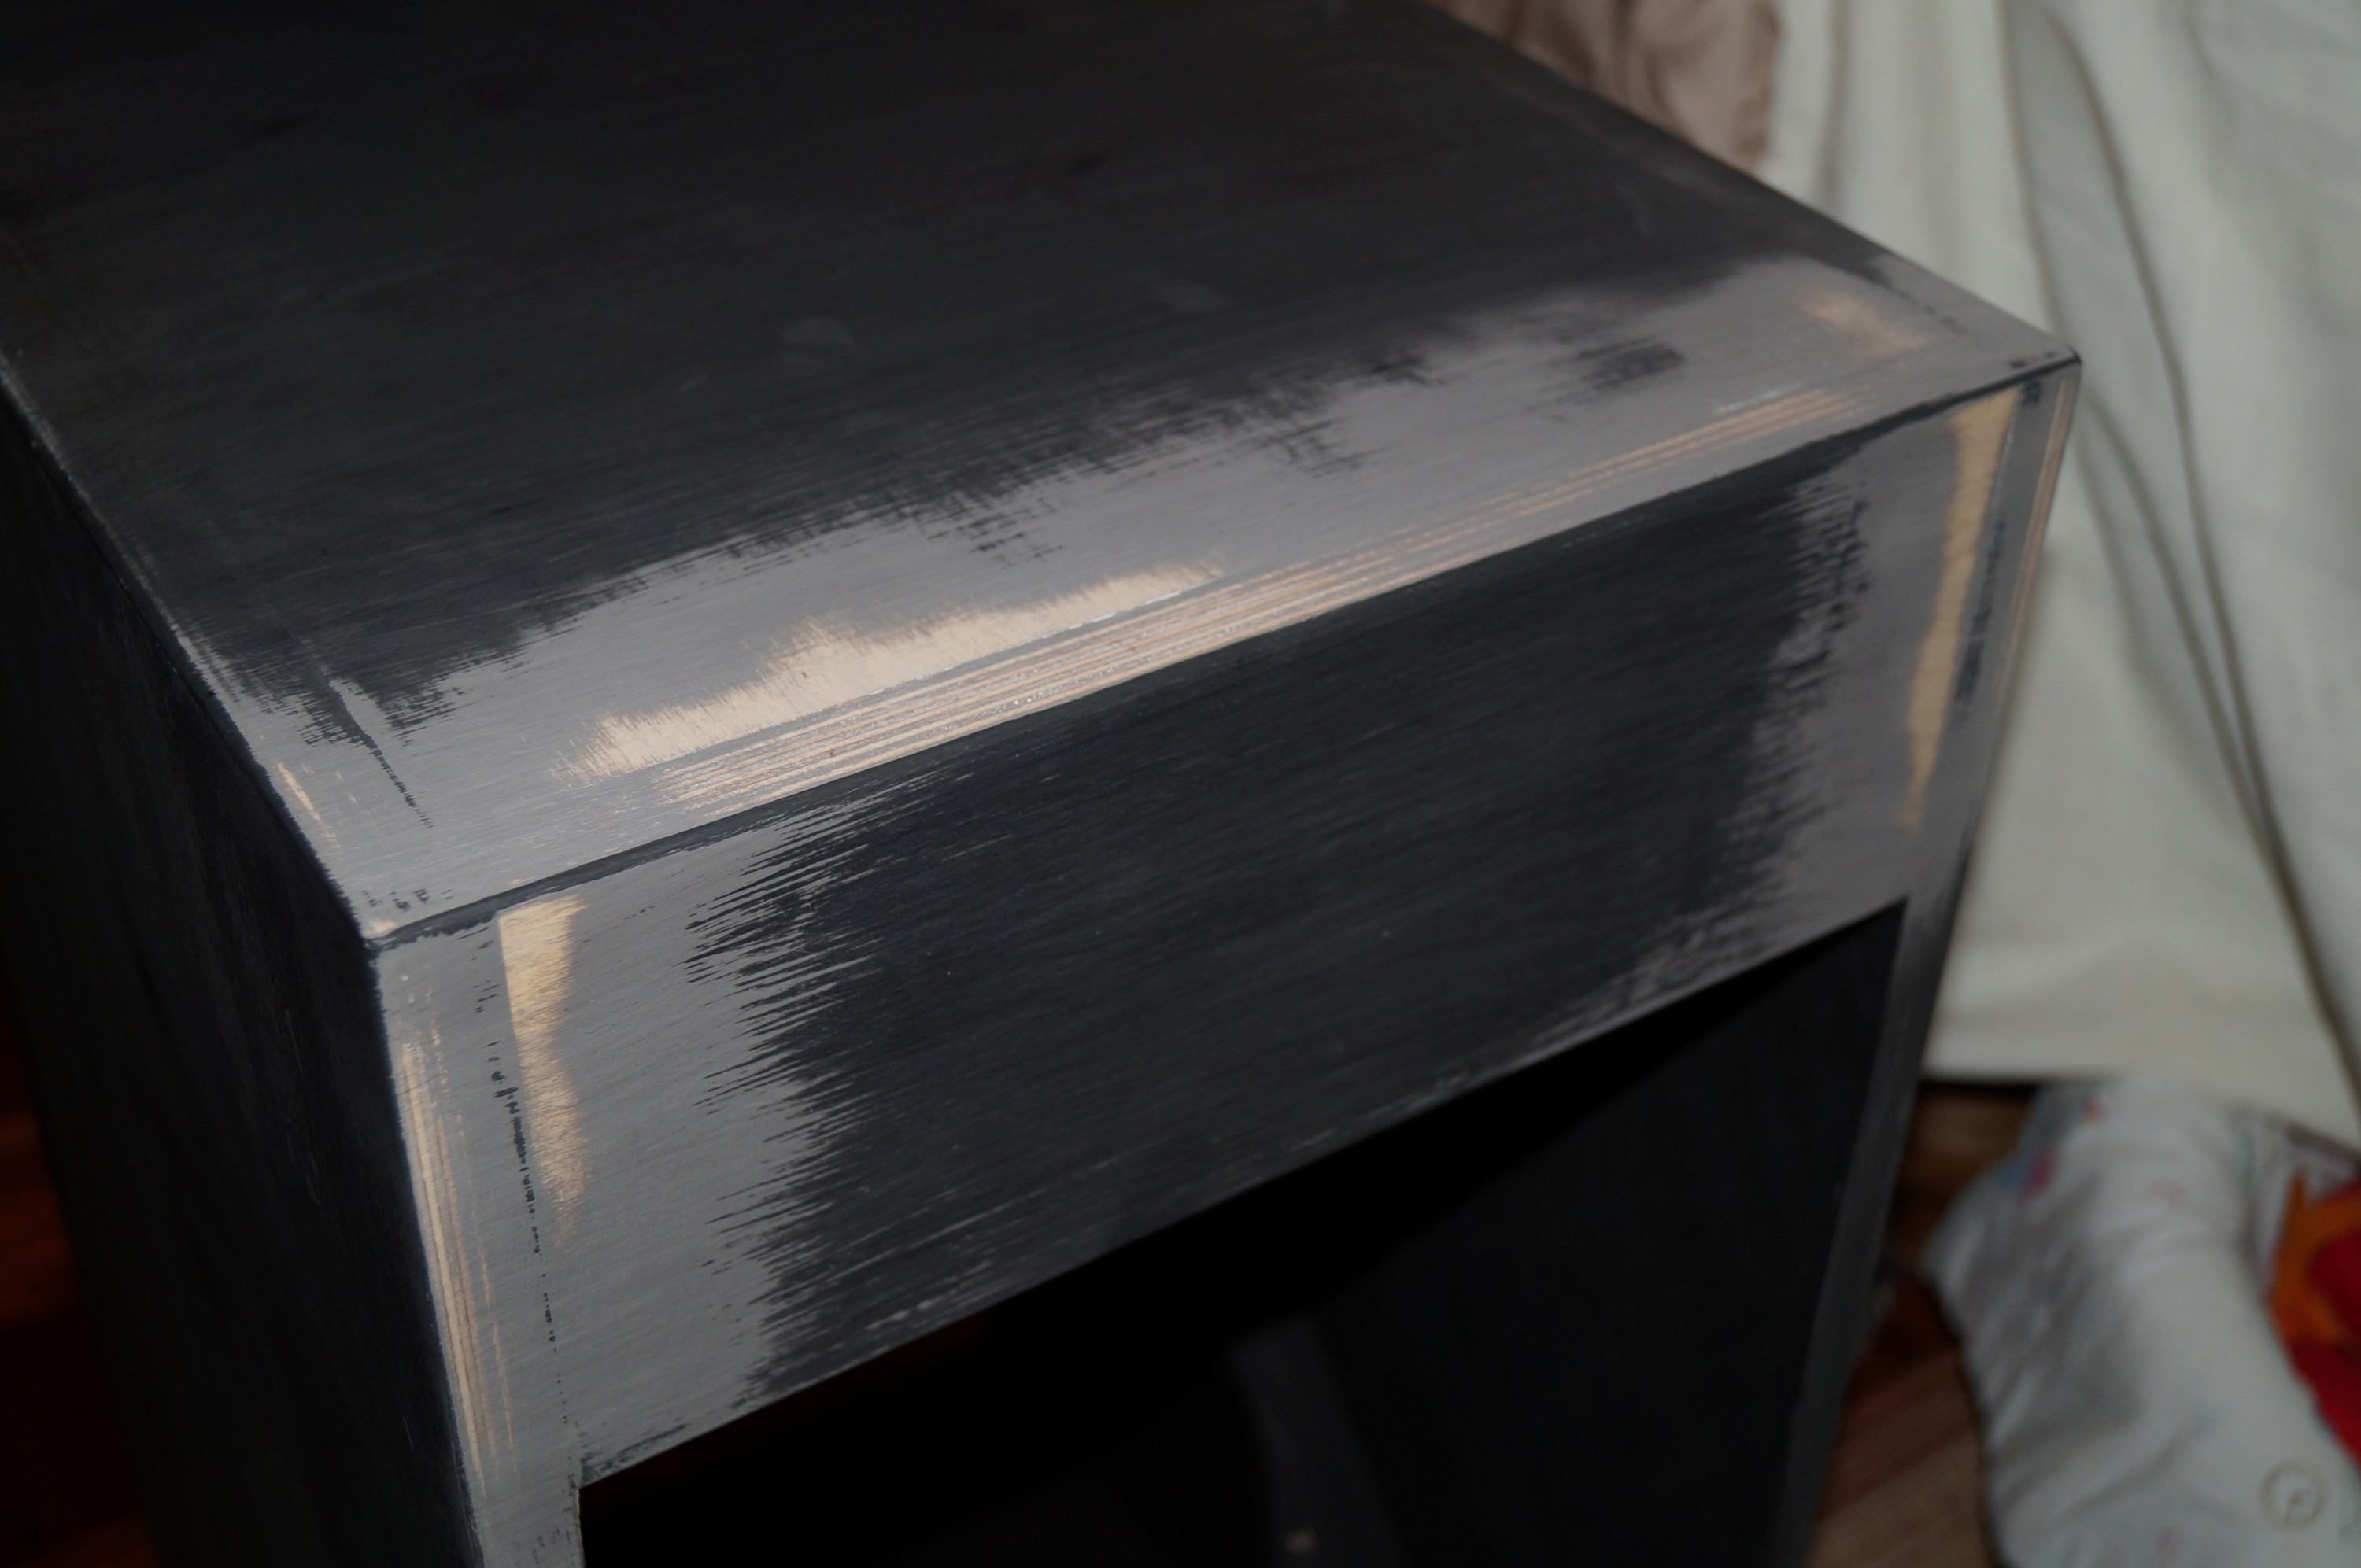
On with the matt black – and they look really good. However on closer inspection the problems with visible joints and end grain around the top front flap remain considerable, especially the box on the right in the pic. The flash photography is merciless here, and makes the problem look even worse than is apparent in real life. At this point one voice in my head was telling me “no-one will notice – get the woofers in!” whilst the other (OCD) voice said “you’ve got this far – a few more days is a small price to pay…”.

What have I done?..
What have I done?..

It was a close thing, but the OCD came out on top, and a radical sandpaper attack on the top fronts followed. To get the joint lines clean I had to go back down to bare wood in places. Stress. It also meant lugging the boxes repeatedly between house and garage for the sanding. Back to the primer, and three coats later (fine sanding between coats) one box was good – I now cannot see any wood grain even in strong light. The other box however is putting up more of a fight, and despite another coat and sand the end grain STILL keeps popping up. So back to the filler again… hopefully after a gentle sand-off tomorrow and yet more primer it will capitulate. The back corners can look after themselves however – the OCD lost this one!

Damage detail
Damage detail

I took several more photos of this miserable process, but, you know, they are so boring, so I am sparing my readers…


Recalcitrant corner
Recalcitrant corner


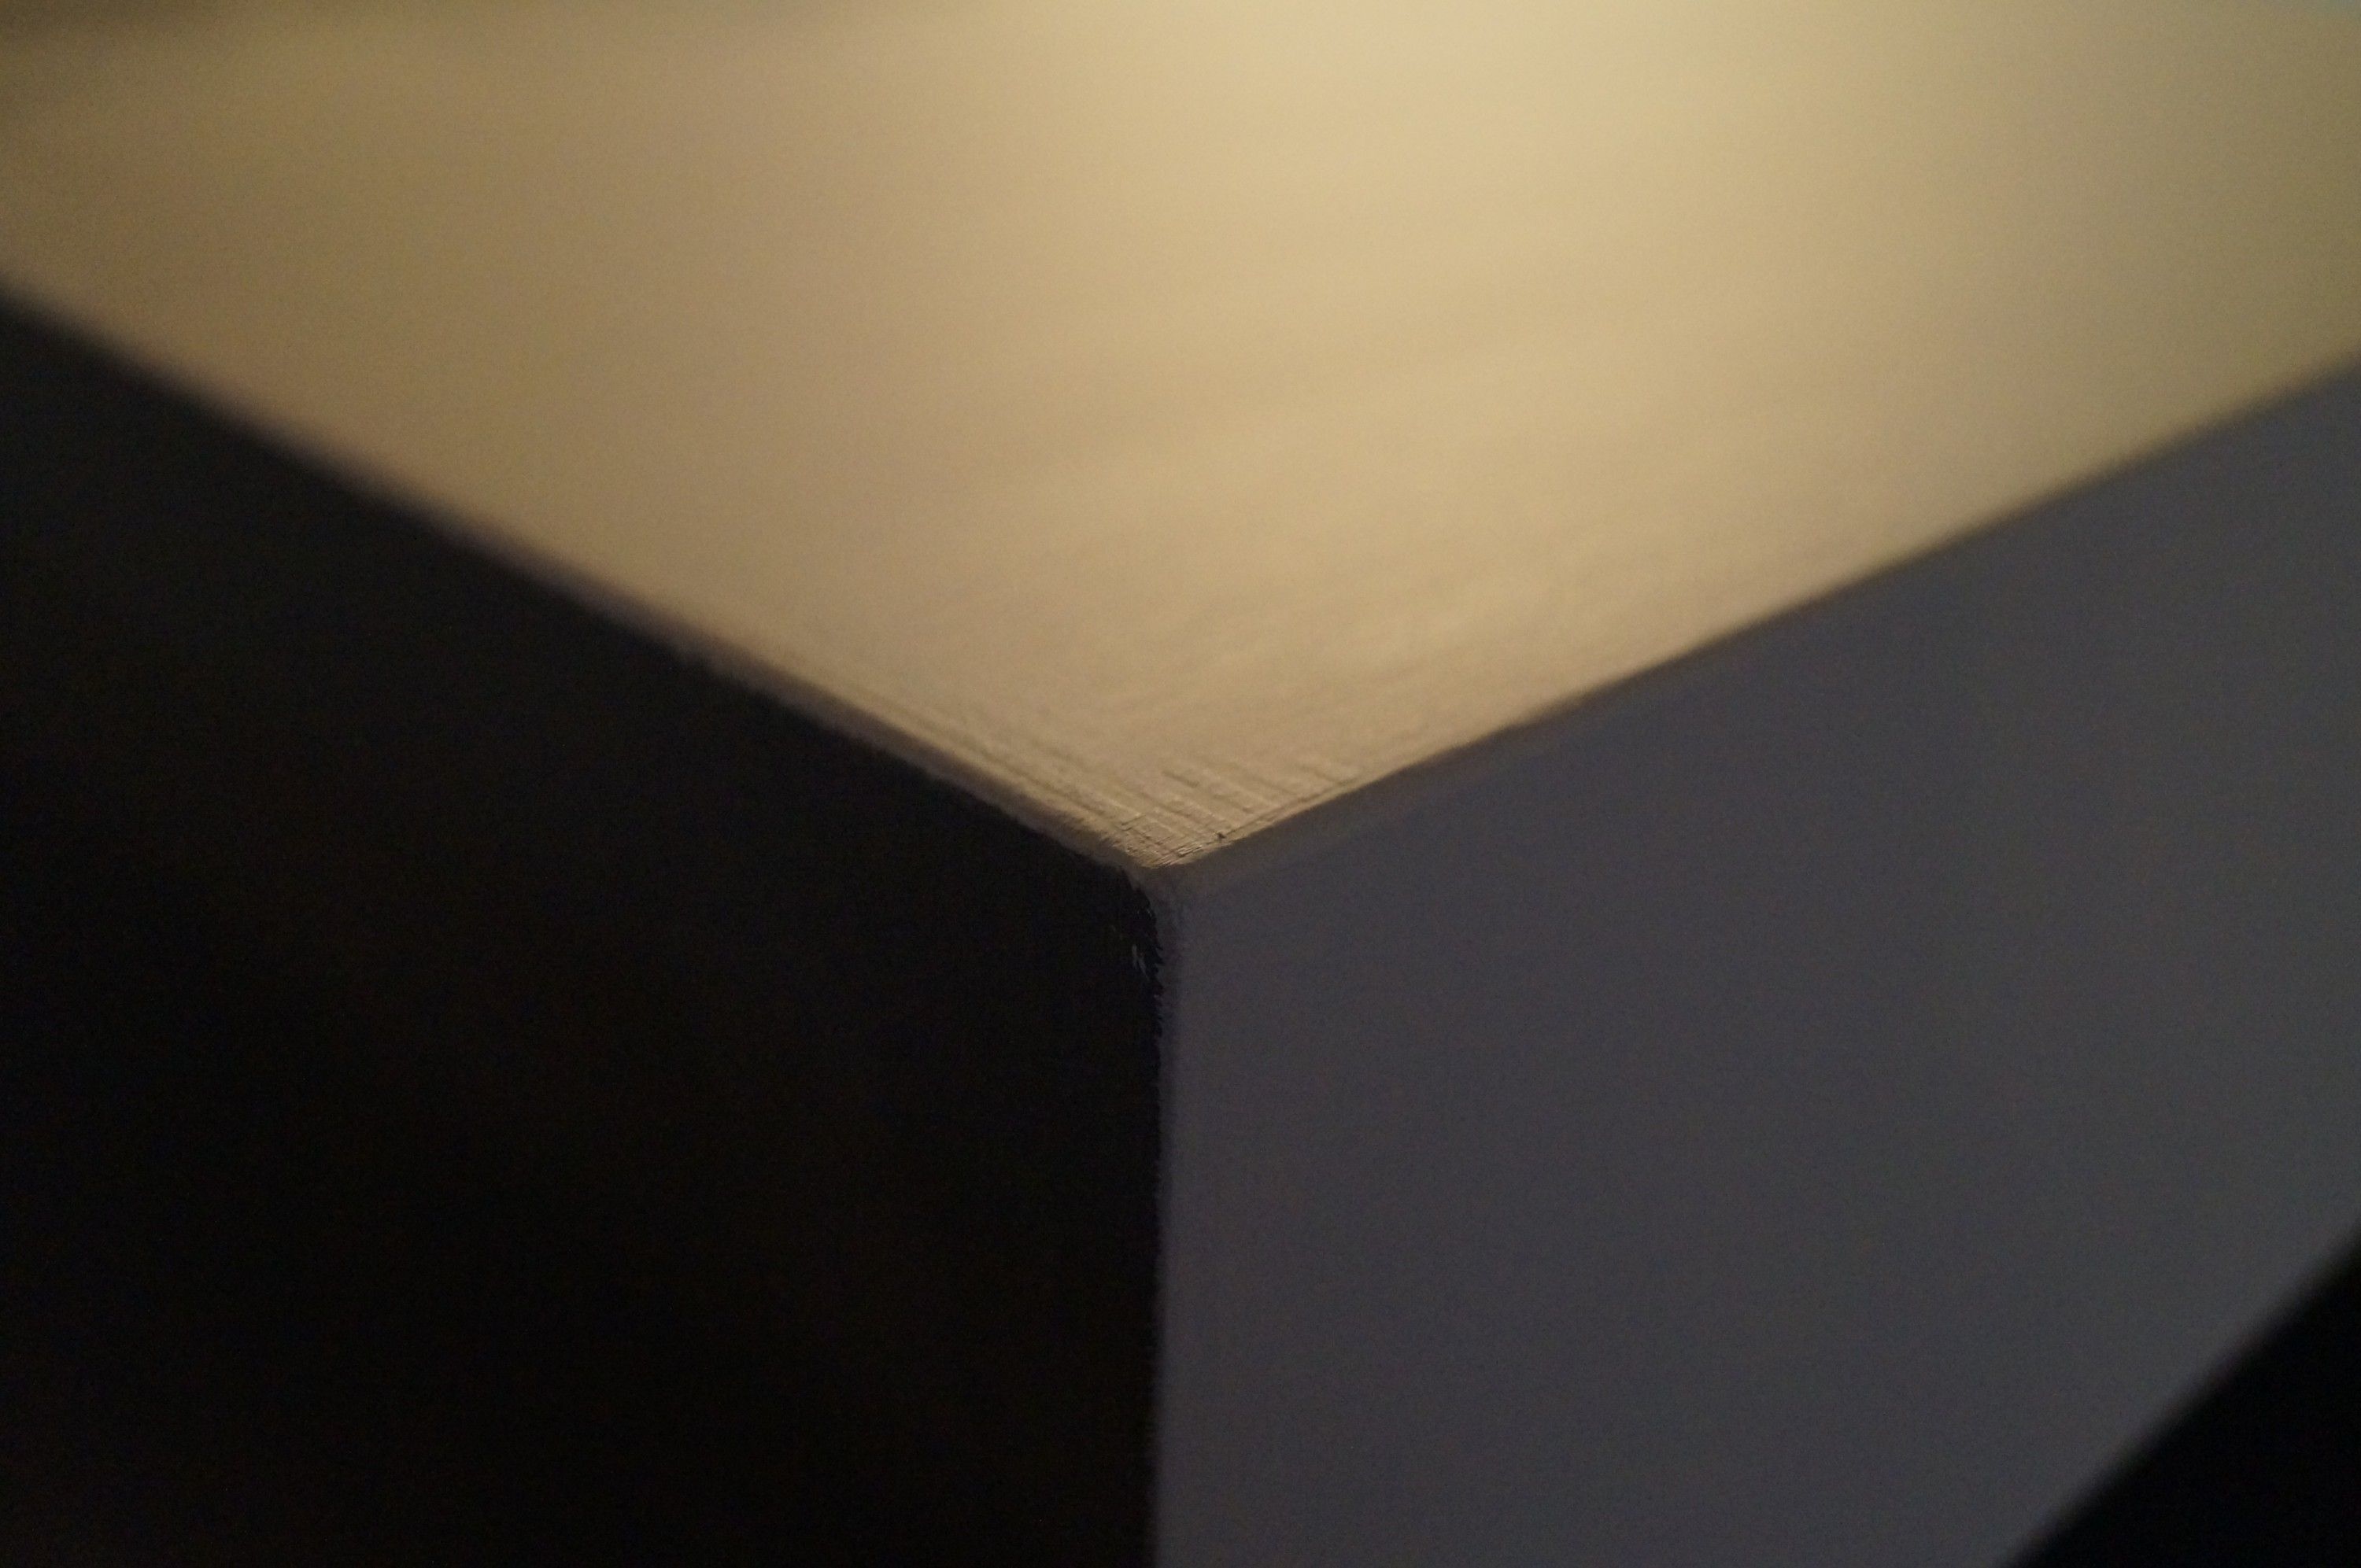
After a further sand down and more primer, this looked practically the same!


Custom mats from carpet offcuts

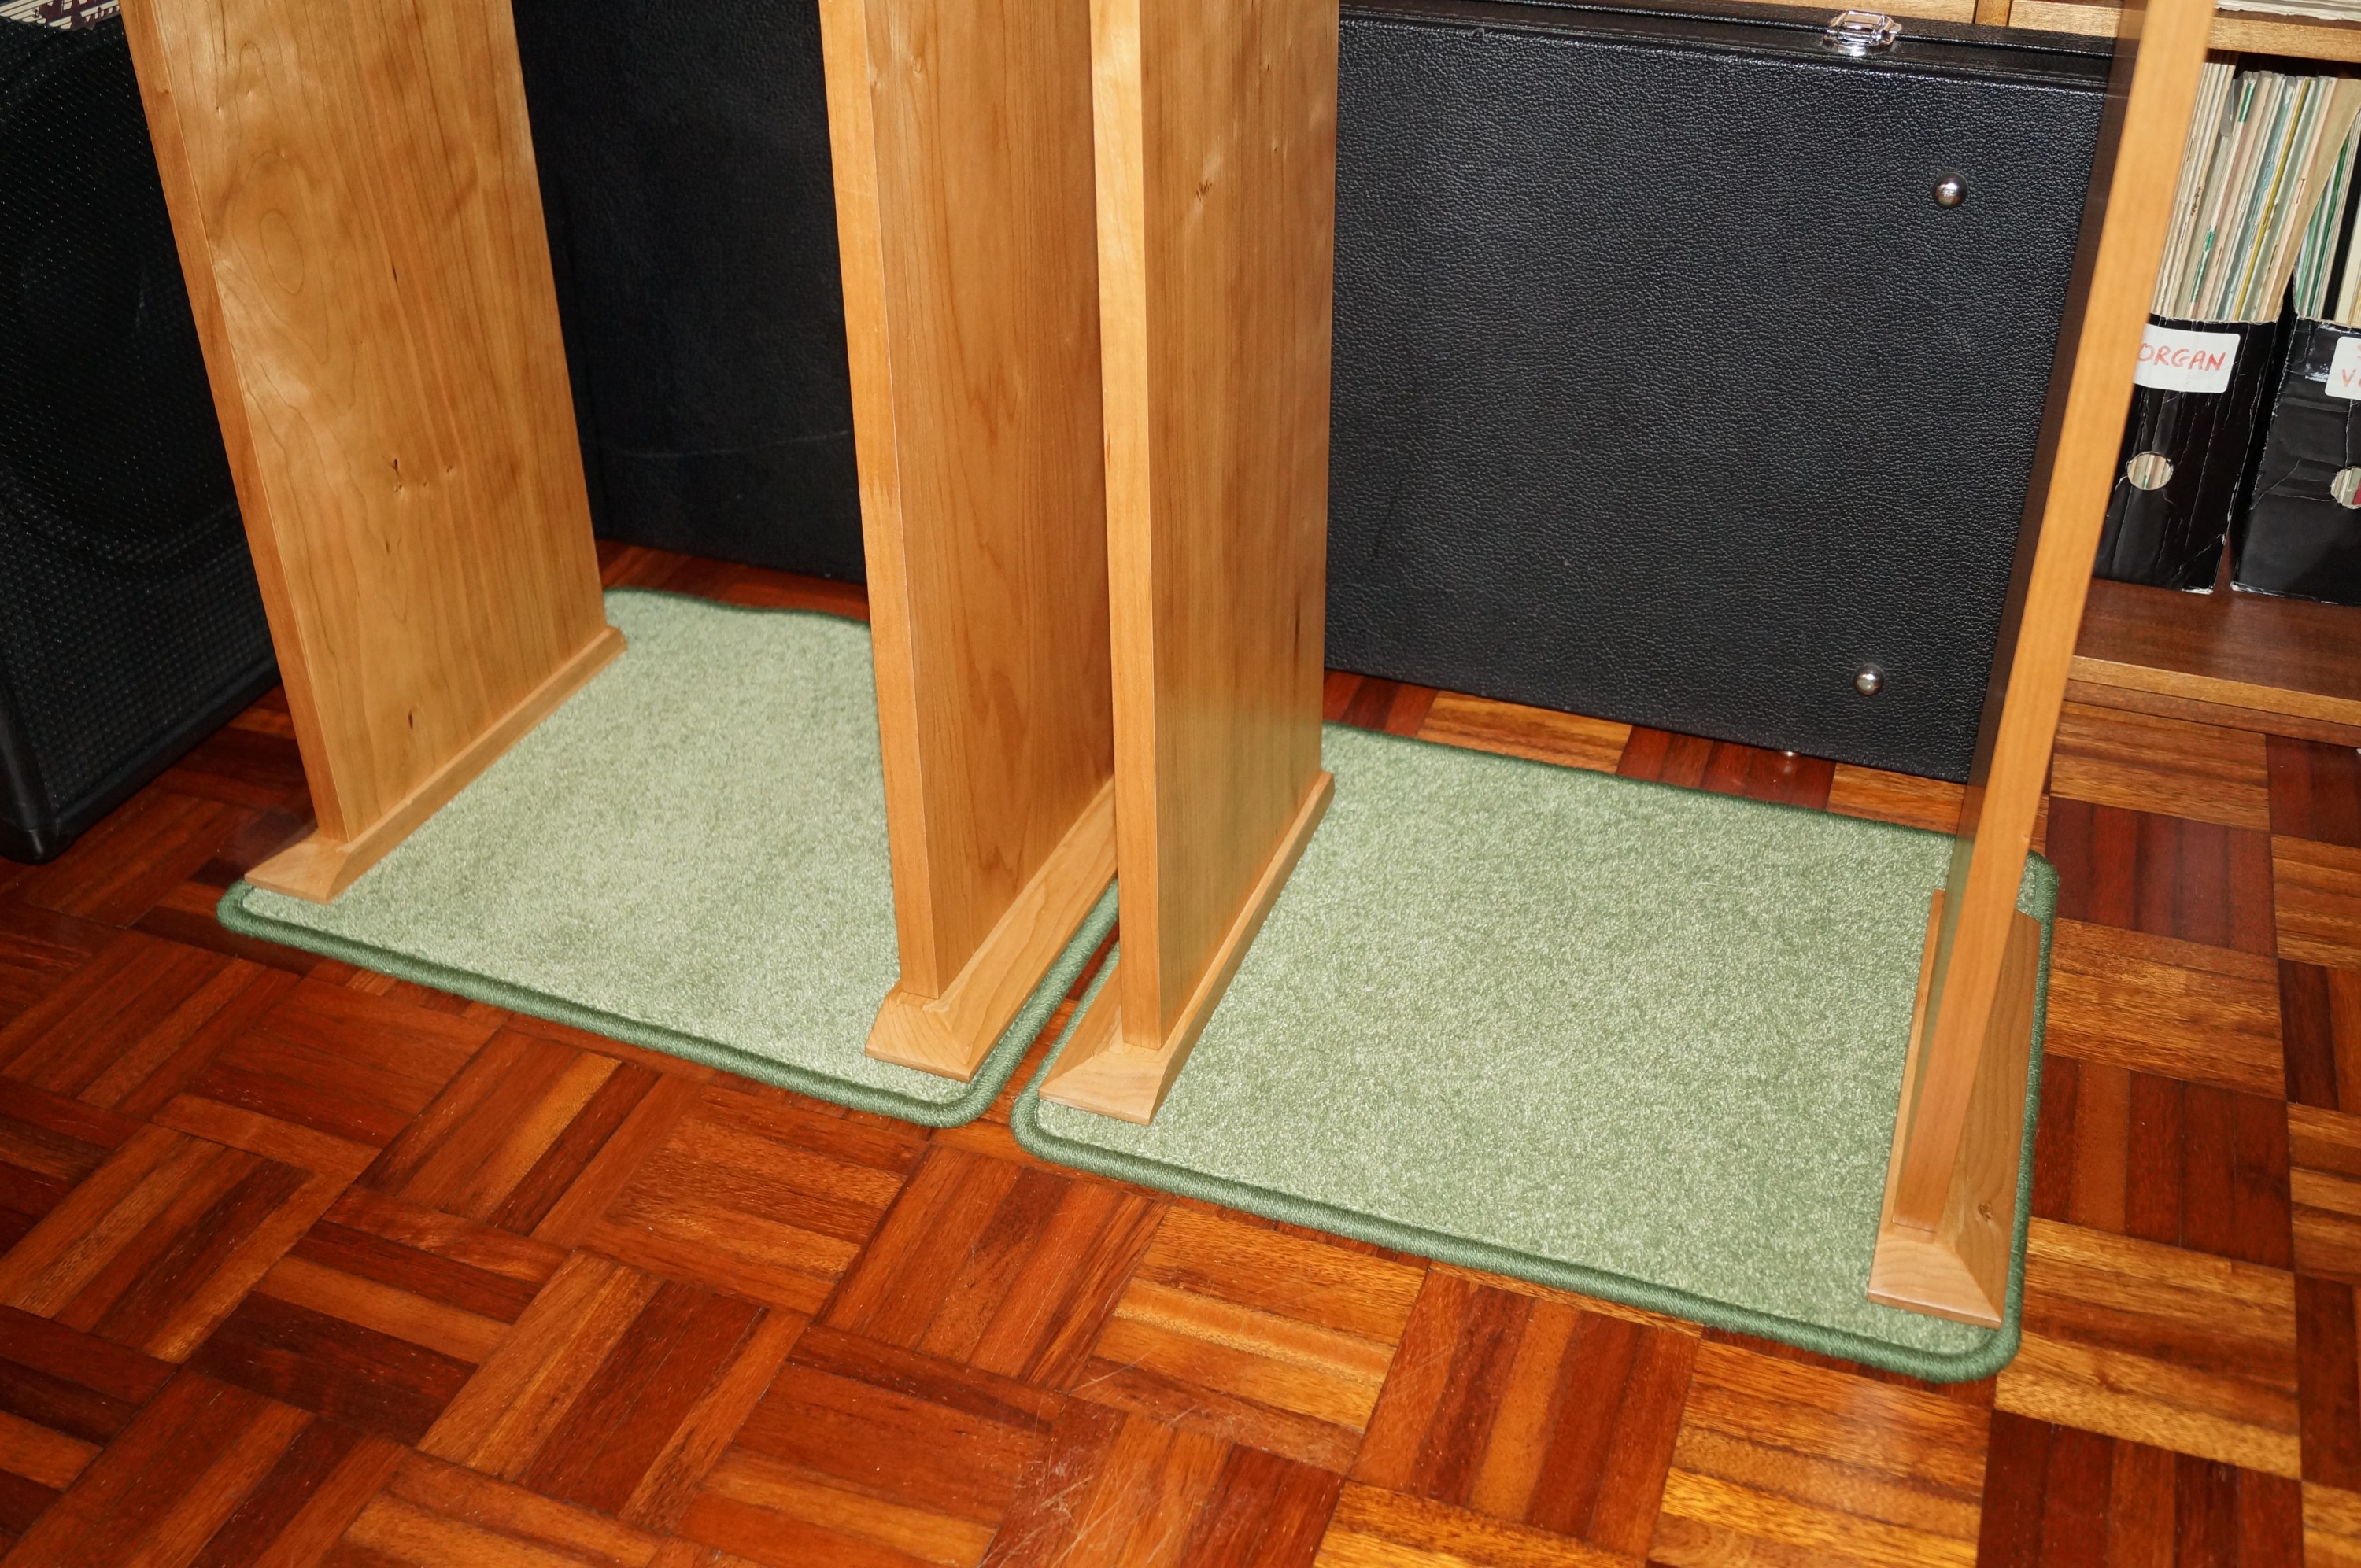
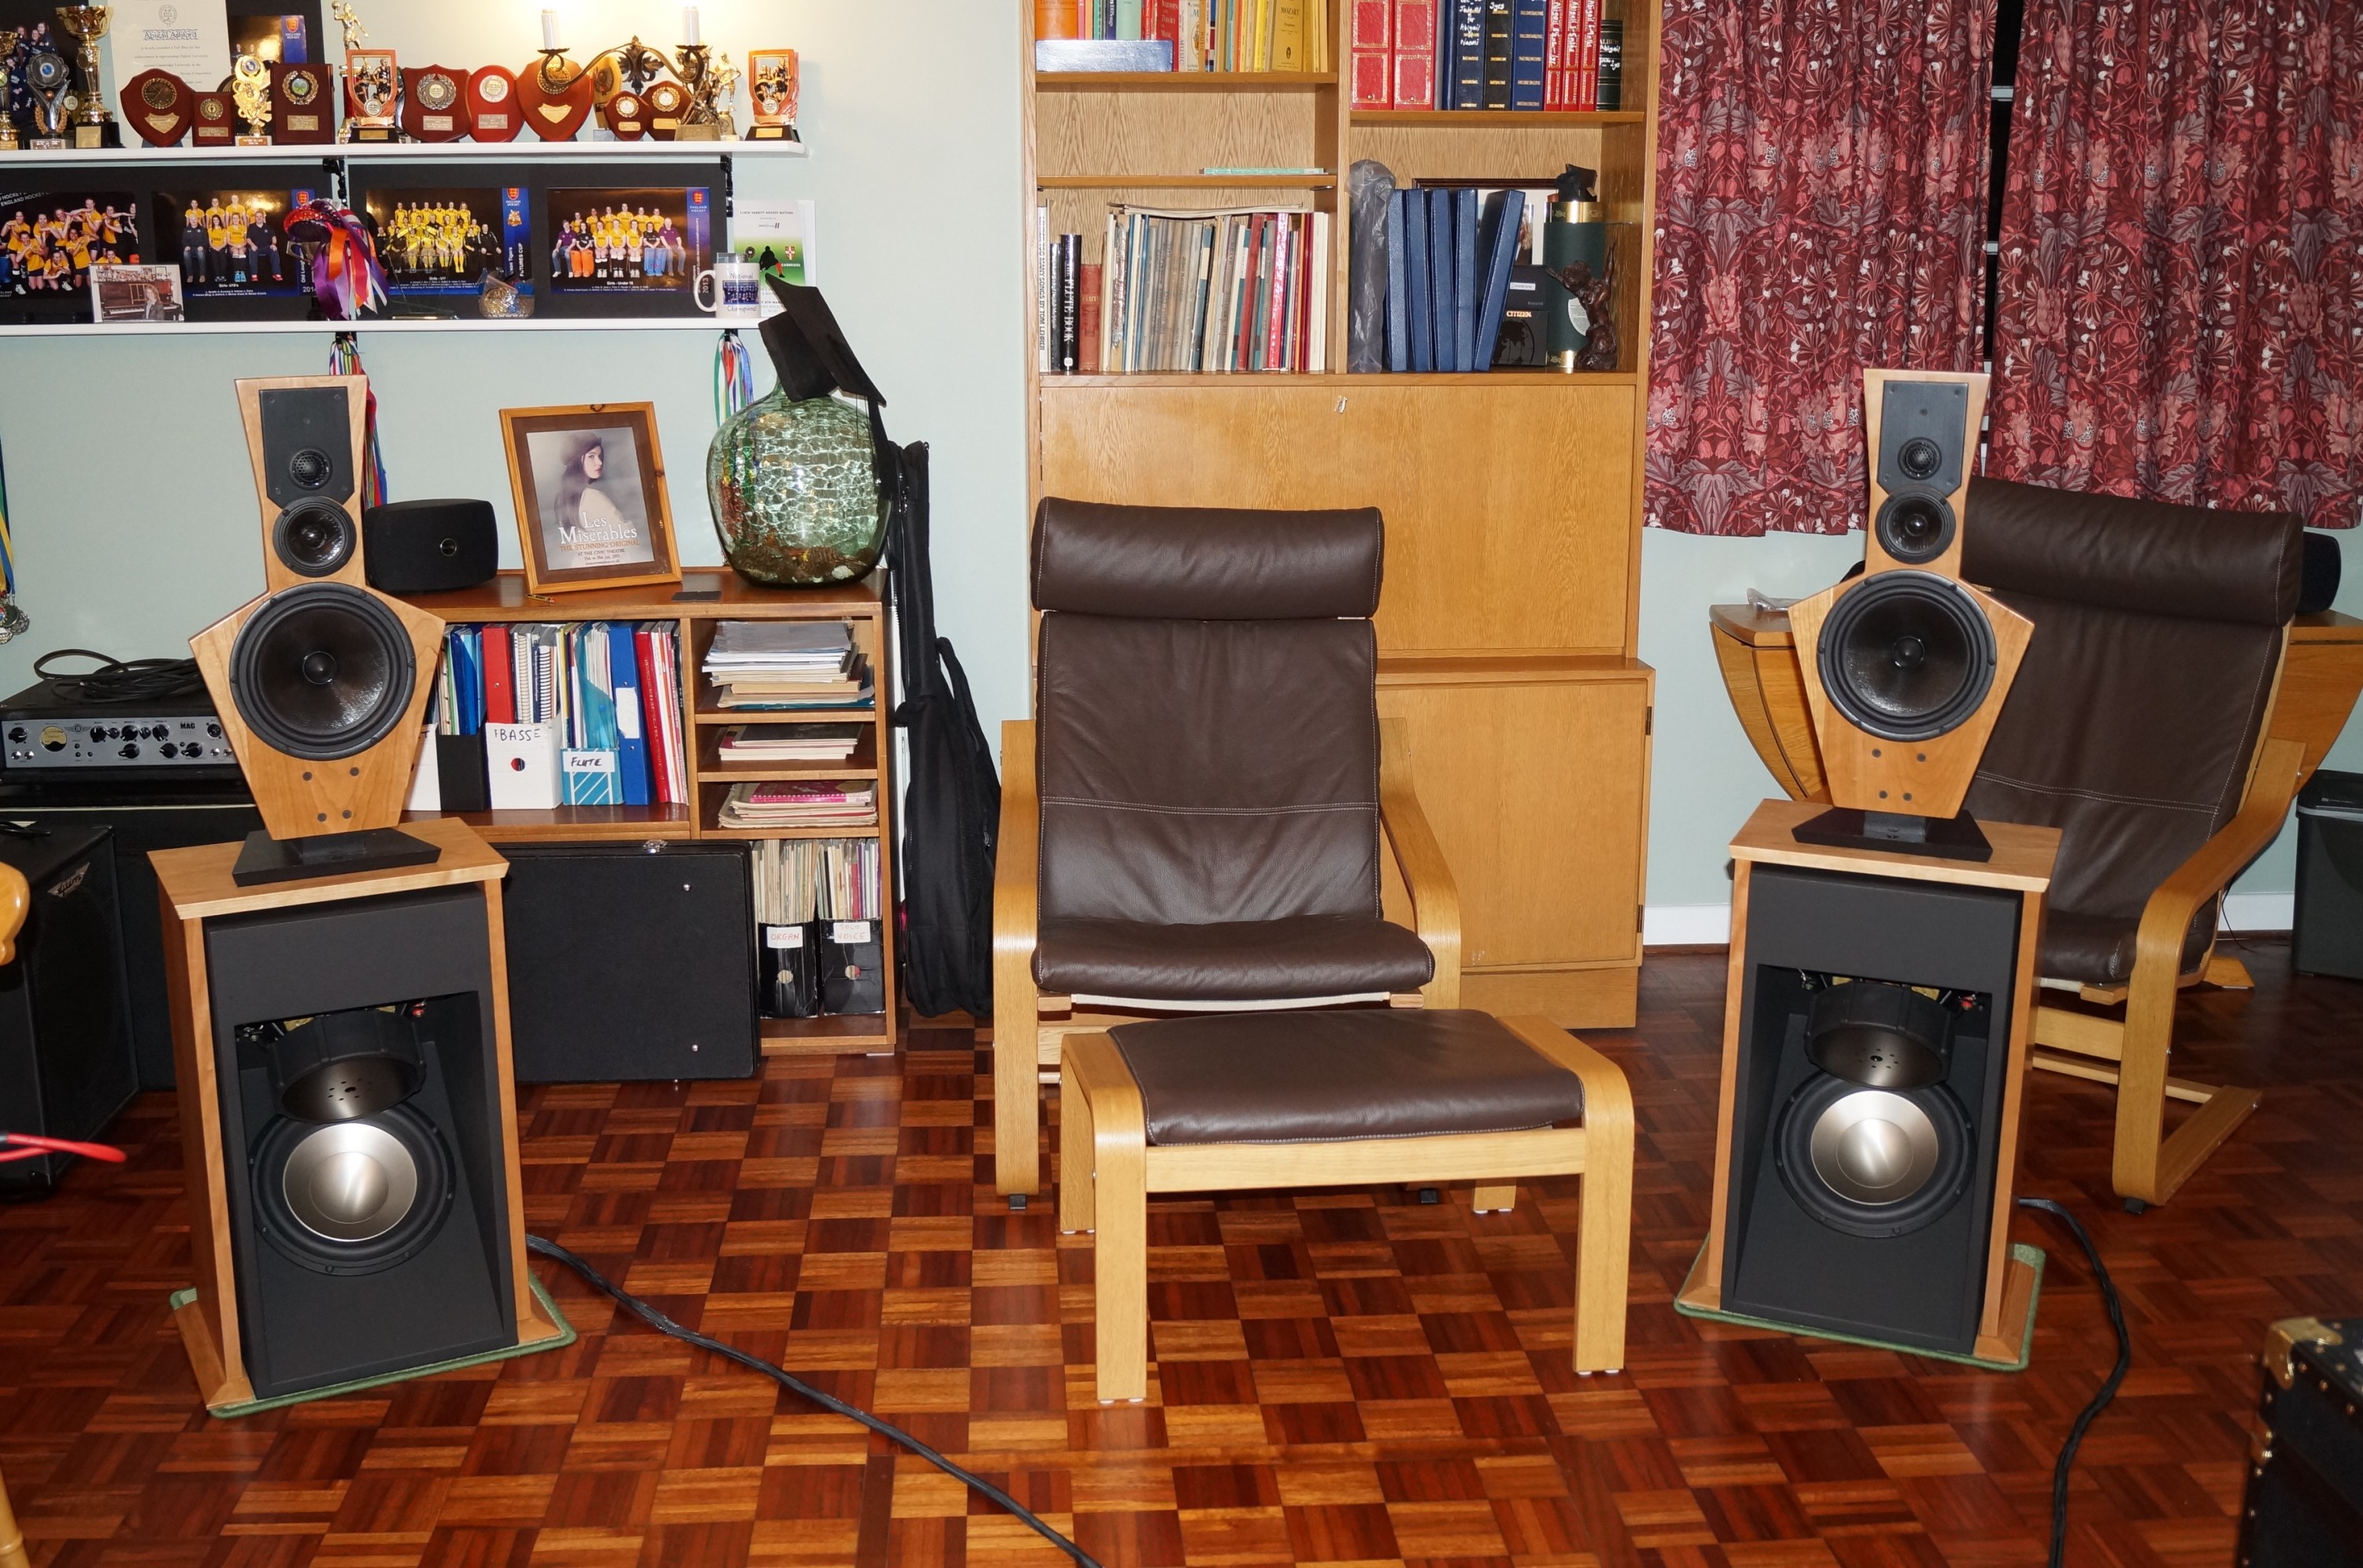
Whilst all this was going on I had been mulling over floor protection, and remembered we had some small rolls of carpet offcuts. Better still, I discovered a local carpet edging company only 15 mins away (had thought about, er, learning another skill, but some quick research made it clear that acquiring the necessary kit would cost a lot more than their charges). I now have two custom mini-rugs for my speakers!


Finishing and wiring up woofers

Last filling!
Last filling!

Well, I finally managed to eradicate the end grain to the point where you have to strain to see it in strong light – it is not noticeable otherwise. Another coat of matt black and the painting is done.

My original plan was to finish with the soft satin, however I have had second thoughts for two reasons. Firstly, it’s difficult to obtain a really smooth finish with the brush (one can see the brushwork on

Before final coat
Before final coat

the tweeter baffles and baffle supports) but the matt finish is much more forgiving. Secondly, the wood finish is quite a gentle satin and I don’t want any gloss on the woofers to draw the eye away from the wood.  They do look really good in matt – wife says they look as if I had bought them, so that’ll do for me!


Woofers prepared
Woofers prepared

Next task was to prepare the woofer wiring. It proved impossible to locate any female 8mm push-on spade connectors in the UK so I soldered the wires to the drivers before installing them (upper woofer reverse polarity). I’m using  Maplin 79/0.18mm speaker cable  (equivalent to AWG 14) for the woofer boxes and the main speaker cables. This project needs plenty of wire – I needed three drums to allow 12 foot speaker leads.


Lower woofer first!
Lower woofer first!

Mounting the woofers is made straightforward by leaning the boxes against a sofa edge. The operation was extended however by a brain failure… I mounted an upper driver first. SL advises mounting the lower ones first. There is an excellent reason for this – you can’t get the lower one in if you start with an upper one! Unscrew everything and start again. Access to some of the bolts, washers and screws is somewhat restricted but not impossible – once a couple of bolts are secure you can turn the box round to work, but you do need decent light. At this point you realise how seriously heavy these bass units are…

Wiring L box
Wiring L box

On to the wiring up. I had ordered a reel of Techflex clean cut 12mm from Kustom PCs, together with two sizes of black heatshrink, to keep both the woofer box wiring and the speaker leads tidy. Clean-cut it is, but it soon frays out, and I quickly learned that once threaded over the wires it is wise to secure free ends with a temporary draw-tight cable tie before final fixing. Ends can be sealed by wafting them near a flame; I used a gas ring.  I secured the wiring run with some nylon P-clips I found on e-bay – my last online order for this project!

Good light essential!

Before soldering the Neutrik spade terminals and attaching the 4-way Speakon panel mount I labelled the wires UW and LW to keep track. During the wiring up a good light helps enormously; our music room “father and son” flexible lamp lit up the dim interior of the black boxes well.


Techflex and clips to finish - R box done
Techflex and clips to finish – R box done

Woofer boxes done! My remaining tasks are to finish wiring the baffles and make up the speaker leads – only a few more days!

Last tasks…

Baffle wiring detail
Speakon black hole!
Speakon black hole!

Neglected the log in the last few days, so writing in retrospect (I now have time on my hands… read on to discover the reason). The baffle wiring is complete. Not much to do here; mainly an exercise in managing Techflex and heatshrink, and keeping things neat. I carefully took some photos of the process and later discovered the camera’s SD card was still in the desk PC! – so pics of finished article only. I used the gas ring to “set” the end of the Techflex at a stretched diameter (threaded over a 24mm tube) to fit over the connections on the back of the Speakon mount. I remembered to wire the L and R baffles in mirror image which I feel adds a professional touch! I was very glad I had kept the little Speakon bracket detachable; it would have been impossible to fit the six terminals in the “black hole” otherwise.


The finished articles!

At this point I mounted the baffles on the bridges before taking my first snaps of the finished speakers. I knew I had created the same “design fault” as Bill Schneider described in that I had to take the baffles off the supports to allow the front pivot bolt to drop into its hole! Texted this pic to eldest daughter on her birthday (making it clear these were NOT birthday presents for her – she has already told me she wants them…) She was still gracious enough to reply that they “looked amazing”. They ain’t bad.

Ready for techflex
Ready for techflex

On to the speaker cables. Again this is an exercise in careful measuring, and labelling, to ensure the Speakon plugs are wired correctly. Threading the Techflex over five double wires requires staged pushing on rather like a caterpillar walking. I used heatshrink at the joint where the three baffle wires leave the woofer wires, and at the plug ends. I also found it helpful to use insulating tape to hold the cable ends together whilst wrestling with the Techflex. I’m leaving the amp ends battoned down with a cable tie for now until I know how much play I need to plug them all in.

Upper Speakon plug done

The pic shows the first cable approaching completion with the baffle Speakon wired in. I had not used Speakons before, and the first time I finished screwing the 6 wires onto the plug mount I discovered that I had not only slid the blue back cover upstream on the cable (correct) but also the male insert element as well (definitely incorrect – you cannot remove it without taking all the wires out again!). After this little learning curve the other three plugs went on without a hitch.

EDIT: For my records, the wiring for the 8 way Speakons is:

  • T+ to 4-
  • T- to 1-
  • UM+ to 2-
  • UM- to 3-
  • LM+ to 4+
  • LM- to 2+

Maybe a wire up and test tomorrow?


The moment of truth! – and an unexpected hitch

Test setup
Test setup

OK, so now you will learn why, from the listening point of view, I have time on my hands. A couple of days ago I lugged 36kg of NAD amp in from the garage, connected up the miniDSP and the CD player, and transferred SL’s test files to a memory stick in readiness for a full system test. My new Marantz CD player conveniently has a USB input on the front panel which saved the hassle of burning them to disc.

DSP, amp & spaghetti

Before turn-on there was the small matter of affixing 20 banana plugs to the speaker cables. I had bought 24 Nakamichi plugs off e-bay some weeks earlier – nice plugs but affordable. The screwdriver slipped off one and plunged into my index finger – brisk haemorrhage resulted but no severed nerves or tendons…

A few days earlier I had experimented with the miniDSP  remote learning facility, hoping I could use the Marantz remote. Didn’t recognise any key presses, so I retrieved a spare NAD remote, and this programmed with no difficulty, allowing volume control and configuration selection. Turned on DSP, CD player, then amp, ran the alternating pink noise test and cautiously turned up the volume…

Obvious clear difference between speakers, and quickly apparent that the L woofers were doing nothing. I knew the speaker cables were fine as I had performed full polarity checks the day before – but I checked again. Fine. So one of my RCA leads was faulty? (Though I had tested all these too.) Lead swaps did not correct the problem however, and I was puzzled.

So… Was it the amp? Unplugged everything except for one input and a lower midrange driver, and went along the channels one by one using the 100 Hz test signal. Channels 1,2 and 3 dead as a dodo. I then realised  the amp was in protection mode, and had switched off the power amp module supplying 1 – 3. Damn! I had no idea when this fault occurred, having barely used the thing since purchasing it many months earlier.

Old amp to rescue
Old amp to rescue

After I settled down I retrieved my old NAD 2155 amp from the garage, transferred the upper woofer channels to it and tried again. Had to take off four banana plugs (note the blood-stained screwdriver). Pink noise test passed, so (at gentle volume) I christened speakers with a little Bowie in honour of our recently departed hero. Following this with snippets of a Yes favourite track was enough to prove that:

  • Everything I have built works as it should
  • The sound is very clean and detailed

However, sadly I am going to have to wait before a more thorough evaluation of quality and power. Everything is unplugged and the music room is restored to some order for now. At least it gives me the opportunity to finish this log…


Finishing touches

Spare time in the last few days has mainly been spent on researching options for the amp repair. The CI9120 uses four power amp PCBs each carrying three channels; these are independently protected by NAD’s circuitry. Spares are still available via Sevenoaks Sound & Vision but I was informed they were around £230 each and would take one to two weeks to arrive. I have rejected this route therefore in favour of taking it to someone prepared to replace individual components as necessary – after diagnostics of course. Whether it will cost any less remains to be seen…

After reading around my thinking was that whilst the amp is in the workshop it would be an opportunity to reset or even replace all trim pots, and even consider increasing bias to tweak performance. The power amp modules are regarded by NAD as “non user-serviceable”, and annoyingly for this reason the service manual has no info on factory default quiescent current settings. The only channels taking appreciable current will be the woofers so it should be OK running warmer. I intend to discuss these options with the pro to whom I have been recommended. It goes off to him tomorrow.

Felt and foam protectors

I had one small final task for the speaker bridges – to protect both bridges and woofer boxes, and to minimise any transmitted vibrations, I cut some self adhesive felt to cover the vertical inside edges of the bridge feet. I also cut four strips of self-adhesive foam and placed these on the sides of the bridges under their tops. If I ever built another pair of LX521s I would incorporate some sort of levelling option for the bridge feet; my build ended up with a slight twist on one of the bridge assemblies due to the solid cherry top so the feet were not absolutely level. My little carpet mats allow for this, so not a huge issue.

In the absence of amplification I have decided to educate myself further on circuits and have begun to work through the Complete Electronics Self-Teaching Guide. Who knows – I may end up building a Hypex multichannel amp as beloved of the LX521 user group fraternity! In the mean time the good lady wife has a plump list of projects for me now the speakers are complete…