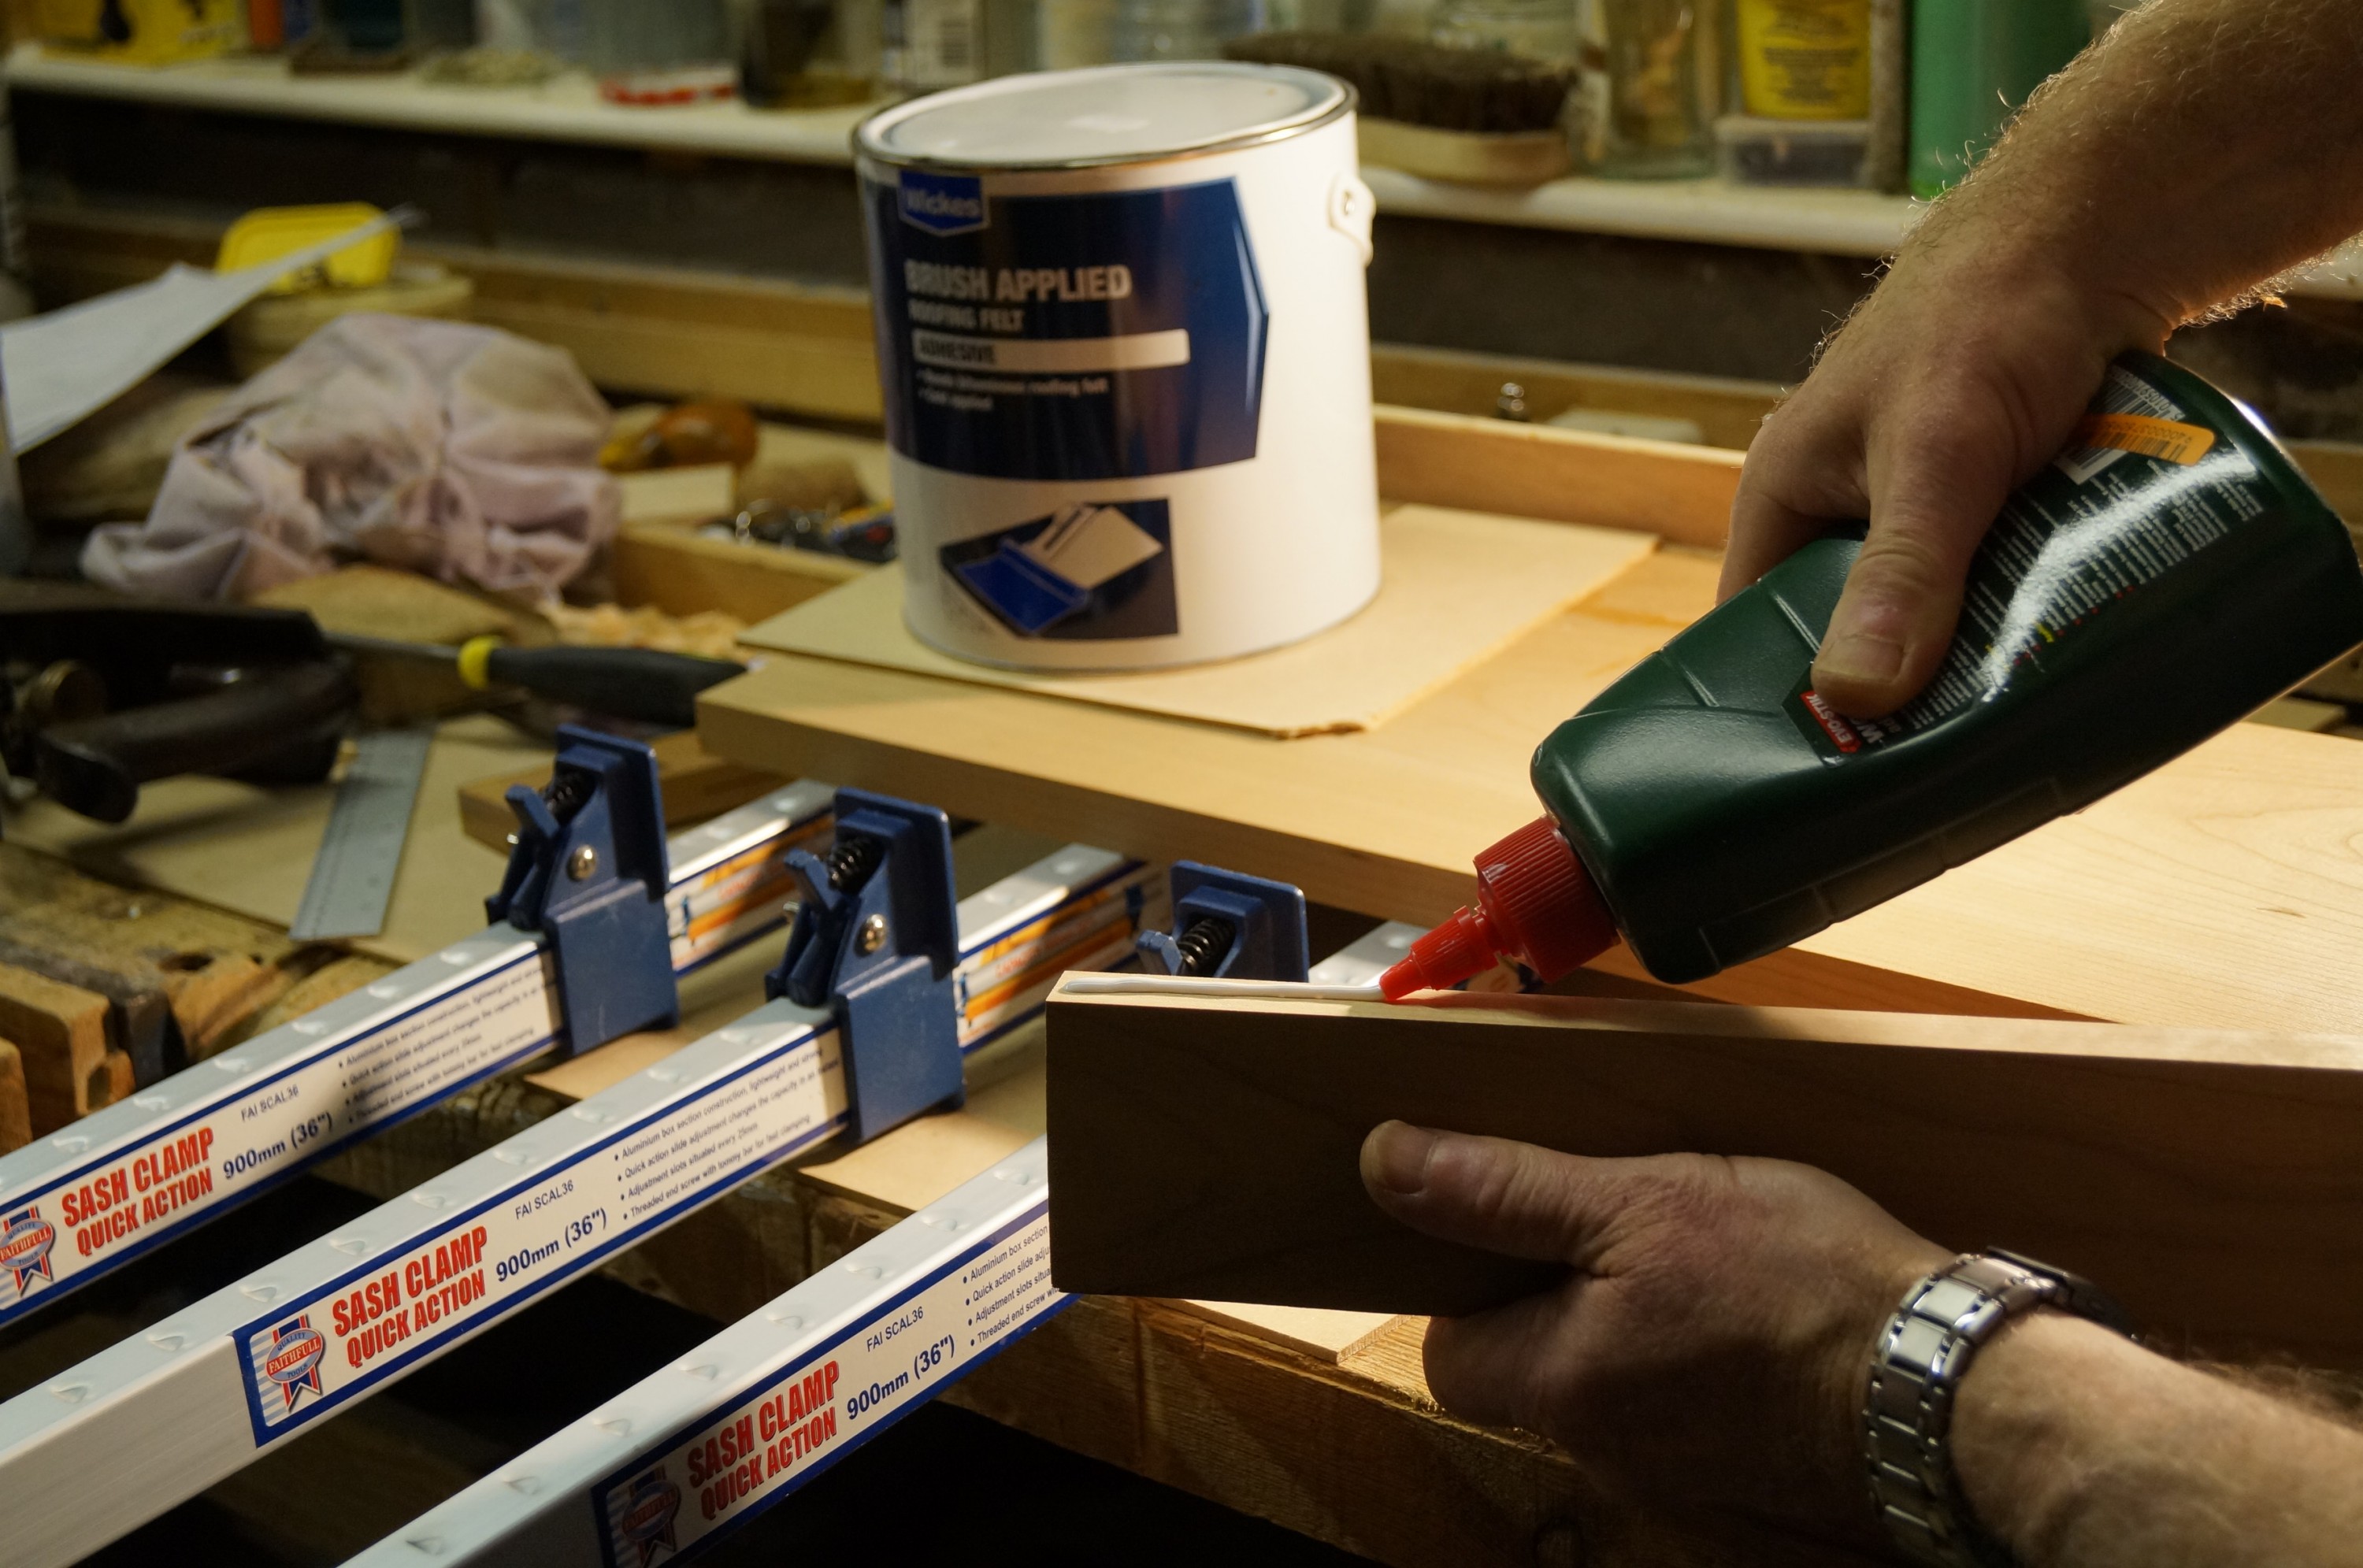
Initially I had planned to assemble the cherry boards with dowels to add strength, but after an experimental first joint decided to ditch the dowels; despite my most careful mark out the joint was slightly out of true. I had not realised how easy my new aluminium clamps would make the procedure, as these supported the boards perfectly during glueing. I left them clamped for several hours after which joints were rock solid and well aligned, requiring minimal planing off to achieve an impalpable joint line.

One baffle panel has a minor concavity because of a slight warp on the main central board, so I planed down the side boards by about 0.5mm to reduce this. It certainly won’t be noticeable without getting a straight edge out and I don’t anticipate a problem when it comes to mounting the drive units.
Once the planing was done I was able to retire to the kitchen to finish all the marking out. I plan to have all drive unit and screw / bolt holes drilled and and prepared before cutting out the finished baffle shapes – another job I am apprehensive about!