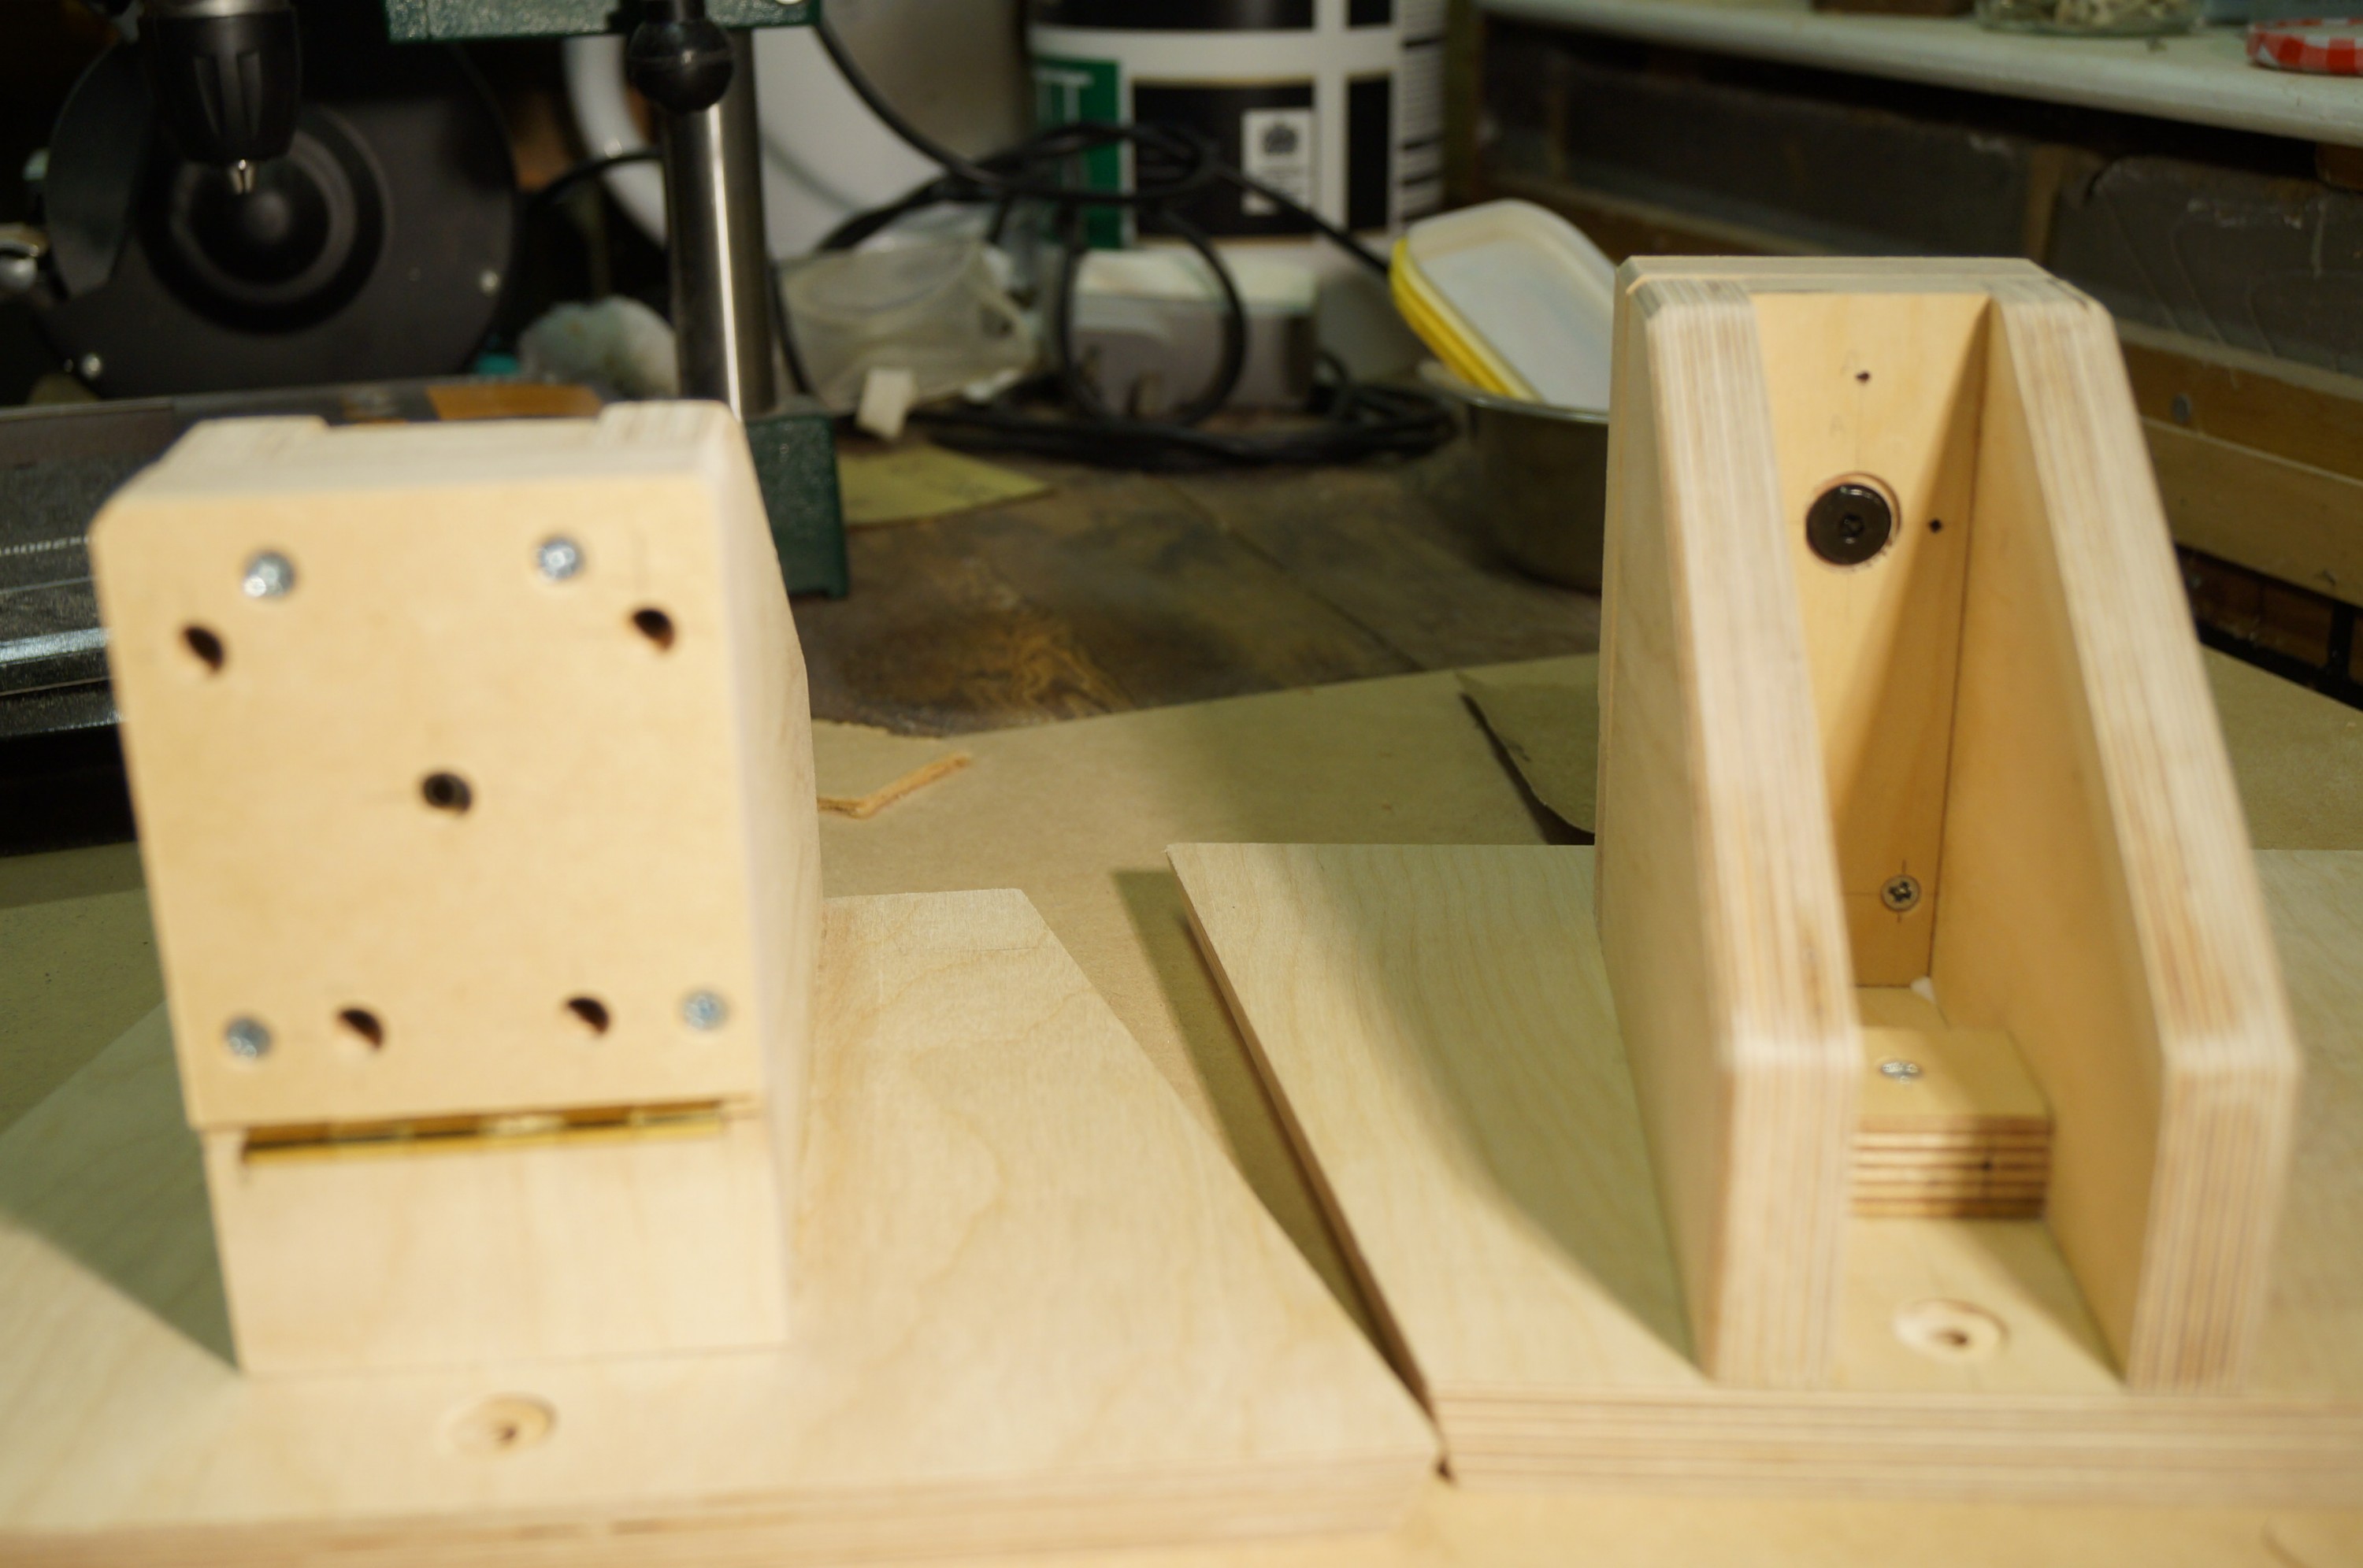
The last couple of days has seen further work on the baffle supports – these are now all screwed and glued and (bar the Speakon brackets and the small hardboard covers) sanded and primed. They are looking good.
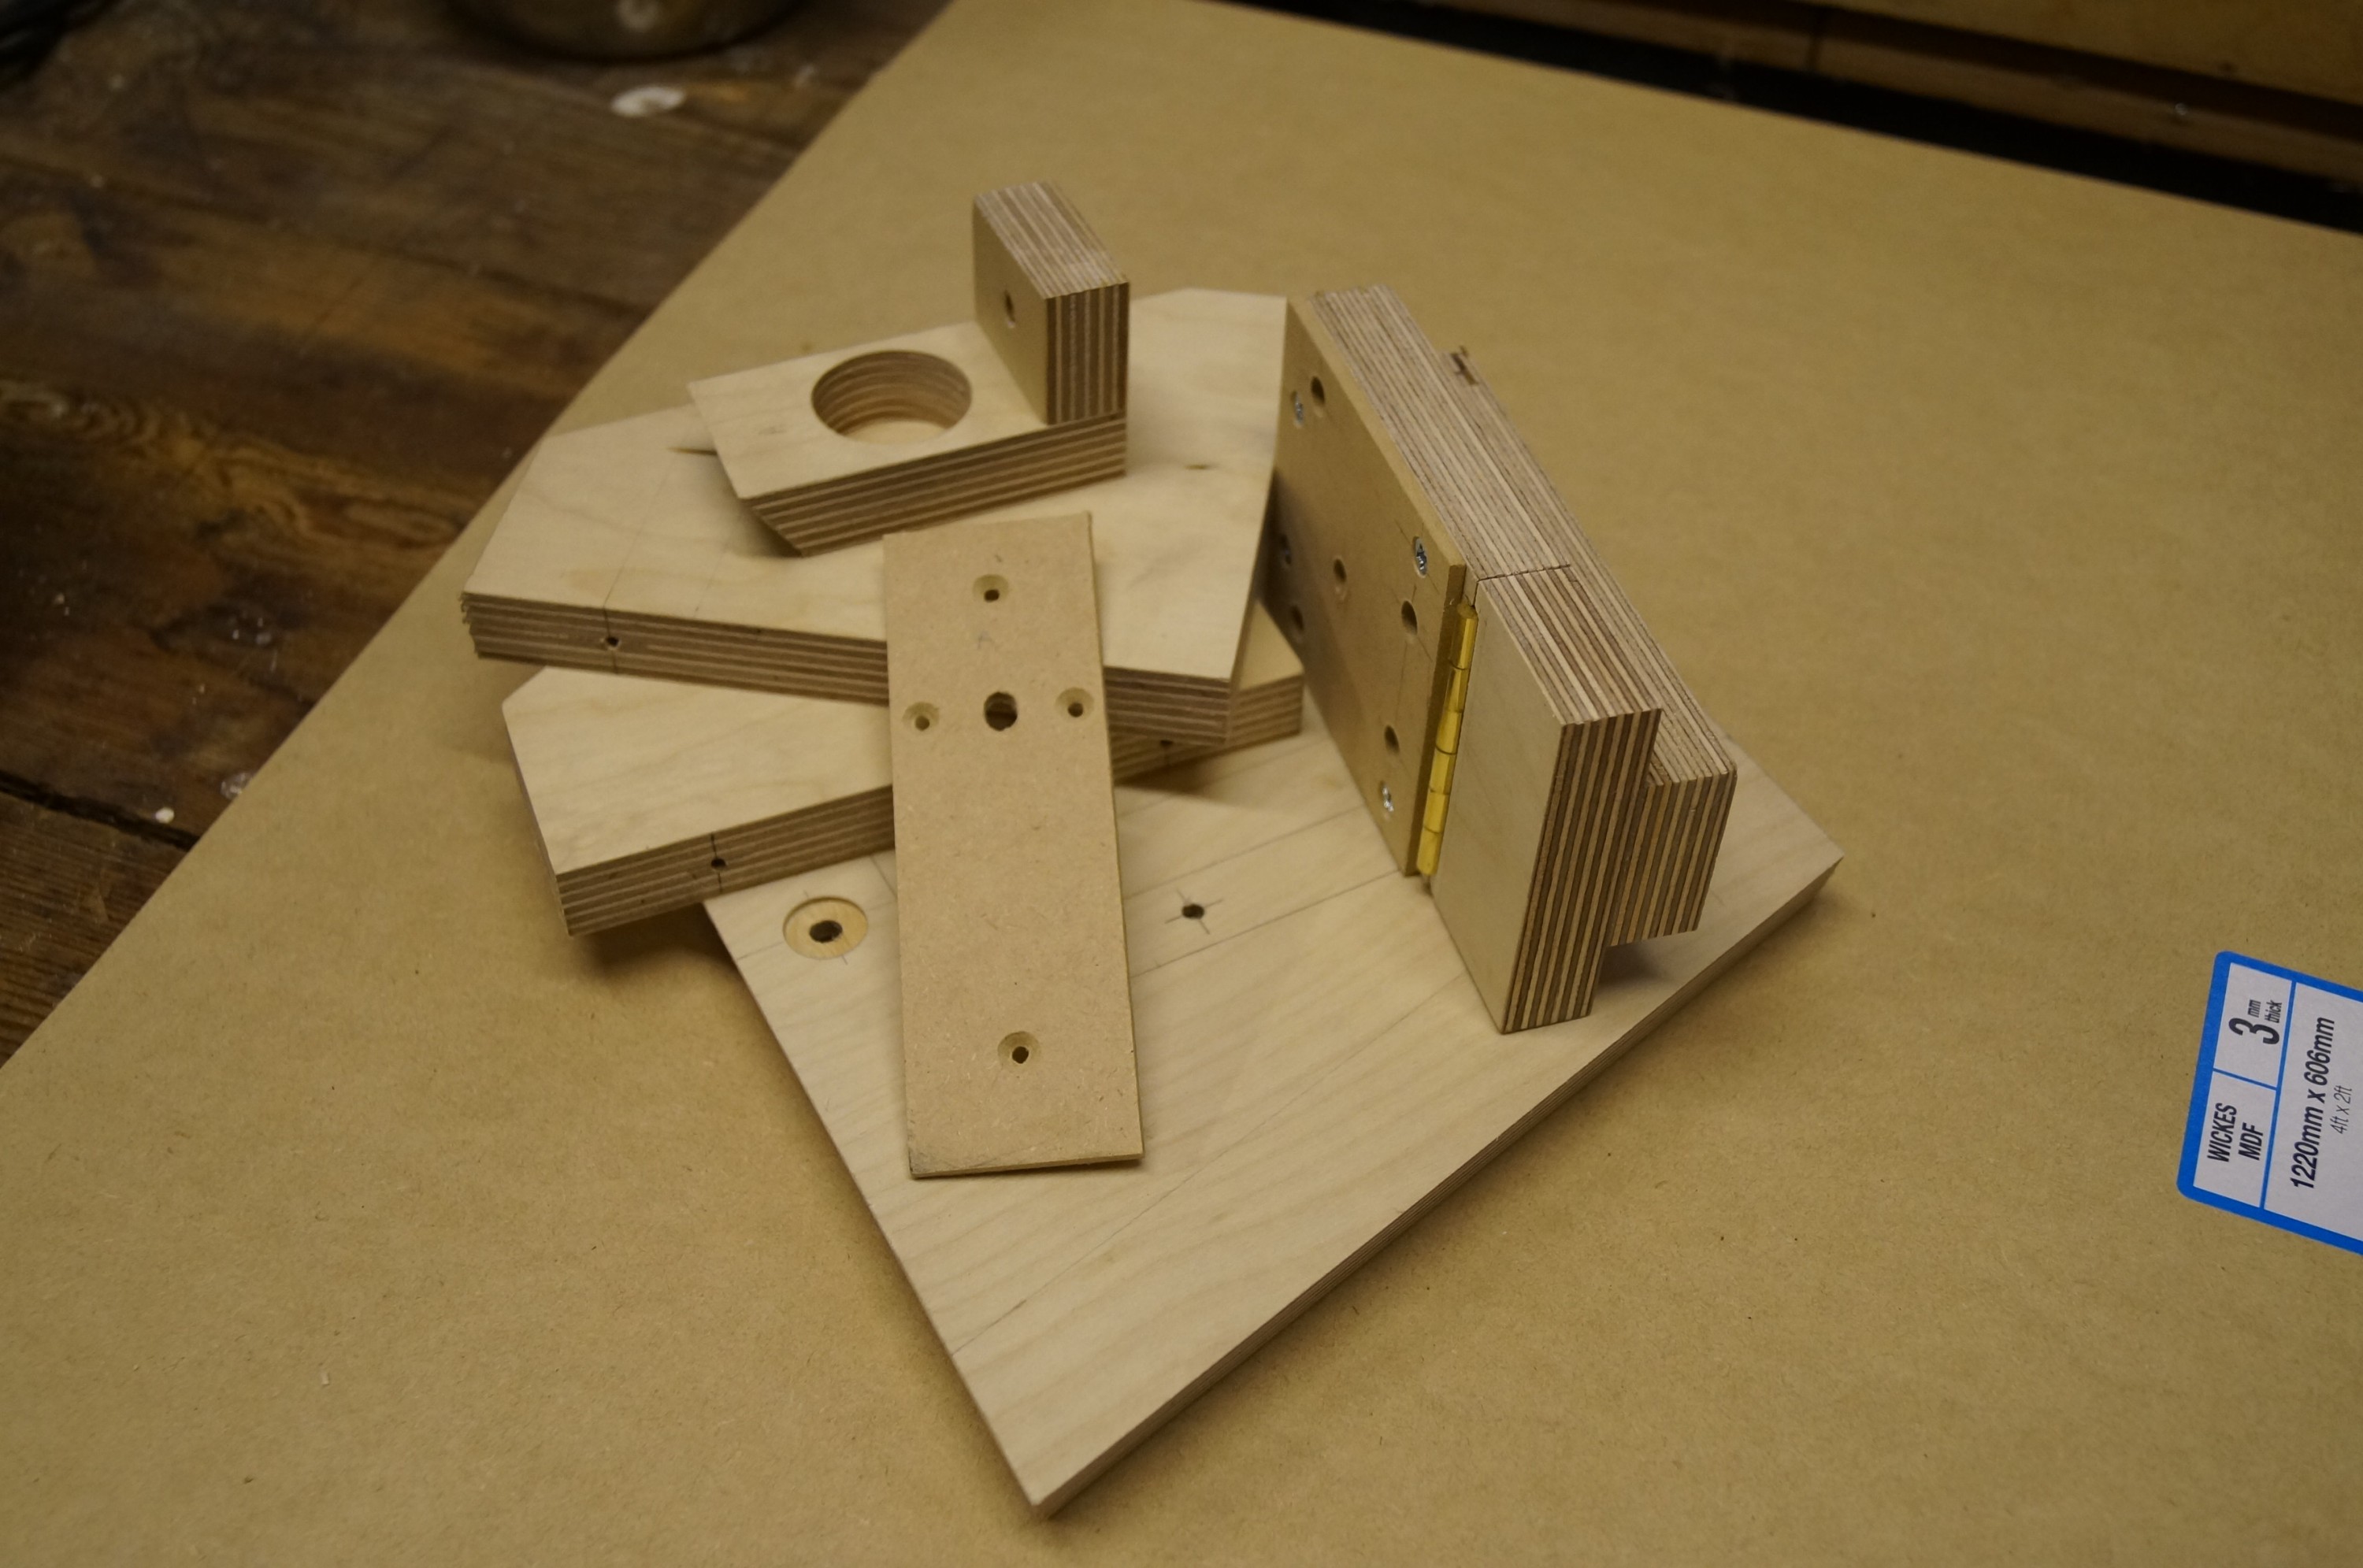
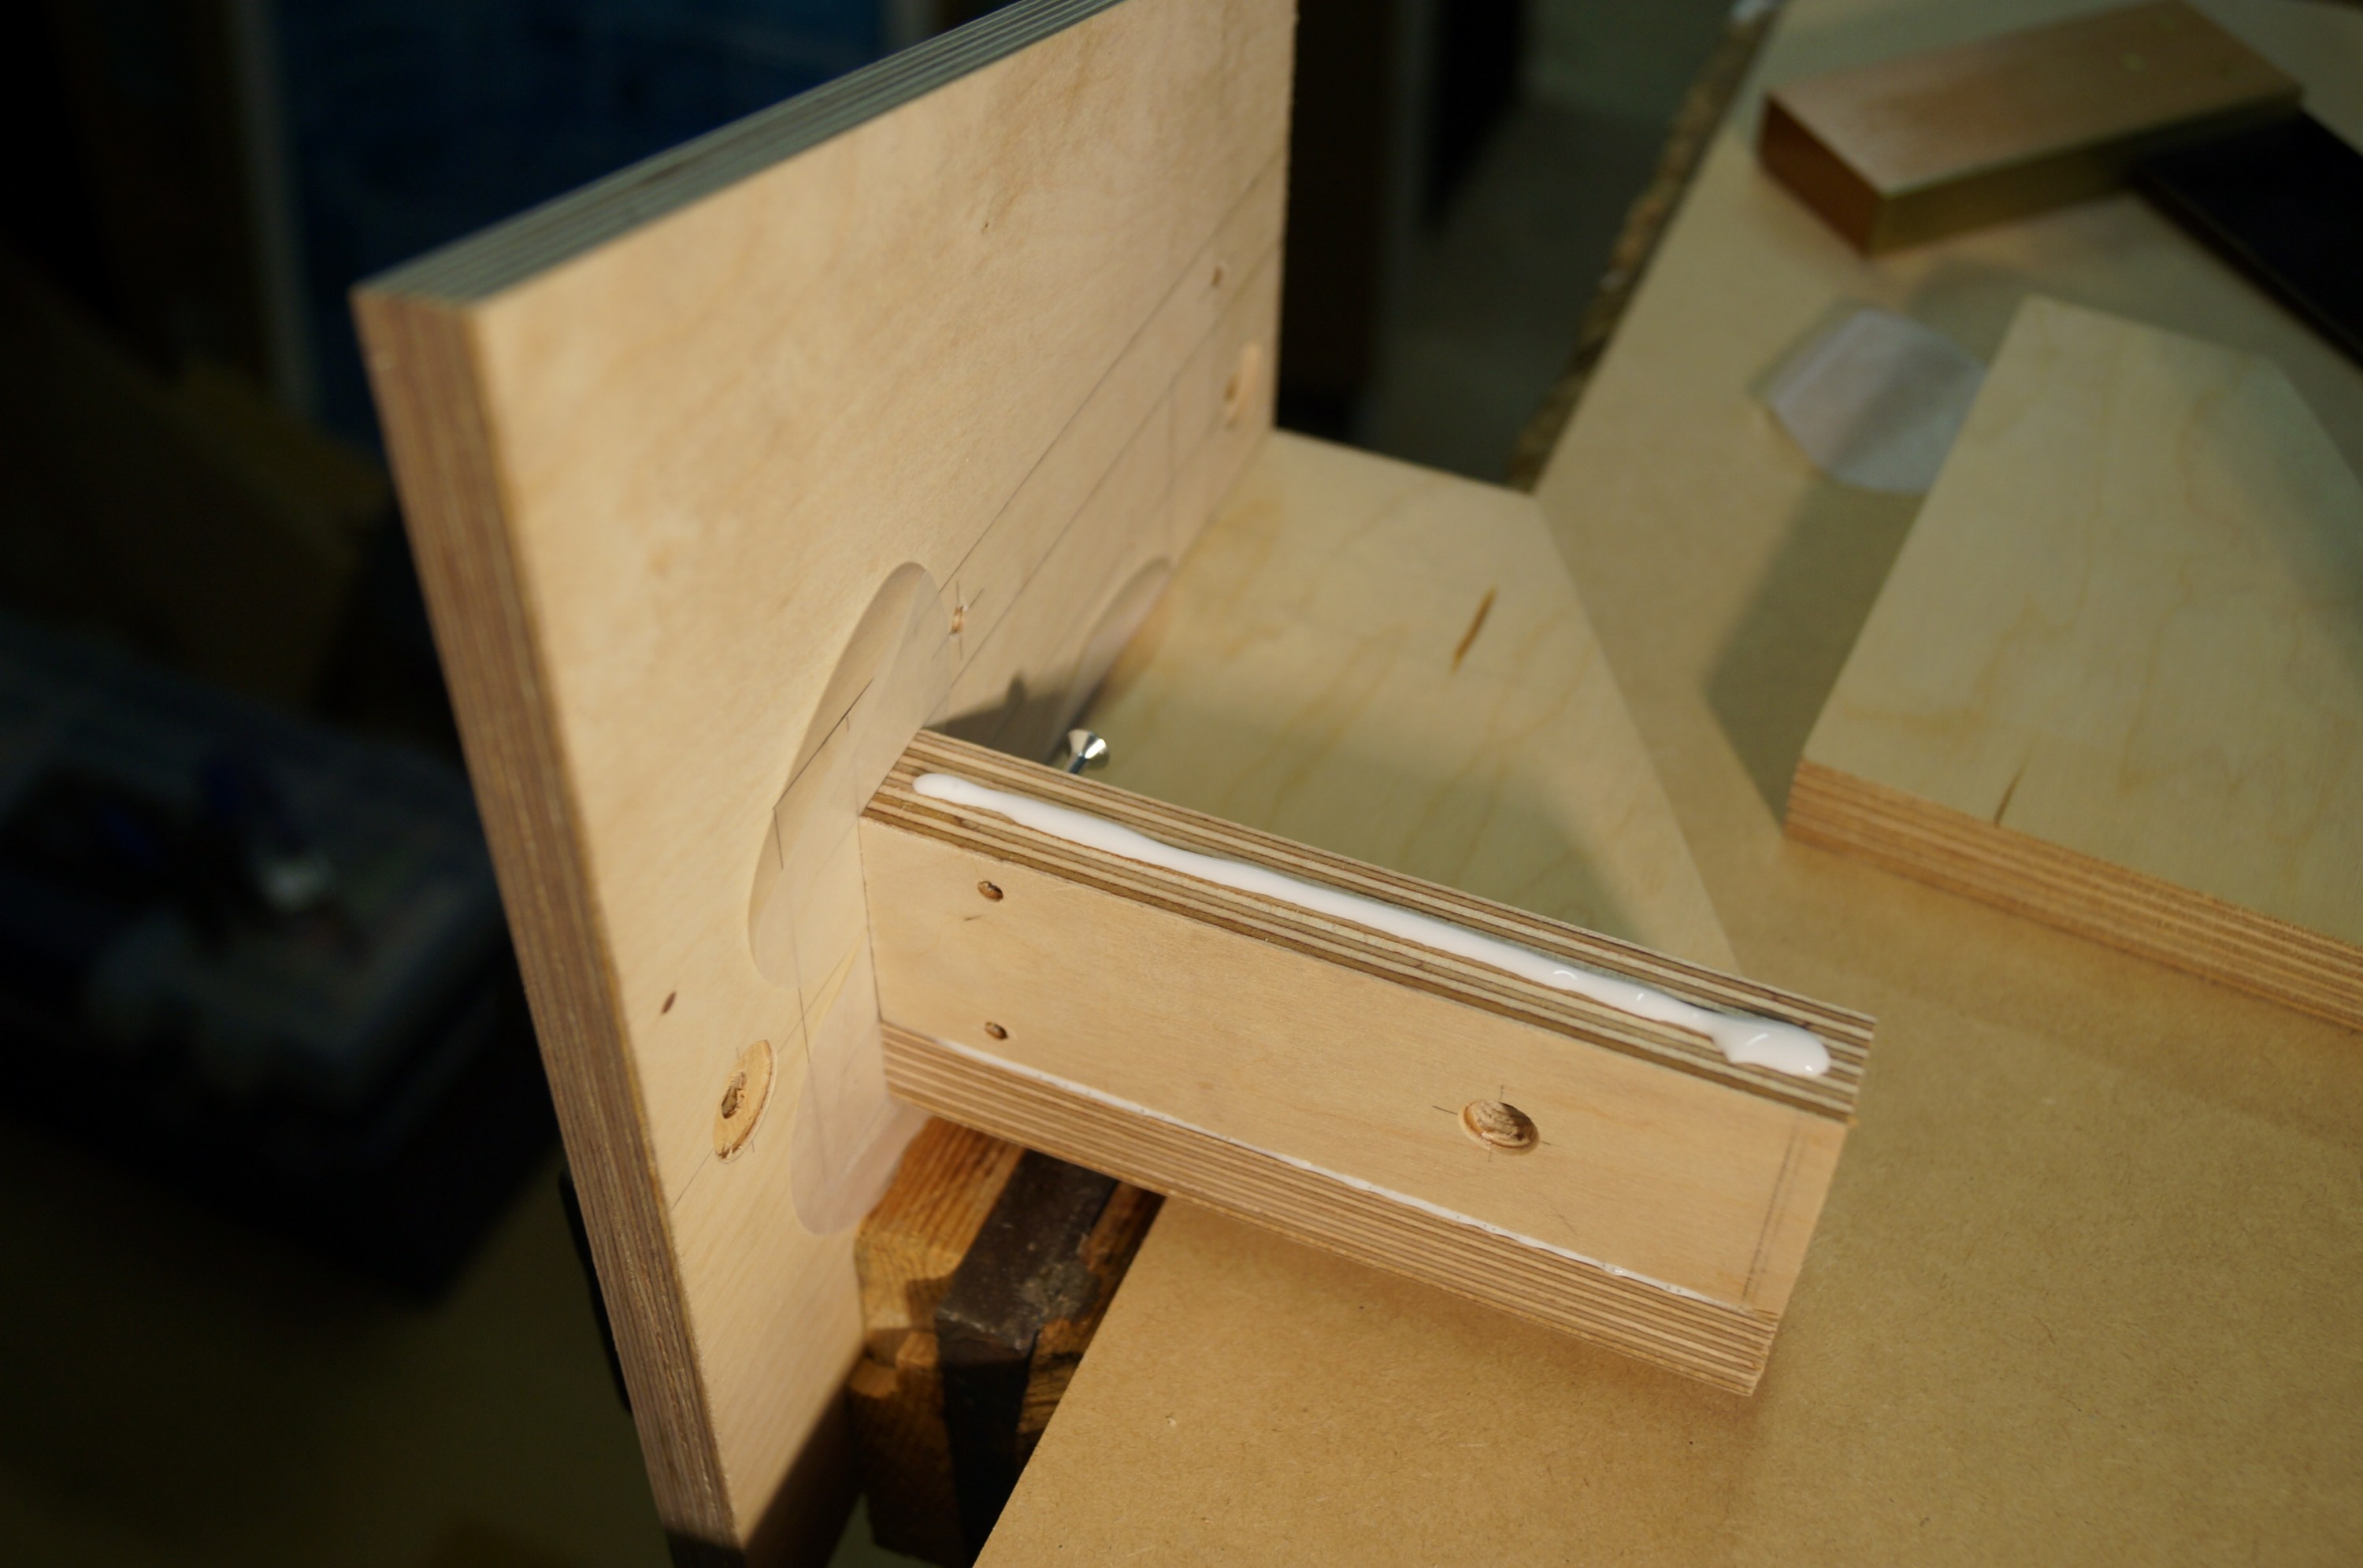
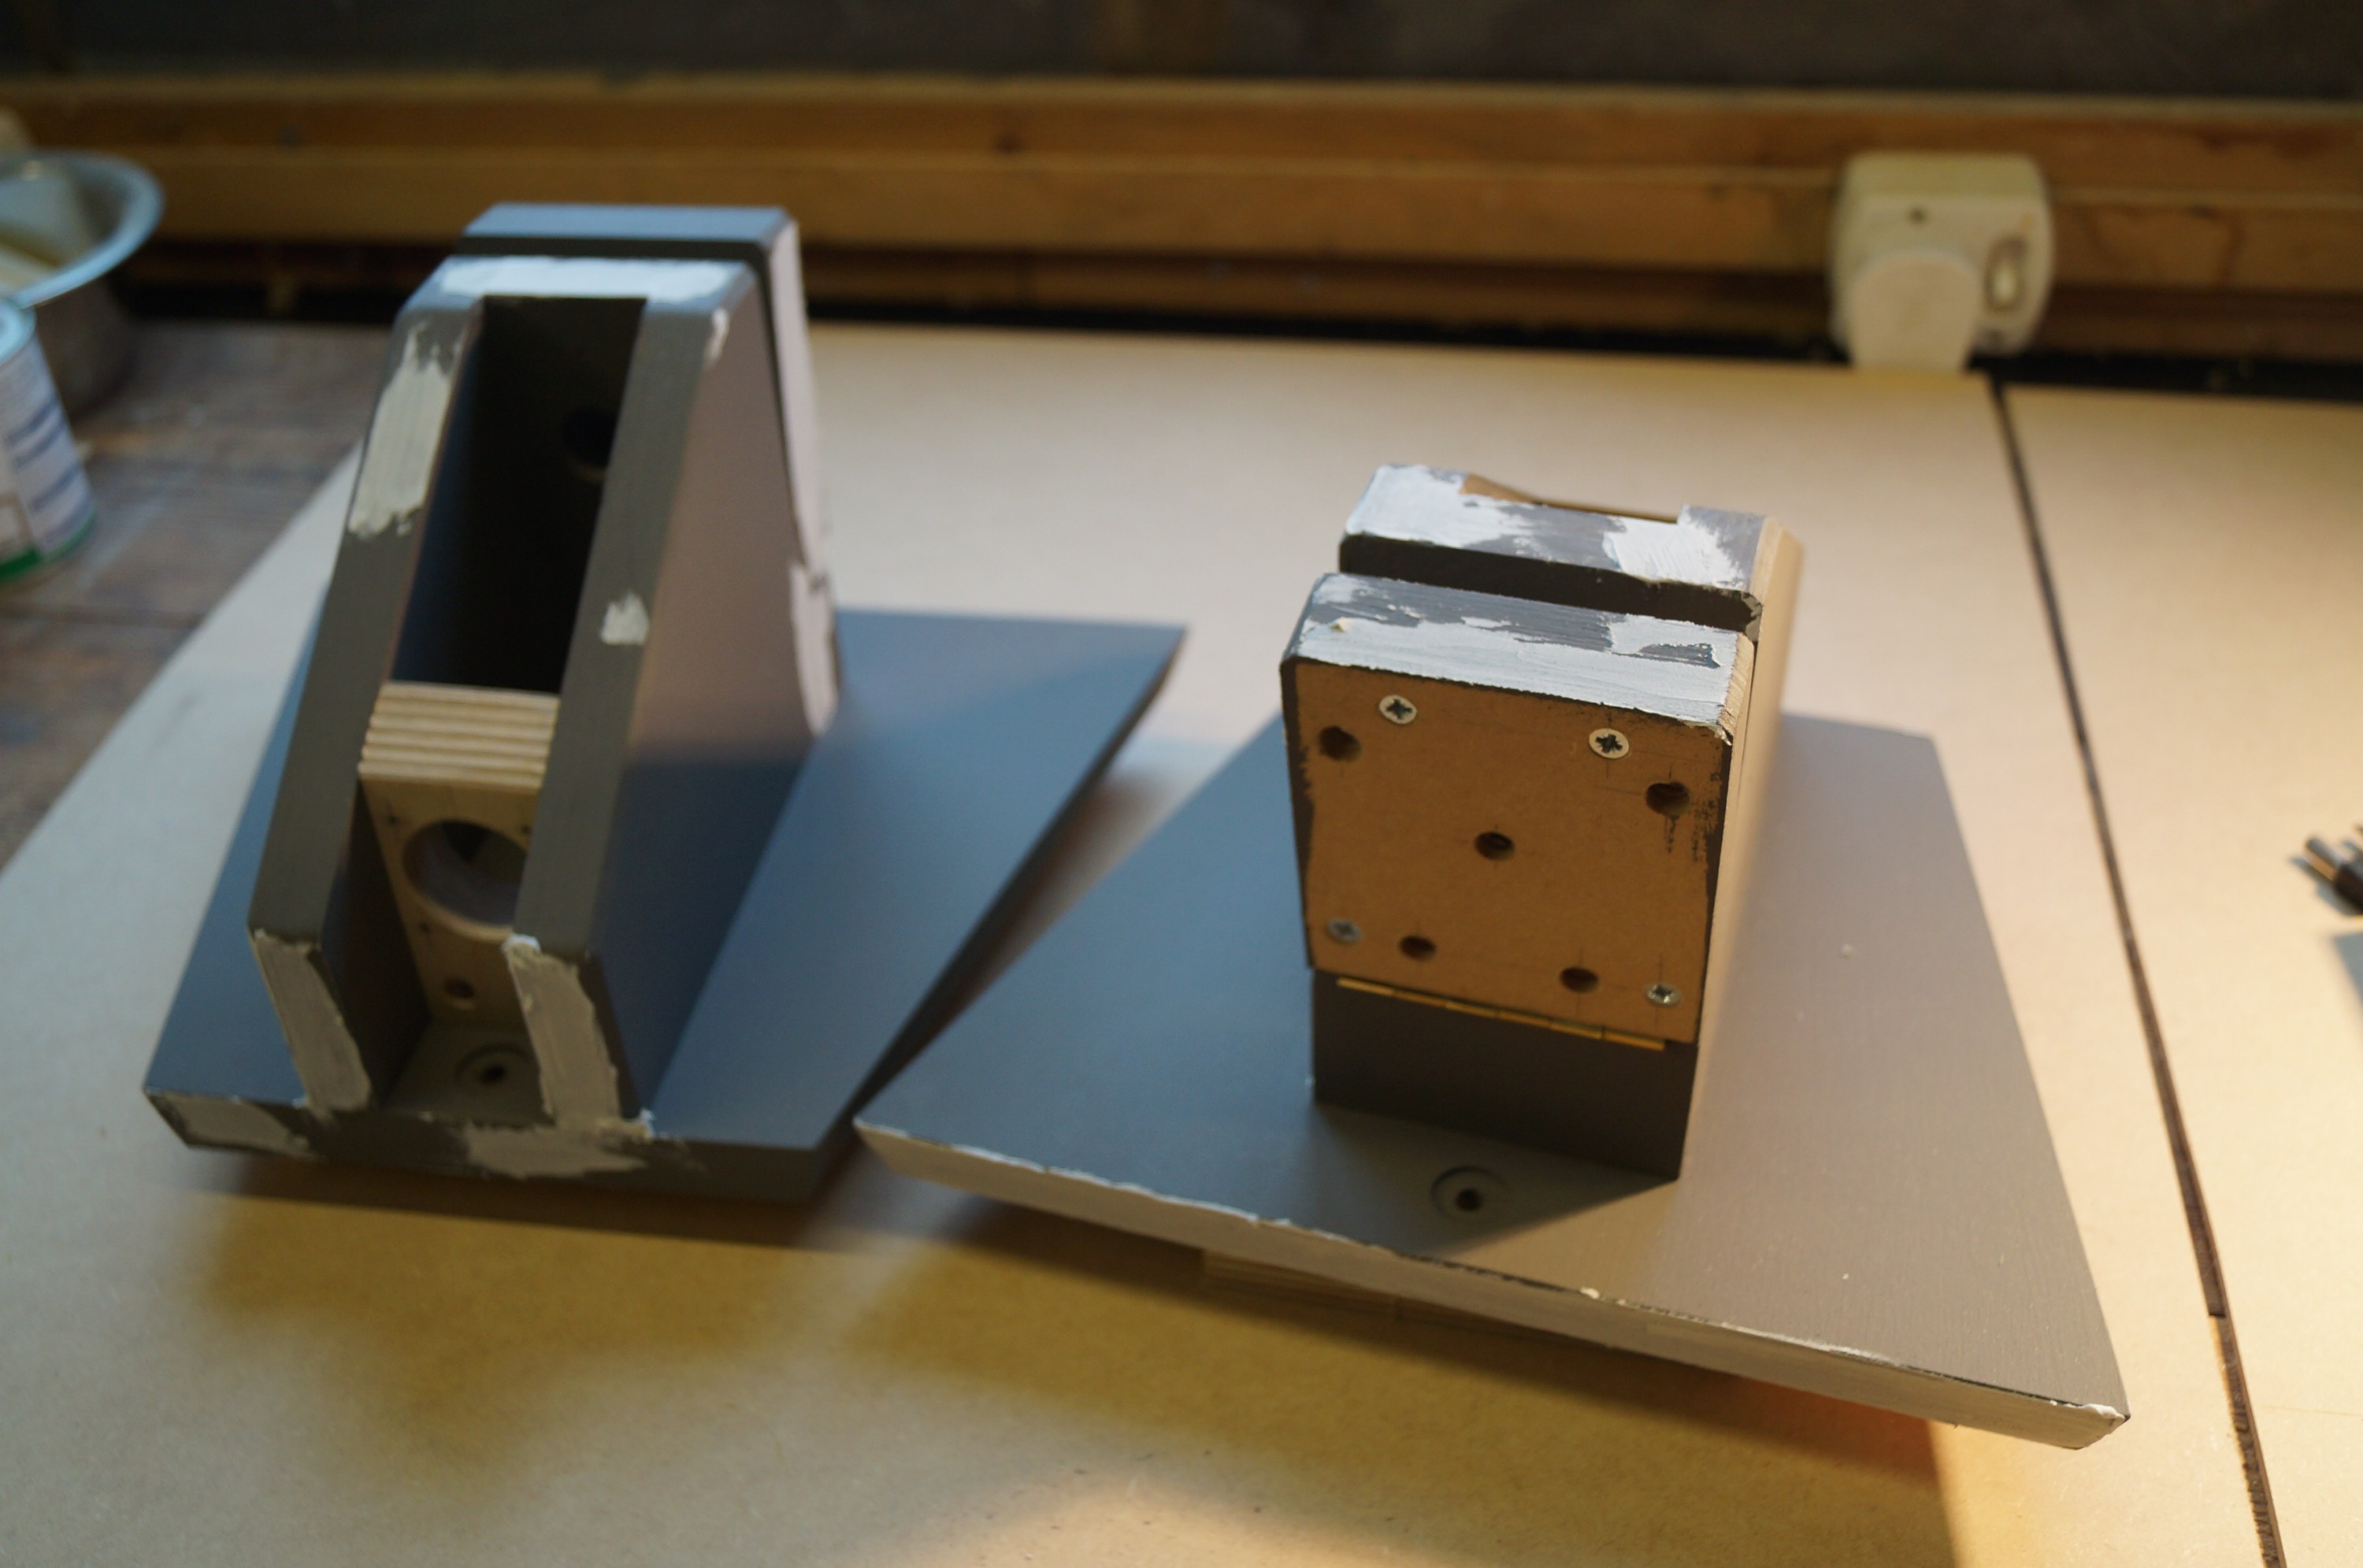
Glue-up had to be a staged affair (though not as laborious as the woofer boxes!), the main challenge being to ensure the sides were nicely square to the bases. The hardboard components are also shown here; the spacer is screwed onto the hinged element, and the narrower piece will go behind the front plywood components to retain the head of the bolt controlling the tilt.
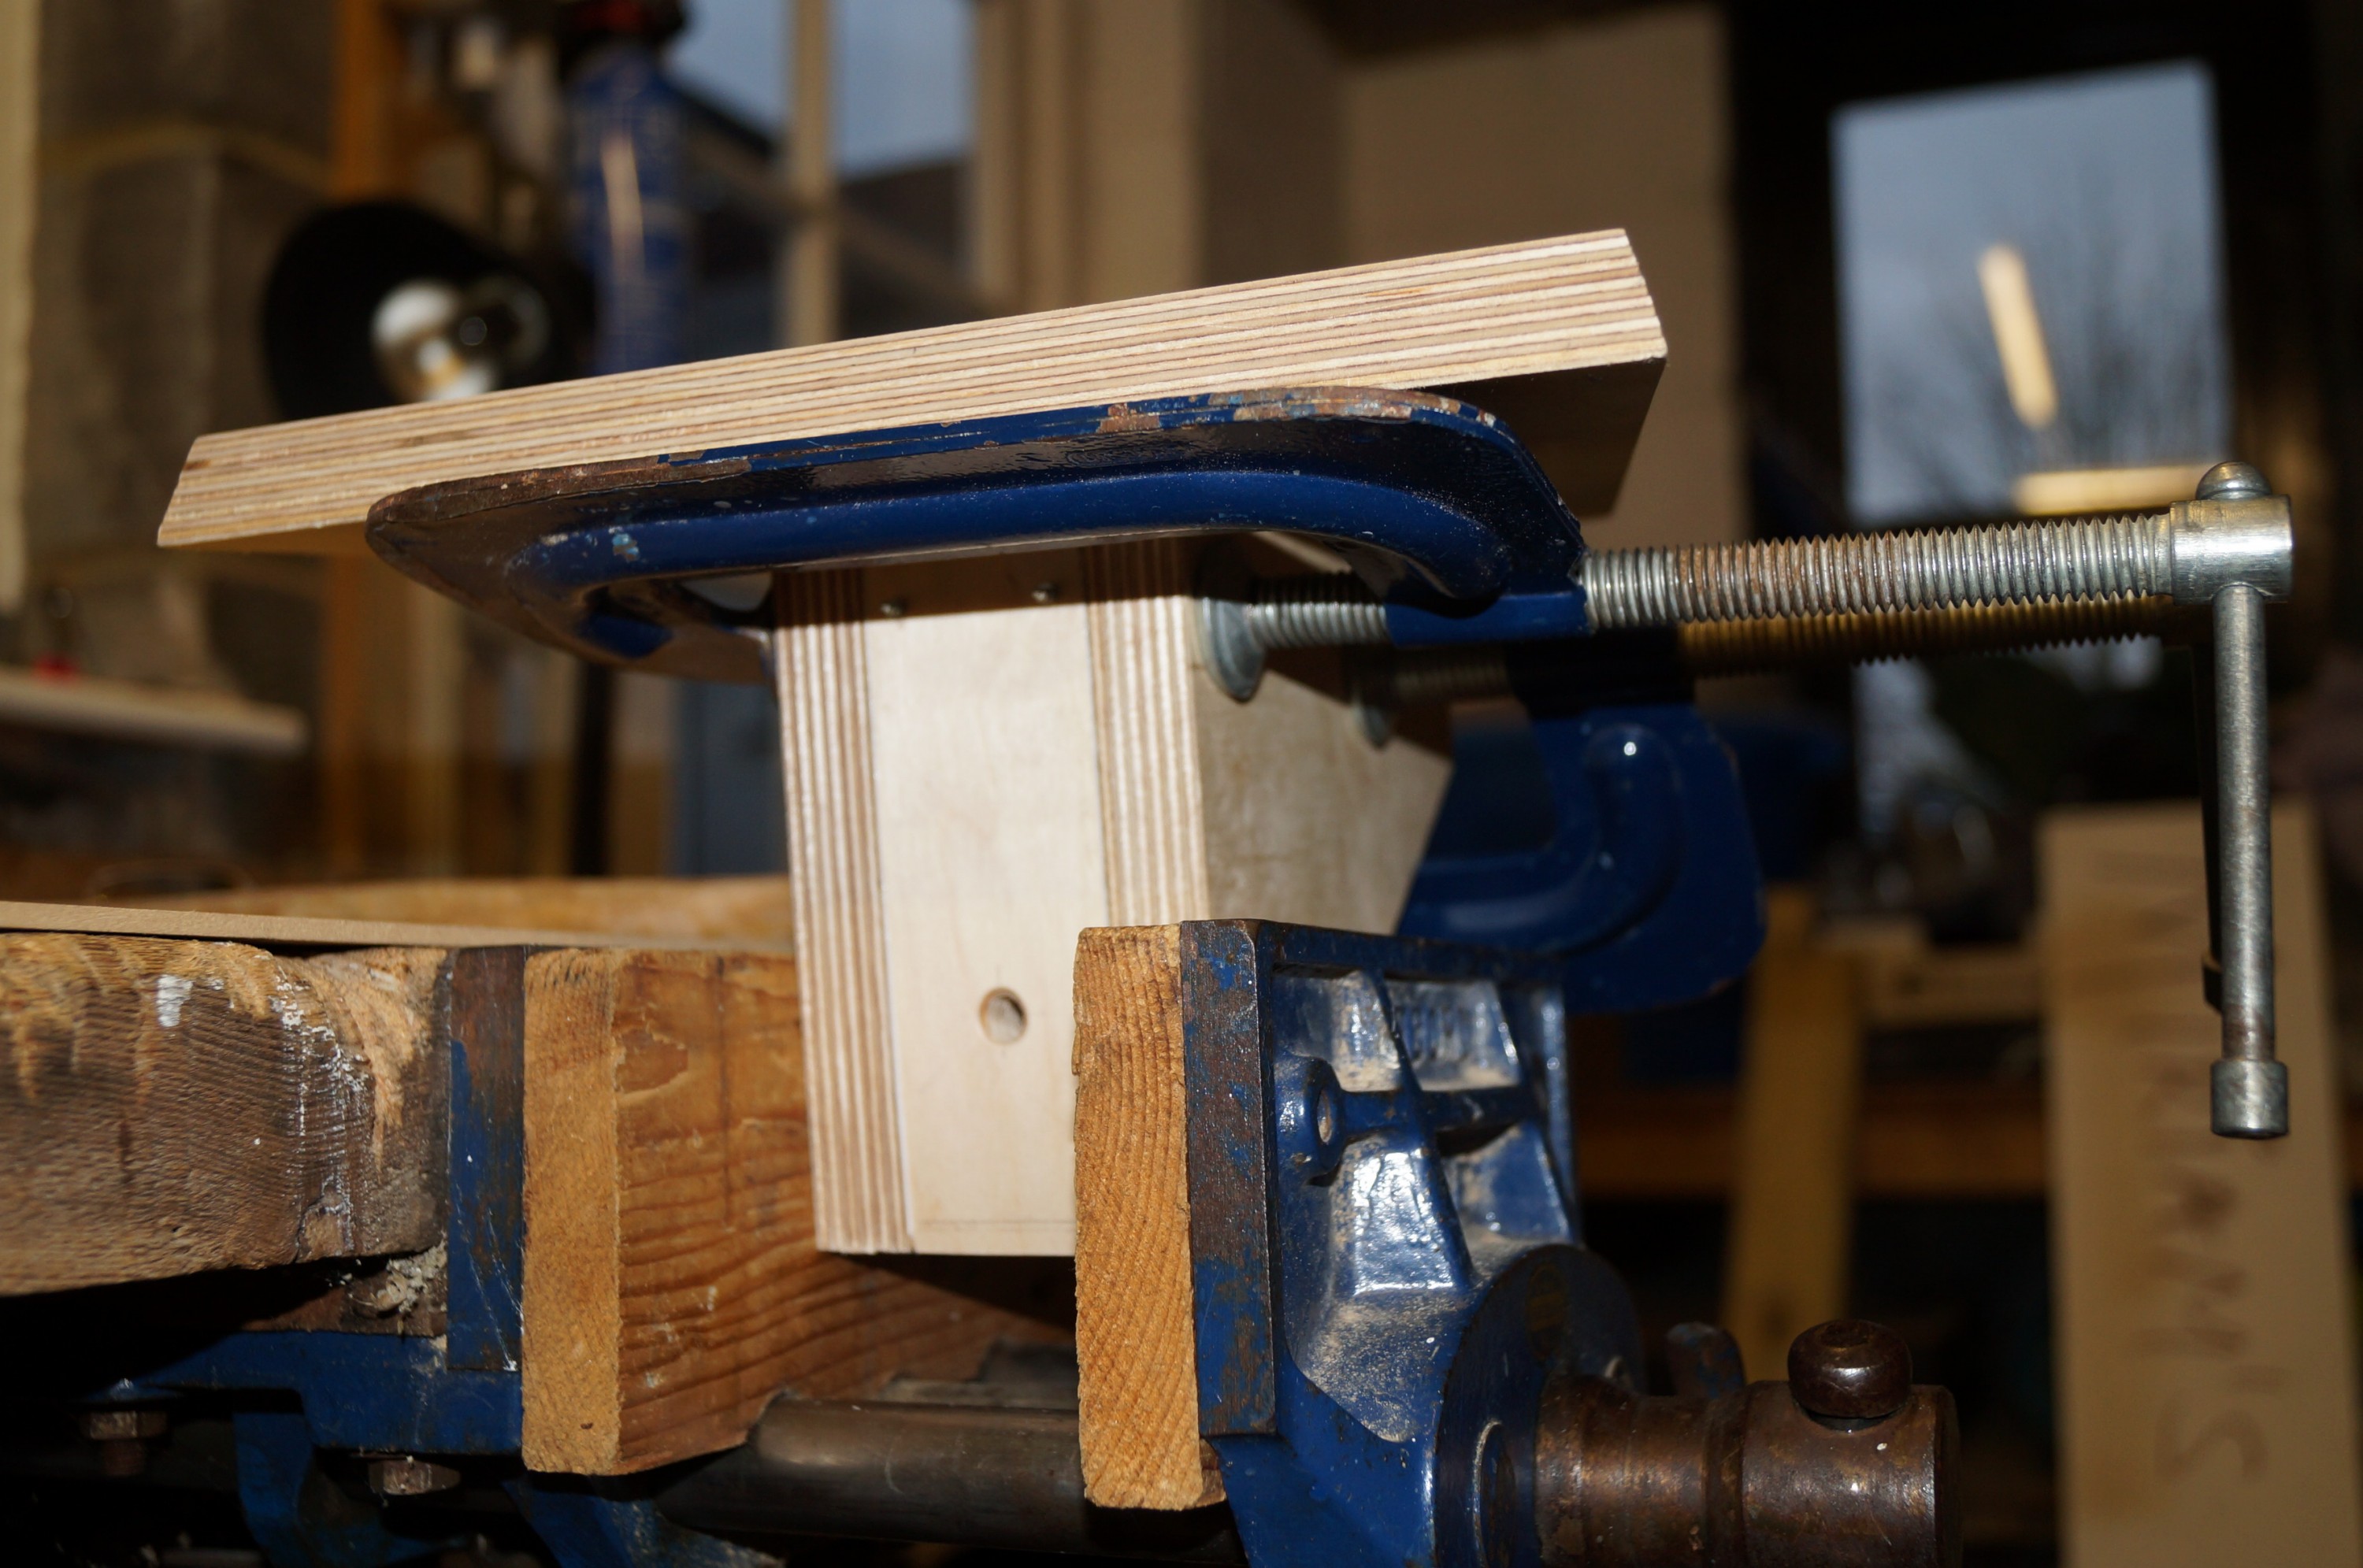
I found it easier to assemble the supports “sideways” initially with the bases clamped in the vice. The sides are each secured with two 2″ x No 8 screws inserted via the bottom of the base (not visible in my pics). The base of the Speakon brackets acted as a useful spacer when glueing the second side. I glued the sides, front elements and bracket bases together first, using wax discs again to keep the joints to the base glue-free so I could then unscrew the vertical assemblies from the bases to plane off any imperfections – planing options are limited once they are glued to the bases. Before gluing I had used a 12mm wood bore to lightly recess the front and rear fixing bolt holes on the bases.
After two coats of primer and some sanding and filling I found that the hinged elements were binding slightly on their lower edges when in their closed (vertical) position; this was easily solved by slackening and re-tightening the hinge screws which allow just enough play for fine adjustment.
The top of one of the small hardboard bolt retainers was a little proud so I took the plane to it – a bit too heavily, as it promptly snapped in two. They are fairly fragile. It too 10 minutes to mark out and cut a replacement, which fitted better than before, so nothing lost except a bit of dignity / pride!