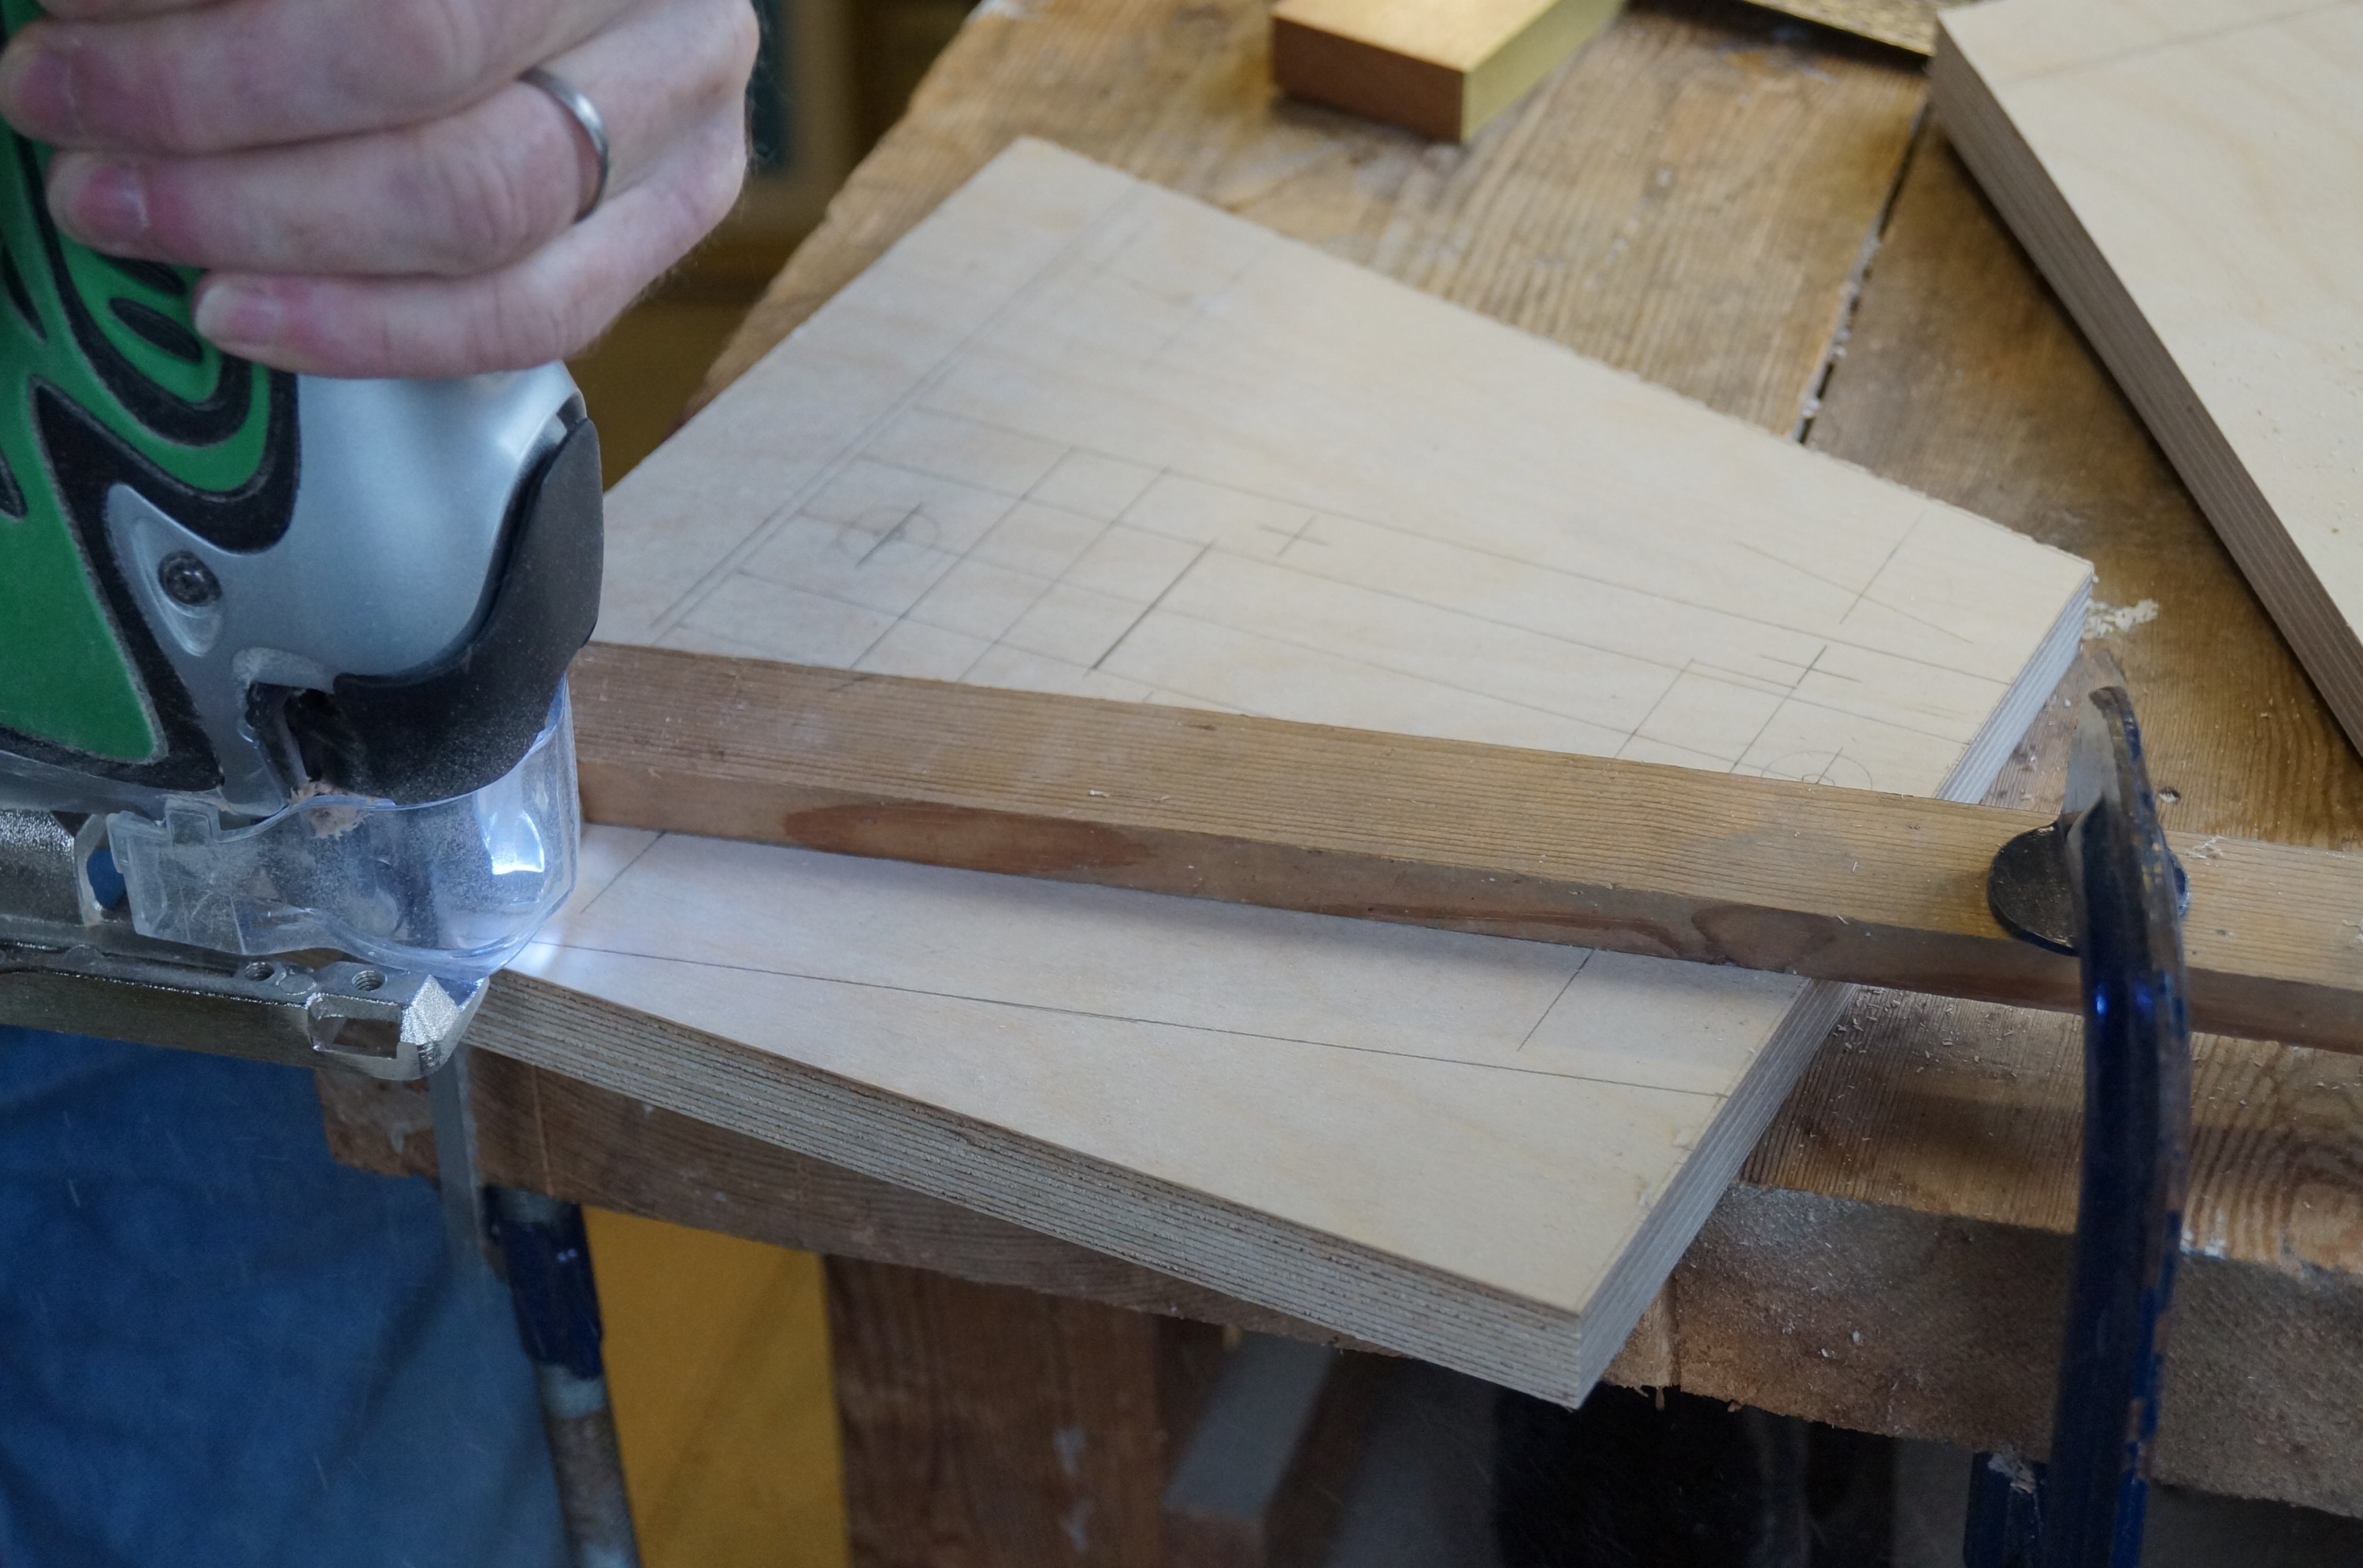
The last week has seen the sometimes fiddly job of marking, cutting and drilling the baffle support parts. My new jig saw came in very useful here. We have a love-hate relationship; I never find it easy to cut accurately to a line with jigsaws, so experimented with running straight cuts using a guide batten clamped to the work – better, though still not reliable enough to cut really close. Leave a millimetre or so and plane therefore.

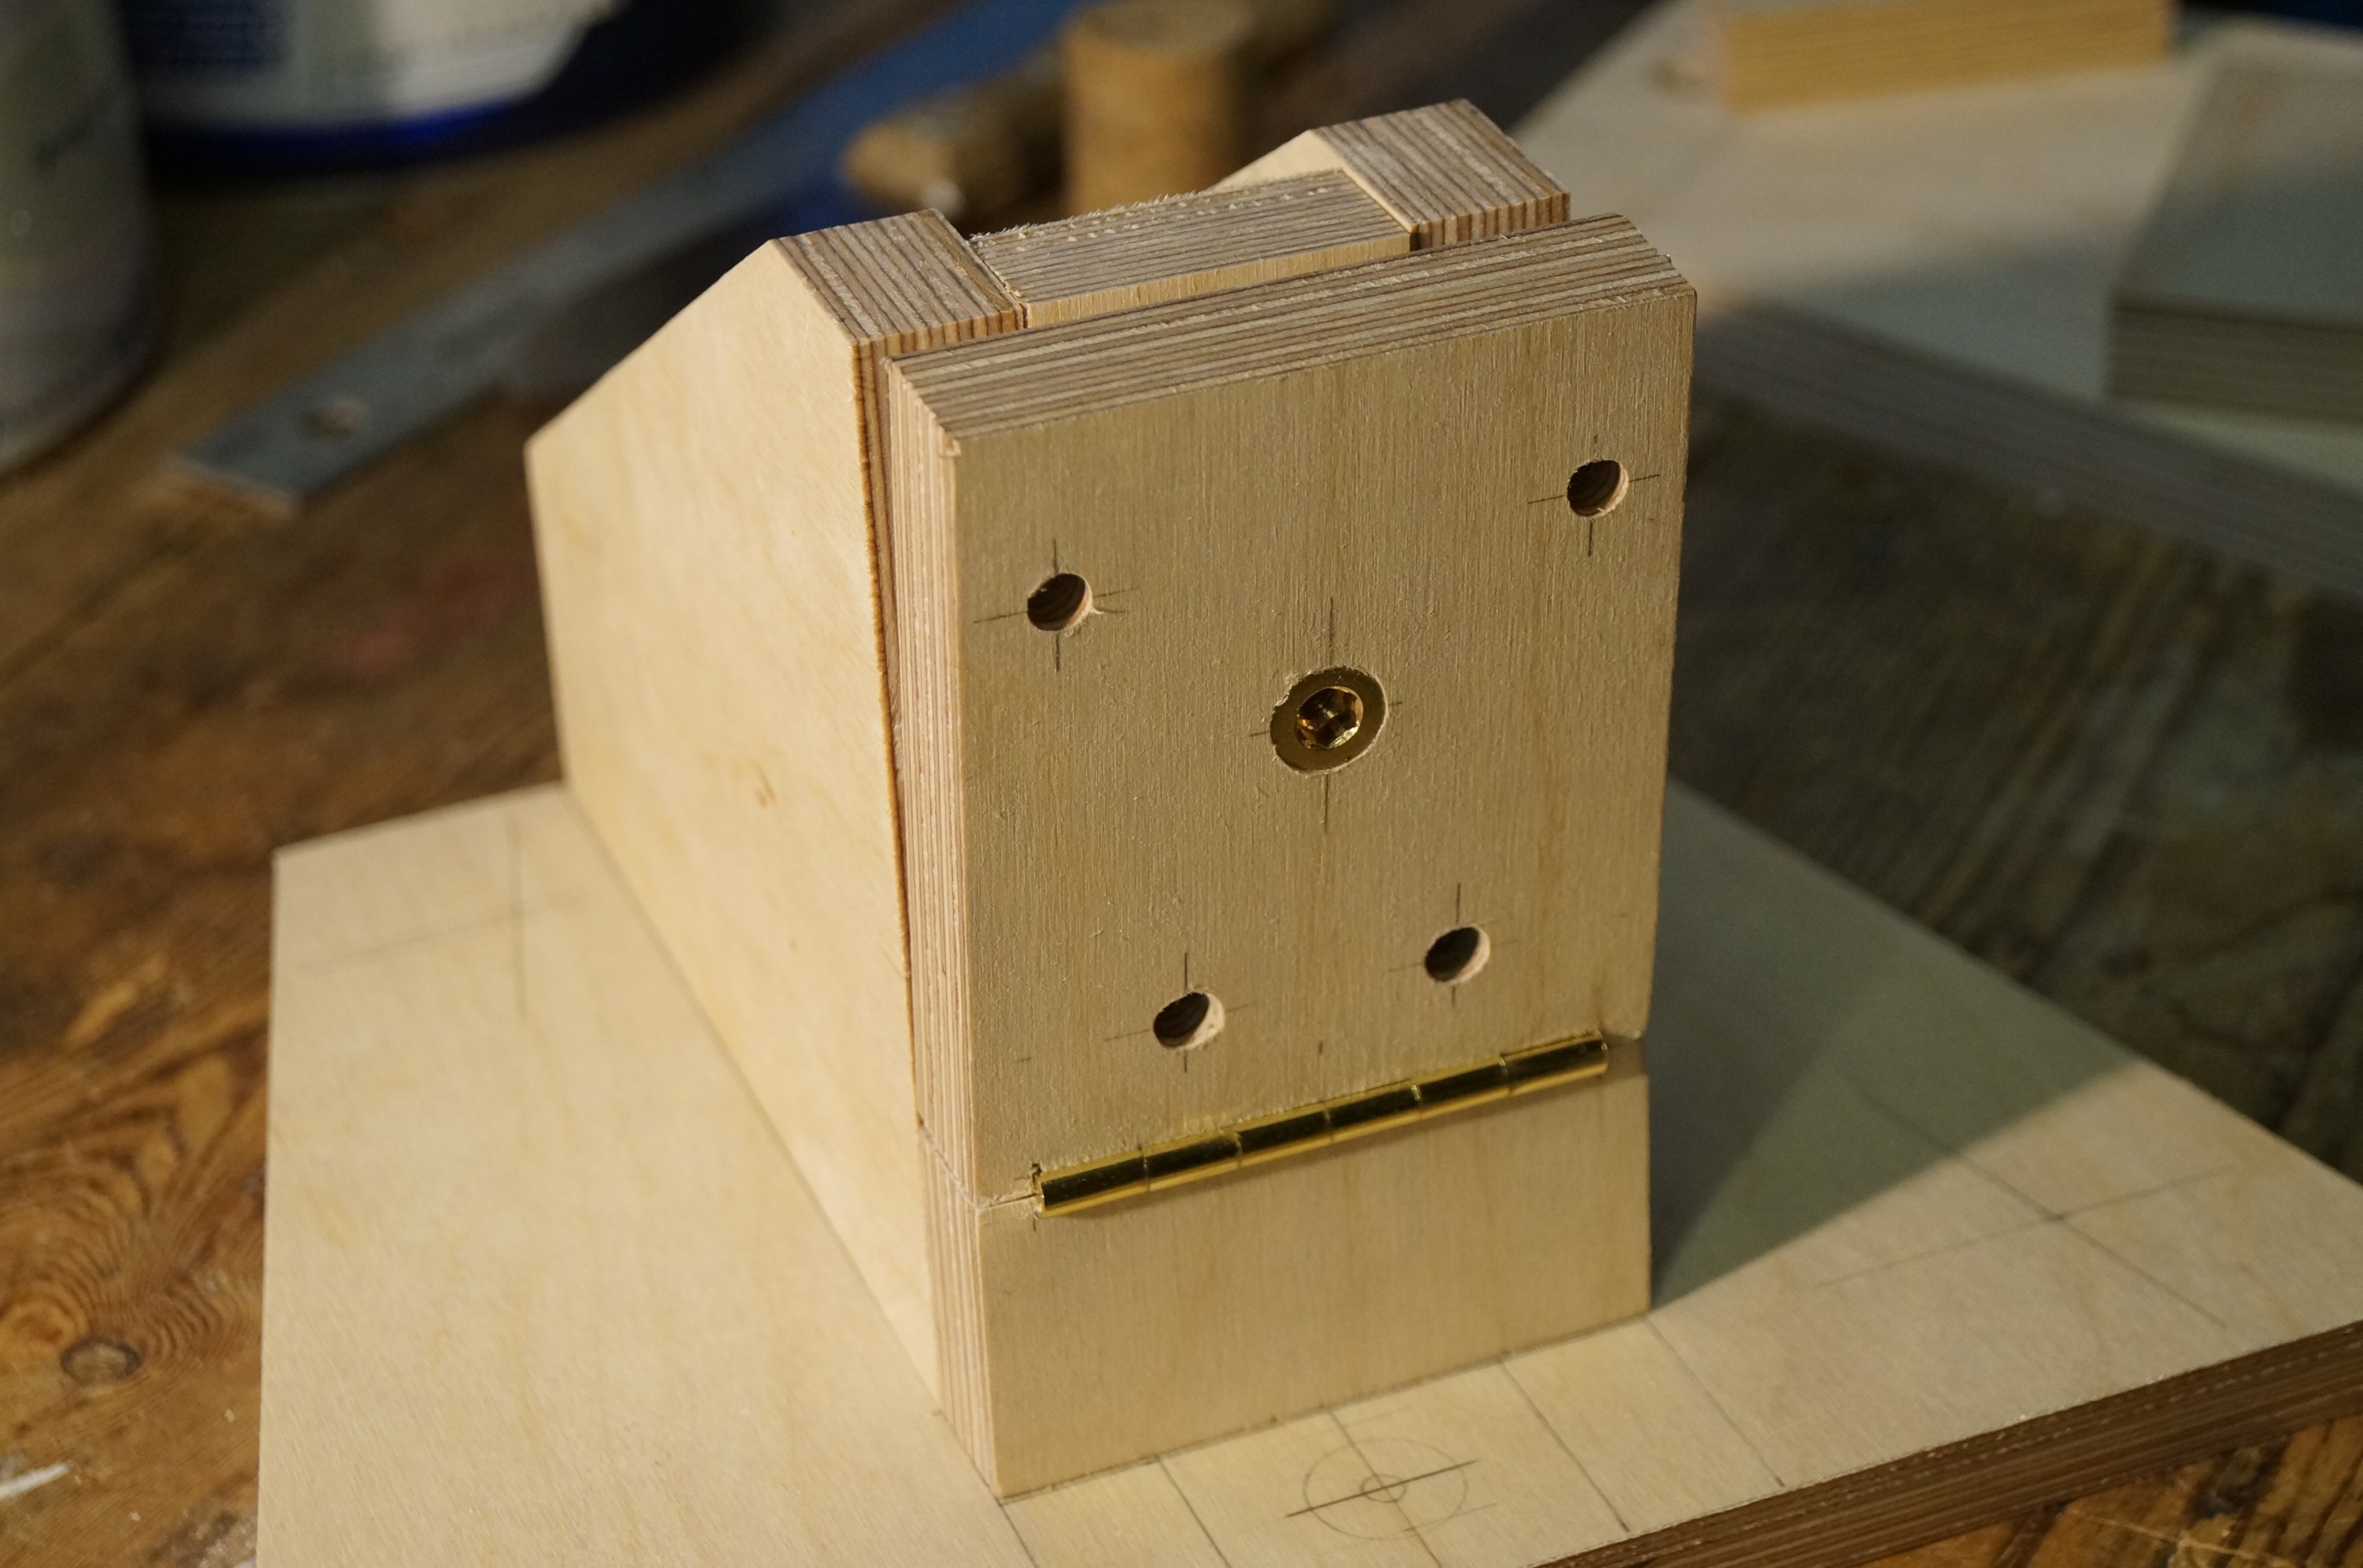
The first fiddly job was cutting the hinge rebates for the front tilt assembly. Birch ply is solid stuff! – so chisels were thoroughly sharpened first. One side was perfect first time; on the other the tilting upper part was a little out of line, requiring a few tho’ off to deepen the rebate at one end.
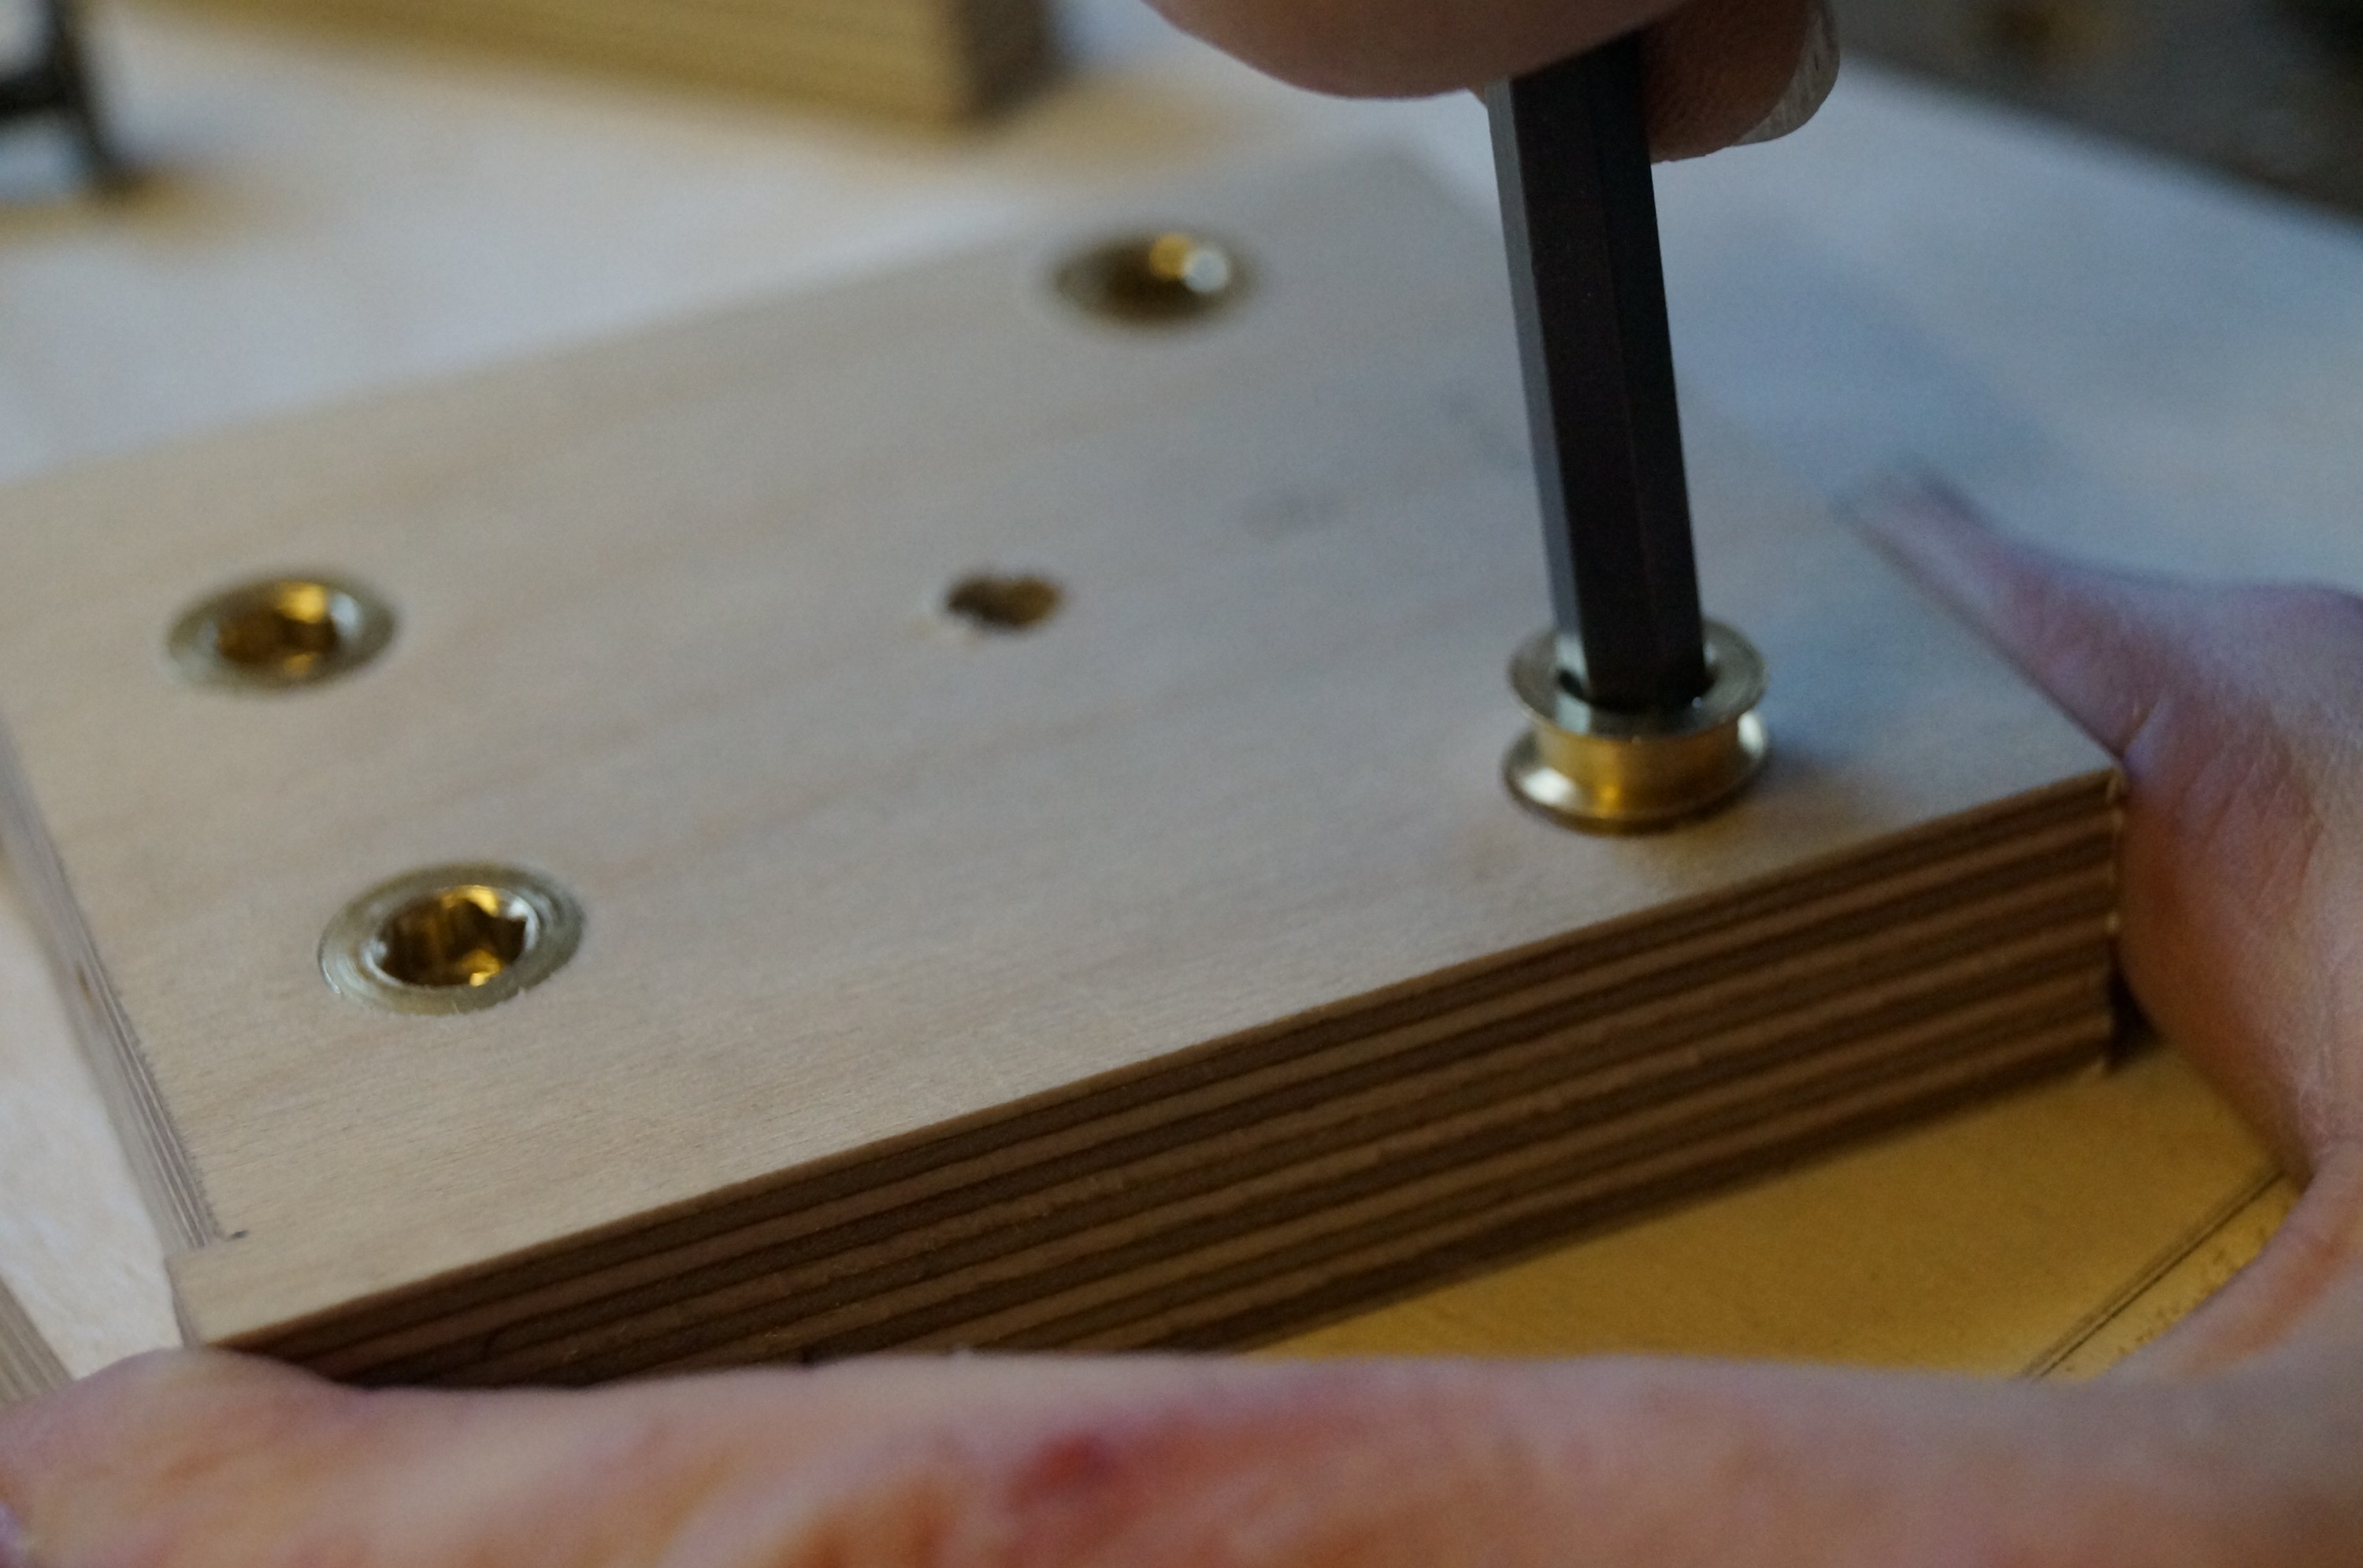
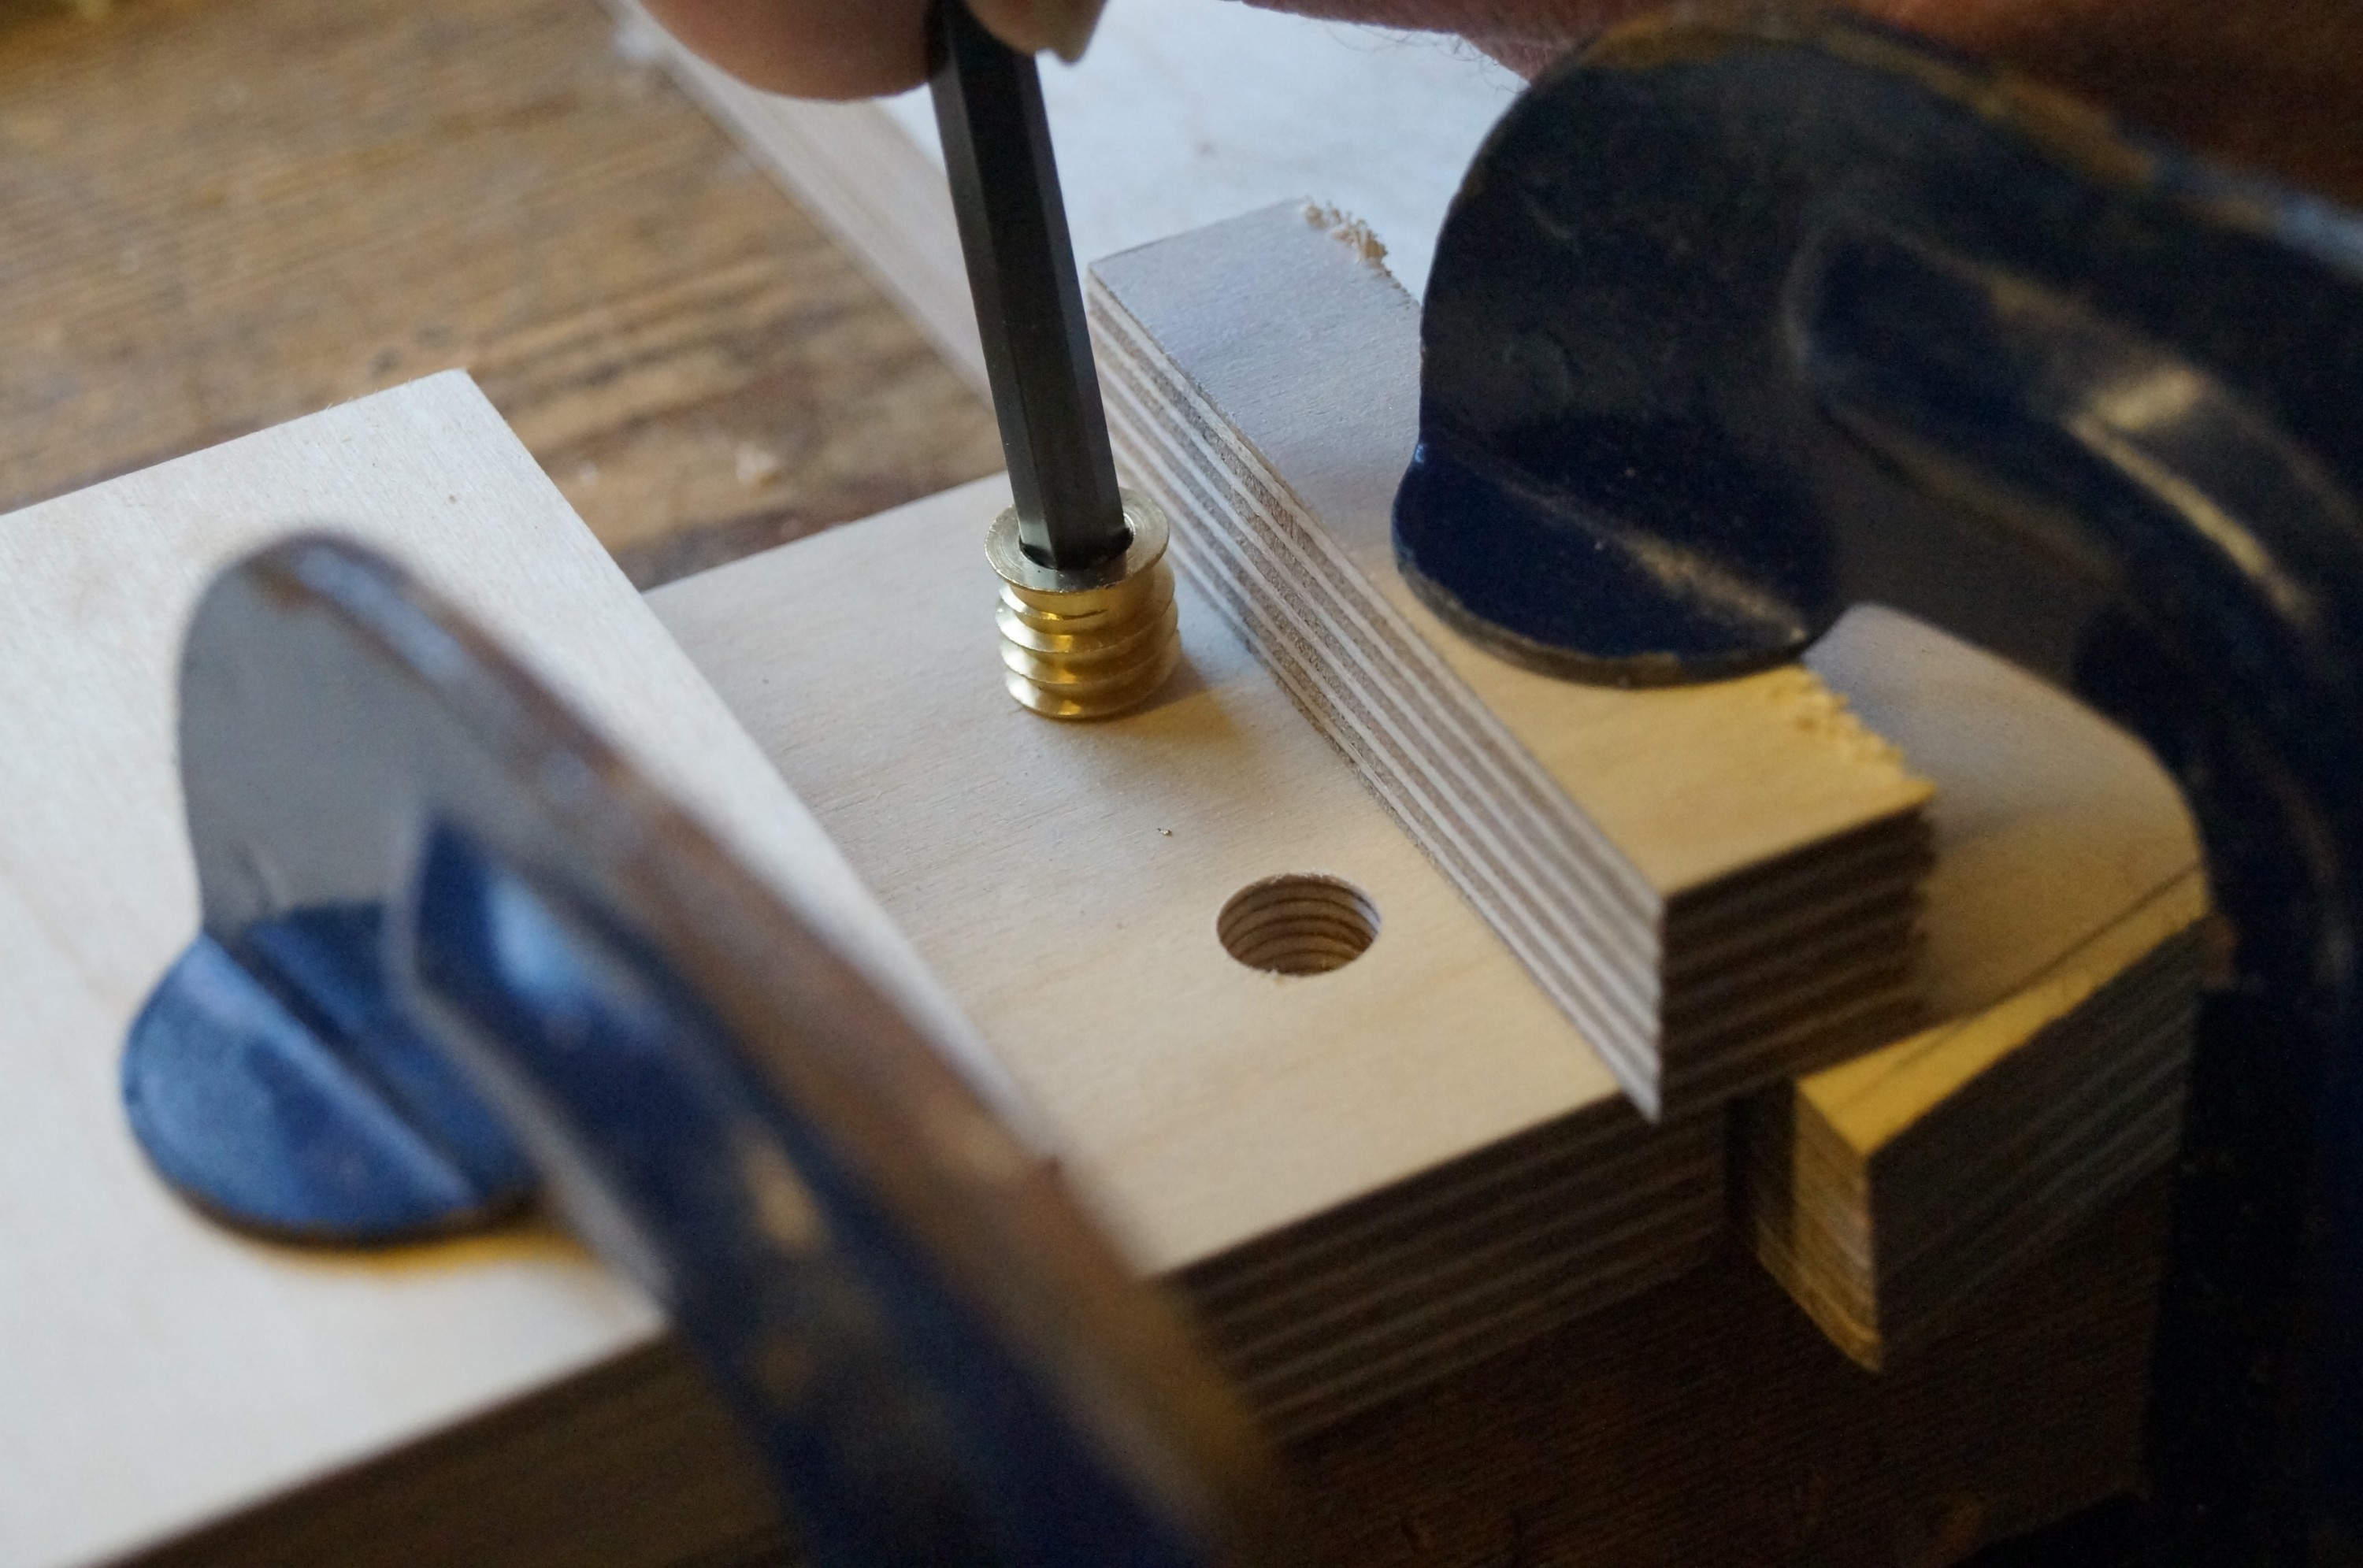
The other “learning experience” was setting in the threaded M6 brass inserts. My counterbore diameter was 10mm – the manufacturer specifies a hole between 10 and 10.8mm diameter so the inserts were tight. They are difficult to screw in accurately vertically and require regular adjusting heaves on the hex spanner to correct wander every turn or so. In the process there is a tendency for the outer plywood layer to lift and splinter, so I clamped scrap blocks either side after the first attempt. I then had to remove the inserts to widen the guide hole out to take the bolts before final insertion. Not all were perfect… but good enough.
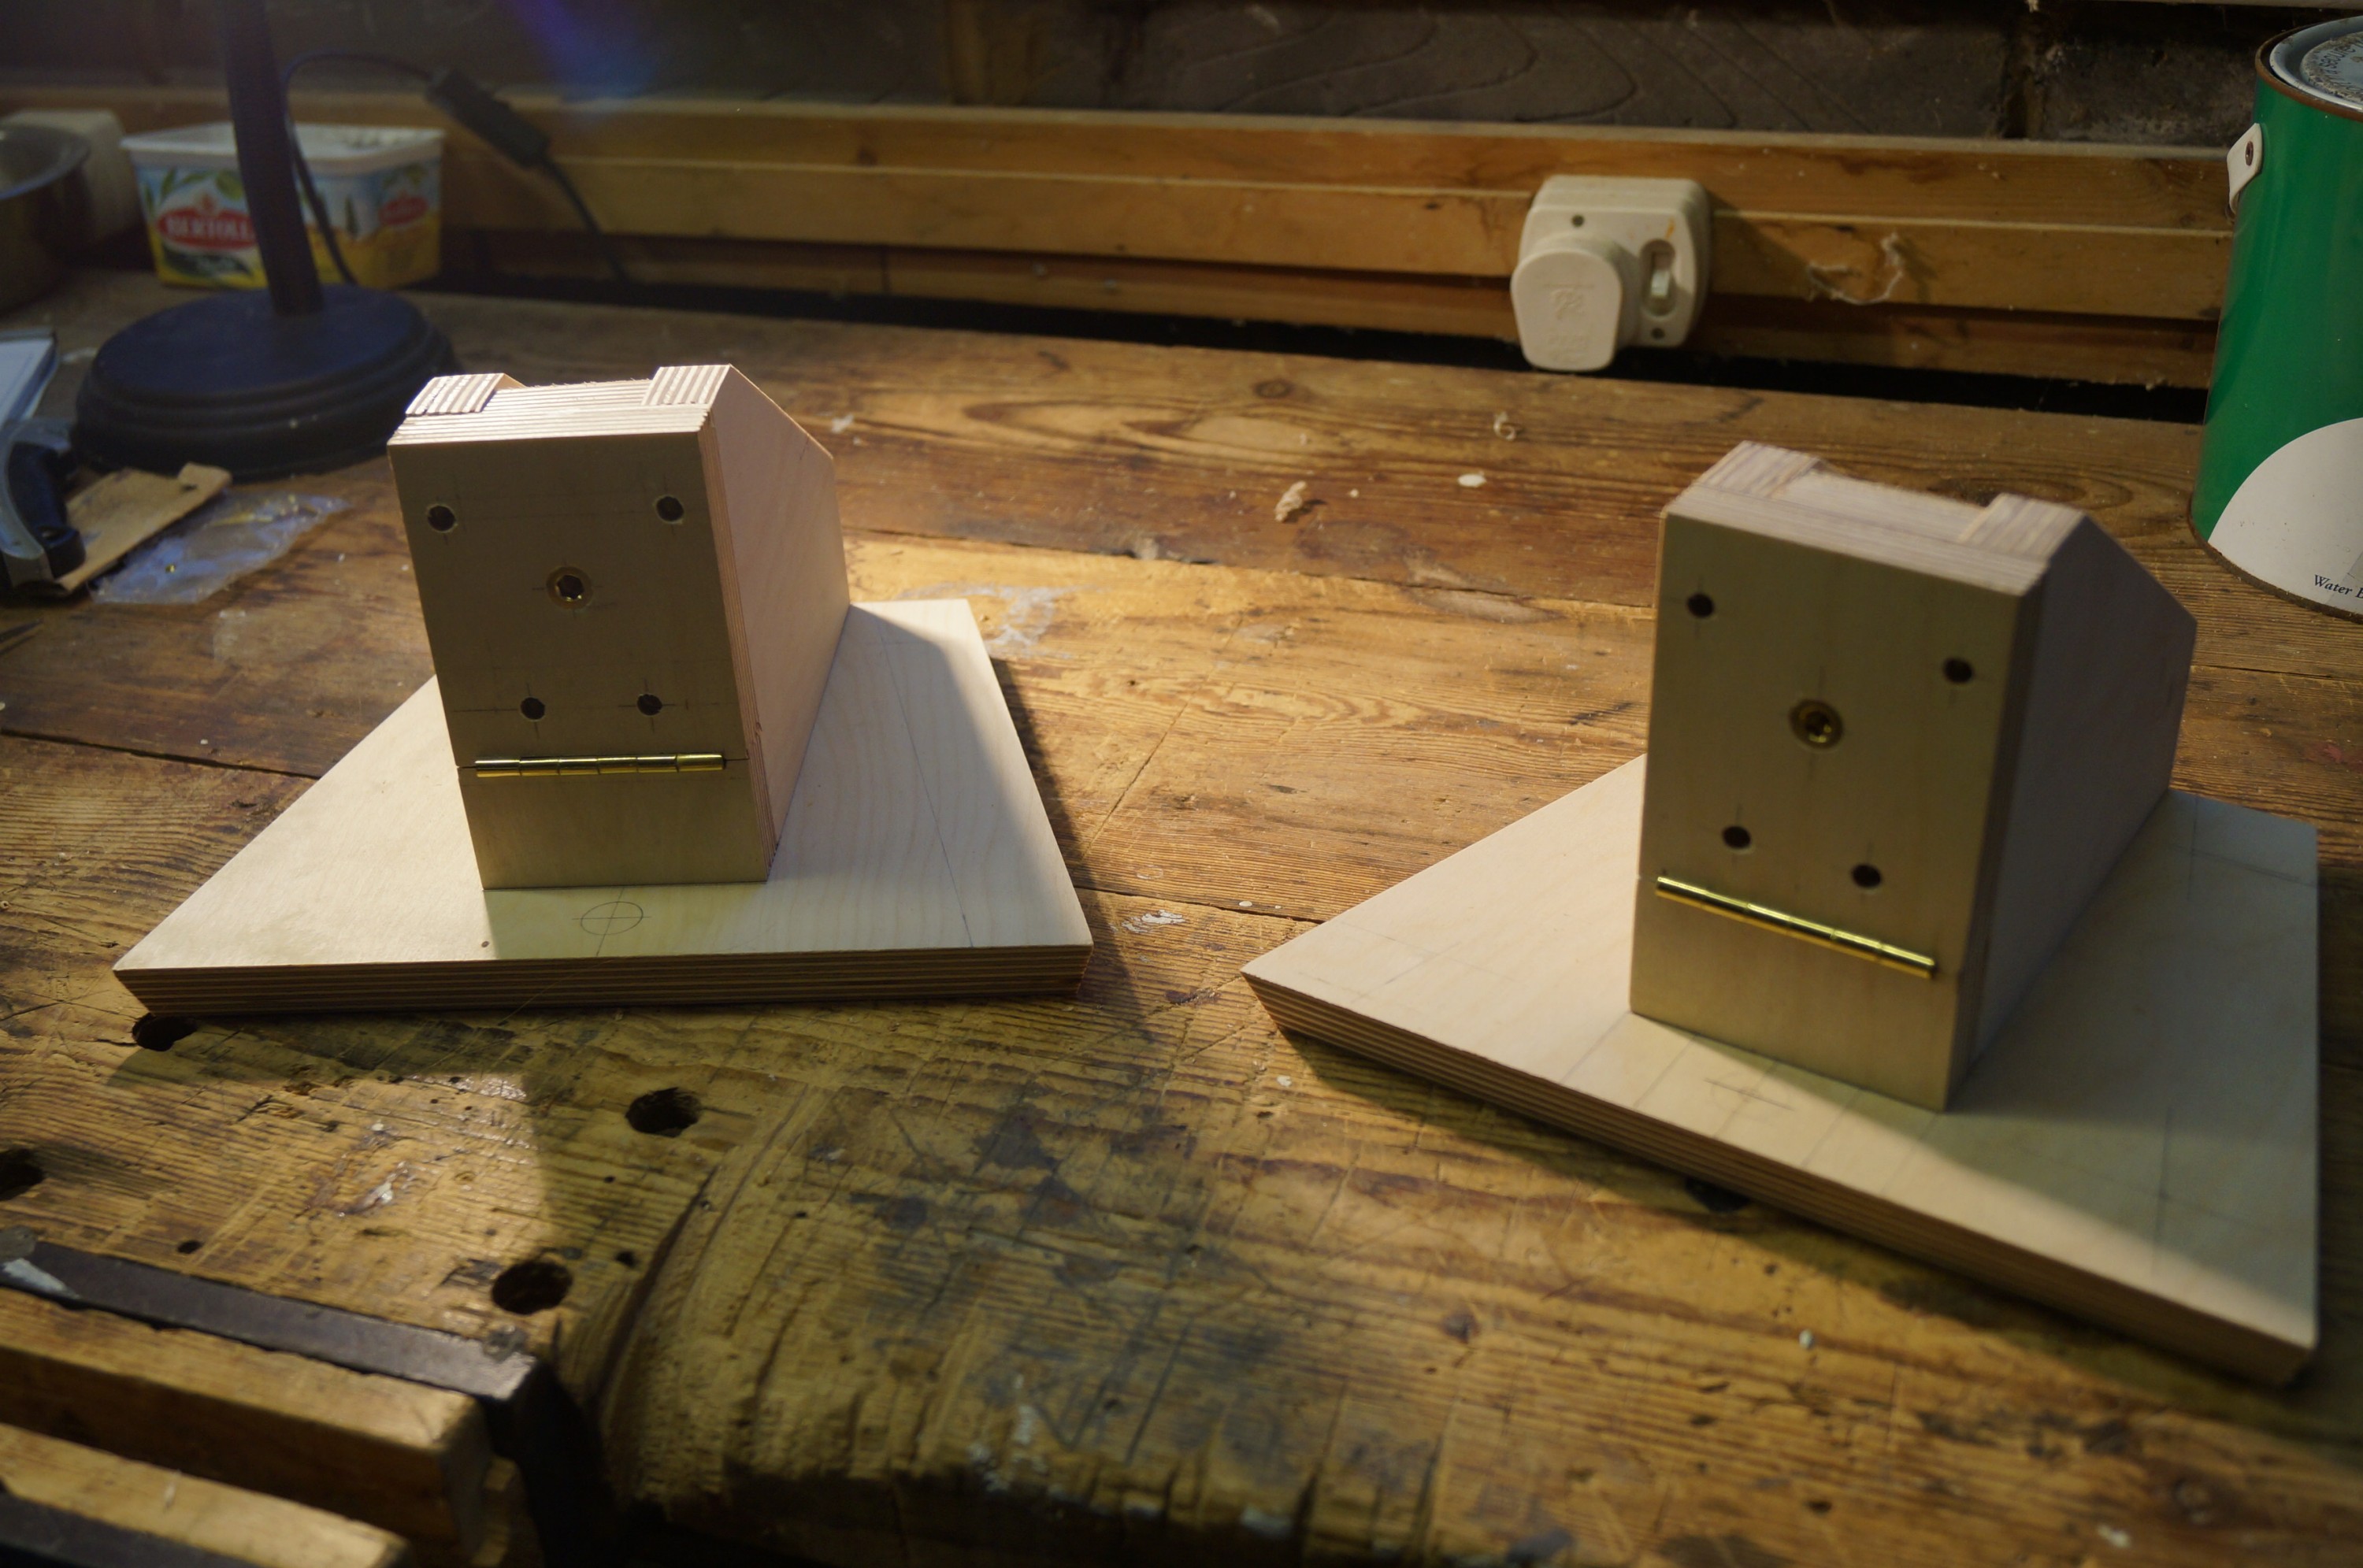
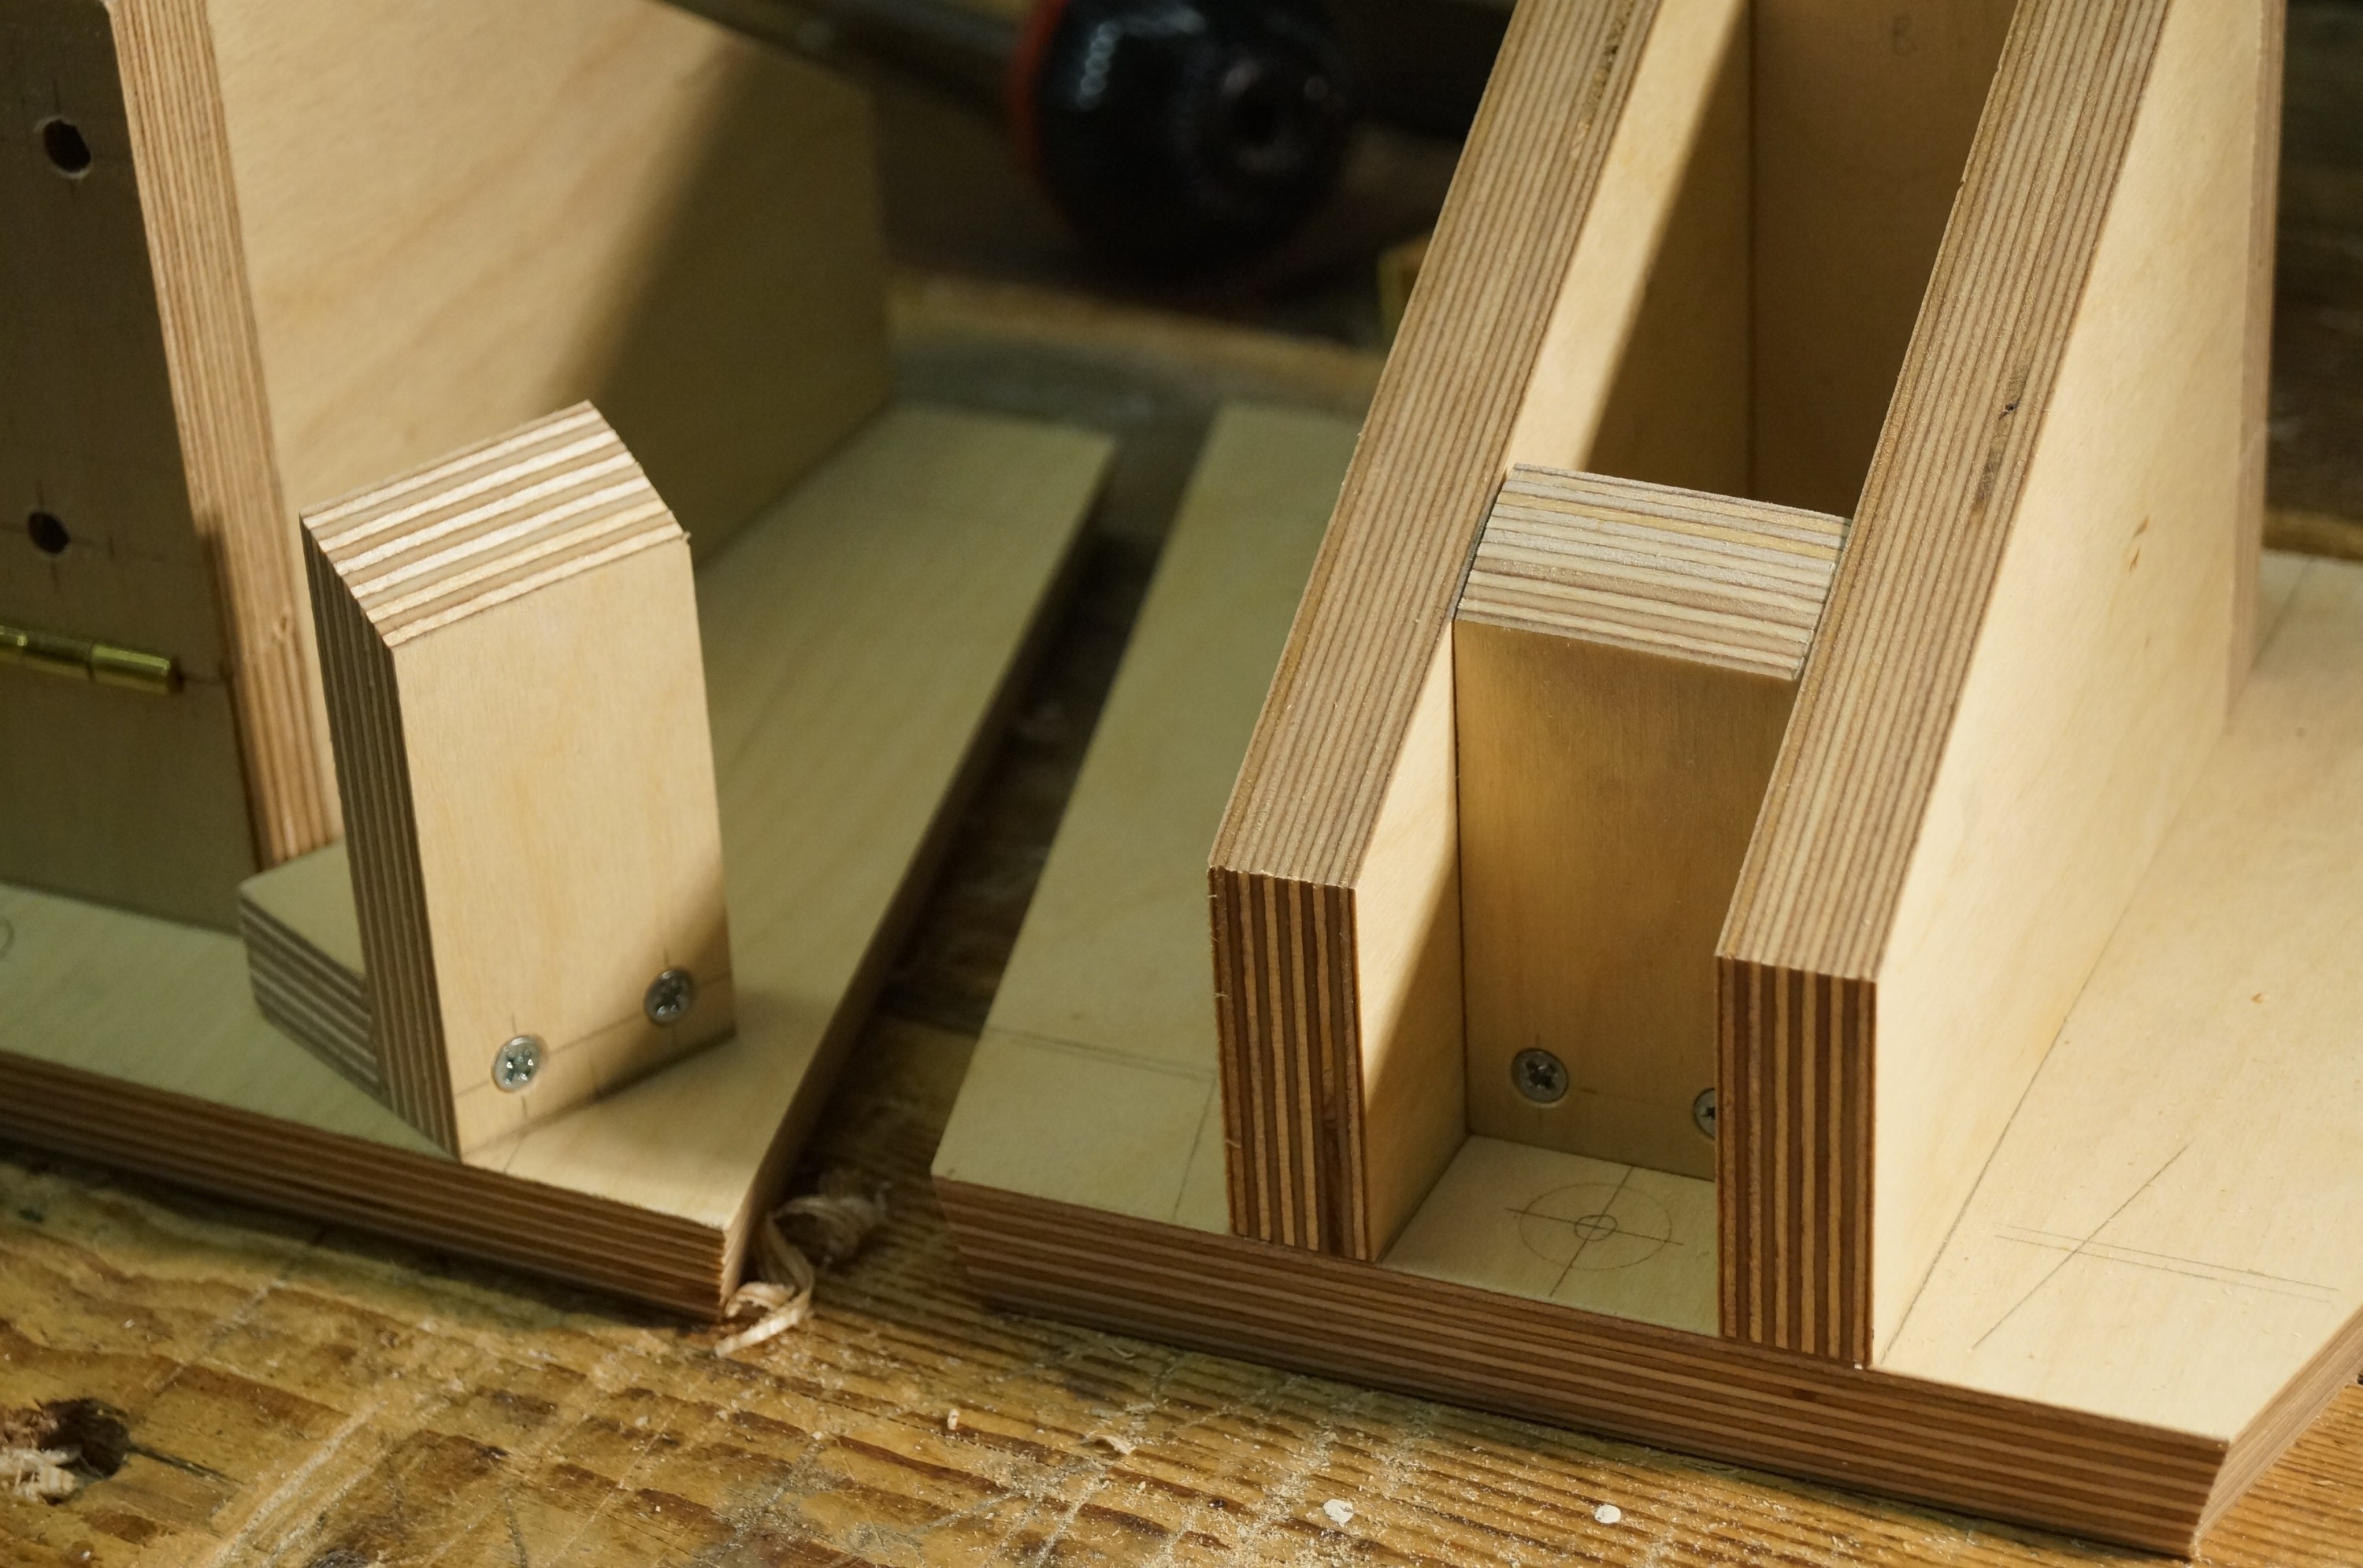
The photos show all completed parts sitting dry on the base. The LX521 baffles have a striking angularity, so I decided to go with this and plane the front and sides of the bases to an angle also. I like the look! – quite racy. I will do the same to the front and sides of the top of the bridge.
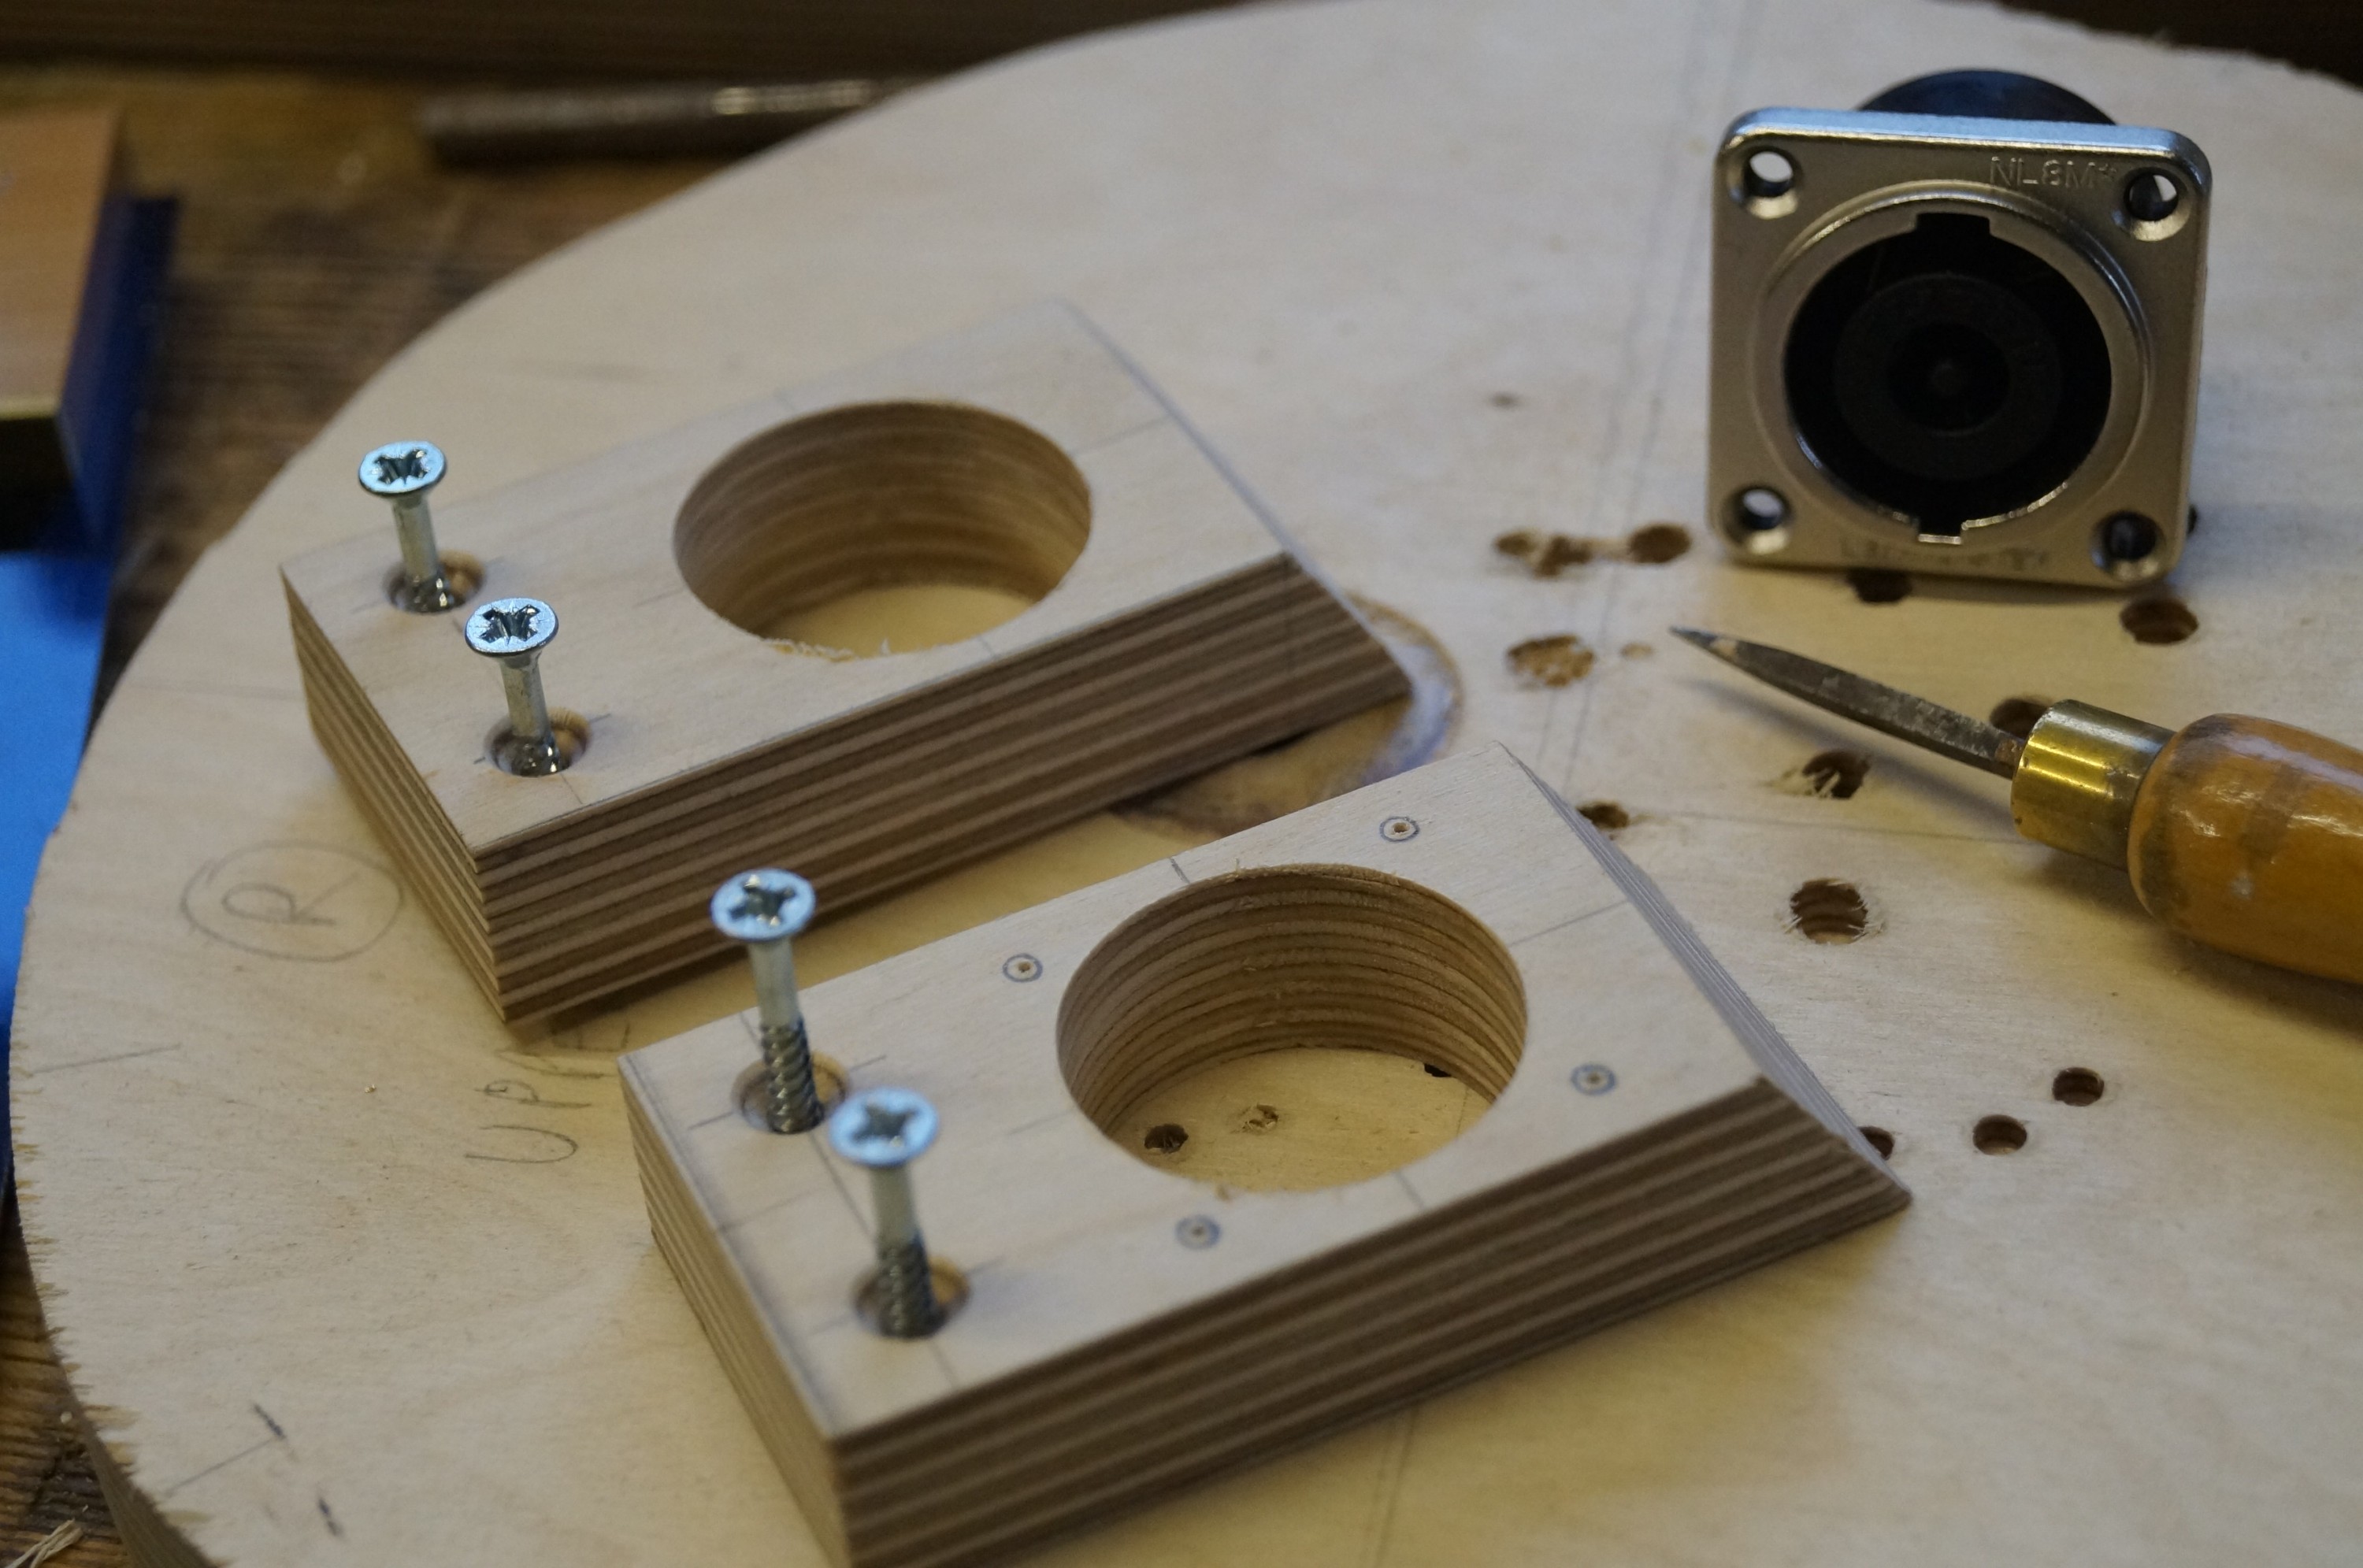
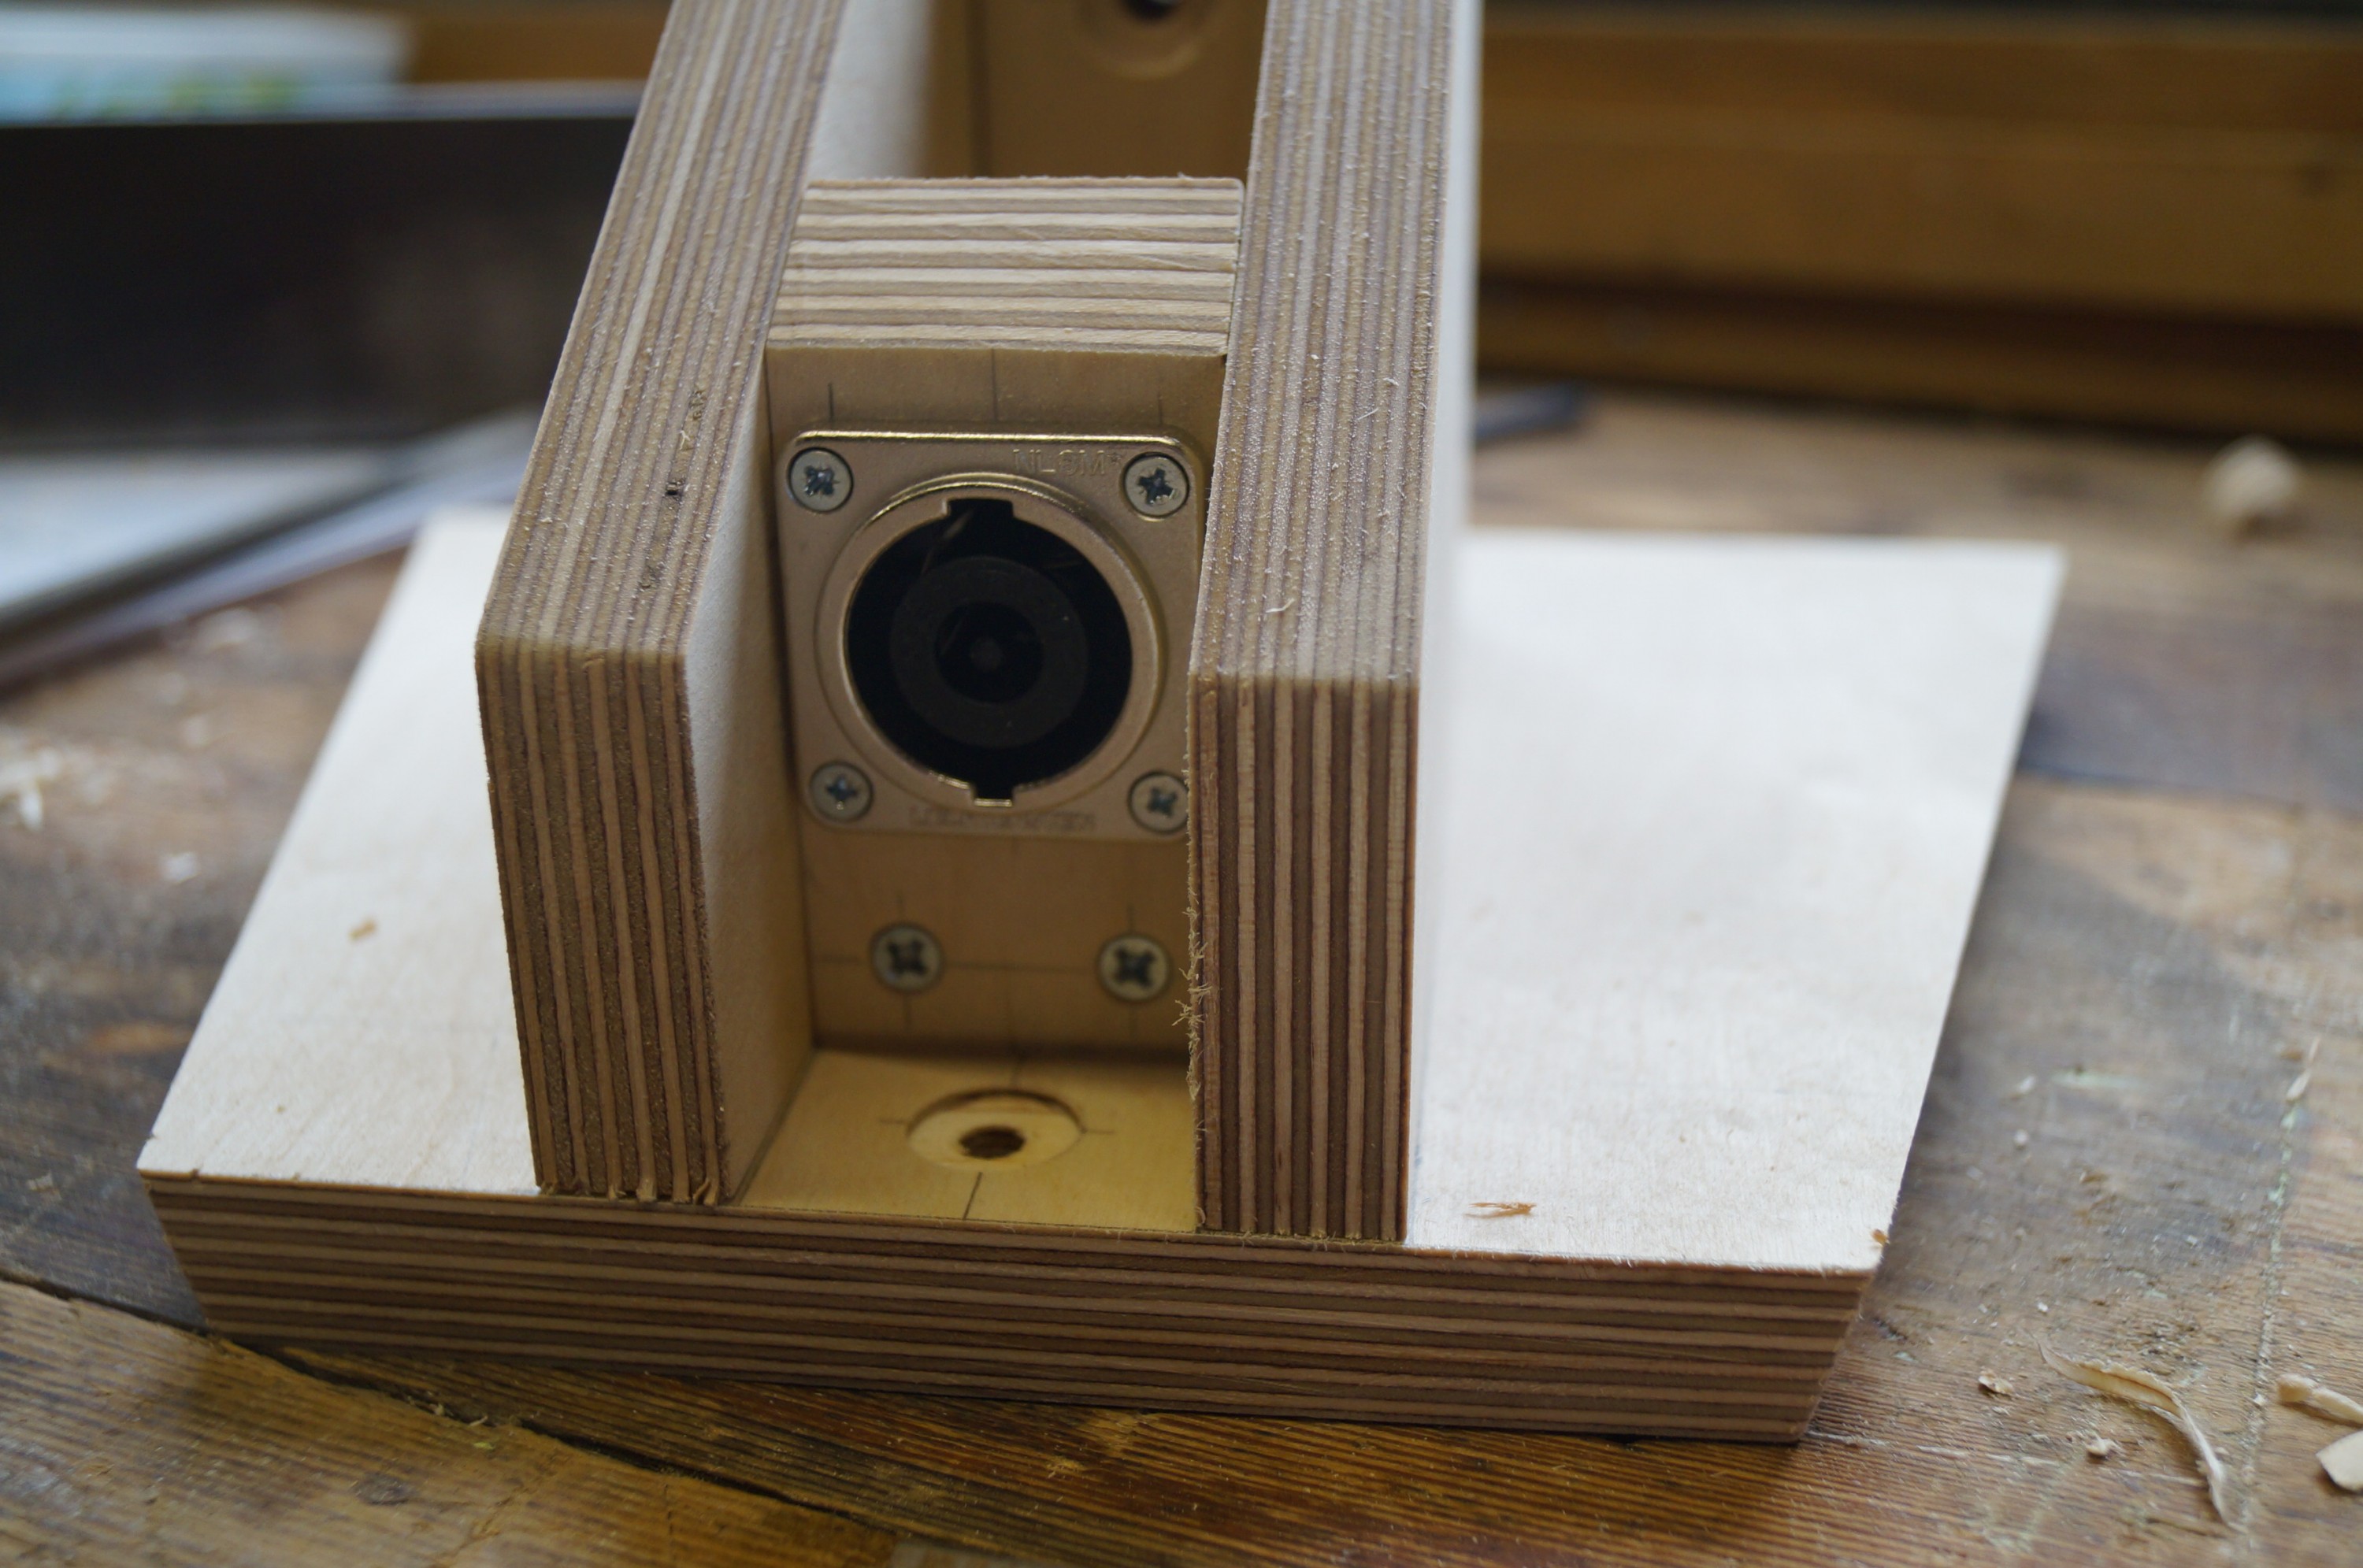
The next job was to make some little brackets for the Speakon 8-way panel connectors; I didn’t have a 32mm wood bore so ordered a Bosch one from Amazon. It made a very neat job. I’m only gluing the horizontal component so I can remove the connector for wiring up – I don’t fancy digging around in what will be a black hole at the back of the support! The horizontal element will need careful positioning before gluing to ensure the bevel lines up with the support sides.
I still need to cut the front hardboard spacers together with the smaller oblongs that will be screwed to the back of the front assembly to act as a retainer for the adjusting bolt; they will have a hole just large enough for a hex screwdriver to engage with the bolt.