
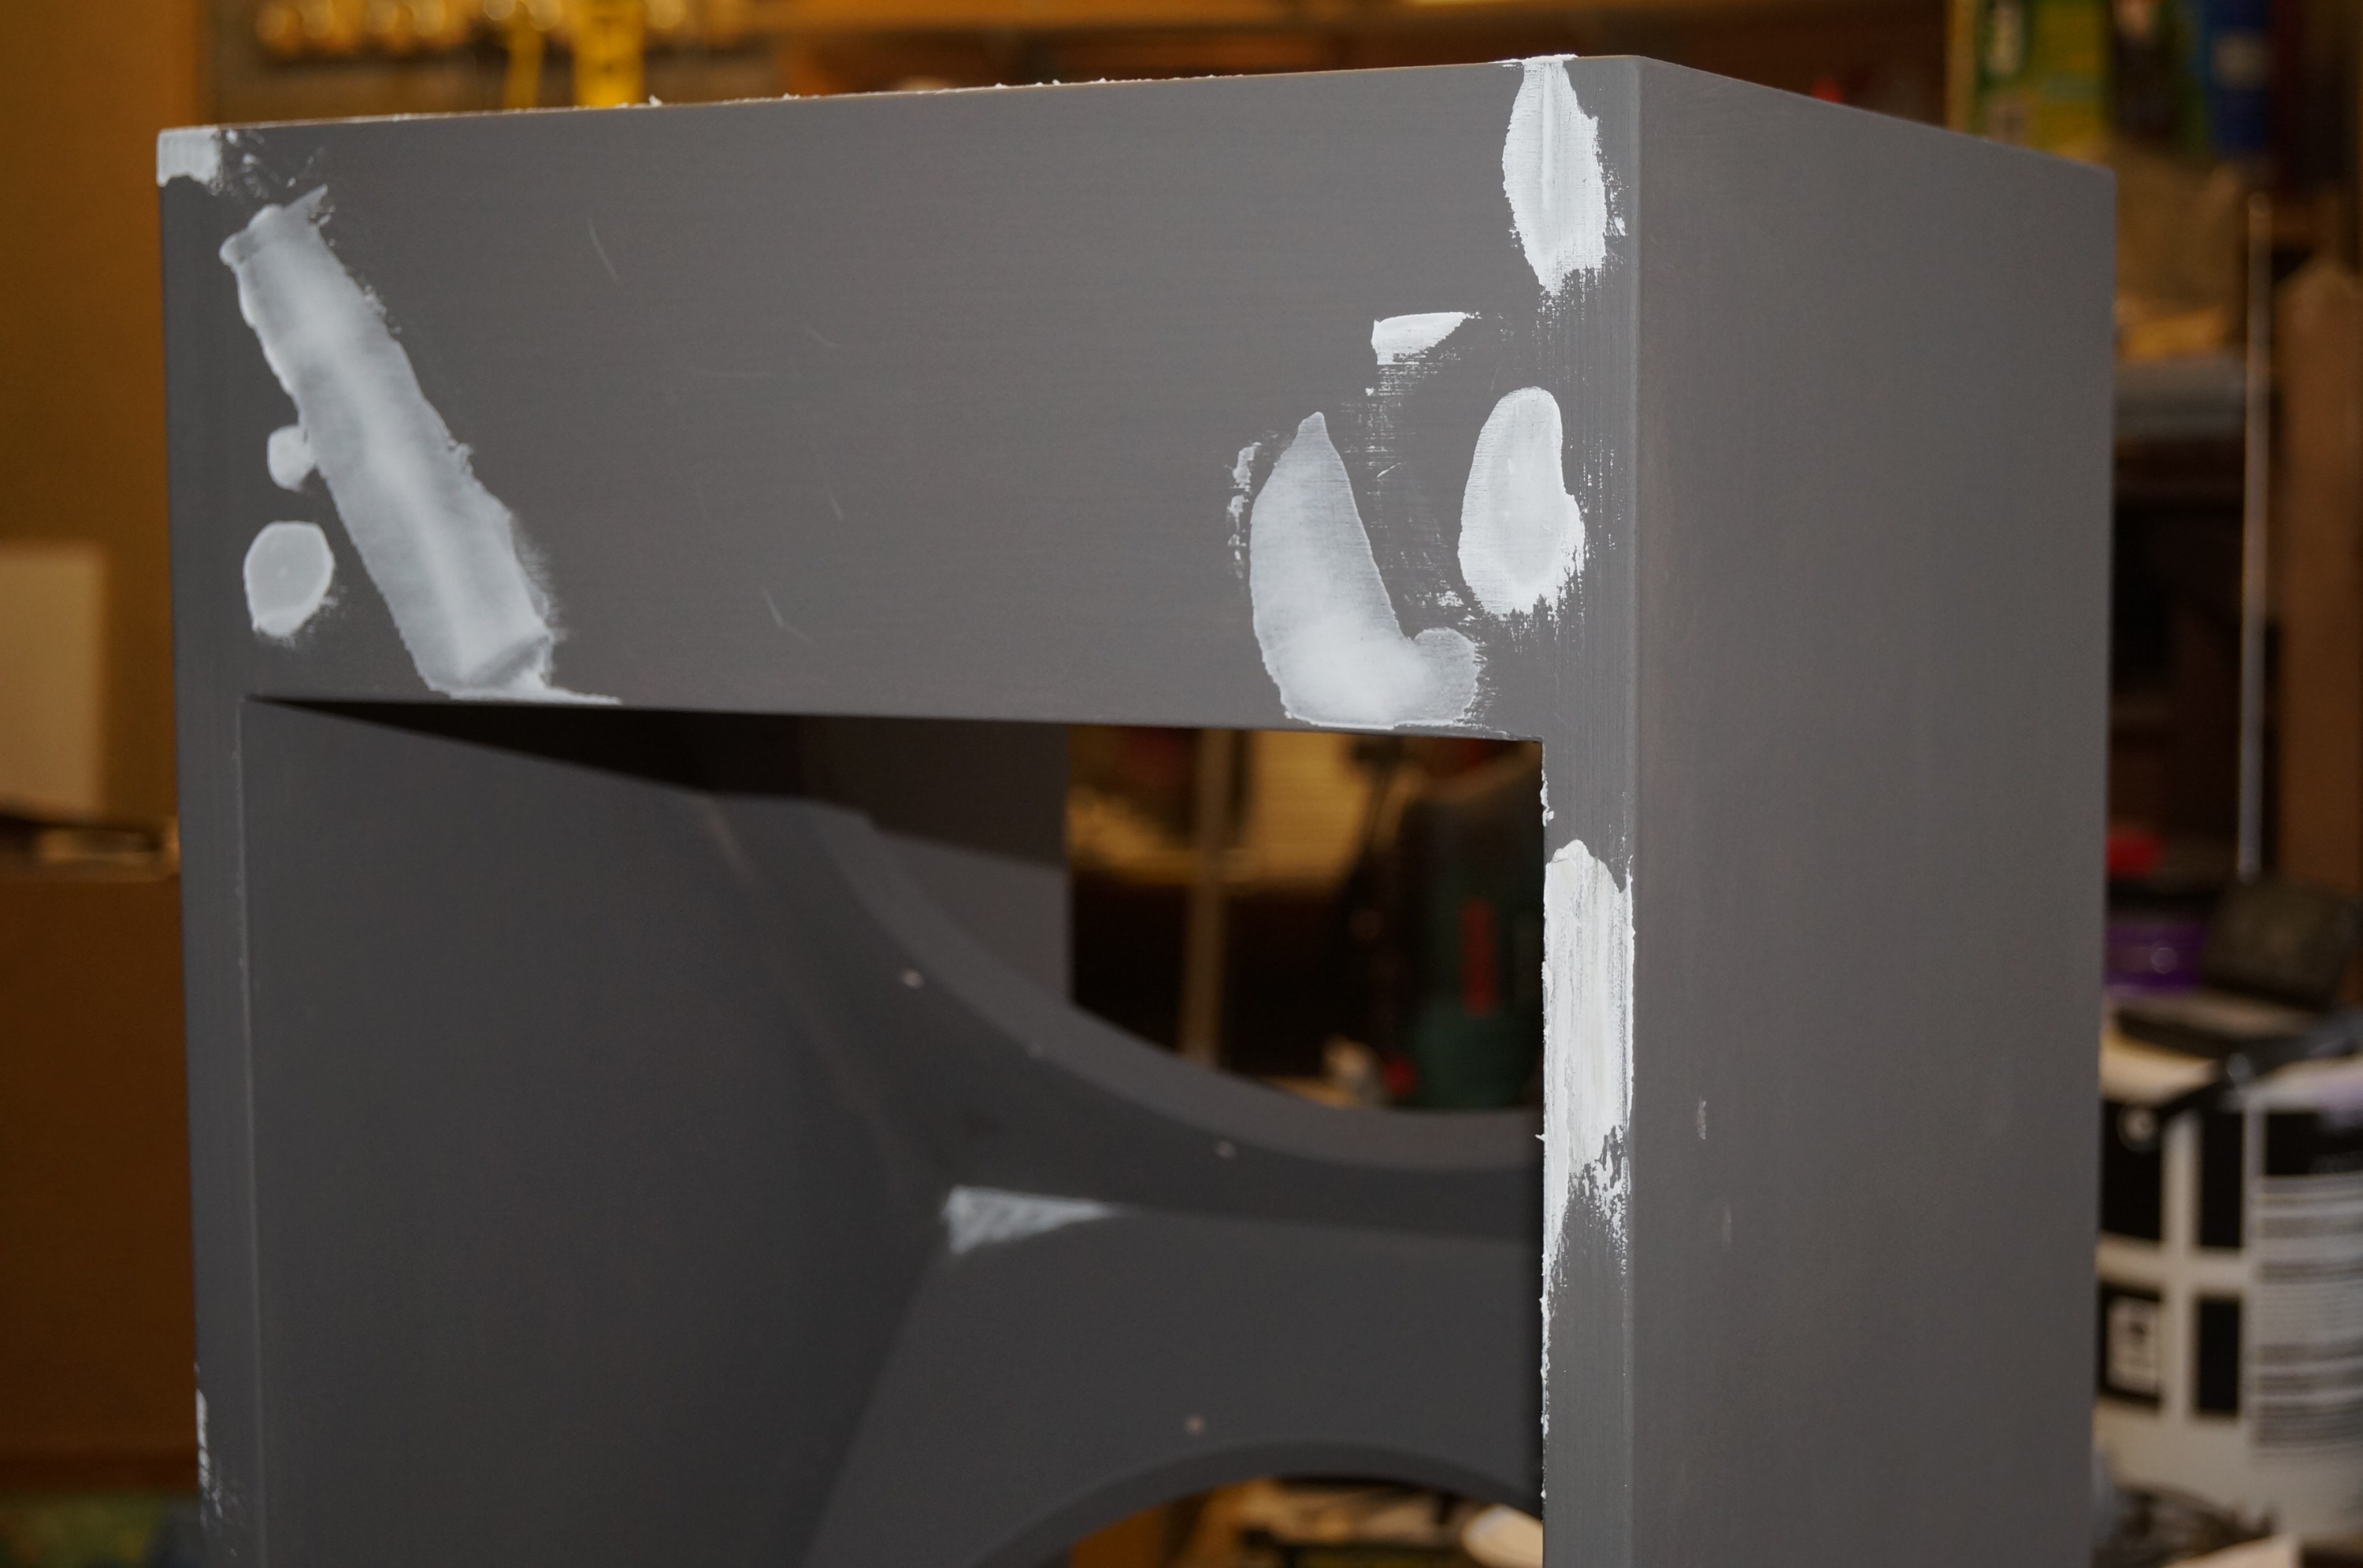
In the last week or so the boring work of priming, sanding and filling the woofer boxes has got under way, although the tedium is relieved from time to time by researching and ordering miscellaneous items from the internet. Chemical black bolts and self tapping screws of varying types from Accuscrews to mount the drive units and tweeter baffles, brass inserts and black flat topped bolts from Insert Co (UK) Ltd for the baffle brackets, a counterbore for the inserts, and finally Neutrik Speakon connectors (4-way for woofers, 8-way for the mid-range / tweeter baffles) from Canford.
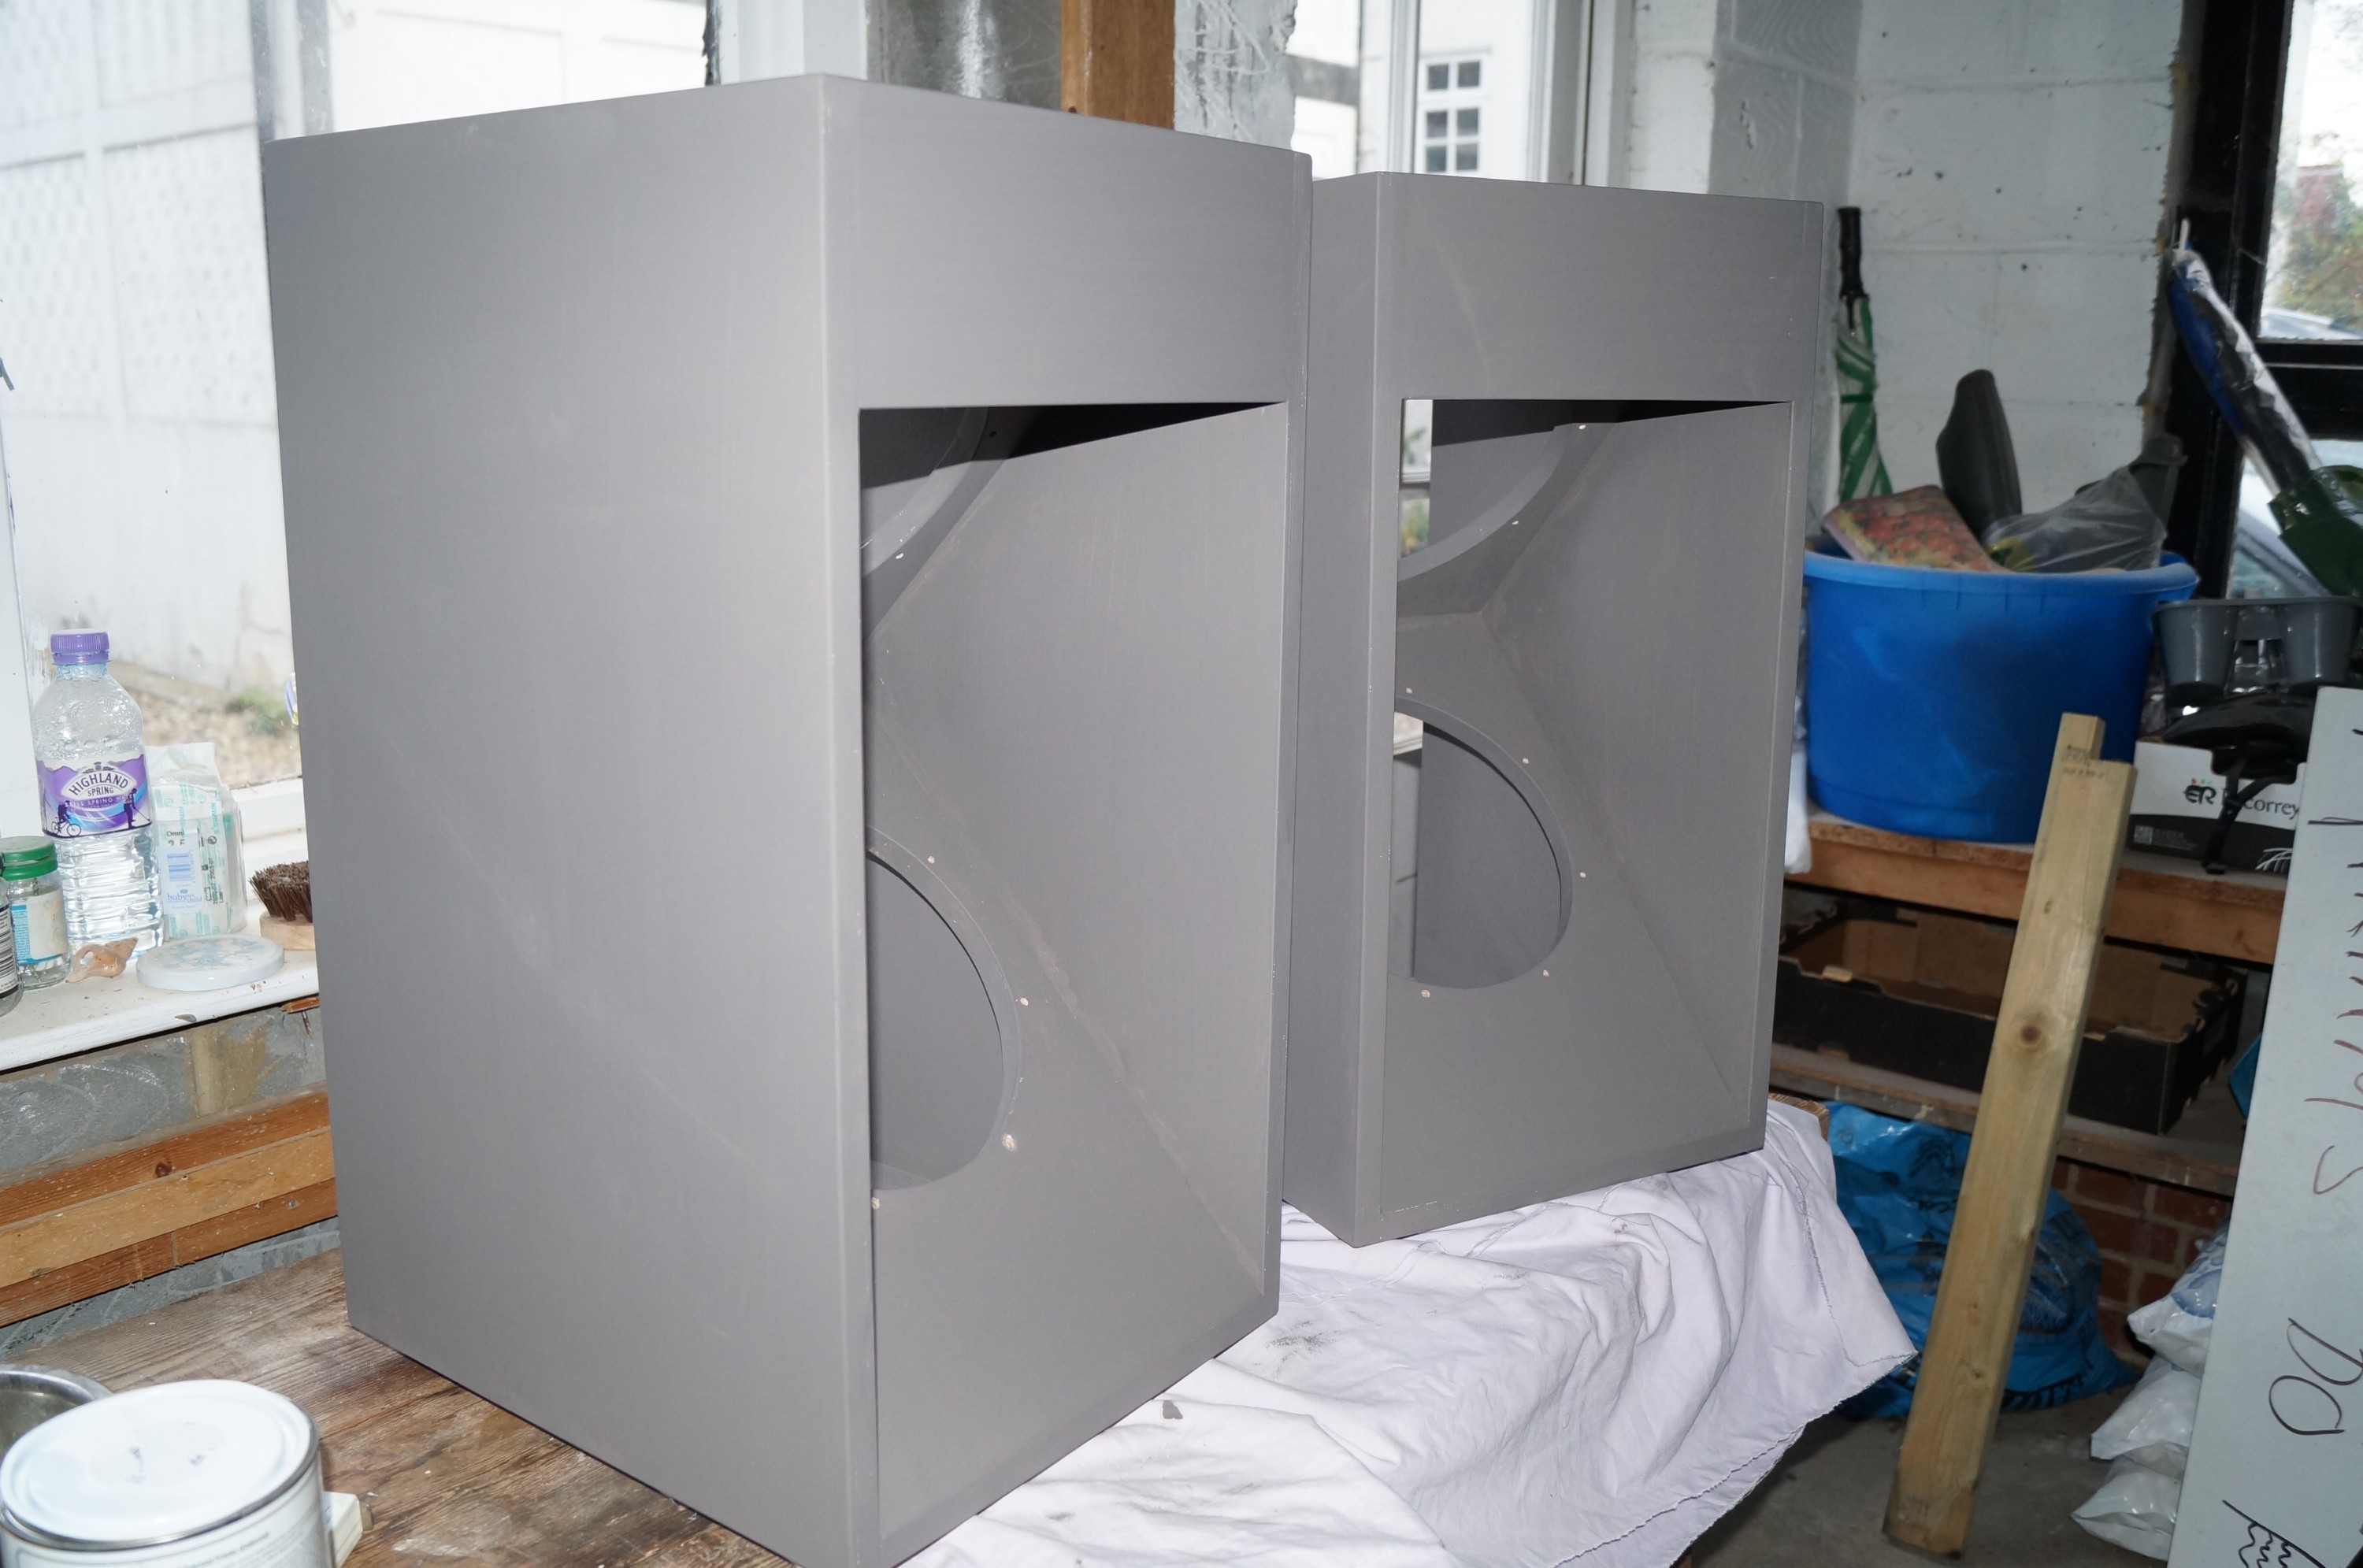
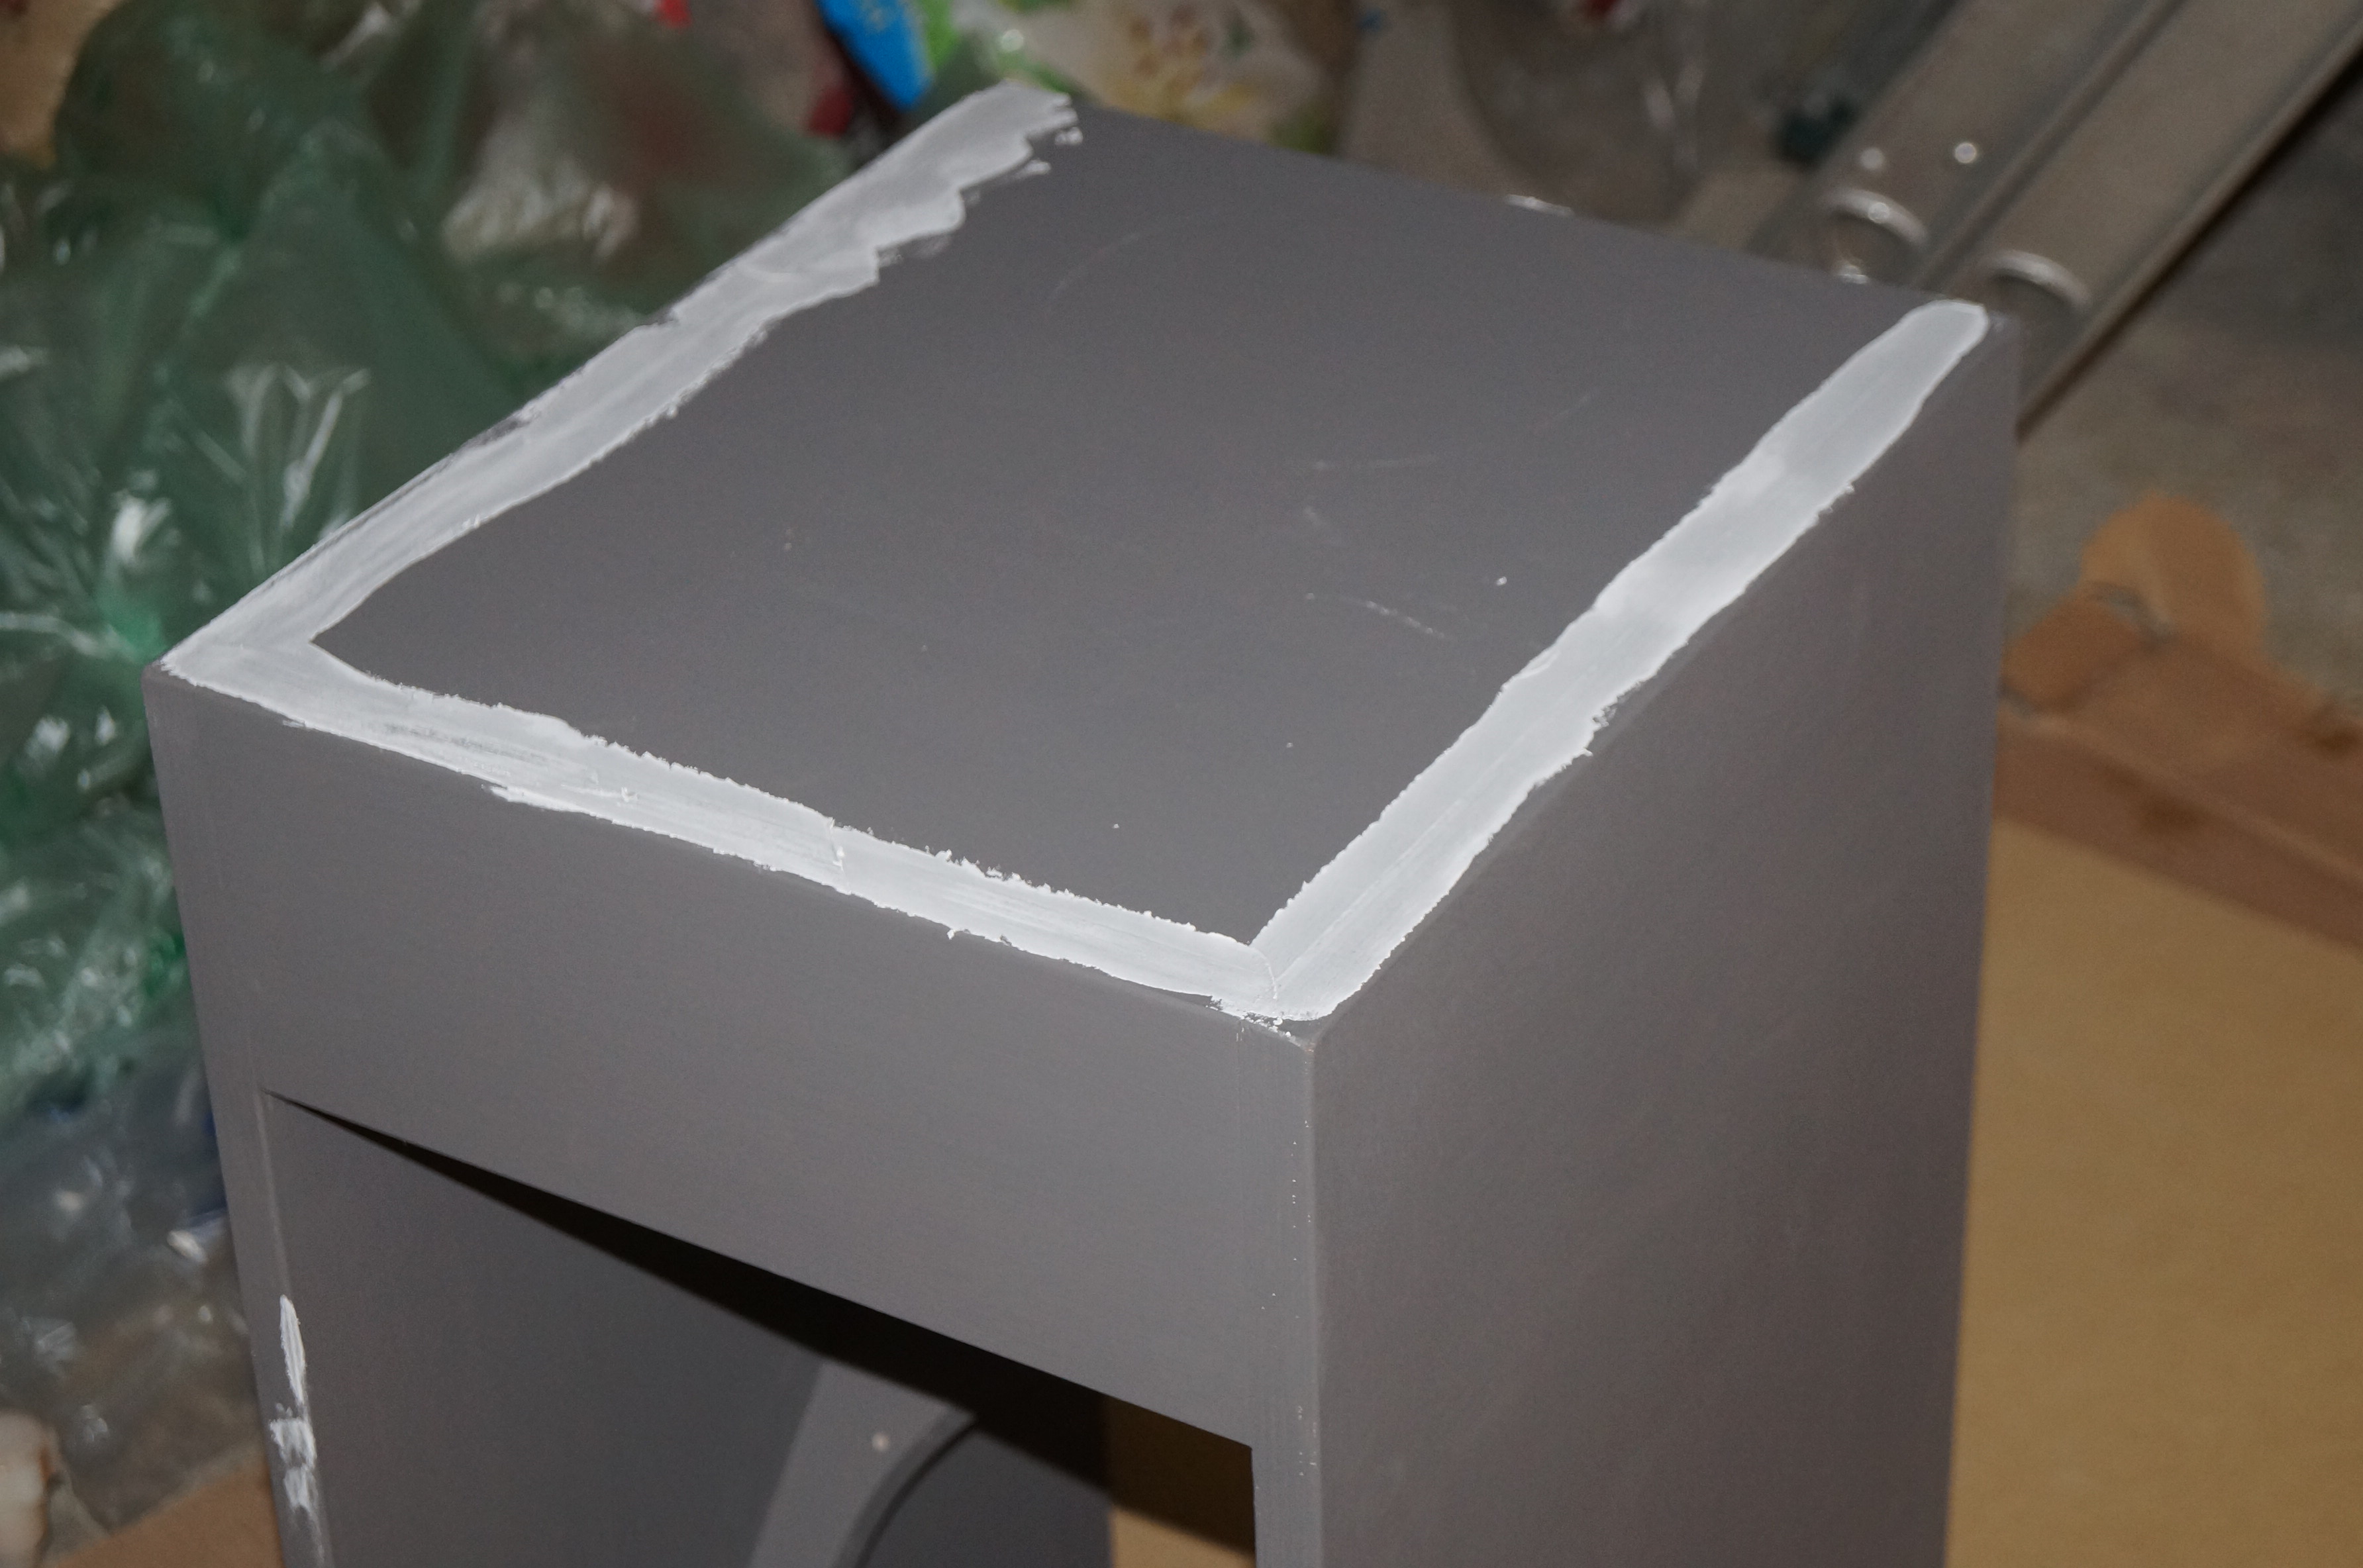
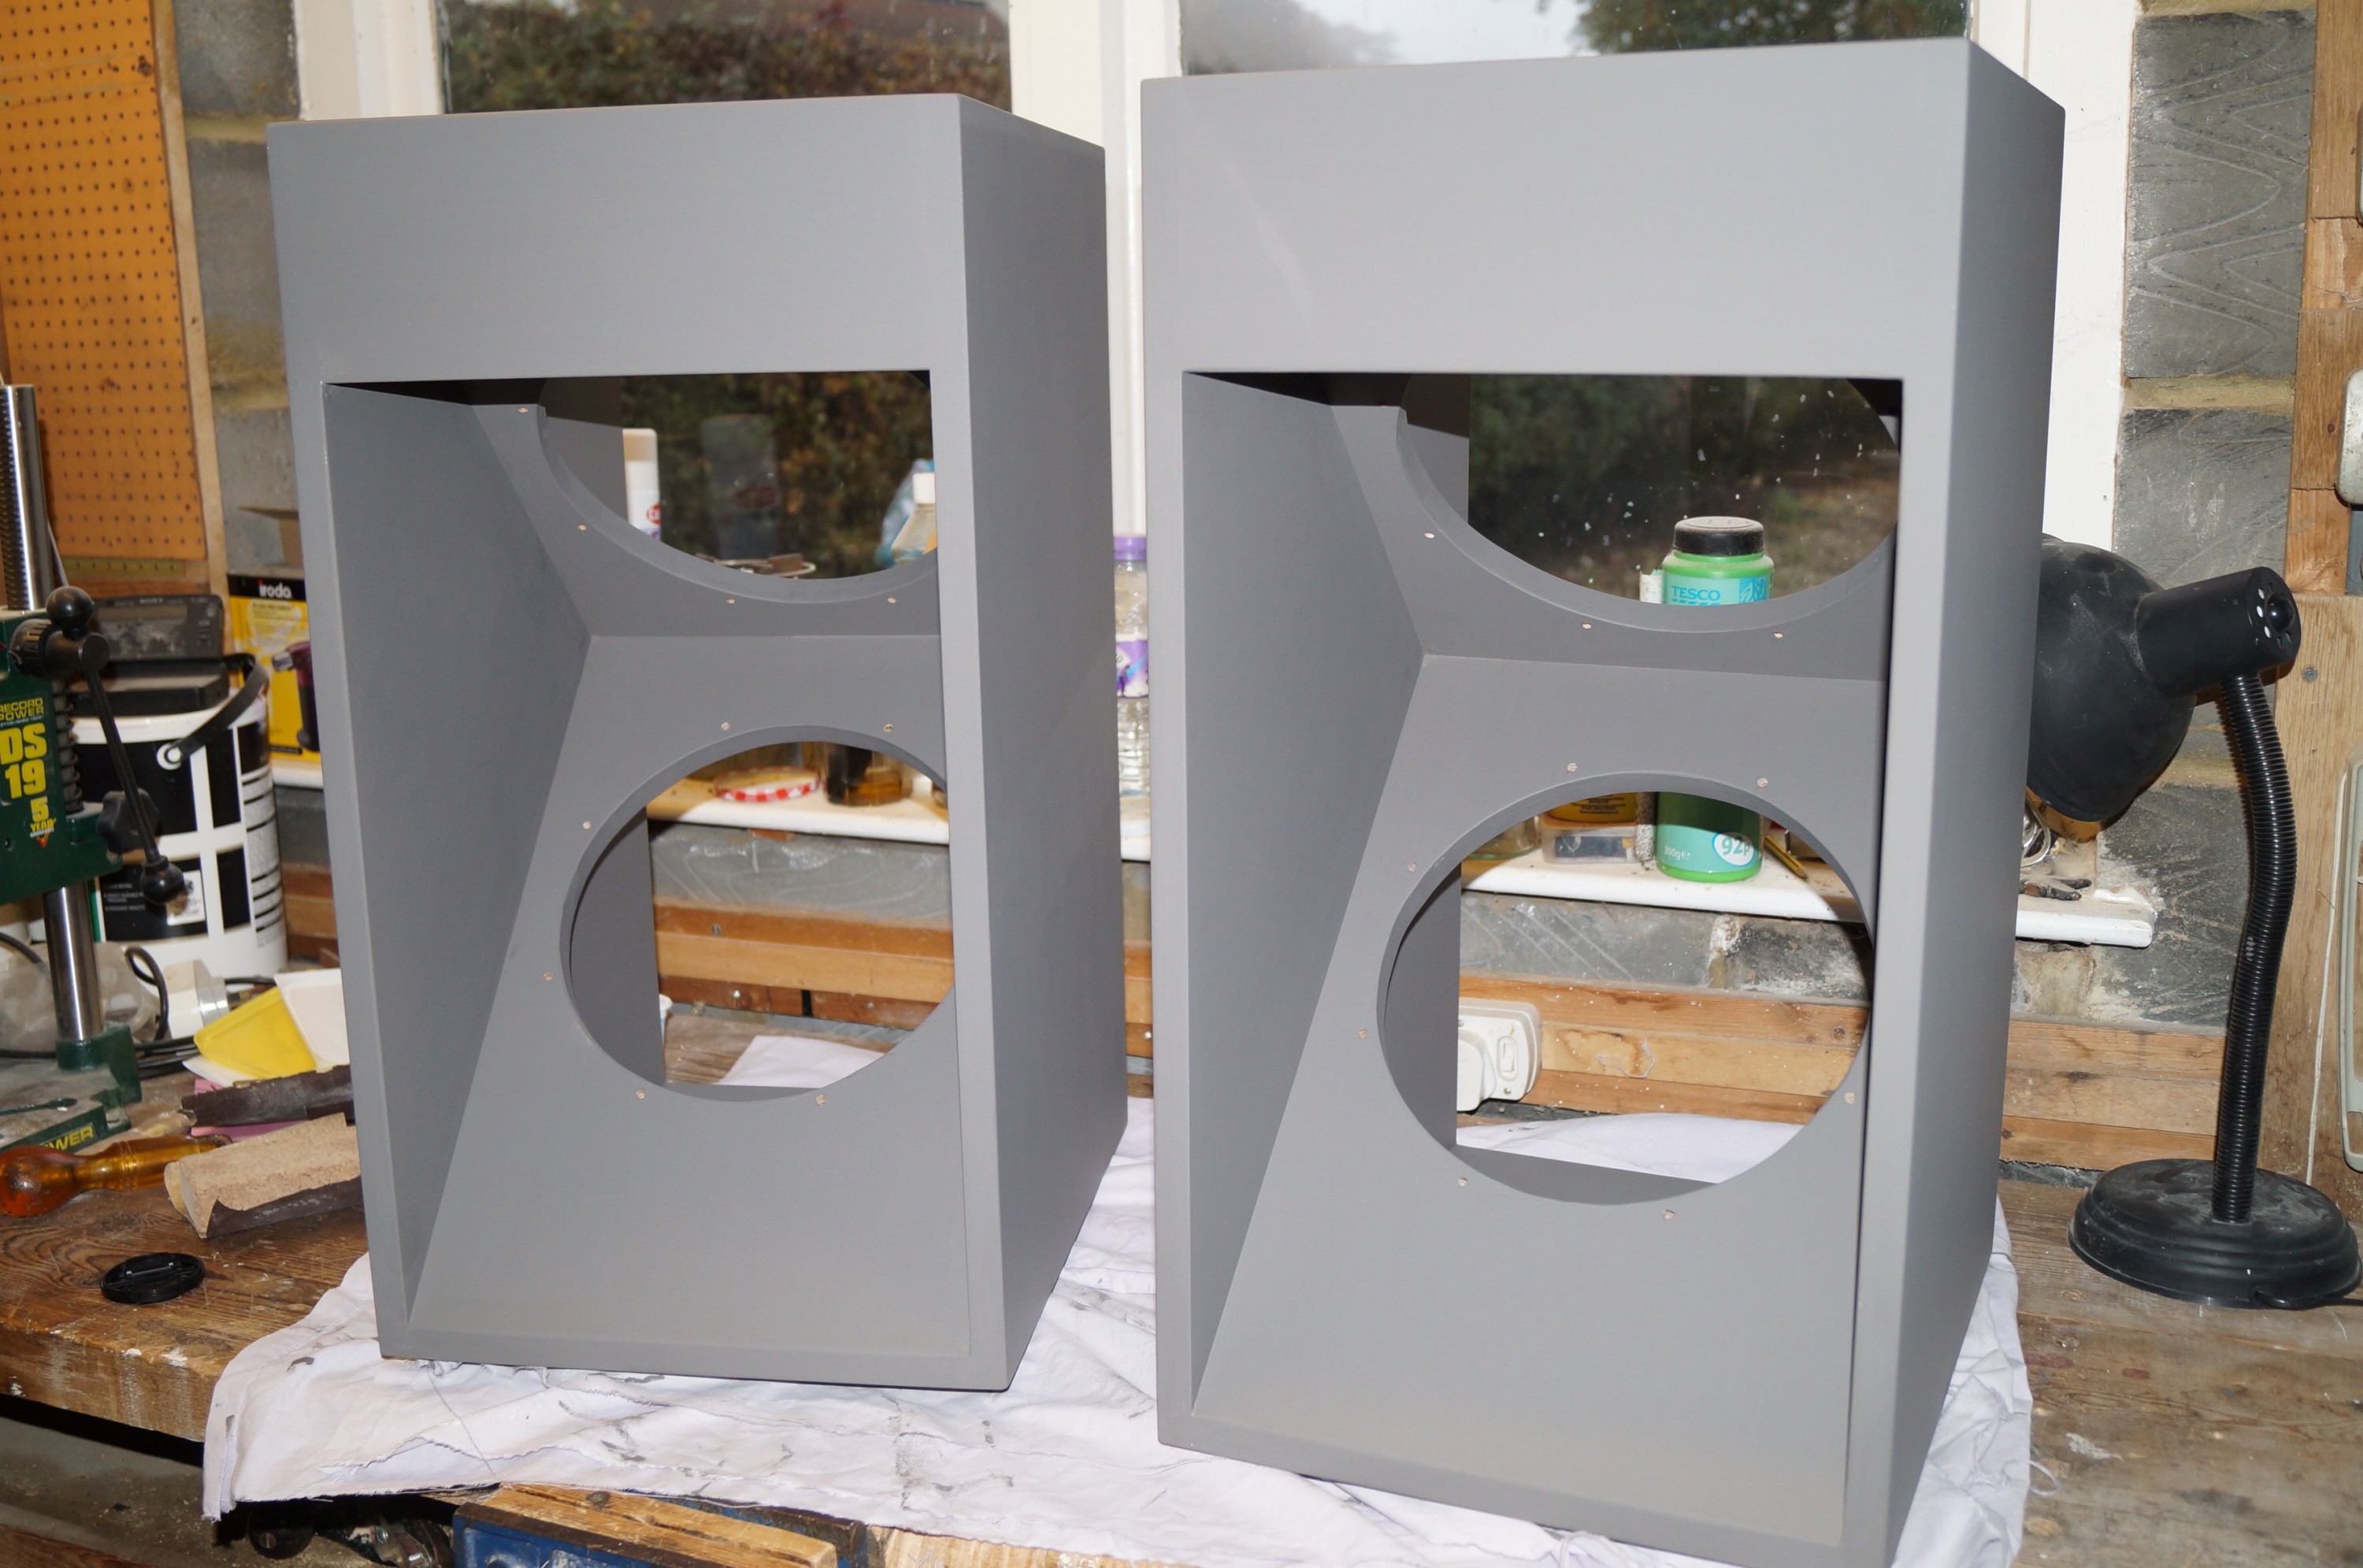
The woofer boxes have now had their second full primer coat, and are looking good, if somewhat sinister. Wood grain is still visible, mainly where end grain is to be found, but they are feeling very smooth already. I’m leaving them at this stage to turn attention to the baffle bracket assemblies to which I have been giving considerable thought. The main question was how to build in tilt and toe-in facility without spoiling the overall appearance or involving unduly complicated engineering. My listening chair is quite low so I felt the tilt was essential, and from reading SL’s comments and related links I learned that being able to toe-in the baffles was important for not only minimising side and back wall reflections but also widening the stereo “sweet spot” (two or more listeners).
For tilt I finally opted for fitting a butt-hinge concealed just behind the bottom of the baffle, controlled by a fifth M6 recessed flat-headed bolt engaging in an extra brass insert positioned from the front of the hinged element. I’ll only need a few degrees of tilt so am hoping this will work.
This idea requires some modifications to SL’s basic design, principally the fitting of an additional fixed piece of 18mm ply behind the bracket front through which the adjuster bolt runs. In addition, I need to add a 3mm hardboard spacer behind the baffle for the twin purposes of ensuring (a) the baffle clears the hinge butt (I’m not digging holes in my nice cherry!) and (b) the bottom edge of the baffle won’t foul the front of the bracket when tilted. Finally I am adding a simple bracket inside the back of the support to mount the Speakon 8-way panel connector (6 will be used as with the Mini DSP option the lower and upper midrange units and tweeters are all driven separately).
Toe-in was more problematic. Pivoting the baffle support round a central bolt at the front of the support, vertically in line with the baffle, is easy enough; the problem was what to do at the back of the support. With the baffles tilted downwards I was concerned that the centre of gravity would be thrown forward sufficiently to make a rear bolt through to the bridge from the back of the support essential. I considered cutting a continuous radial slot in the bridge, but felt this would be impractical without a router. In the end I settled for drilling four additional holes, with brass inserts, in the bridge to give 10, 15, 20 and 25deg toe-in. If finer adjustment is needed (which I doubt) I’ll just lug the woofers around a bit…
Finally I ordered four veneered and edged cherry panels from SL Hardwoods for the sides of the bridges. The top and feet will be solid cherry; I have enough of the 7″ by 3/4″ cherry board (for the baffles; also from SL Hardwoods) left, though some jointing up will be required.