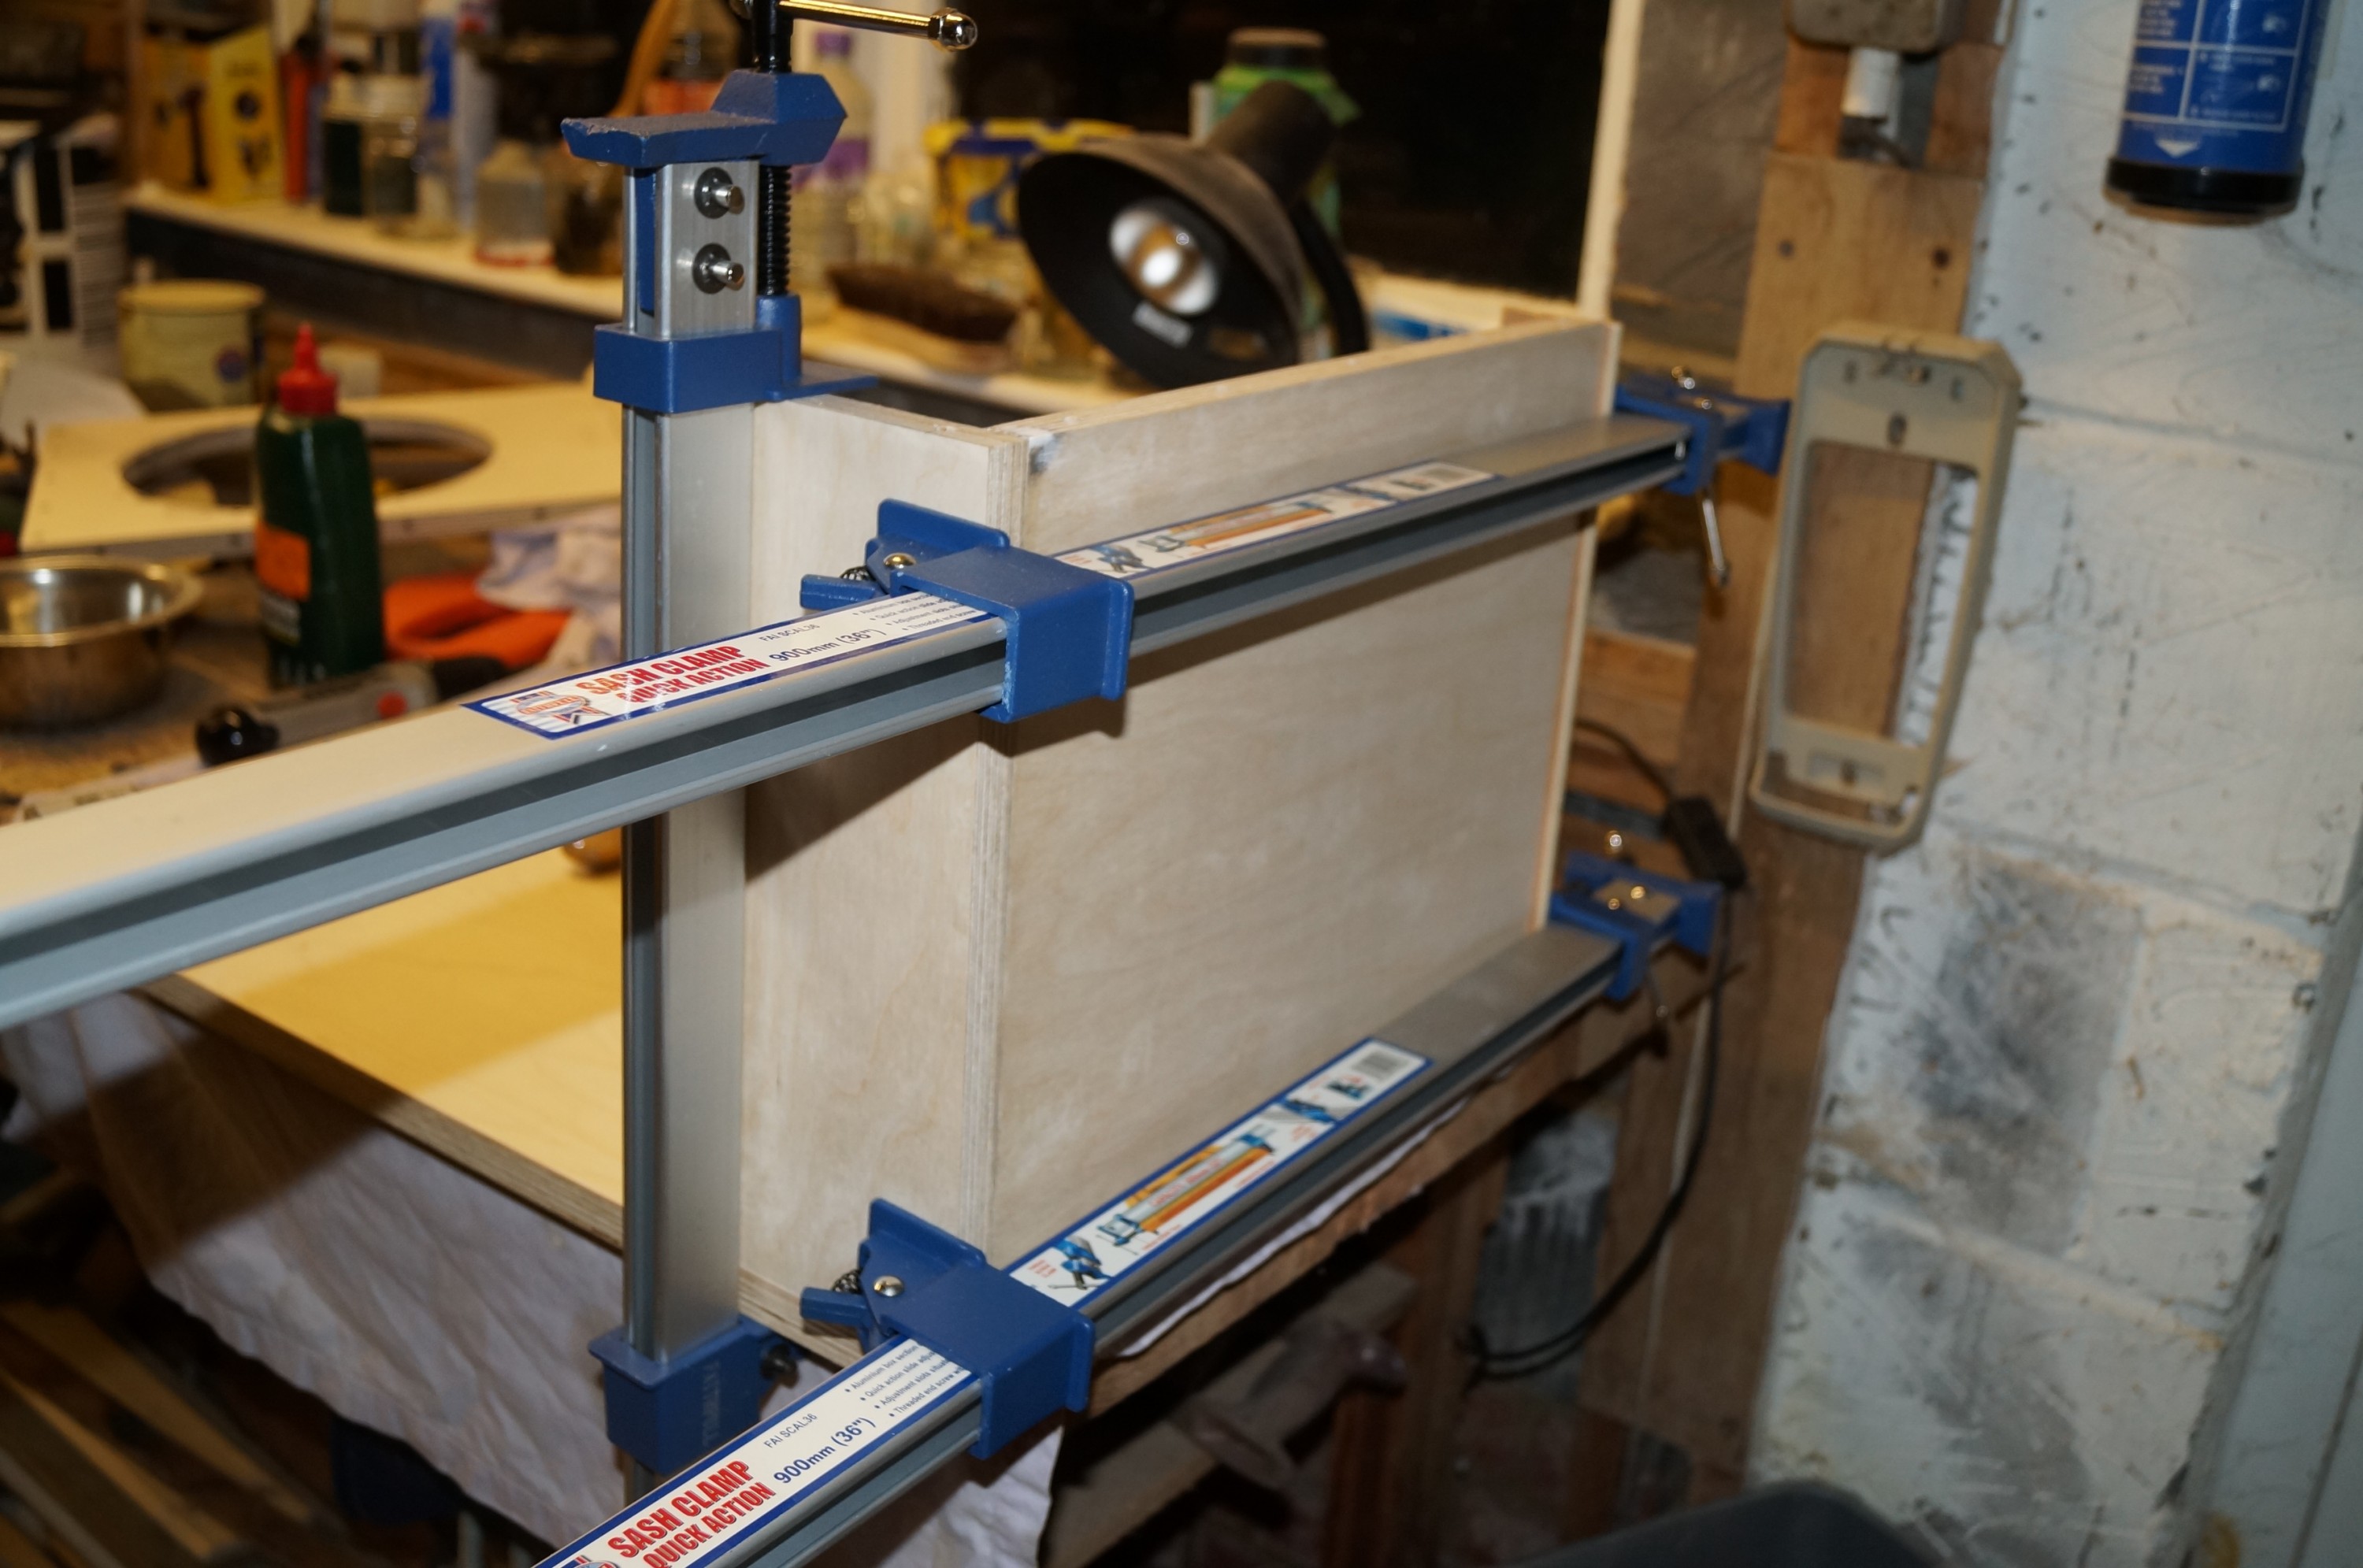

Good progress since last post – both woofer boxes now glued and screwed. The process was not without incident, but no major glitches. I was glad I had invested in some aluminium sash clamps, although soon found myself wishing I had ordered six rather than four.
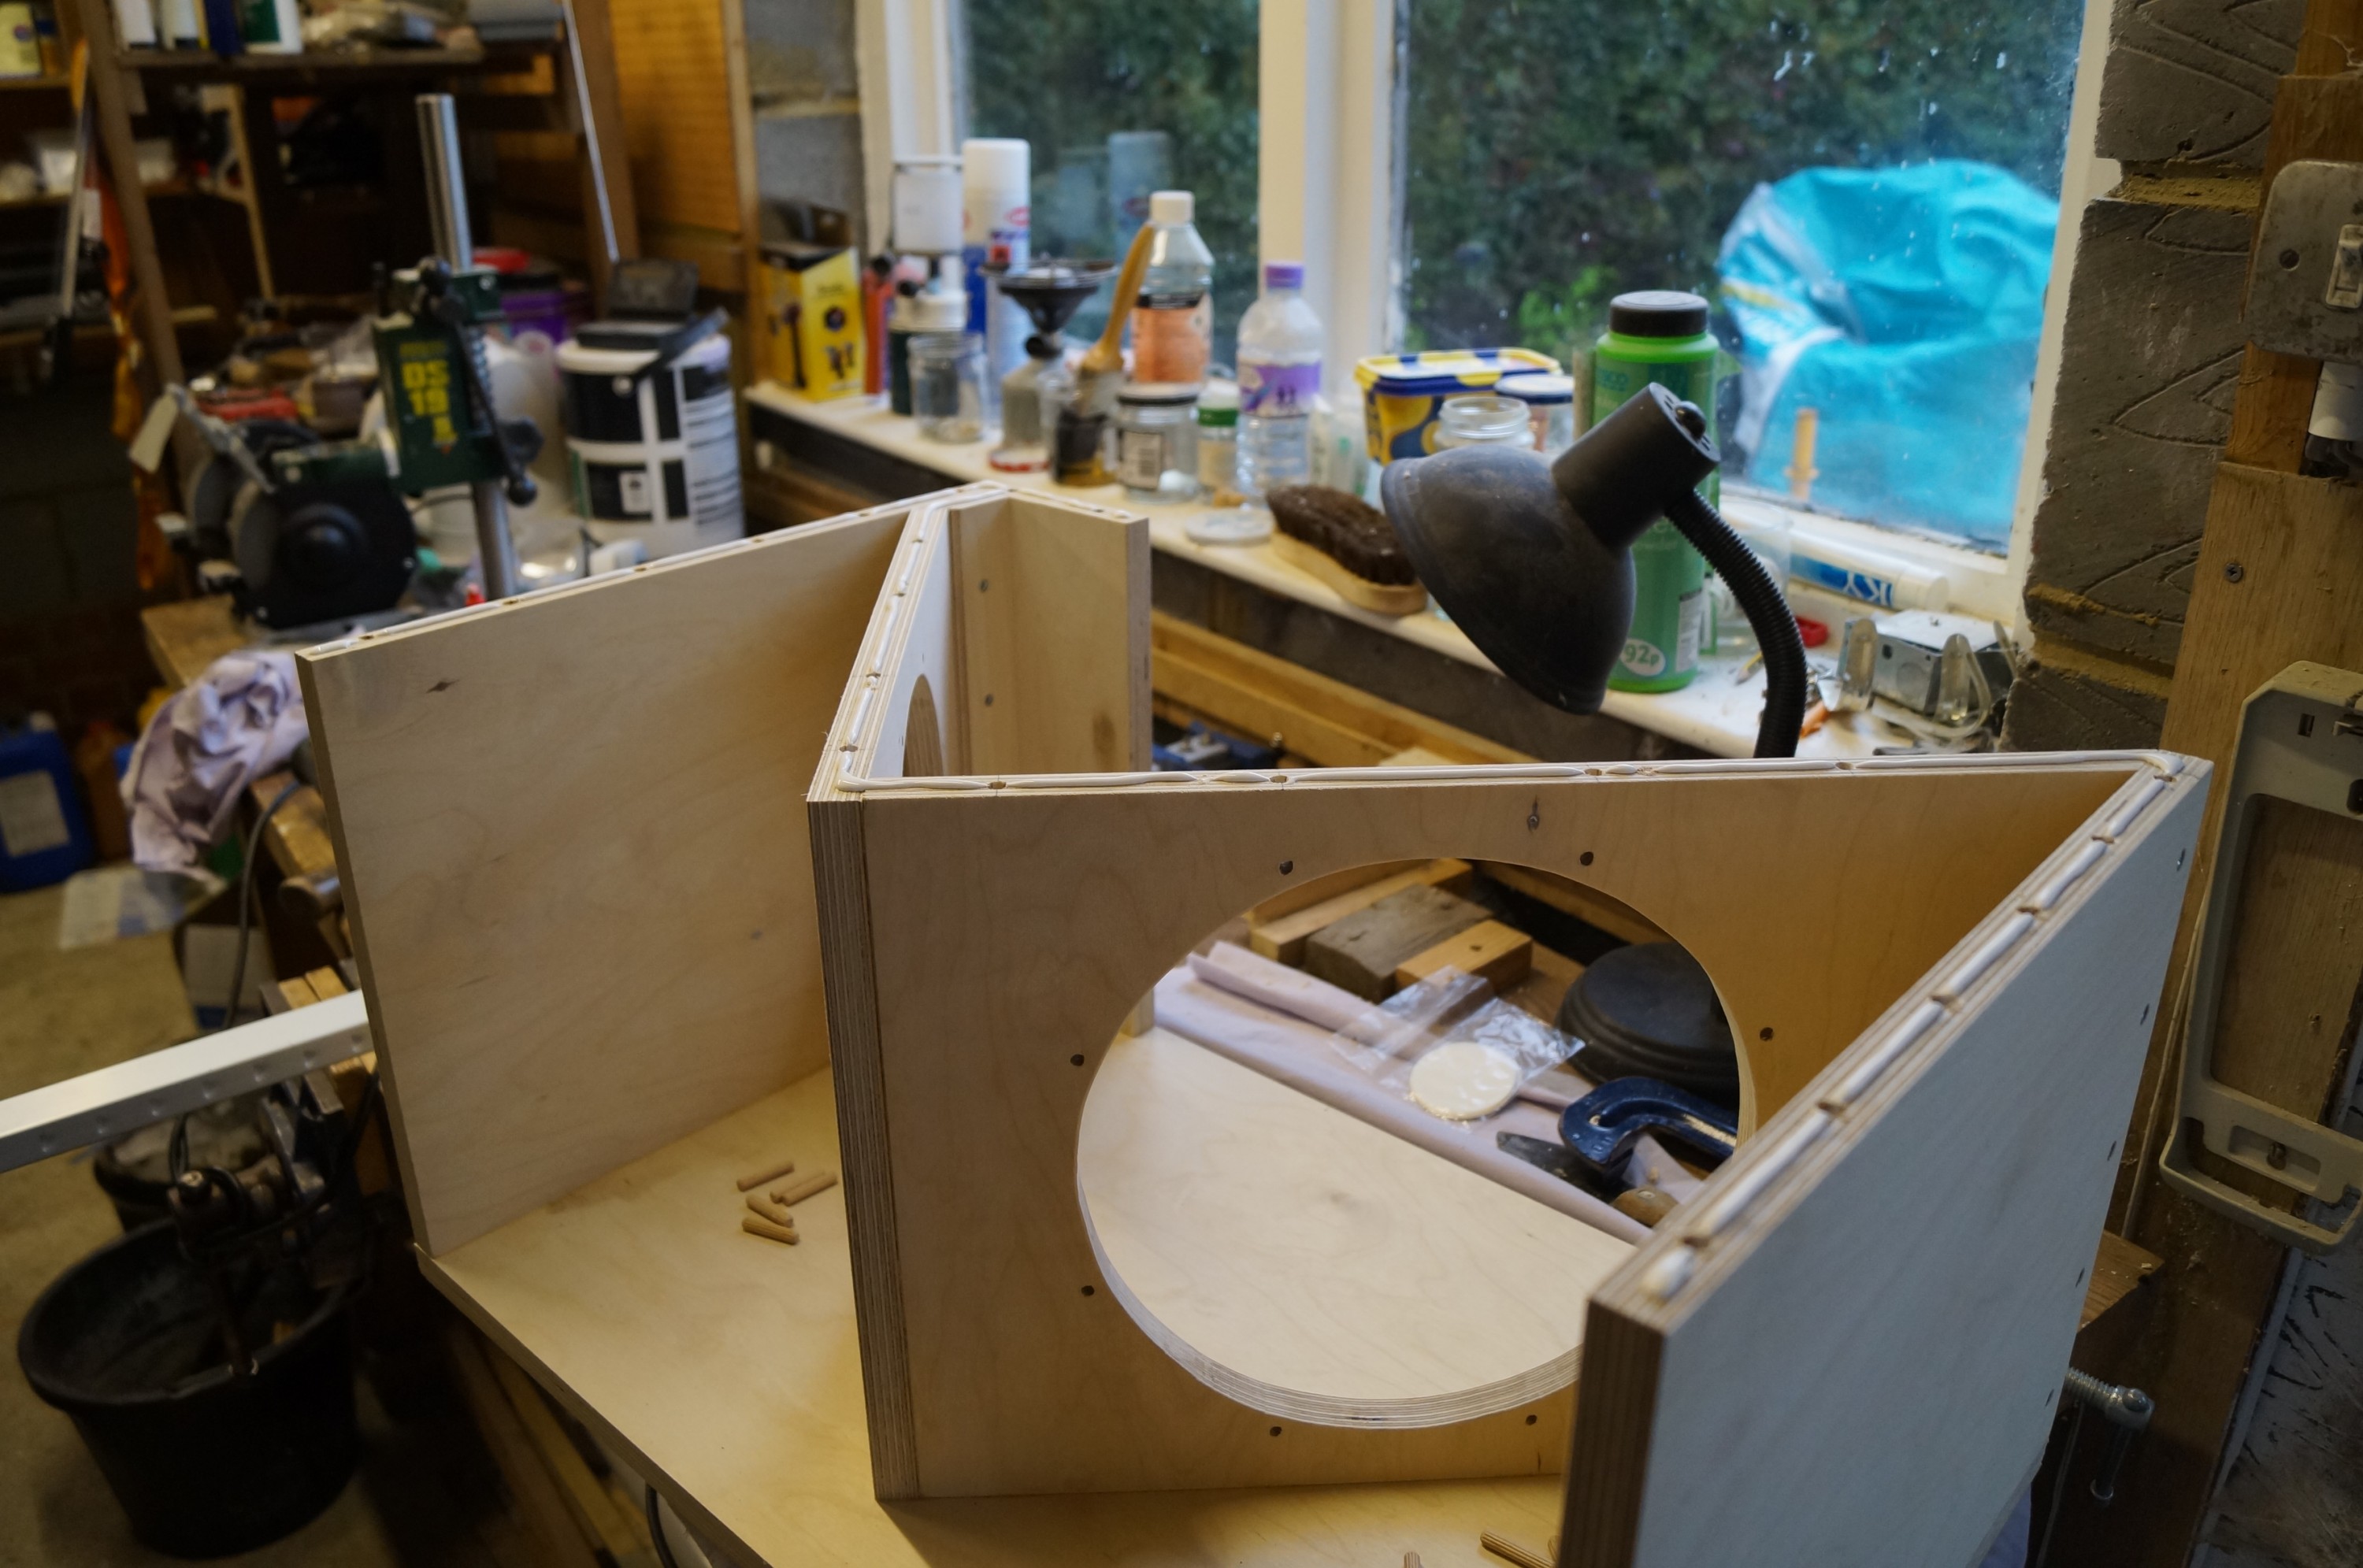
I knew that order of assembly was important from thinking about this as well as perusing other audiophiles’ build logs (notably Bill Schneider’s meticulous record). Using dowels to strengthen the joints between the V-frame and the sides makes assembly order critical, as all V-frame elements have to be assembled and glued before lowering these onto the side dowels. The photos show the order I adopted.
When assembling the first box I discovered (after priming dowel holes with glue!) that the slightly proud through-dowels between the upper V-frame and the small filler behind the front flap prevented me from dropping the V-frame assembly in place! – I had anticipated sufficient play to allow this, but no…
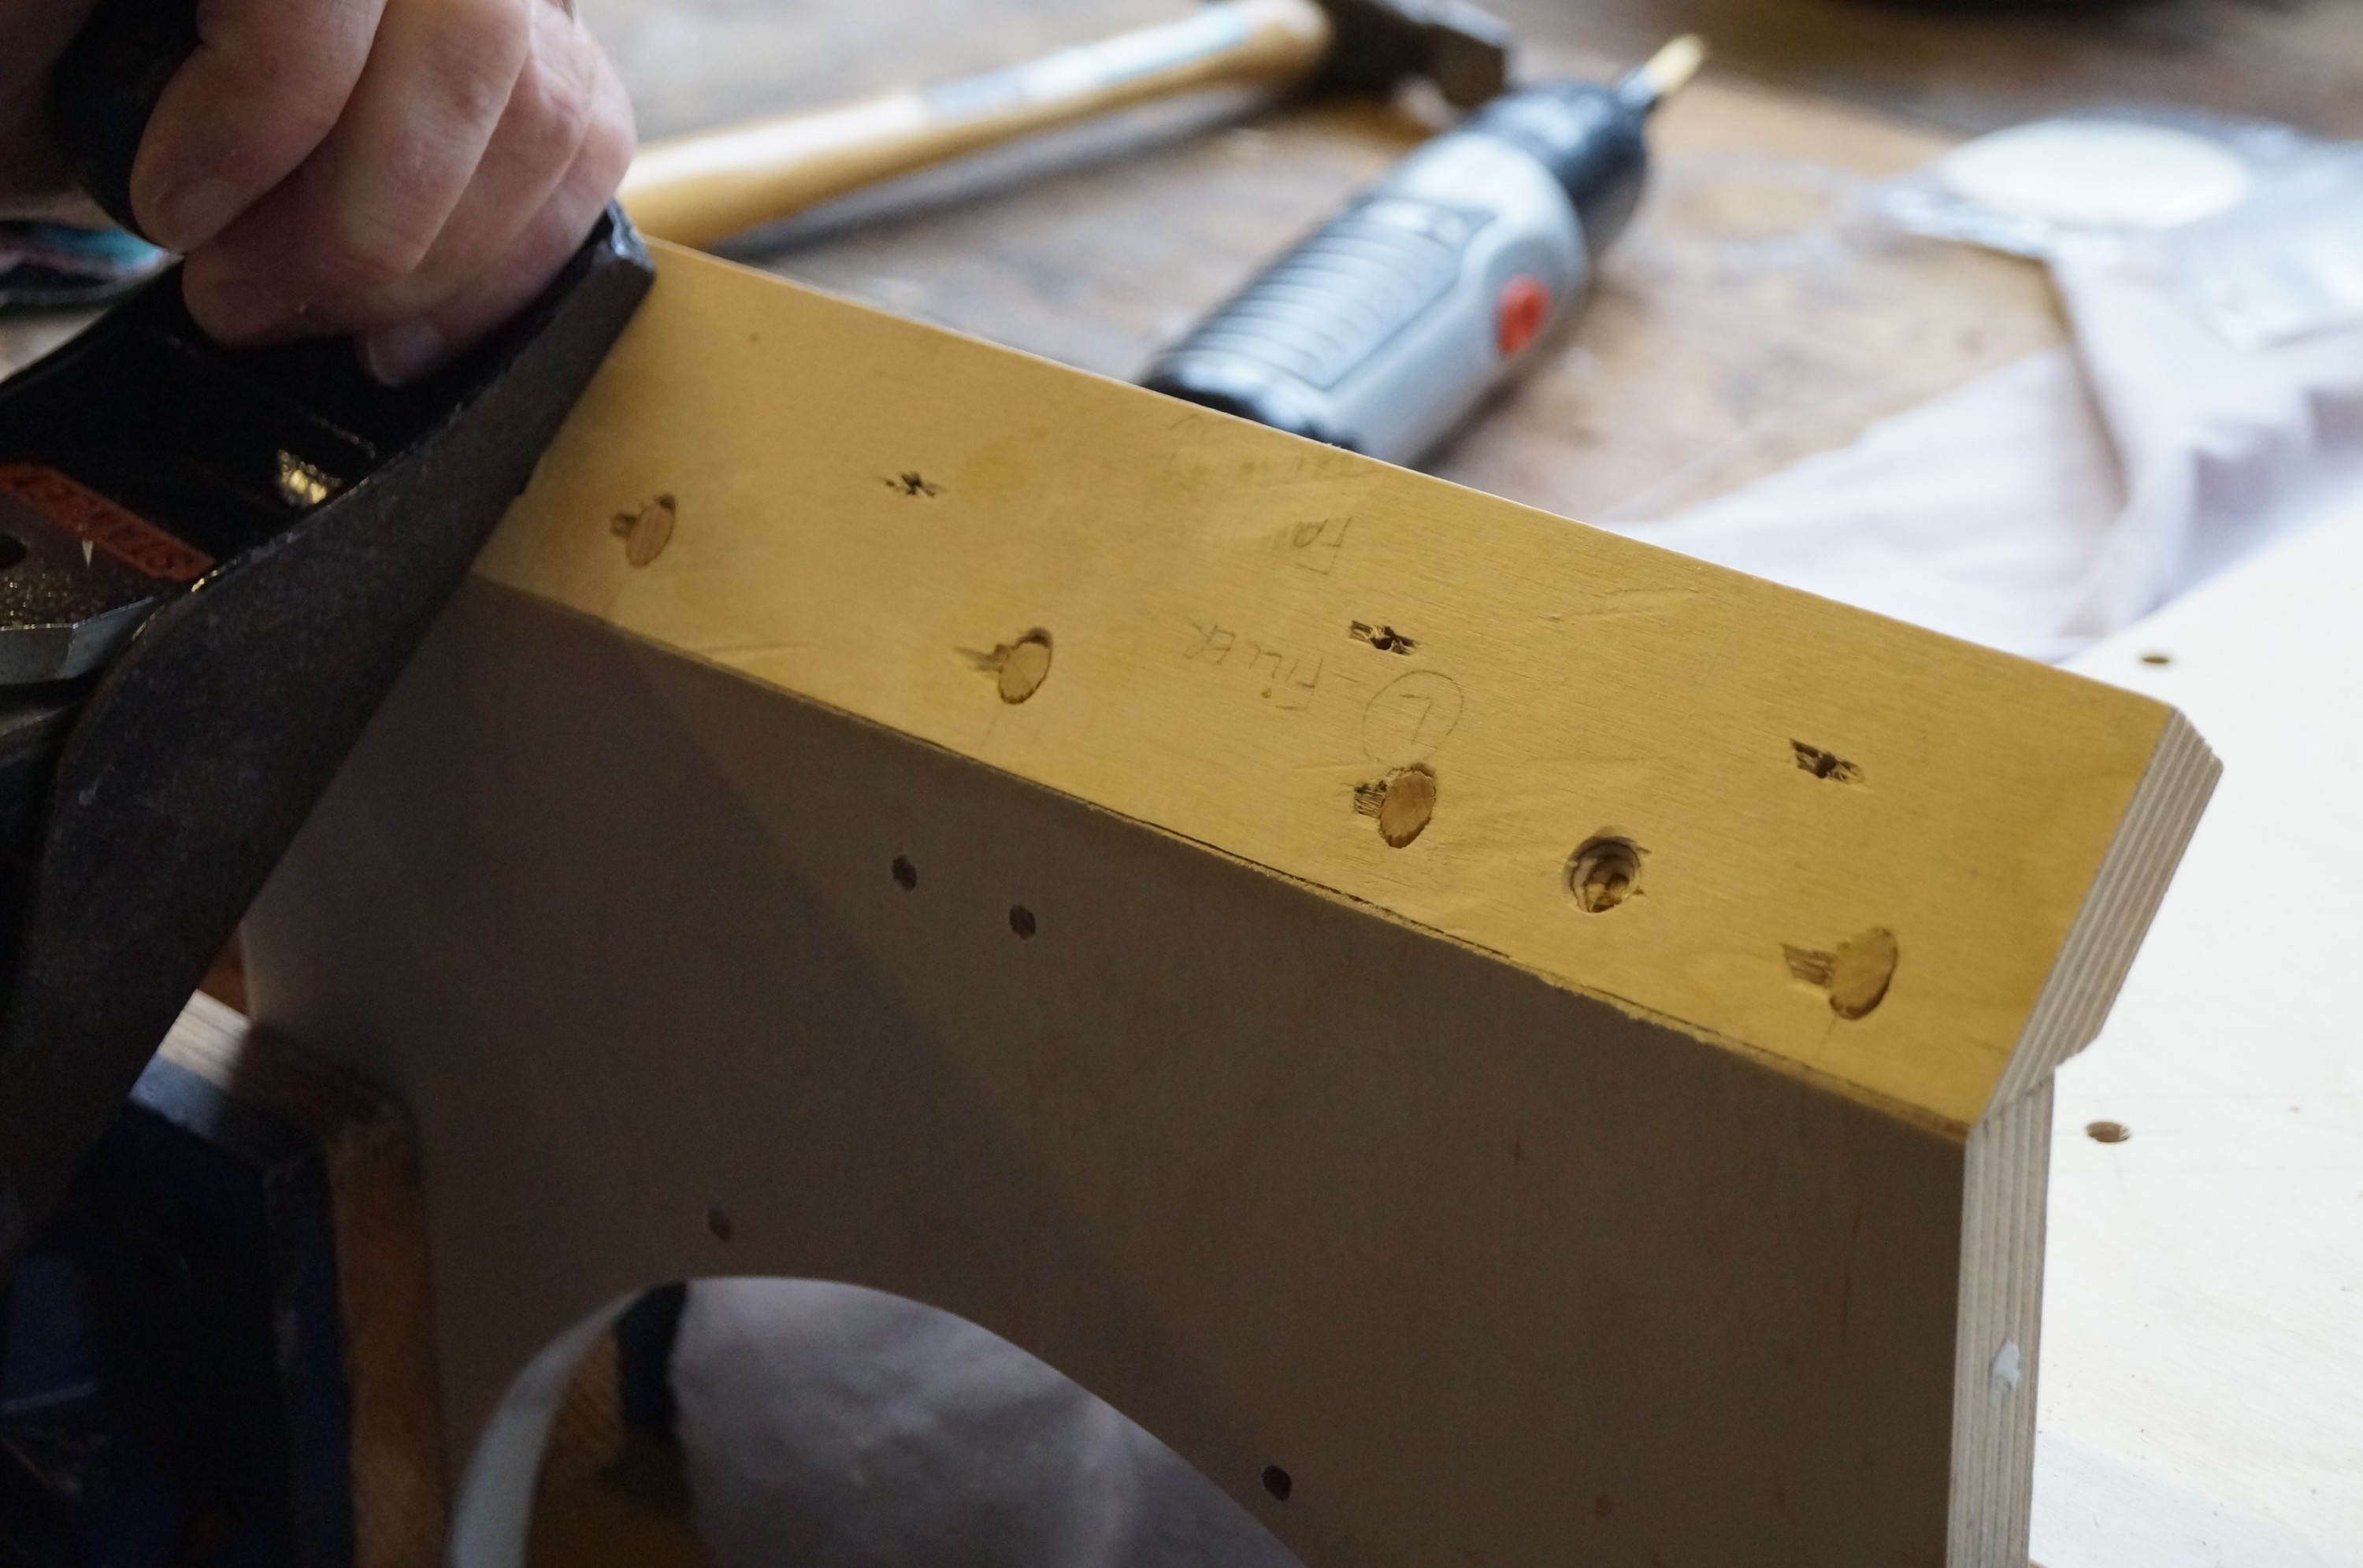
Some rapid planing off of the protruding dowel ends rectified the problem. This apart,assembly proceeded uneventfully.


I used waxed discs (as used for preserves) to confine the Evostick to the joint being glued during the staged assembly; another good idea from Bill Schneider.

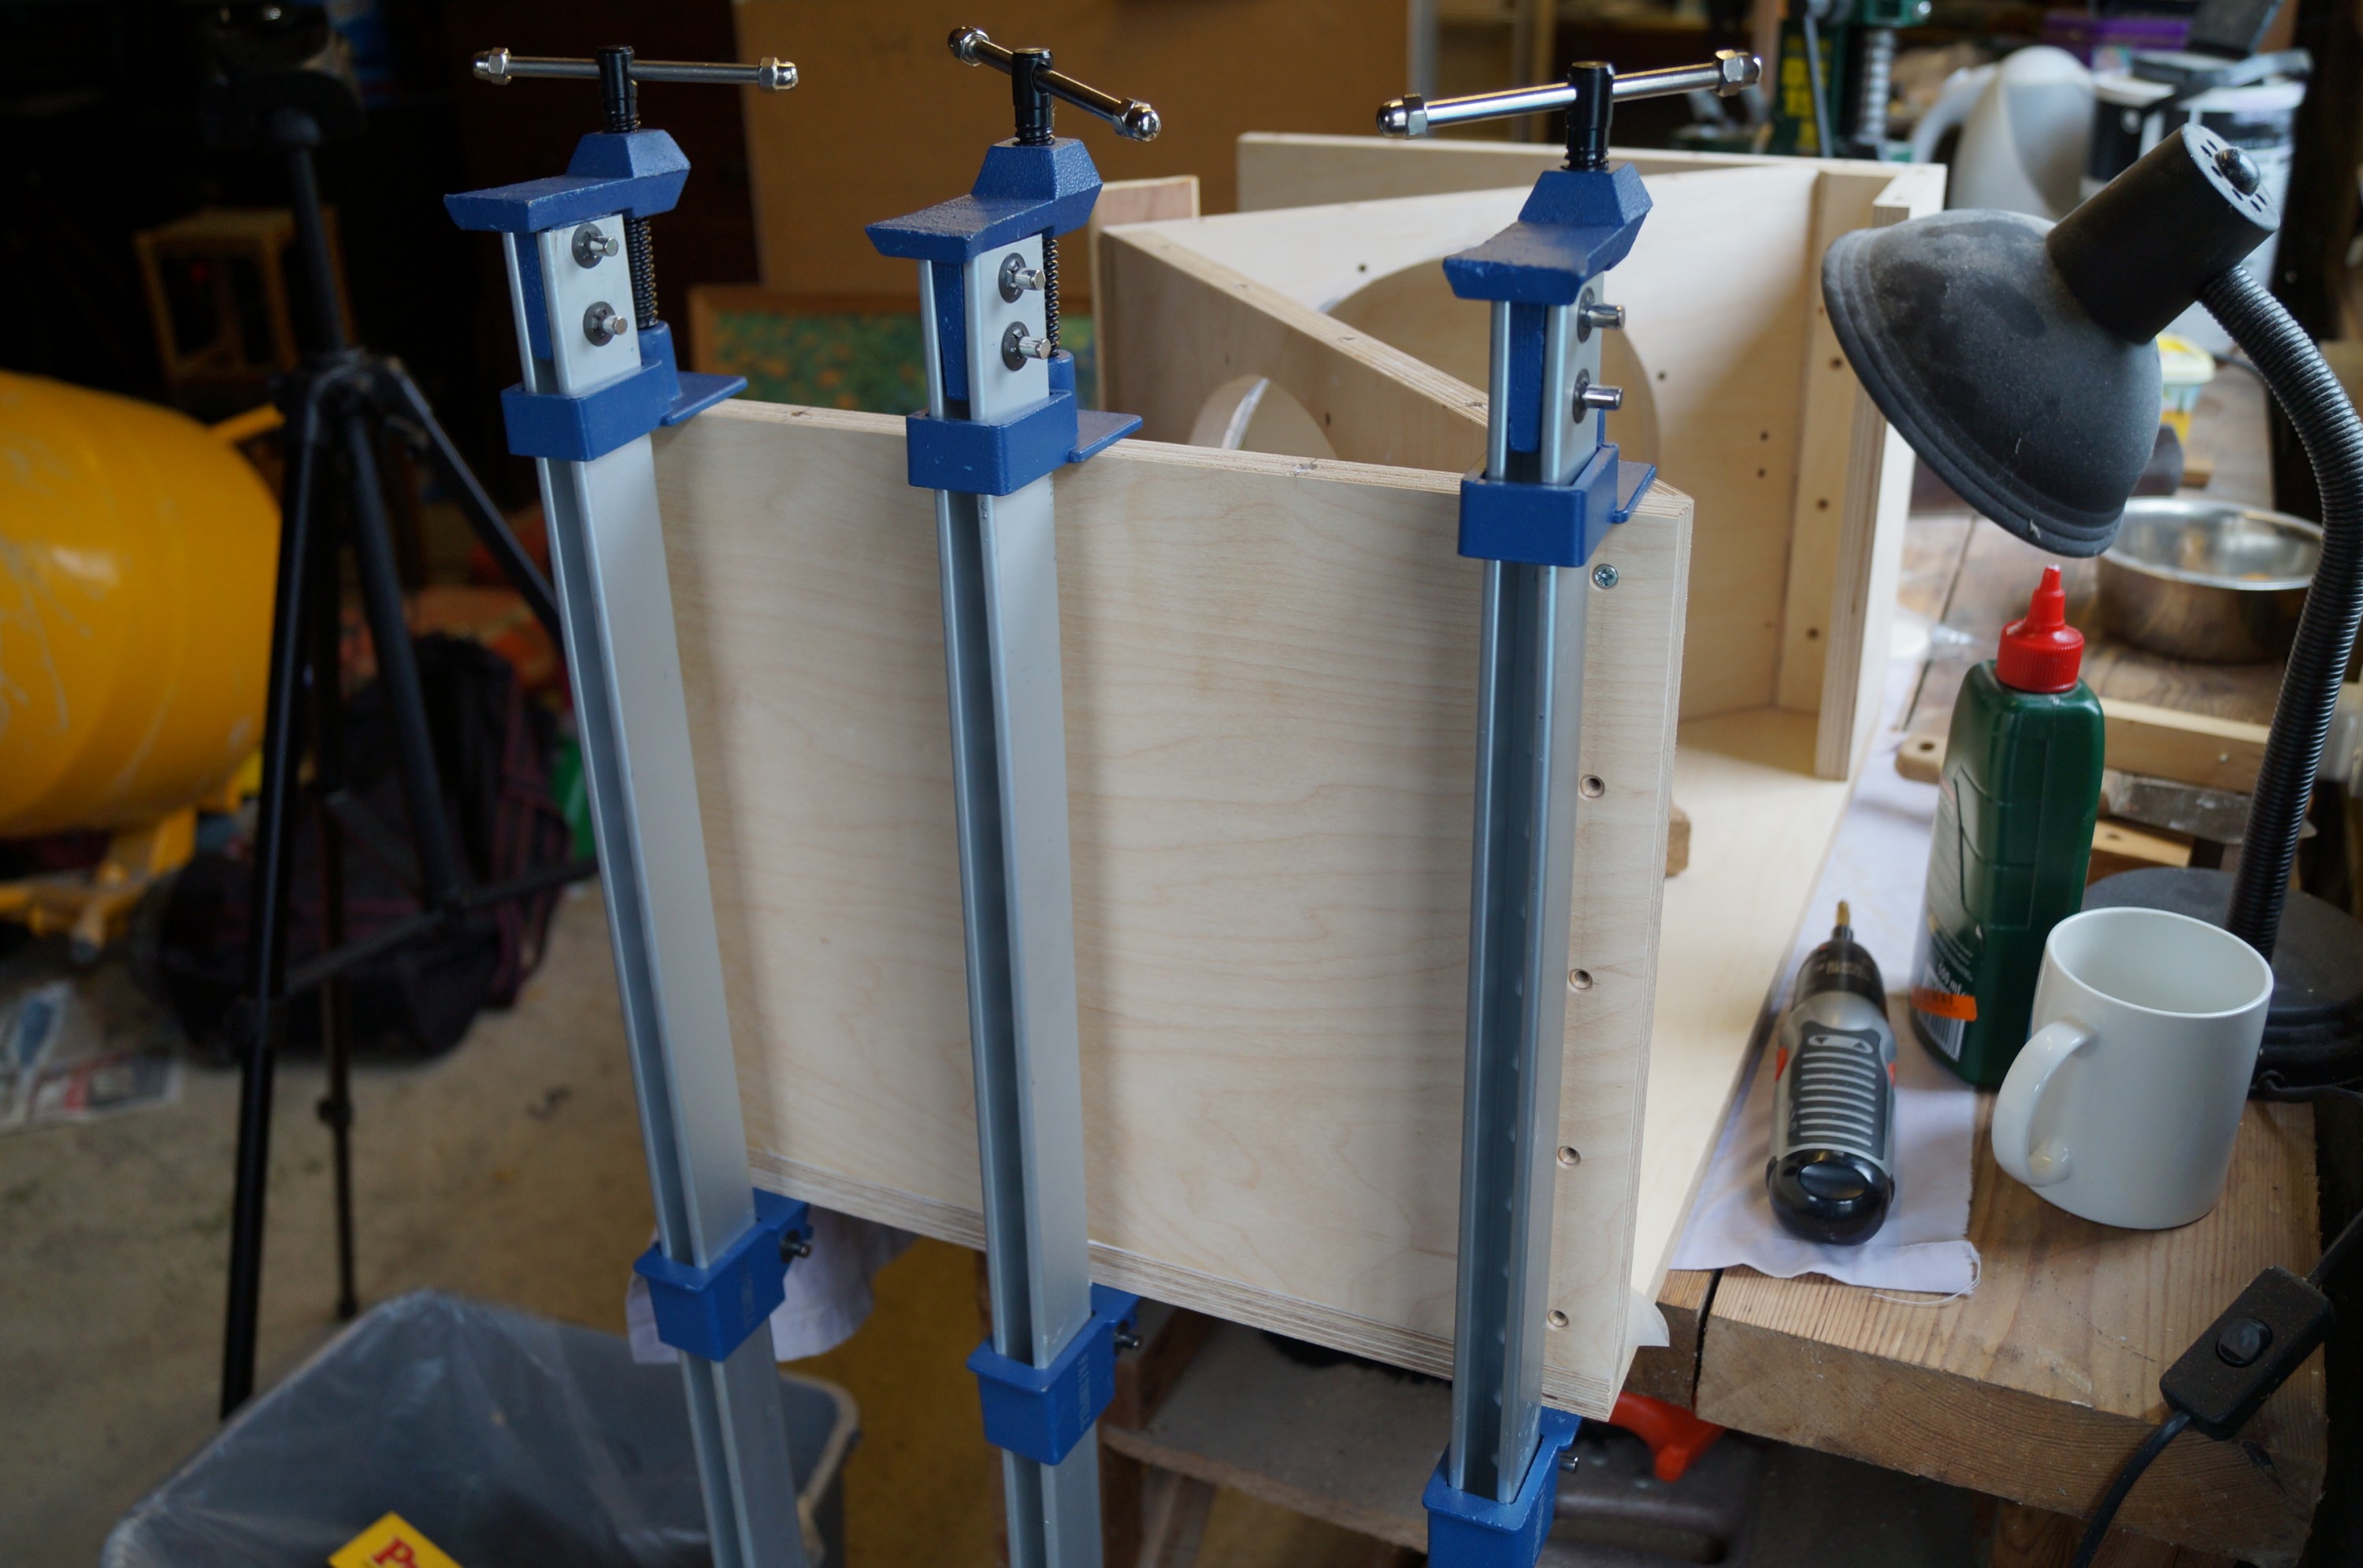
The dowel-glued V-frame assembly, shown separately here, felt extremely strong with minimal give – I was glad I had decided to glue it in place using the side dowels to ensure correct alignment. Its stiffness was what led to my protruding dowel problem!
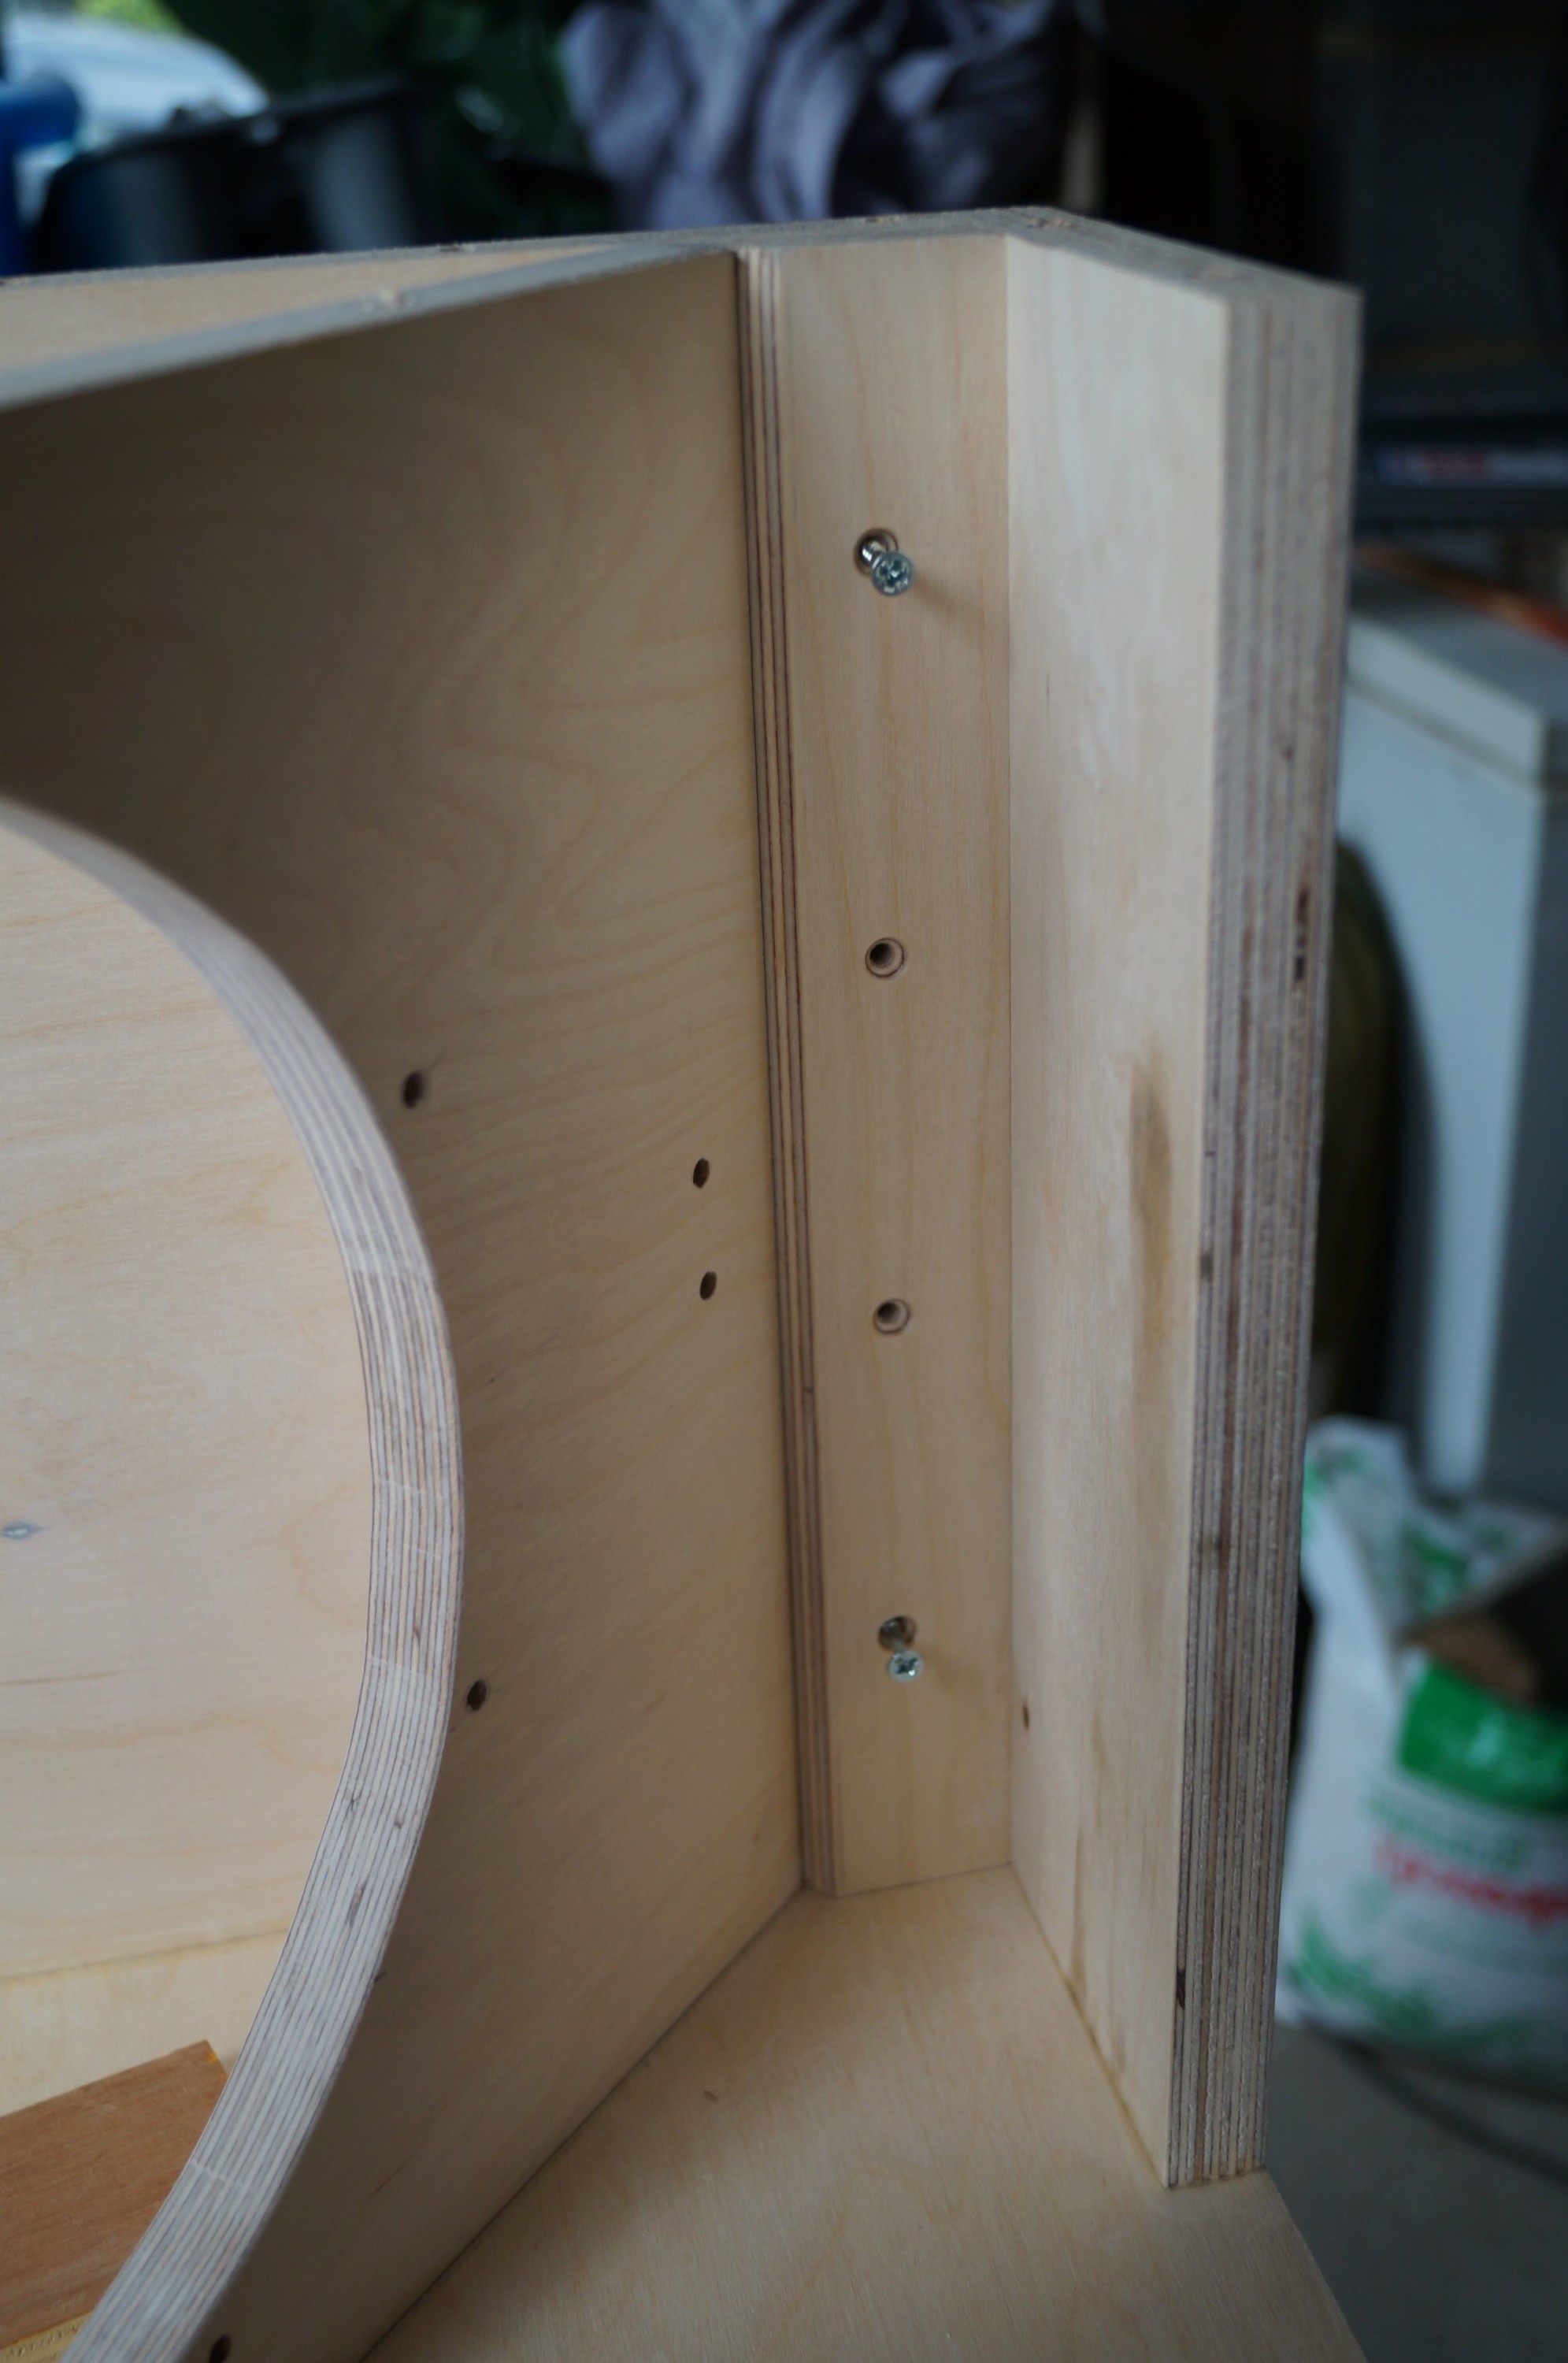
This shows the underside of the front flap and mitred filler piece; I used screws here (impossible to clamp), and I won’t be filling these in their concealed position.
The boxes came together reasonably well and square; the 2″ x 8 screws countersunk into the sides pulled the V-frame side joints nice and tight.

Some planing was needed to top and bottom to bring sides flush before final sanding. I did have to fill the front flap on one box as the lower edge ended up a millimetre displaced backwards. I spot primed these areas together with all countersinking and other minor surface defects before filling.
I had researched wood fillers before commencing the build, and had settled on Toupret TX110 filler (the French like to finish stuff properly). It needs a few hours to develop full strength but it cures very solidly and sands beautifully flat thereafter – a good buy. Filling and sanding the countersinking on the sides and bottom completed the making good.