MATERIALS

The woofer boxes are made from 18mm BB grade birch ply – I sourced these from Woodcraft in St Neots as they offered an accurate cut-to-size service, with a tolerance of around 0.5mm. I had redrawn the woofer plans converting measurements to metric (details not given here as copyright to SL).
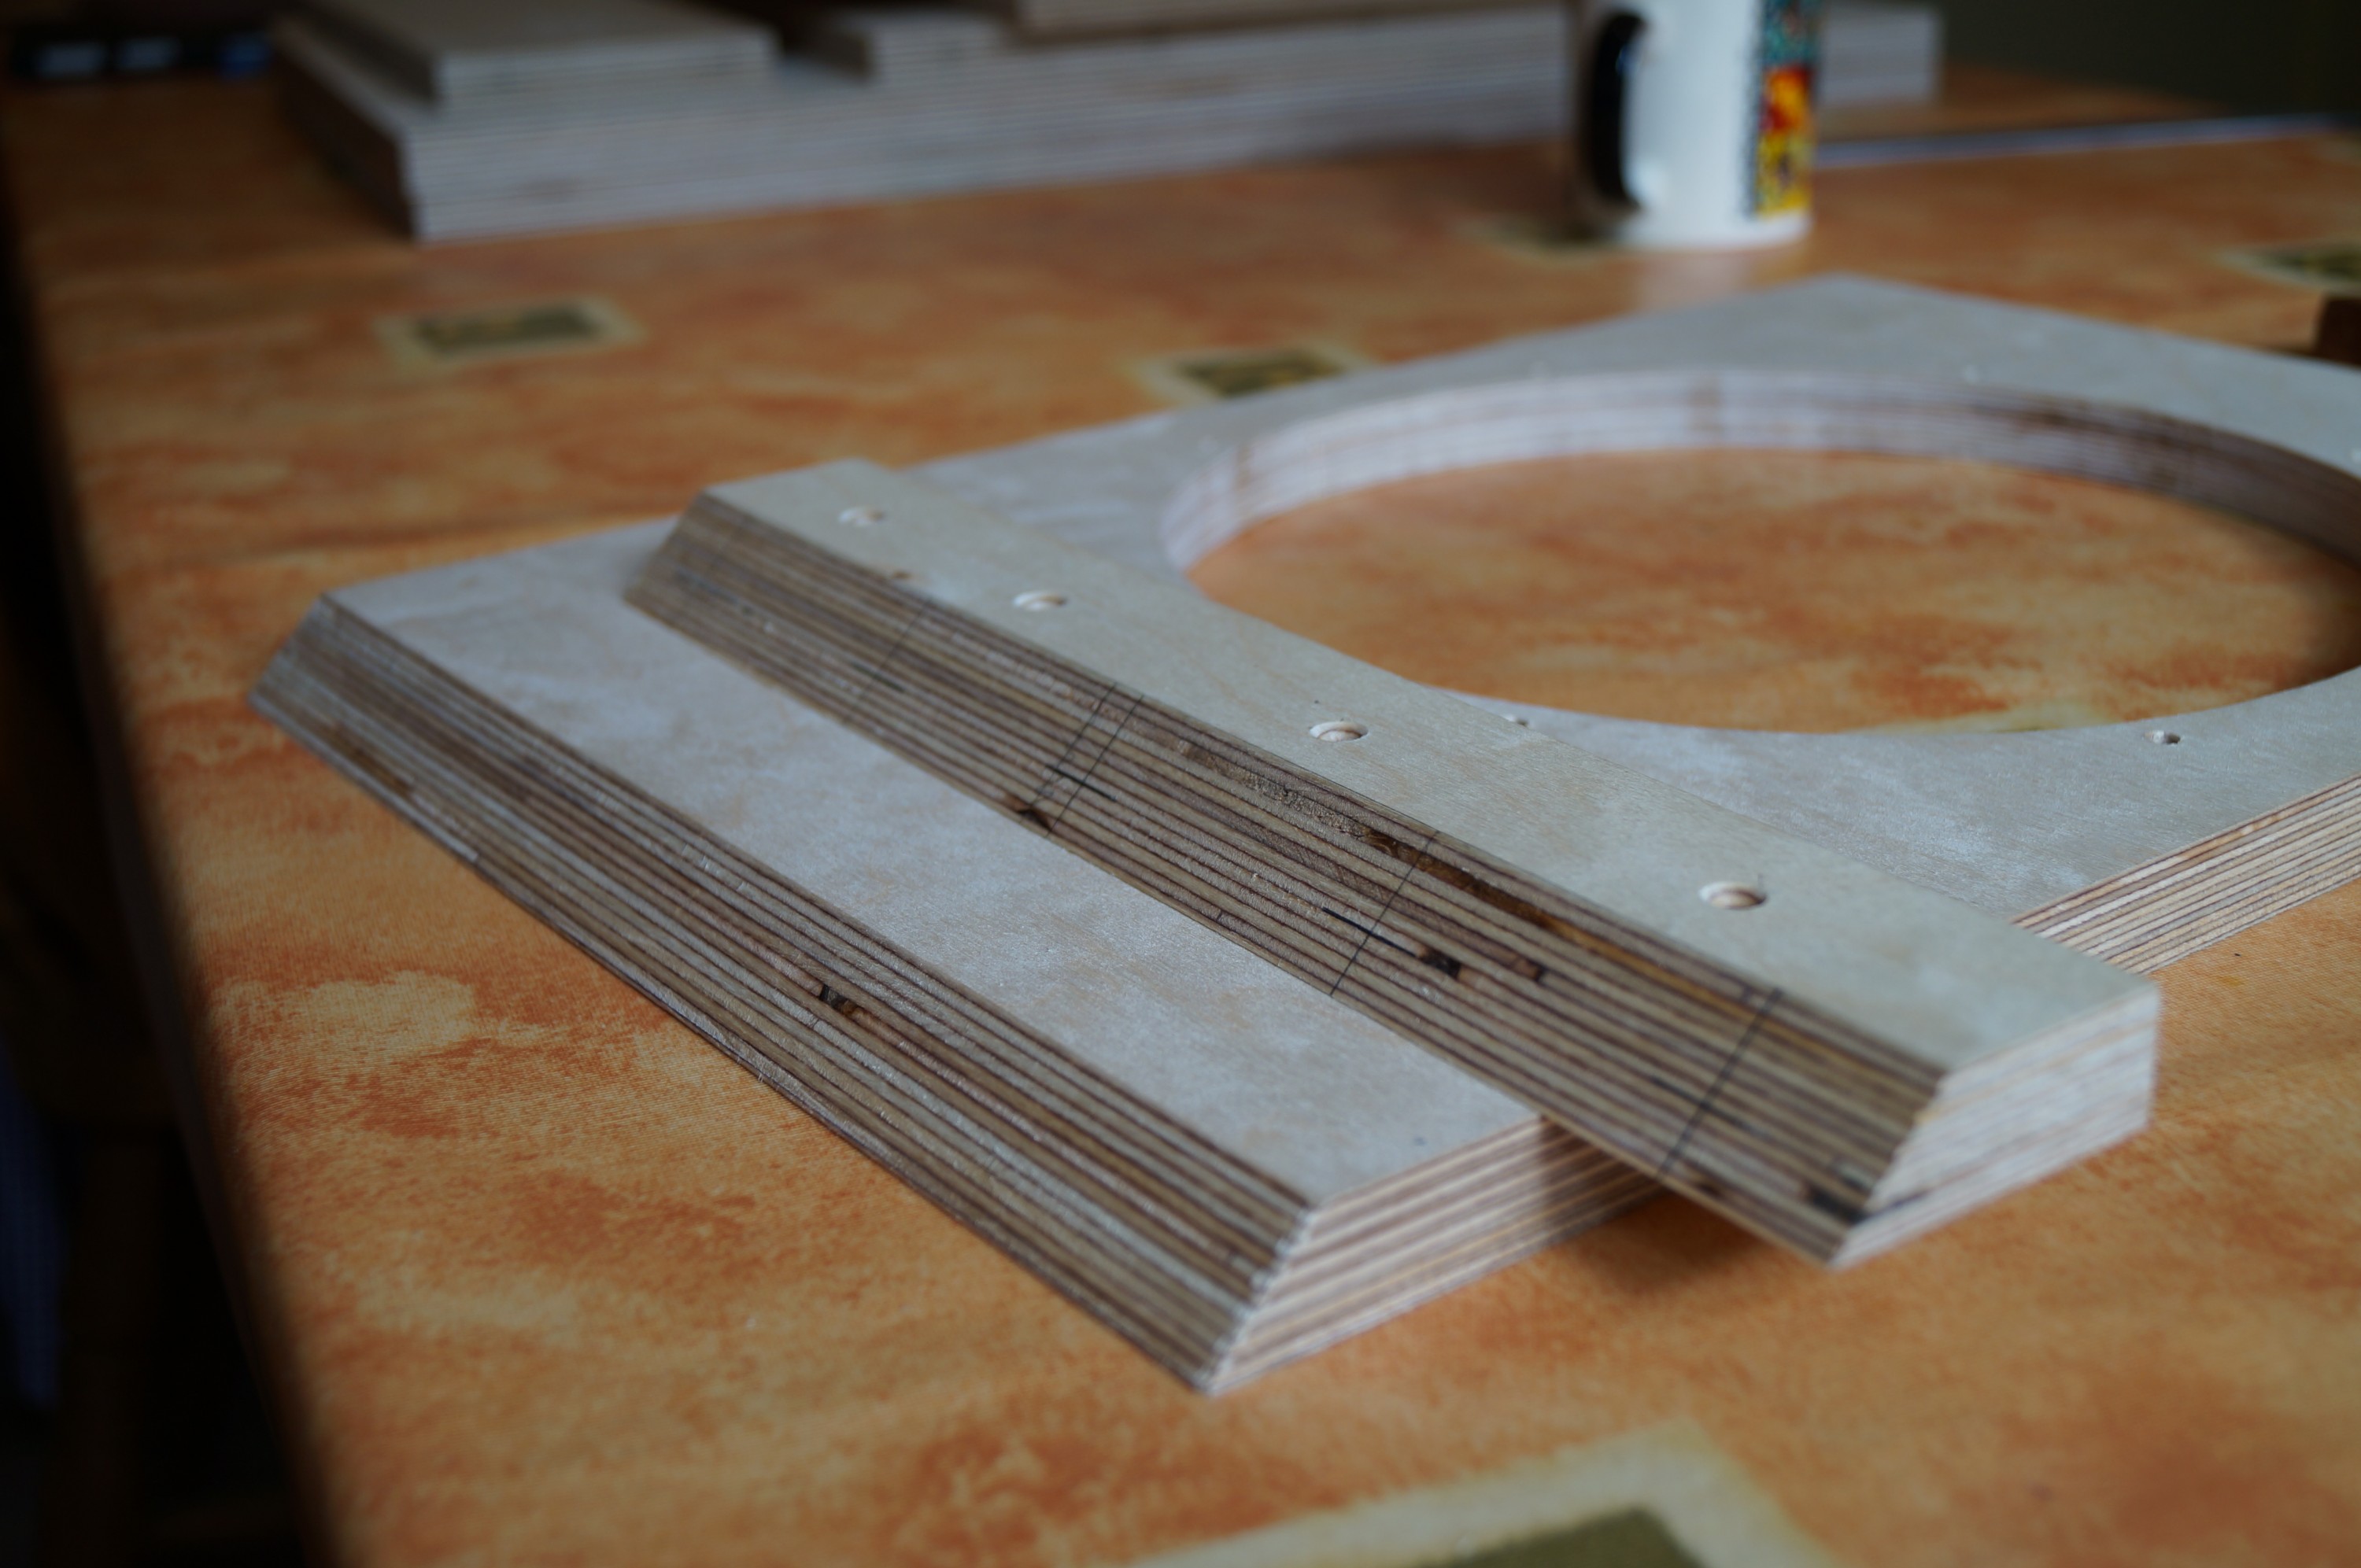
When I picked up the order (plus offcuts – needed for the upper baffle mount) I was pleased to find no planing was required at all, and all panels were nice and square. Good decision. I had already marked and jig-sawed out the woofer holes and drilled their mounting holes before I got to grips with Wordpress; bar the dowels the only other preparation was to plane the45deg mitres on the lower V-frames and the top filler pieces.
SCREWS OR DOWELS?
I decided on dowels partly because of the considerably increased strength these impart, and partly to keep the external surfaces as pristine as possible for the sake of a good finish. I am aware that some building the LX521s have opted for screw and glue; in the end perhaps it is a trade off between spending your time marking and drilling dowel holes or filling endless countersunk screw holes.
DOWEL JIG OR MARK OUT?

My next decision was whether to mark and drill them all individually, or whether to fabricate a jig to speed the process. Some experimentation followed; this is the Mark 2 jig made from some spare hardwood which I used to drill the first box. Modified rapture – despite carefully screwing the jig to each joint line I experienced some unpredictable drill wander. Some joints came out perfectly whereas others were distinctly off, requiring tedious adjustment of dowel holes to bring things back into line.

I therefore decided to ditch the jig for the second box in favour of the more traditional approach – painstaking marking out of dowel positions with a very sharp pencil. At least this could be done in a warm kitchen. For accurately positioned dowels the trick was to use a bradawl to mark each one with a small hole before drilling; this held the drill position well. Tedious but worthwhile; the second woofer box came together almost perfectly with minimal adjustment required.
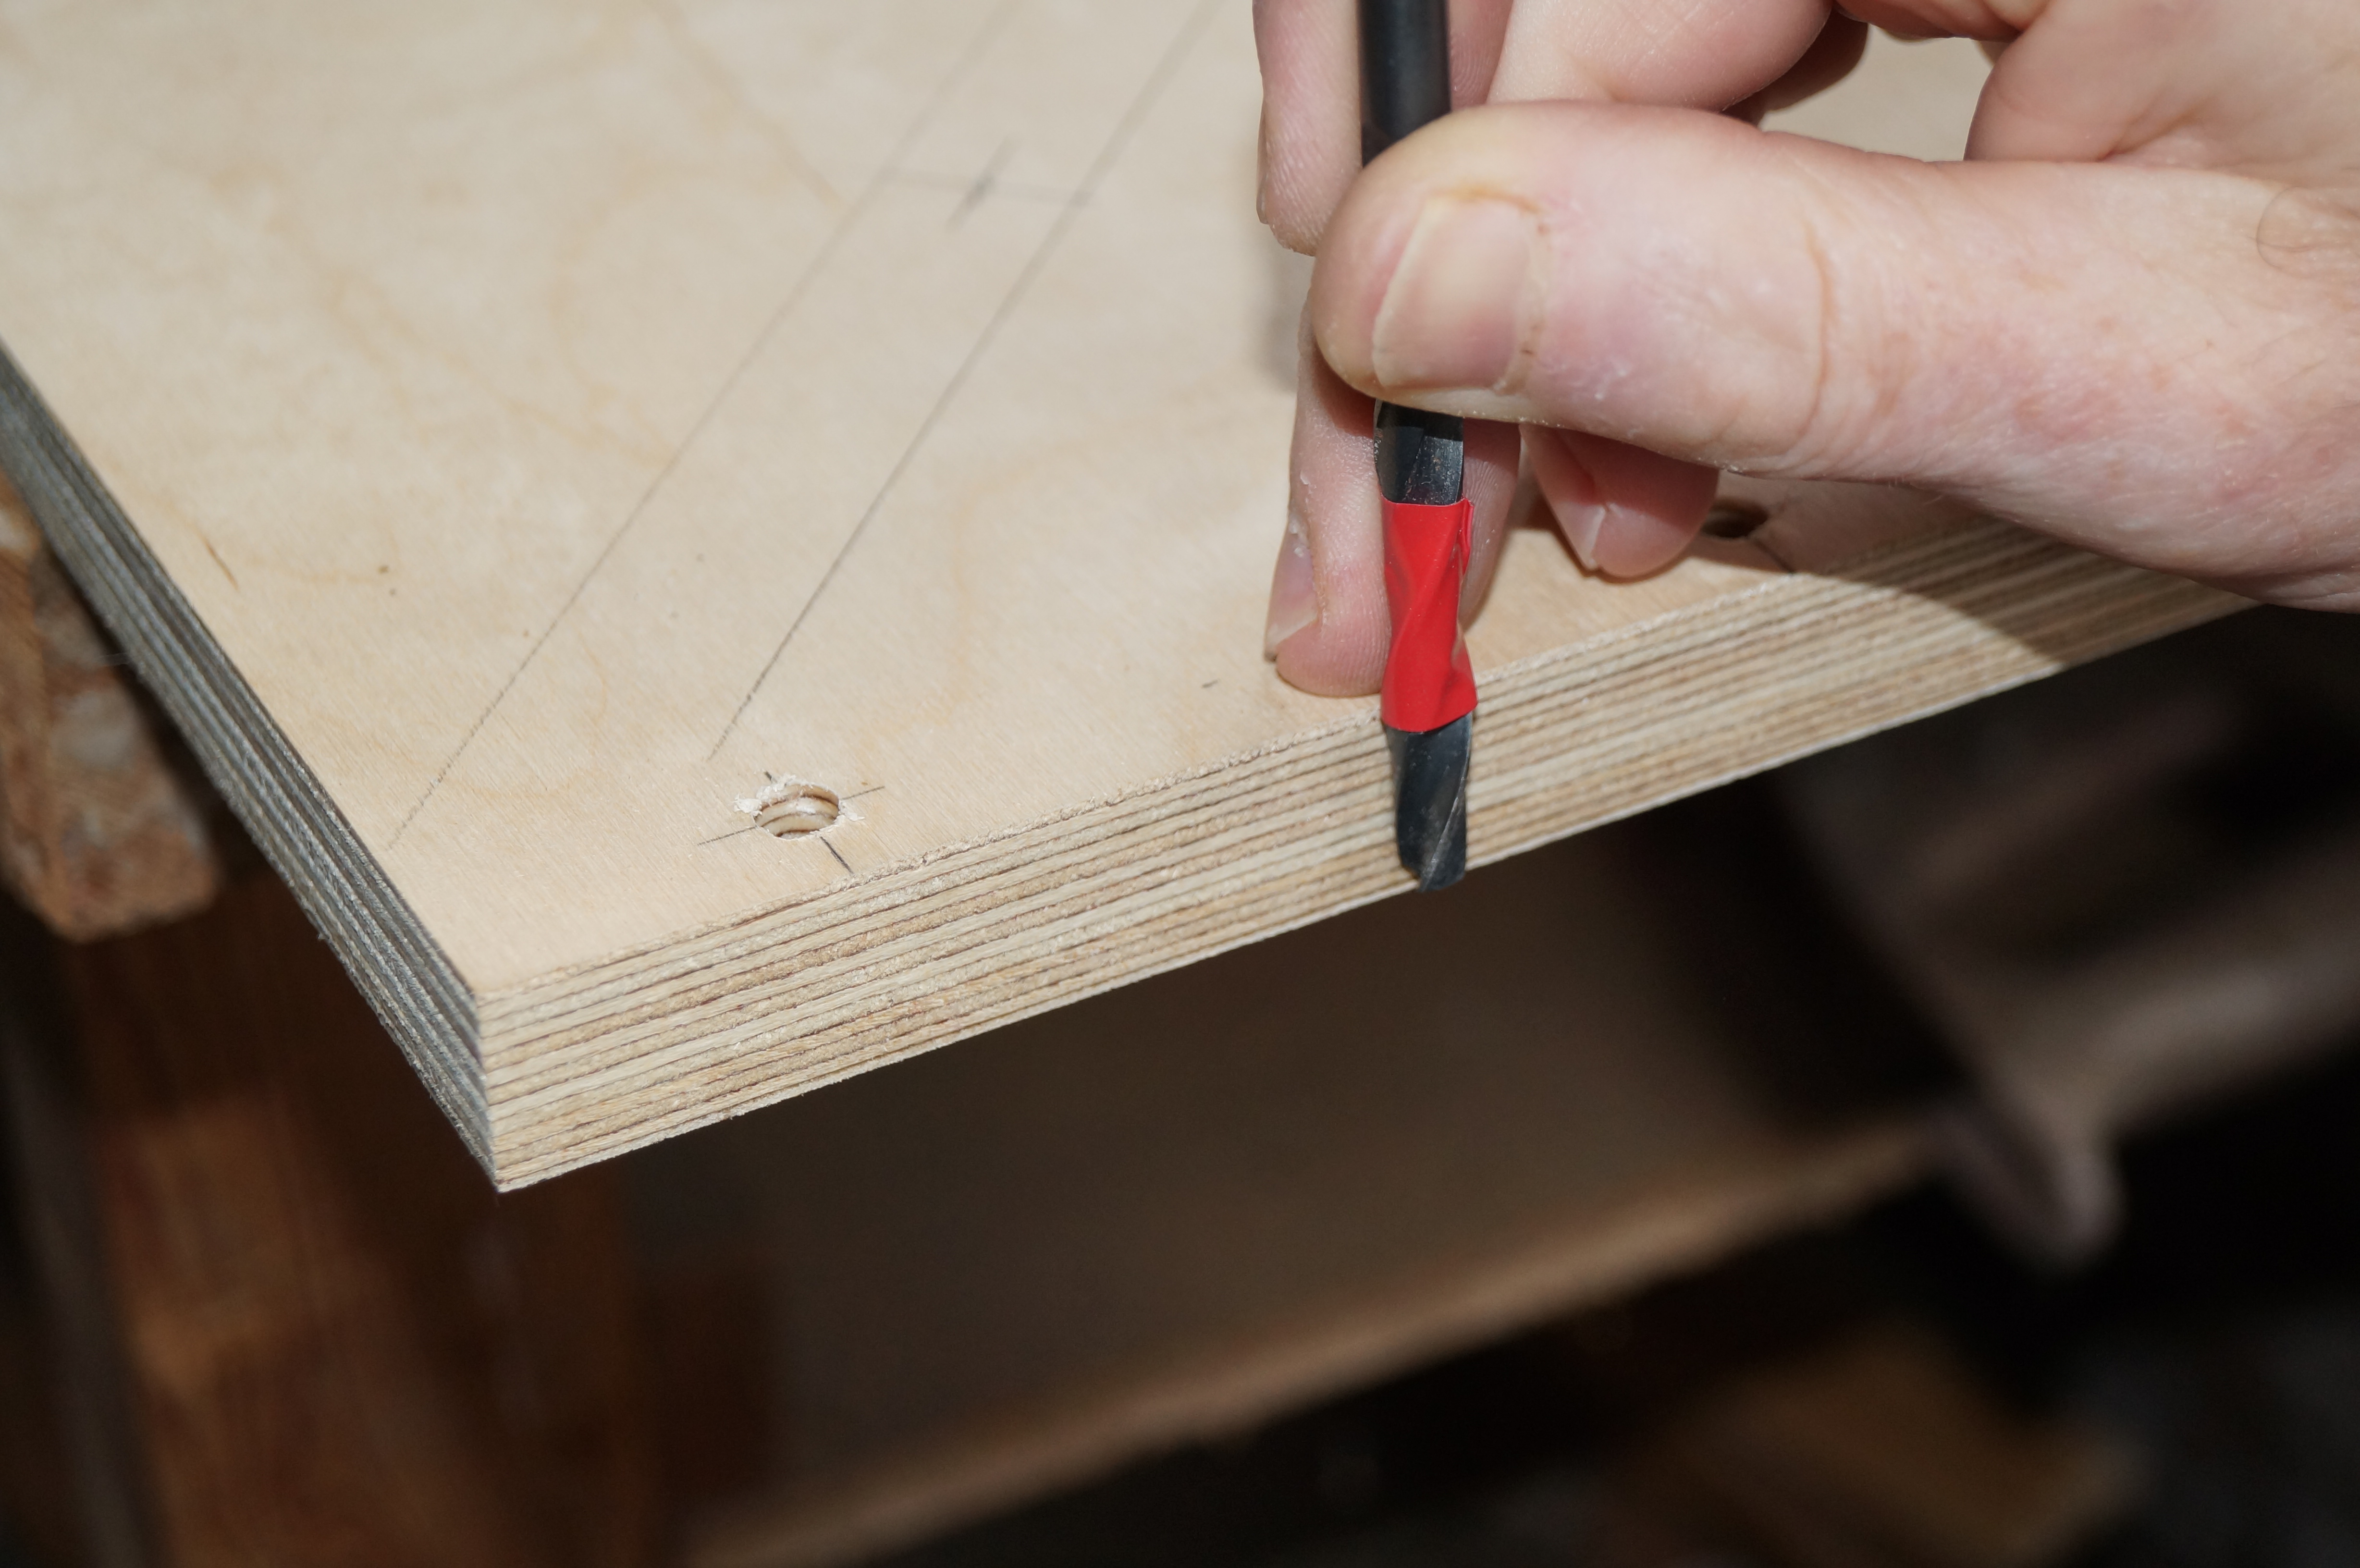
Dowel hole depth is obviously more critical drilling perpendicularly into the flat surfaces. I used insulating tape round the drill bit to mark approximately 15mm. Having smugly taken a photo of this I promptly drilled right through one of the sides – twice! I was rushing, and was drilling too quickly. Ah well, nothing the Toupret filler won’t rectify later (and the sides are hidden by the bridge anyway).